Parts That Fix General Electric Dishwasher PDW7880G00SS Door latch failure
Door latch failure is a commonly reported symptom for the PDW7880G00SS General Electric Dishwasher, and we have put together a full guide on how to fix this. This advice is based on feedback from people who own this exact appliance. We have listed the most common parts for your PDW7880G00SS General Electric Dishwasher that will fix Door latch failure. We have included repair instructions, and helpful step-by-step video tutorials. If you are experiencing this issue, not to worry, DIYers just like you have fixed this, and shared their experience to help you!
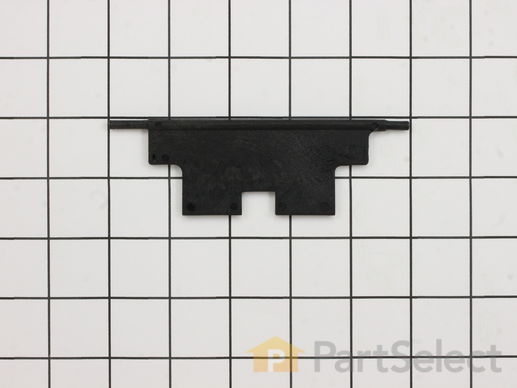
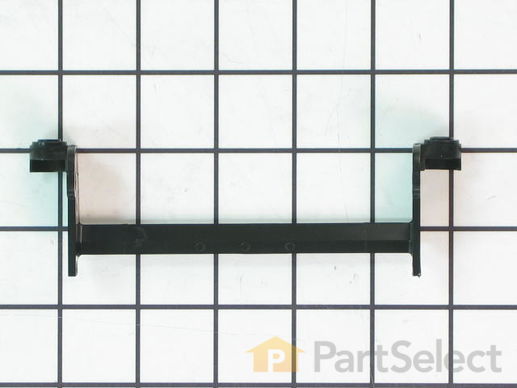
This is a handle actuator for your dishwasher. It is made of black plastic, and is sold individually. The handle actuator is found in the control panel, and it releases the door latch when you lift the handle. If your current handle actuator is cracked or broken, you may not be able to open your dishwasher door, or the door will not close properly. The dishwasher also may not be able to start, and if this is the case, you will need to replace this part.
Replacing your General Electric Dishwasher Door Handle Actuator

Customer Repair Stories
Door Latch Broke
(I had one tricky thing which was the door actuator broke while the door was shut. So I had to get the machine out of it's space without being able to open the front of the machine. I did this by lowering the feet in the front of the machine and t ... Read more hen I used a hammer and flat chisel to break the two metal screws I had holding the top of the machine to the top of counter top...a little tricky!)
Remove screws from inside lower panel (where you put soap..the bottom) this will allow you to remove the inside of the door. But be careful as there are still wires attached so be careful to place the inside part without stressing the wires.
I needed to remove the metal harness and to open the black rectangular box that holds the interlock plunger so I could remove the plunger and spring (don't lose..and remember how it goes. take pictures if necessary). Then I was able to remove the broken actuator and see how it all fits together. It rests on top of the latch with notched side facing the inside of the machine. Make sure the notch is centered around where the interlock plunger is located.
Once you have the pieces fit together insert them into the door. Replace the plunger and spring and close the black rectangular box. Then replace the metal harness.
Hold everything in place and put the inside of the door back into position and lock it down with the screws.
You can test the door to make sure it's working but the whole mechanism is less functional when the machine isn't secured into its space. So, if you're mostly sure you've got it right, resecure the machine into its space making sure it's solid and then you should be good.
Like most everyone here I was very happy to accomplish this repair without calling in the repair service!! Awesome.
-
Erik from New York, NY
-
Difficulty Level:Easy
-
Total Repair Time:15 - 30 mins
-
Tools:Nutdriver, Screw drivers, Wrench (Adjustable)
Actuator was broken
-
Sally from Saint George, UT
-
Difficulty Level:Easy
-
Total Repair Time:Less than 15 mins
-
Tools:Screw drivers
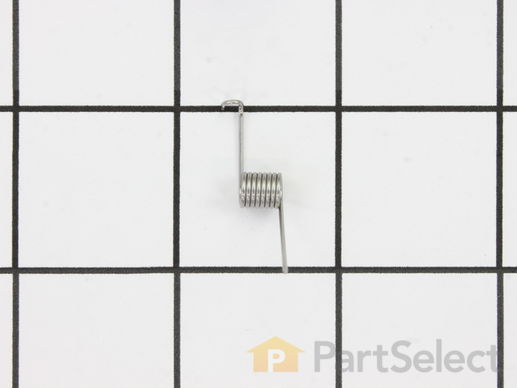
This door recess spring or dispenser lever spring in your refrigerator is used to return the ice door to the closed position or the dispenser lever to the home position once released. You will find the spring in the water dispenser assembly, behind the main control panel. If the dispenser lever is malfunctioning or the dispenser ice door is not closing, you may need to replace this door recess spring.
Replacing your General Electric Refrigerator Recess Door Spring

Customer Repair Stories
The ice cube door located on the front of the freezer (side by side freezer/refridgerator) stopped closing.
-
Todd from Milton, WI
-
Difficulty Level:Easy
-
Total Repair Time:15 - 30 mins
-
Tools:Screw drivers
frost build up
-
JOHNNY from FORT WORTH, TX
-
Difficulty Level:Really Easy
-
Total Repair Time:15 - 30 mins
-
Tools:Pliers, Screw drivers
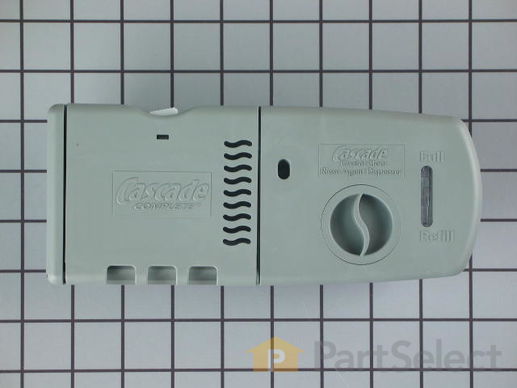
This detergent dispenser assembly is attached to the inner door panel of a dishwasher. This part holds detergent and dishwasher rinse products in a covered container. If your dispenser will not open, close, dispense detergent properly, or the dishes are coming out of the dishwasher dirty, replacing this part can solve these problems. The tools needed for this installation project are a #2 Phillips screwdriver and needle-nose pliers. To repair, first remove screws from the bottom of the inner door panel. Next, remove connecters, wires, and screws from the dispenser to access it and replace with new dispenser. Refer to the manual provided by the manufacturer for further installation instructions and guidance. Unplug dishwasher from power source as a safety precaution.
Replacing your General Electric Dishwasher Detergent Dispenser with Rinse Cap

Customer Repair Stories
White latch on soap dispenser broken- would not latch
2. There are 3 electrical plugs that will have to be removed. The first is a 2" long quick connect in the upper middle of the door panel - it will pull straight out. Remember where it makes it ... Read more s connection. Now the exterior door panel will drop down to the floor, pivoting on two axle screws at the bottom. The interior panel can be left vertical for ease of access.
3. The other two electrical connections are on the left side of the old dispenser and can be removed with a simple pull to the left.
4. Remove the six (6) phillips screws from the panel that hold the dispenser in position. Two retainers will also drop off, which hold the dispenser top and bottom.
5. Angle the dispenser and work toward the inside of the dishwasher, turning as necessary to remove from the opening.
6. Reverse the process for installation. Remember to reconnect all three electrical connections.
-
Alan from Marshall, VA
-
Difficulty Level:Easy
-
Total Repair Time:15 - 30 mins
-
Tools:Screw drivers
soap door latch broken, wouldn't hold soap for later release in middle of cycle like it was supposed to.
Removed the phillips head screws that held the door together. The screw are located on the inside edge of the door, there are 10-12 of them.
Spearated the door shells carefully, trying not to disturb the location of the wiring in the middle of the doo ... Read more r.
Found the 4 screws that hold the module assembly to the door from the inside, and removed them.
Popped the assembly out, cleaned the gasket-seat area and placed the new one in place.
Carefully tightened the 4 screws. It is easy to over-tighten them, so only turn them until you feel they are snug. Let the gasket do the work.
Attached the two solenoid control wires in the same positions they were in before they were removed from the old assembly.
Re-assembled the door halves, again taking care to not over-tighten the phillips-head screws. One got "spun" and I removed it and re-set it into some epoxy.
Returned power to the dishwasher, and stopped washing dishes by hand.
Note: the latch is now made with a plastic that is more dense, and likely will not fail as soon as the original one did. I think GE learned something about the durability of their component plastics since this was originally built.
-
James from Naperville, IL
-
Difficulty Level:Really Easy
-
Total Repair Time:15 - 30 mins
-
Tools:Screw drivers
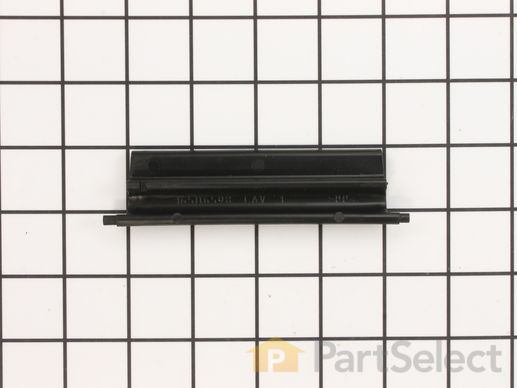
This part is the replacement latch handle for your dishwasher. It is made of black plastic and is approximately 5 inches by 1 inch. The latch handle is what allows you to open and lock the dishwasher door. If the latch handle is broken, you may not be able to open the door properly, and if the dishwasher door doesn't lock properly, the dishwasher will not be able to run. The main reason to replace the latch handle is if it is cracked or broken. This part is sold individually and is an OEM part from the manufacturer.
Replacing your General Electric Dishwasher Latch Handle

This part is the replacement retainer handle for your dishwasher. It is made of black plastic and is approximately 5 ½ inches long and 2 inches wide. The handle retainer attaches to the handle of your dishwasher and holds the door closed during operation. If your dishwasher experiences a door latch failure, you may need to replace the retainer handle. Be sure to disconnect your dishwasher from the power source before you begin this repair. This part is sold individually and is an authentic OEM part sourced directly from the manufacturer.
Replacing your General Electric Dishwasher Retainer Handle - Black

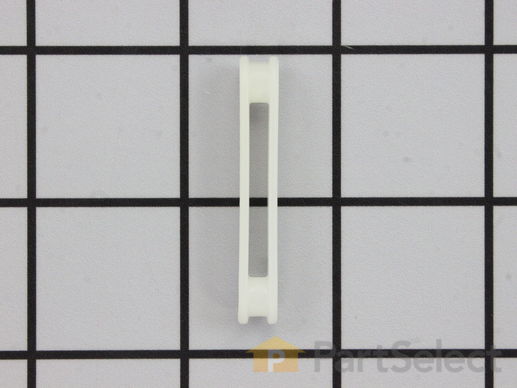
The hinge link on your dishwasher connects the spring to the dishwasher door hinge. If the hinge link becomes cracked or damaged, you may not be able to shut or lock your dishwasher door properly. In this case, you will need to replace the hinge link. Pull out your dishwasher to inspect the hinge and spring, if the link is broken, it may be disconnected and on the ground already. If not, you can remove the hinge arm link by simply disconnecting it from the hinge and spring, then replacing it with the new part. The hinge arm link is a small piece of white plastic about an inch and a half long. It is sold individually, and is an OEM part from the manufacturer.
Replacing your General Electric Dishwasher Hinge Arm Link

Customer Repair Stories
Plastic hinge arm link broke
-
Eric from EAST MEADOW, NY
-
Difficulty Level:Easy
-
Total Repair Time:15 - 30 mins
-
Tools:Pliers
plastic hinge arm link broke causing door to flop open
-
Margaret from Meridian, MS
-
Difficulty Level:Really Easy
-
Total Repair Time:15 - 30 mins
-
Tools:Screw drivers
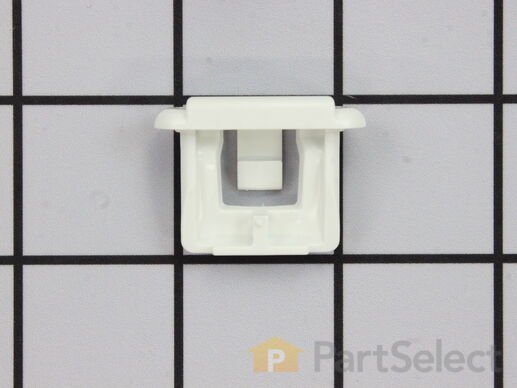
The Rack Slide End Cap is a white one-inch plastic part which replaces the end cap for your dishwasher rack, preventing your rack from sliding too far. If you find the dish rack is causing the door to not close properly, it may be due to the part being worn out or damaged. All you need to complete this repair is a small flat blade screw driver. Simply pop out the cap with a smaller flat-blade screwdriver and snap the new one into place. If the rear cap needs to be replaced you will need to remove both front caps and slide the rack completely off for full access. It is important to note that this part is sold individually, and more than one may be required, depending on your repair. An inexpensive part, it can be a good idea to purchase several at a time to have on-hand when needed.
Replacing your General Electric Dishwasher RACK SLIDE END CAP

Customer Repair Stories
rack slide end cap missing
wife happy
-
Carrell from Cochranville, PA
-
Difficulty Level:Really Easy
-
Total Repair Time:Less than 15 mins
Very, very easy. Took about 5 minutes. The end cap was on and working. And the repair company would charge $65 just to come out and look at it. It costs $9.00 to fix it. I am moving on to the refrigerator next. Very satisfied. Shipping is well worth the money. Ray D, Ansonia, CT
-
Raymond from ansonia, CT
-
Difficulty Level:Really Easy
-
Total Repair Time:Less than 15 mins
-
Tools:Pliers
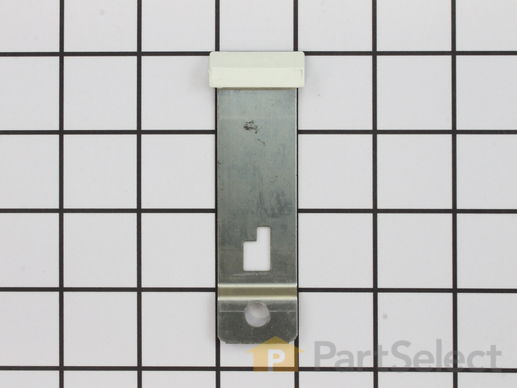
Also known as a latch keeper.
Replacing your General Electric Dishwasher Door Latch

Customer Repair Stories
its wasn't latching so the dishwasher wouldn't work unless i held the door in the whole time
-
Michele from NEOLA, UT
-
Difficulty Level:Very Easy
-
Total Repair Time:Less than 15 mins
-
Tools:Screw drivers
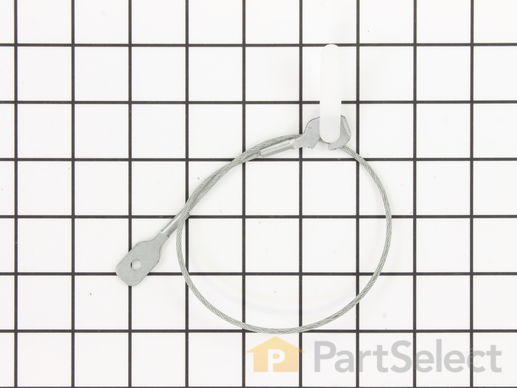
This cable is sold with the hinge link.
Customer Repair Stories
Broke Cable
-
James from Burleson, TX
-
Difficulty Level:Really Easy
-
Total Repair Time:Less than 15 mins
-
Tools:Pliers
The plastic part was broken from the pulley
-
Greg from GROVE CITY, OH
-
Difficulty Level:A Bit Difficult
-
Total Repair Time:30 - 60 mins
-
Tools:Pliers, Screw drivers
Customer Repair Stories
Dishwasher was not starting
-
Prasad from LEAWOOD, KS
-
Difficulty Level:Very Easy
-
Total Repair Time:Less than 15 mins
-
Tools:Screw drivers, Socket set
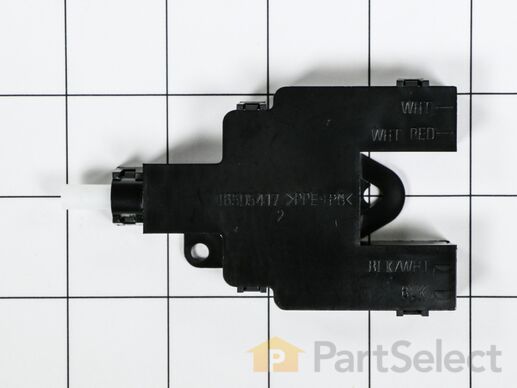
Dishwasher was stopping mid-cycle and beeping every 15 seconds (as if the door had been opened)
And then I did exactly what it said! It was easy. Plus, when I opened the panel I could see the old switch interlock assembly was melted on one side, so I knew I had gotten the right part!
-
Anna from BRIDGEPORT, WA
-
Difficulty Level:Really Easy
-
Total Repair Time:30 - 60 mins
-
Tools:Pliers, Screw drivers


