Parts That Fix Whirlpool MVWB765FW2 Leaking
Leaking is a commonly reported symptom for the MVWB765FW2 Whirlpool , and we have put together a full guide on how to fix this. This advice is based on feedback from people who own this exact appliance. We have listed the most common parts for your MVWB765FW2 Whirlpool that will fix Leaking. We have included repair instructions, and helpful step-by-step video tutorials. If you are experiencing this issue, not to worry, DIYers just like you have fixed this, and shared their experience to help you!
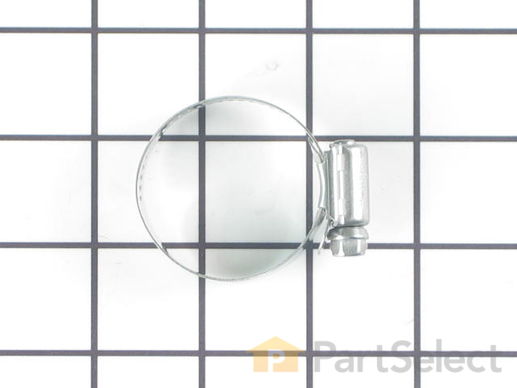
The hose clamp is used to hold the water hose in place which will prevent the hose from leaking water. Sometimes the clamp may lose its ability to latch on, causing a leaking washer. For the installation, you will need a flat head screw driver to replace the clamp and a drill to access the screws to remove the front of the washer. Be careful if you do not have specific clamp pliers as the clamp could fly off. Once the front of the washer has been removed, take a quick look for water damage or any obvious signs of where the leak is coming from. If it is not obvious, run water to test.
Replacing your Kenmore Washer Hose Clamp

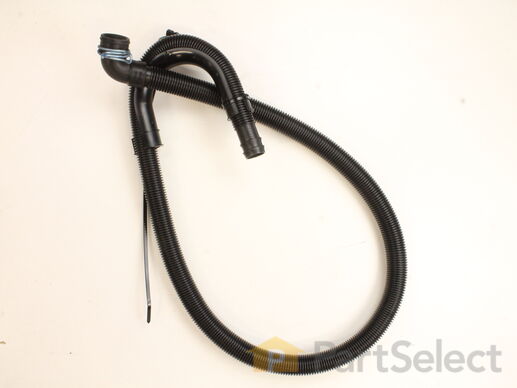
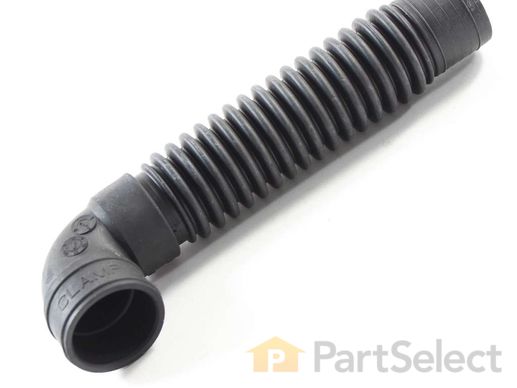
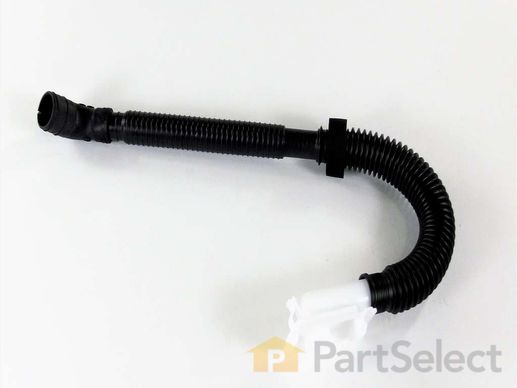
The drain hose carries used water from the washer to your house drain.
Replacing your Whirlpool Washer Washer Drain Hose

Customer Repair Stories
Replace drain hose
-
Brian from DREXEL HILL, PA
-
Difficulty Level:Easy
-
Total Repair Time:30 - 60 mins
-
Tools:Pliers
replaced drain hose that was missing
-
Delmar from EAST TROY, WI
-
Difficulty Level:Really Easy
-
Total Repair Time:30 - 60 mins
-
Tools:Pliers
Customer Repair Stories
I cross threaded the cold water hook up to the washer
-
Steven from Fall City, WA
-
Difficulty Level:A Bit Difficult
-
Total Repair Time:1- 2 hours
-
Tools:Wrench set
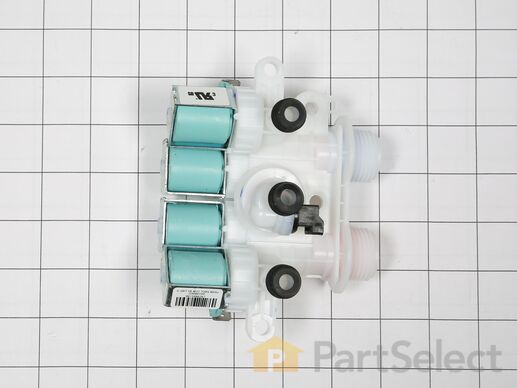
washer would not fill, all 4 valve solenoid checked good.
New one measure open infinity. I also purchased the control module as the troubleshooting said to if solenoid checked good which all 4 rea ... Read more d 1310 ohms , i purchased and replaced control module, no help. the guide is outdated for these new high tech washers. If this happens again. I will just unplug the 2 pin plug on bottom of valve assembly. By the way the 2 clips that hold the washer top in place are very difficult to remove and re install.
-
Dewey from BURKBURNETT, TX
-
Difficulty Level:A Bit Difficult
-
Total Repair Time:30 - 60 mins
-
Tools:Nutdriver, Pliers, Screw drivers
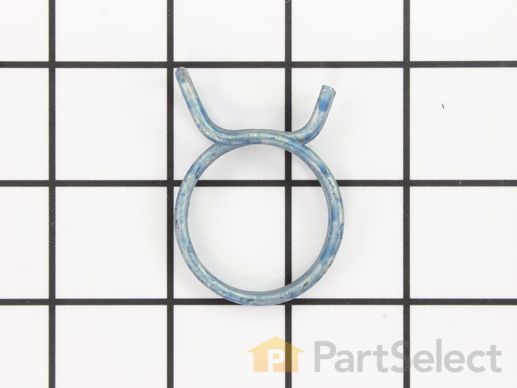
This clamp helps to prevent leaking by holding the end of water hose in place.


