Parts That Fix Maytag Washer MHWZ600TW01 Leaking
Leaking is a commonly reported symptom for the MHWZ600TW01 Maytag Washer, and we have put together a full guide on how to fix this. This advice is based on feedback from people who own this exact appliance. We have listed the most common parts for your MHWZ600TW01 Maytag Washer that will fix Leaking. We have included repair instructions, and helpful step-by-step video tutorials. If you are experiencing this issue, not to worry, DIYers just like you have fixed this, and shared their experience to help you!
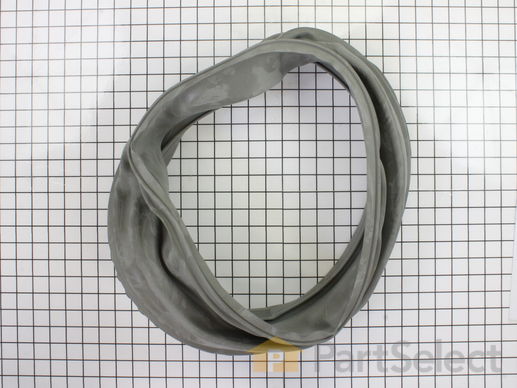
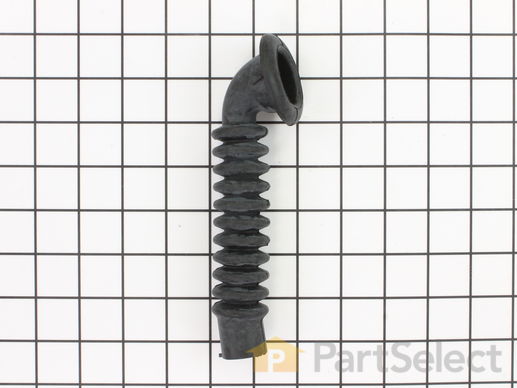
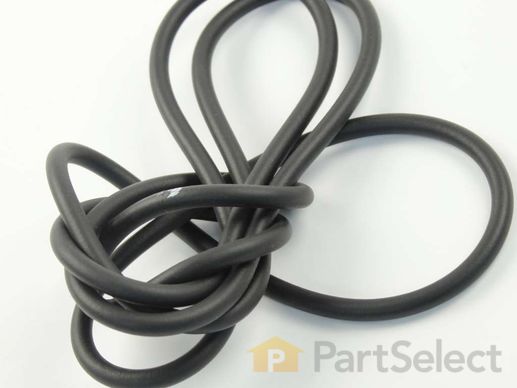
Also known as a door boot seal.This part is used to keep the clothes inside the tub during the wash cycle. The folds in the bellow allow the tub to move separately from the door during the spin cycle.
Replacing your Kenmore Washer Front Load Washer Bellow - Gray

Customer Repair Stories
My Epic Z is only three years old but started to leak at the bottom of the washer door for no obvious reason. Before replacing the bellow, I suggest you make sure the door latch is not loose and also make sure the star driver screws that secure the glass in the door are all snug (do not overtighten)
-
Robert from Charlotte, NC
-
Difficulty Level:A Bit Difficult
-
Total Repair Time:30 - 60 mins
-
Tools:Nutdriver, Screw drivers
Water leak from bottom of door.
-
Marty from Belfair, WA
-
Difficulty Level:Easy
-
Total Repair Time:30 - 60 mins
-
Tools:Nutdriver, Pliers, Screw drivers
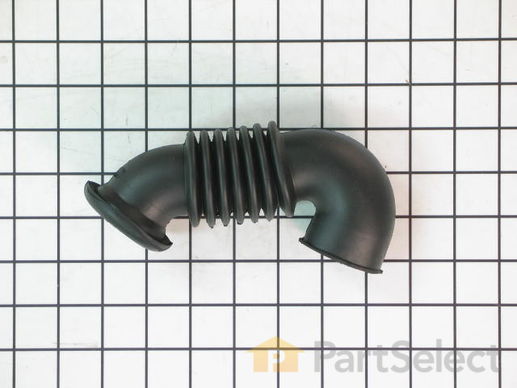
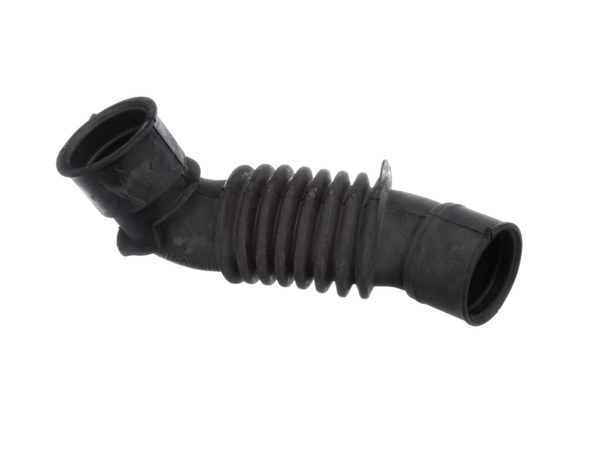
This is a replacement tub-to-pump hose for your washer. This hose runs from the bottom of the tub to the water pump, and is used to transport water. The hose can develop a hole, and when this happens you will notice water leaking onto the floor. The tub-to-pump hose is found below the washer tub. To disconnect the hose, you will need to release the clamps that hold it in place with a pair of pliers. When you replace the tub hose, you will need to transfer the ball, air chamber, and clamps from the old pump to the new one. To do this, you will need a set of wire cutters and a new zip tie to replace the one you will need to cut.
Customer Repair Stories
mice chewed thru hose
-
oscar from MEMPHIS, TN
-
Difficulty Level:Really Easy
-
Total Repair Time:15 - 30 mins
-
Tools:Nutdriver, Pliers, Screw drivers
Front loading washer is leaking
Finally, I discovered a wet area and cut on the drum-to-pump hose. When I removed the hose, I found that the culprit was a credit card that had broken into shards and sli ... Read more t the side of the hose. I was happy to see it was from the previous owners, which meant it wasn't my fault!
I did have a hard time removing the clamps (double-wire "rotor clip" or "spring clamps", according to Google) holding the hose to the drum and pump. This became a problem when replacing the hose as well. I was not strong enough to squeeze the ends together to loosen the clamp.
Getting the old hose off was easy enough, as was putting the hose back on. The problem was clamping it back on, as I mentioned.
I tried using zip ties, but this was a disaster! I tested it using a rinse and spin cycle, and the zip tie seemed to hold. However, the hose slid off during the first full cycle I ran and dumped at least 15 gallons of water on the floor. Clean up was not fun!
My recommendation (and what I finally went with) is to use hose clamps with the small screw that lets you tighten the clamp with a screw driver. I used that on both the connection to the drum and the connection to the pump and I've had no issues since.
Overall, it's a quick fix once you have the hose replacement and the right parts. If I'd gotten the hose clamps right away, I could have been done in 30 minutes.
Hope this helps and good luck with your repairs!
-
Michelle from WAREHAM, MA
-
Difficulty Level:Really Easy
-
Total Repair Time:1- 2 hours
-
Tools:Screw drivers, Wrench (Adjustable)
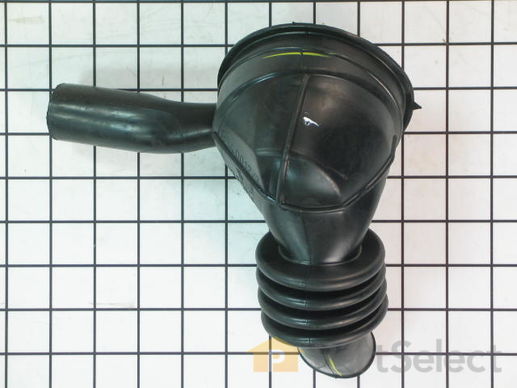
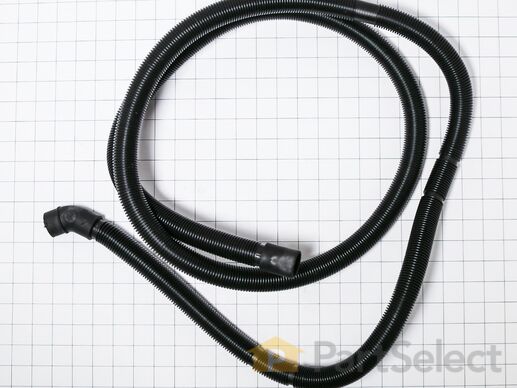
This dispenser hose is for washers and carries the contents of the dispenser drawer to the washer tub.
Replacing your Maytag Washer Washer Dispenser Hose

Customer Repair Stories
Washing machine leaked.
-
Tyler from OGDEN, IL
-
Difficulty Level:A Bit Difficult
-
Total Repair Time:30 - 60 mins
-
Tools:Nutdriver, Pliers, Socket set, Wrench (Adjustable)
Leak in hose from soap dispenser to tub
All screws can be removed with a 1/4" socket, either with a socket wrench or nut driver.
Top panel - remove three screws on back, slide panel back an inch or so, and lift off.
The control panel must be carefully pulled off by using a screwdriver to pry it away, and then placed on top ... Read more of machine. Be careful not to disconnect or damage any attached wires.
Pull out the detergent dispense drawer, press the retainer on the left rear of dispenser drawer, and pull it out and set it aside. One small torx screw must removed from the dispenser housing.
Bottom front panel - remove three screws to take it off. This exposes the screws on the front panel.
The front panel of machine must be removed as well.
This is the most tedious part of the job, as the door seal must be disconnected from the panel. Remove the wire and spring retainer around the door that holds seal in place. The spring portion of the retainer is on the bottom of the opening. Pry it off with a screwdriver, being careful not to damage the rubber seal. Do not remove it, simply push it into the washer opening.
Remove the screws from the front panel - two on top, and two bottom. It has some wires on the right side, and to avoid damaging them, support the panel with a stool and prop it up against the machine.
You can now access the hose on the rear bottom of the dispenser. Using a pliers, squeeze the retainer and pull the hose off the dispense. The other end is pressed into the tub - simply pull it out. I recommend cleaning the edges of hole to assure a good seal when installing the replacement.
To install the replacement hose, press it into the tub, making sure to get the channel in the hose properly inserted in order to make a solid seal. Attach the other end to the dispenser with the retainer.
Reassemble by reversing the order described above.
-
Dennis from GREEN BAY, WI
-
Difficulty Level:Easy
-
Total Repair Time:30 - 60 mins
-
Tools:Nutdriver, Pliers, Screw drivers
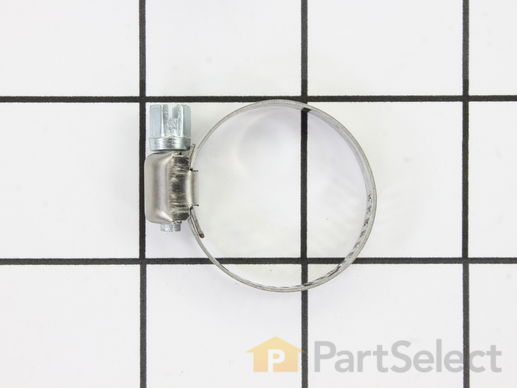
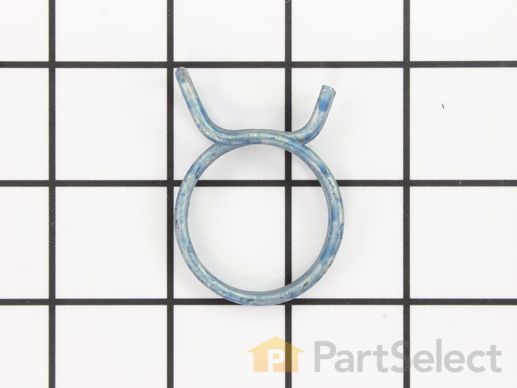
This hose clamp is used in a wide variety of household appliances. Most often it is found in washers, dishwashers, refrigerators, freezers, dehumidifiers, garbage disposals, or air conditioners. This clamp is used to securely attach a hose to another part of your appliance, which helps prevent leaks from those connections. Depending on the appliance, it can attach hoses to drain pumps, water inlet valves, pressure switches, and injector nozzles. We recommend you refer to model-specific diagrams for appropriate uses and exact placement. This hose clamp is made of metal, and is sold individually. To access and replace this part you will need a nut driver, pliers, and screwdrivers. Before you begin any repair work, make sure you have unplugged your appliance, and shut off the water supply if applicable.
Replacing your Kenmore Washer Hose Clamp

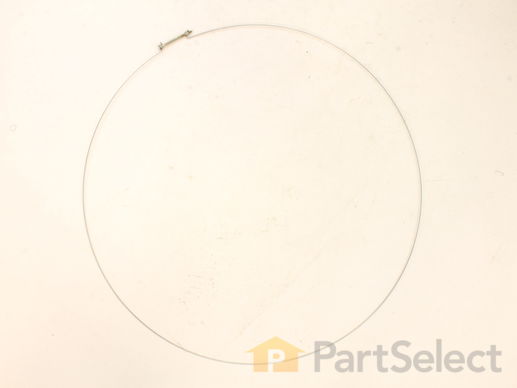
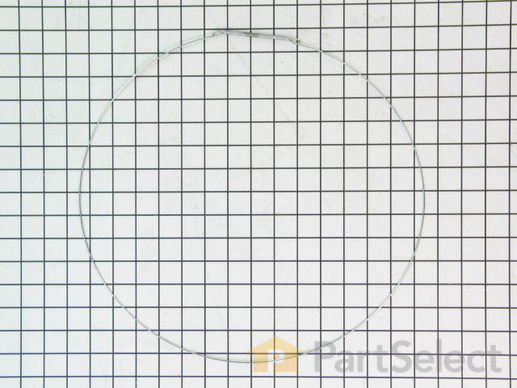
This is the replacement bellow clamp for your washer. It is approximately 18 inches in diameter and is sold individually. The bellow clamp goes around the bellow in your washer and holds it in place on the washer frame. The main reason you would want to replace the bellow clamp is if it is rusted or damaged, and it is not holding the bellow in place. To remove the bellow clamp, simply use a screwdriver to pop the bellow clamp out of the groove it rests in. Place the new clamp back into the bellow groove until it snaps into place. This is an OEM part from the manufacturer.
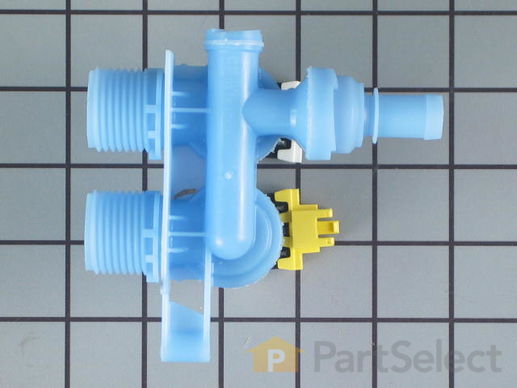
This water inlet valve attaches the water lines to the back of your appliance. The attaching solenoids on the valve open and close according to the desired temperature or amount of water needed.
Replacing your Kenmore Washer Water Inlet Valve

Customer Repair Stories
water running in all the time
-
Brian from Liberty, NC
-
Difficulty Level:Really Easy
-
Total Repair Time:15 - 30 mins
-
Tools:Nutdriver, Pliers, Screw drivers
stripped the threads on the water inlet
can end up cross threading or stripping the threads, they are plastic and can easily be stripped.
It will save you time and $.
Unscrew the top of the washer and remove it. Removed a weirdo screw with a pair of pliers since I didn't have the tool to remove it.
Took ... Read more out the old one and replaced it with the new one. Replaced the weirdo screw with a drywall screw and screwed it in place. Carefully threaded the hoses on and turned on the water. Success!
-
William from Belen, NM
-
Difficulty Level:Easy
-
Total Repair Time:Less than 15 mins
-
Tools:Socket set
The door boot spring clamp or outer bellow clamp on your washer is designed to keep the door boot in place. It is circular in shape, and you will find it wrapped around the bellow. To remove the old clamp, simply open the washer door, and use a screwdriver to pop it out. This is an OEM part sourced directly from the manufacturer.
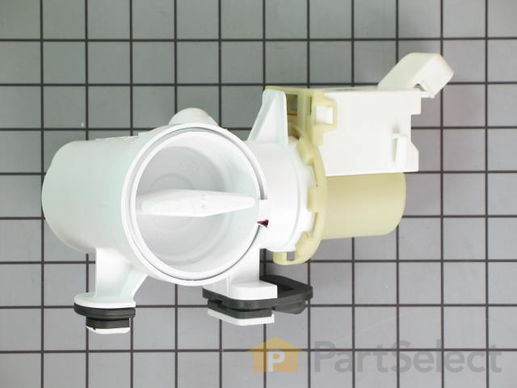
This is a manufacturer-approved replacement drain pump for your washing machine. To complete this repair you will need a 1/4 inch nut driver, 5/16ths nut driver, a flat blade screwdriver, and a pair of pliers. Make sure to disconnect power to the washer before beginning this repair.
Replacing your Whirlpool Washer Washer Drain Pump

Customer Repair Stories
water pump failed
-
Kurt from Caliente, NV
-
Difficulty Level:Really Easy
-
Total Repair Time:15 - 30 mins
-
Tools:Nutdriver, Pliers
F 21 error
The washer drained water out, lift the washer up to un screw the drain pump. Then unhooked the hoses from pump put the other pump in.
-
Andrew from St.Louis, MO
-
Difficulty Level:Easy
-
Total Repair Time:15 - 30 mins
-
Tools:Screw drivers, Socket set
Customer Repair Stories
Drain hose had a split and was leaking
-
Jace from SELLERSVILLE, PA
-
Difficulty Level:Really Easy
-
Total Repair Time:30 - 60 mins
-
Tools:Nutdriver
Customer Repair Stories
Multiple water leaks, all rubber parts are chewed up from a mouse 1/
-
Tom from SAN MARCOS, TX
-
Difficulty Level:Really Easy
-
Total Repair Time:30 - 60 mins
-
Tools:Nutdriver
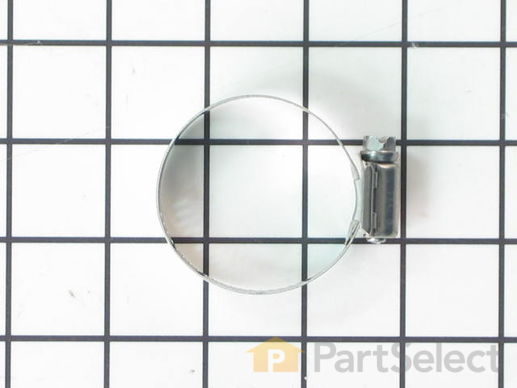
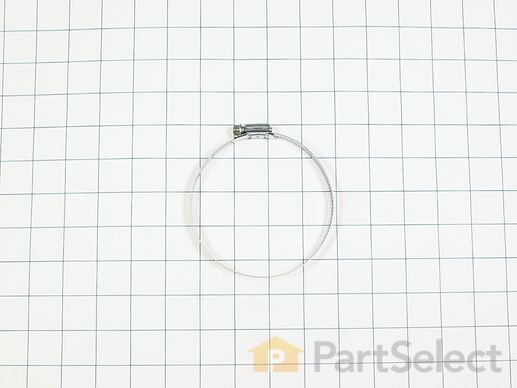
Note: This part has been updated by the manufacturer. It may appear different but will still function the same as the original. The hose clamp is about 2 inches in diameter and made of stainless steel. A hose clamp generally attaches hoses and tubes to various equipment This part consists of a band and a screw that tightens along the slots when it is turned. This part works with washers, dishwashers, food waste disposers, and ice makers. This will need to be replaced if you notice leaking coming from the appliance.
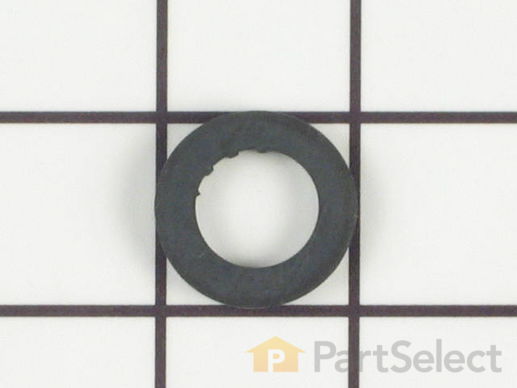
If your clothes washer is leaking, it is likely that there could be an issue with one of the hoses. If the hoses are in working order, you should check the washers connecting the hose to your unit. Rubber washers are tasked with enhancing the seal between the hose and washer. A faulty or damaged washer will not be able to perform this properly, and water will be able to leak from the poor connection. This OEM part is sold individually, so make sure you order the quantity that is needed. The washer measures 1 1/16 inches x 5/8 inches.
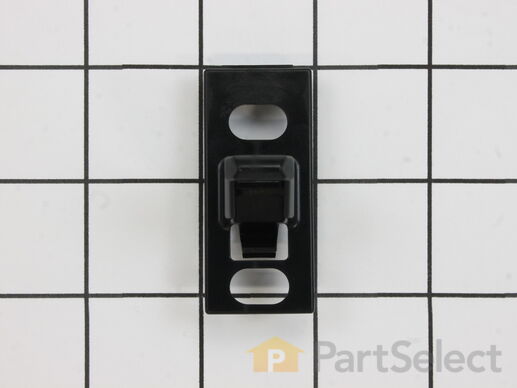
Used to help make the door stay closed. Sold individually.
Replacing your Maytag Washer Door Strike/Hook

Customer Repair Stories
Broken striker
-
KERRY from CLYDE, TX
-
Difficulty Level:Very Easy
-
Total Repair Time:Less than 15 mins
-
Tools:Screw drivers
the strike hook was broken
-
david from st petersburg, FL
-
Difficulty Level:Really Easy
-
Total Repair Time:Less than 15 mins
-
Tools:Screw drivers
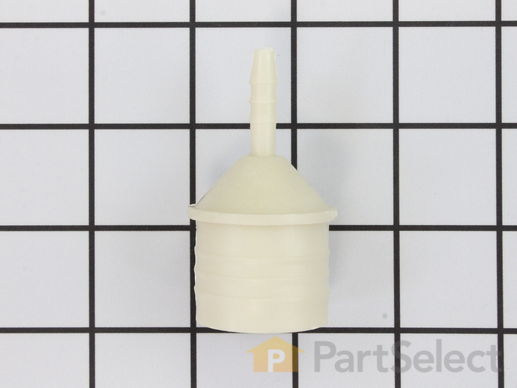
This clamp helps to prevent leaking by holding the end of water hose in place.
Replacing your Maytag Washer Trap

This screw-type clamp, also known as a hose clamp, is made of metal and is used within various models of washers to secure the tub-to-pump hose and tub/drum of the washer. Without this clamp, the hose is vulnerable to leaking and disconnecting from the tub during the wash cycle of the washer, which can present a serious safety hazard for the machine and your home. Clamps can wear out and lose their tension due to excessive vibrations, mechanical damage, and normal wear and tear, all things present within a washing machine. To replace this clamp, you will first need to turn off your washer and you will need access to the lower portion of the washer chassis, which may require one or multiple screwdrivers and wrenches. Once you have access, use your screwdriver to loosen this clamp, which can then be removed and replaced with the new clamp, which will need to be tightened securely. Then you can simply reassemble the rest of the washer you originally disassembled.
This is the gasket between front and rear outer tubs.


