Models > MAVT236AWW > Symptoms > Leaking

Parts That Fix Maytag Washer MAVT236AWW Leaking

Leaking is a commonly reported symptom for the MAVT236AWW Maytag Washer, and we have put together a full guide on how to fix this. This advice is based on feedback from people who own this exact appliance. We have listed the most common parts for your MAVT236AWW Maytag Washer that will fix Leaking. We have included repair instructions, and helpful step-by-step video tutorials. If you are experiencing this issue, not to worry, DIYers just like you have fixed this, and shared their experience to help you!

Fixes Symptom 23% of time
★★★★★
★★★★★
7 Reviews

Rated by 11 customers 


Easy 

30 - 60 mins 

Ratings submitted by customers like you who bought this part.   

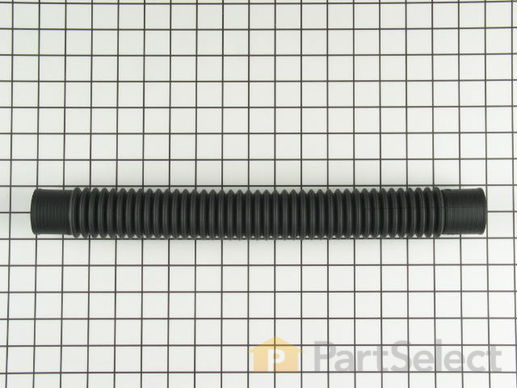
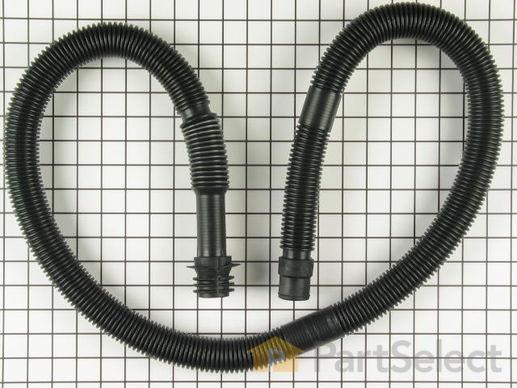
Hoses are the most likely cause of clothes washer leaks. This tub-to-pump hose carries the water from the tub to the drain pump. If you notice that your tub is leaking during the wash cycle, check the the hose for holes. If the tube does have a hole or crack in it, the part should be replaced. Also, check both the connection and the juncture of the hose with the drain for your house. While you are looking at the hose, check to see if the threads or clamps are corroded or loose. This OEM replacement pump hose is 20 inches long, and fits most clothes washer units. Remember to turn off the water supply and disconnect the power from your washer before you begin this repair.

$ 28.67
  In Stock
PartSelect Number PS11738836
Manufacturer Part Number WP21001915

Replacing your Maytag Washer Tub to Pump Hose

Replacing your Tub to Pump Hose

Customer Repair Stories

Water leaking when washer was filling with water.

Took off the back plate. Looked to see where it was leaking. Squeezed the clamps on top and bottom to remove from hose and pull hose out.
  • Colleen from Glenflora, WI
  • Difficulty Level:
    Difficult
  • Total Repair Time:
    15 - 30 mins
  • Tools:
    Pliers
3 of 6 people found this instruction helpful.
Was this instruction helpful to you?
Thank you for voting!

Hoes had a leak in it

The Repair went well . I had the hose on in about 30 seconds . The best part about this ordeal was the ease of finding the part on your website , and the speed of the delivery . I had my part in about 2 days , put it on and back to the fun part of clothes washing . I would recomend this company to everyone. Thanks, Rick K.
  • Richard from moyock, NC
  • Difficulty Level:
    Really Easy
  • Total Repair Time:
    Less than 15 mins
  • Tools:
    Pliers, Screw drivers
5 of 6 people found this instruction helpful.
Was this instruction helpful to you?
Thank you for voting!
Fixes Symptom 17% of time
★★★★★
★★★★★
1 Review

Rated by 17 customers 


Easy 

30 - 60 mins 

Ratings submitted by customers like you who bought this part.   

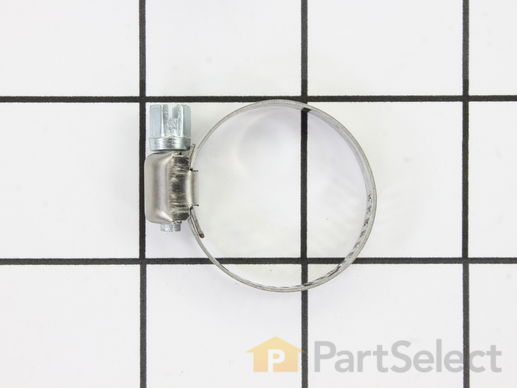
This hose clamp is used in a wide variety of household appliances. Most often it is found in washers, dishwashers, refrigerators, freezers, dehumidifiers, garbage disposals, or air conditioners. This clamp is used to securely attach a hose to another part of your appliance, which helps prevent leaks from those connections. Depending on the appliance, it can attach hoses to drain pumps, water inlet valves, pressure switches, and injector nozzles. We recommend you refer to model-specific diagrams for appropriate uses and exact placement. This hose clamp is made of metal, and is sold individually. To access and replace this part you will need a nut driver, pliers, and screwdrivers. Before you begin any repair work, make sure you have unplugged your appliance, and shut off the water supply if applicable.

$ 11.80
  In Stock
PartSelect Number PS11743008
Manufacturer Part Number WP596669

Replacing your Kenmore Washer Hose Clamp

Replacing your Hose Clamp
Fixes Symptom 14% of time
★★★★★
★★★★★
28 Reviews

Rated by 49 customers 


Easy 

30 - 60 mins 

Ratings submitted by customers like you who bought this part.   

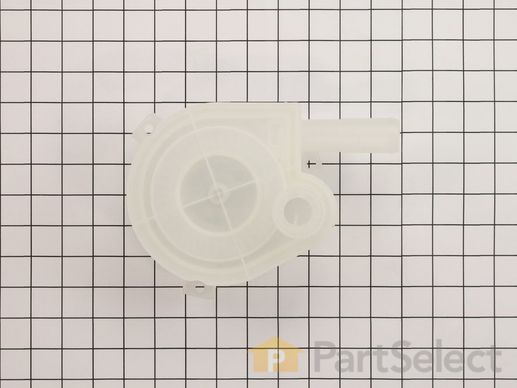
This pump helps expel water from the washing machine and is activated after the spin speed is maintained for a specific period of time. If your machine is not draining properly or if it is noisy and shakes during operation, you may need to replace the drain pump. This is a redesigned part. The pump now mounts on to the base of the washer. This product is made of white plastic and has a metal center. Before you can replace the drain pump, you will have to disengage the drive belt under the machine. To reach the drain pump you will need to remove the access panel on the backside of the washing machine.

$ 120.13
  In Stock
PartSelect Number PS11741803
Manufacturer Part Number WP35-6780

Replacing your Maytag Washer Washer Drain Pump

Replacing your Washer Drain Pump

Customer Repair Stories

Skreeching noise during spin cycle

Pulled out washer, laid on front, removed access panel and the pump was right there. Three screws with 5/16" nut driver, pliers to release hose clamps, remove hoses, remove belt from pully, remove old pump. Install new pump with three screws, two hoses and clamps, finally put belt on new pulley and other small pulley and used screw driver shaft to pull belt on to large pulley. replace access panel, put washer back in place. It literally took me more time to clean the floor under where the washer was than to change the part. Piece-o'-cake.
  • Robert from Mesa, AZ
  • Difficulty Level:
    Really Easy
  • Total Repair Time:
    15 - 30 mins
  • Tools:
    Nutdriver, Pliers, Screw drivers
64 of 65 people found this instruction helpful.
Was this instruction helpful to you?
Thank you for voting!

bearing on water pump siezed

back panel,belt two hoses,three screws, $100 dollars for the part!! pump is a molded part with a bearing insertion, is made in USA ! I'm guessing around 7 to 10 dollar manufacturing cost. I'm thinking that kind of mark-up is only exceded by the pharmacutical industry. I'm looking to buy a used machine for parts!!
  • kevin from rochester, NY
  • Difficulty Level:
    Really Easy
  • Total Repair Time:
    Less than 15 mins
  • Tools:
    Nutdriver, Pliers
119 of 133 people found this instruction helpful.
Was this instruction helpful to you?
Thank you for voting!
Fixes Symptom 11% of time
★★★★★
★★★★★
2 Reviews

Rated by 3 customers 


A Bit Difficult 

1- 2 hours 

Ratings submitted by customers like you who bought this part.   

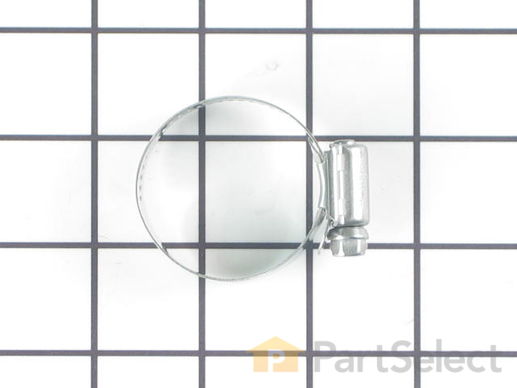
The hose clamp is used to hold the water hose in place which will prevent the hose from leaking water. Sometimes the clamp may lose its ability to latch on, causing a leaking washer. For the installation, you will need a flat head screw driver to replace the clamp and a drill to access the screws to remove the front of the washer. Be careful if you do not have specific clamp pliers as the clamp could fly off. Once the front of the washer has been removed, take a quick look for water damage or any obvious signs of where the leak is coming from. If it is not obvious, run water to test.

$ 11.10
  In Stock
PartSelect Number PS11740613
Manufacturer Part Number WP285655

Replacing your Kenmore Washer Hose Clamp

Replacing your Hose Clamp
Fixes Symptom 8% of time
★★★★★
★★★★★
10 Reviews

Rated by 18 customers 


Easy 

30 - 60 mins 

Ratings submitted by customers like you who bought this part.   

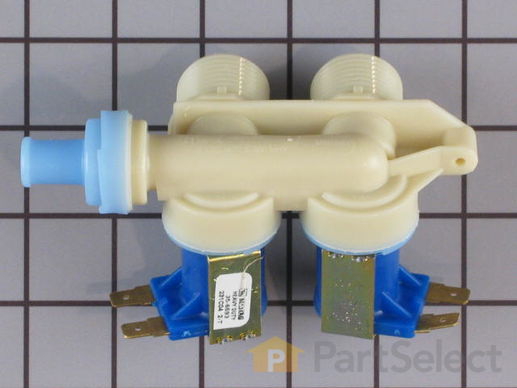
This water valve is for 60% hot water and 40% cold - This is done to save on energy.

$ 123.10
  In Stock
PartSelect Number PS11738838
Manufacturer Part Number WP21001932

Replacing your Maytag Washer Water Valve - 60/40

Replacing your Water Valve - 60/40

Customer Repair Stories

Wash Cycle Would Not Start - No Water Would Flow

I took pictures at different steps in case I forgot how it was assembled. Unplugged the power, turned off the water hoses, unplugged the hoses, pulled the washer out, took of the access panel in the lower left hand corner, took of two tec screws that hold the water valve in place, removed the four wires that were attached to the water valve, removed the water hose attached to the water valve, reattached everything to the new water valve. The only difficulty is the access panel is a bit small
  • daniel from cerritos, CA
  • Difficulty Level:
    Easy
  • Total Repair Time:
    15 - 30 mins
  • Tools:
    Pliers, Screw drivers, Socket set, Wrench (Adjustable)
19 of 22 people found this instruction helpful.
Was this instruction helpful to you?
Thank you for voting!

Water Dripping into the tub

Unplugged the electrical plug from outlet. Disconnected the water hoses after I turned off the water supply. Using a screwdriver, popped up the washer top. Using needlenose pliers, I removed the wired from the defective valve, and removed the hose that feeds water into the tub. From the back of the washer, I removed th screw holding the valve in place. Reaching inside the washer, I removed the defective valve. I attached the electrical wires and hose to the new inlet valve prior to installing the valve. After installing the valve in place, I inserted the screw in the the valve from the back of the machine. I then reattached the hot and cold water hoses, closed the top of the washer, turned on the water supply, and plugged the machine back into the electrical outlet. I turnd the machine on, then off, and the water was no longer dripping into the machine. Problem fixed.
  • William from McKinney, TX
  • Difficulty Level:
    Easy
  • Total Repair Time:
    15 - 30 mins
  • Tools:
    Pliers, Screw drivers
54 of 61 people found this instruction helpful.
Was this instruction helpful to you?
Thank you for voting!
Fixes Symptom 5% of time
★★★★★
★★★★★
2 Reviews

Rated by 1 customer 


Easy 

30 - 60 mins 

Ratings submitted by customers like you who bought this part.   

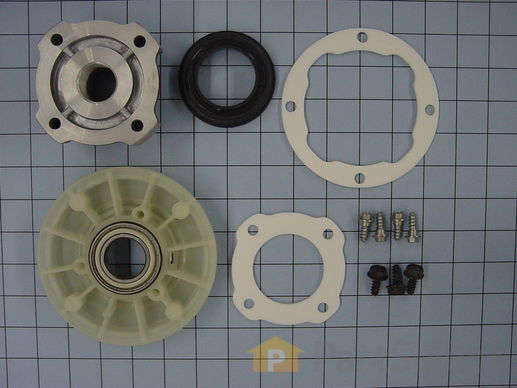
This kit prevents water from leaking around the drive shaft and down to the bottom of the tub.

$ 185.29
  Special Order
PartSelect Number PS2349020
Manufacturer Part Number W10219156

Replacing your Maytag Washer Hub and Seal Kit

Replacing your Hub and Seal Kit

Customer Repair Stories

washer was making a loud whirling noise on spinout

everything pretty much just unbolted real easy. the parts come with a nice set of instructions. you don't need to use the special hub removal tool. just take a small piece of wood and smack it on the ear of the hub to the left counter clockwise. it might be tough but just keep smacking it till it comes loose. then install it in reverse. simple job. you also might need some big vise scrips to get ahold of the springs real good to get them off and back on...
  • Brad from Logansport, IN
  • Difficulty Level:
    Easy
  • Total Repair Time:
    30 - 60 mins
  • Tools:
    Nutdriver, Pliers, Screw drivers, Socket set, Wrench set
Was this instruction helpful to you?
Thank you for voting!
Fixes Symptom 3% of time

Rated by 3 customers 


Easy 

15 - 30 mins 

Ratings submitted by customers like you who bought this part.   

$ 51.21
  In Stock
PartSelect Number PS11738832
Manufacturer Part Number WP21001872

Replacing your Admiral Washer Drain Hose with Bend and Stay

Replacing your Drain Hose with Bend and Stay

Customer Repair Stories

Smell from washer

Using nutdriver or screwdriver, remove metal panel from lower left side of back of washer to expose the pump. This is where the drain hose attaches to the washer. Use pliers to move the clamp off of the drain hose, then ease the hose off of the pump by wiggling it back and forth while pulling gently. Be careful to keep drain hose opening pointed upward until you can point it to a bucket, as there's likely to be quite a bit of water in it. Detach drain hose on other end as well (wiggling / pulling works well here; no clamp is used, so no pliers are required). Install new hose by reversing above steps.
  • Patrick from PALO ALTO, CA
  • Difficulty Level:
    Really Easy
  • Total Repair Time:
    30 - 60 mins
  • Tools:
    Nutdriver, Pliers, Screw drivers
2 of 2 people found this instruction helpful.
Was this instruction helpful to you?
Thank you for voting!

Original drain hose (rubber) was kinking, piece of junk. I replaced it with a new corigated drain hose .

Leaned washer forward, removed clamp and old hose, replaced with new hose, reinstalling clamp.
  • Edwin from Eagar, AZ
  • Difficulty Level:
    Easy
  • Total Repair Time:
    Less than 15 mins
  • Tools:
    Nutdriver
6 of 11 people found this instruction helpful.
Was this instruction helpful to you?
Thank you for voting!
Fixes Symptom 3% of time

Rated by 1 customer 


Really Easy 

Less than 15 mins 

Ratings submitted by customers like you who bought this part.   

  No Longer Available
PartSelect Number PS11738827
Manufacturer Part Number WP21001760

Customer Repair Stories

Water leak into tub and inside of machine, onto floor.

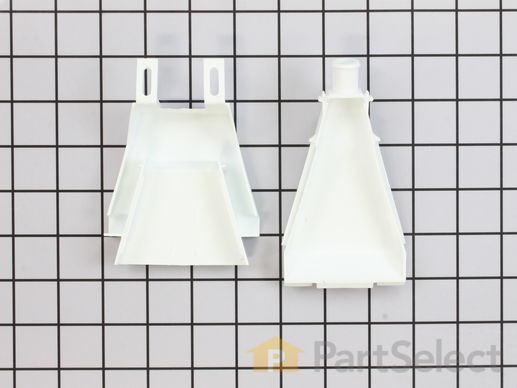
There was a crack in the black rubber hose attached to the water inlet flume assembly, and the assembly itself was cracked and falling apart. 1) Turned off water. 2) Lifted top cover up (pry up with flat screwdriver). 3) Disconnected hose. 4) Trimmed hose above the crack. 5) Replaced "spring" -type hose clamp with small automotive-style clamp. 6) Unbolted flume from under lid (2 sheetmetal screws). 7) Reattached hose to new flume. 8) Reattached flume to underside of lid. 9) Closed lid (light pressure downward required). 10) Turned on water. Total repair time: 10 minutes.
  • Steven from Lompoc, CA
  • Difficulty Level:
    Really Easy
  • Total Repair Time:
    Less than 15 mins
  • Tools:
    Nutdriver
Was this instruction helpful to you?
Thank you for voting!

Washer went off balance and the flume broke off

I removed the part that was still attached to the washer and installed the new flume. It took less than five minutes and a repair that would have cost over $85 cost less than $10 and I am no plumber!
  • Michelle from Jupiter, FL
  • Difficulty Level:
    Really Easy
  • Total Repair Time:
    Less than 15 mins
  • Tools:
    Screw drivers
13 of 27 people found this instruction helpful.
Was this instruction helpful to you?
Thank you for voting!
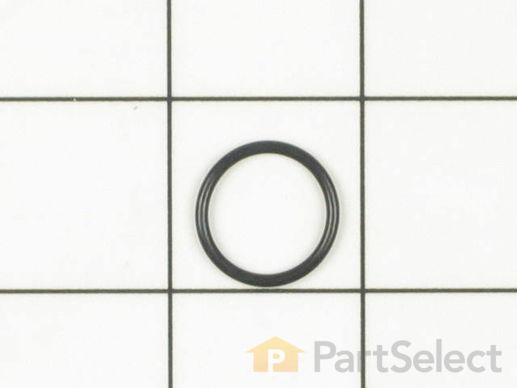
9 RING-O
Fixes Symptom 3% of time

Rated by 2 customers 


A Bit Difficult 

1- 2 hours 

Ratings submitted by customers like you who bought this part.   

  No Longer Available
PartSelect Number PS11740550
Manufacturer Part Number WP25-7941
Fixes Symptom 3% of time

Rated by 3 customers 


Easy 

30 - 60 mins 

Ratings submitted by customers like you who bought this part.   

  No Longer Available
PartSelect Number PS11741786
Manufacturer Part Number WP35-2328

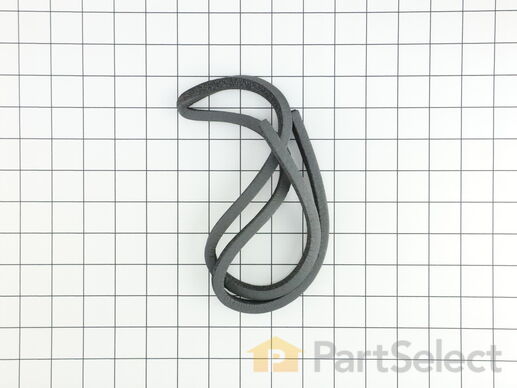
Replacing your Maytag Washer Top Tub Seal

Replacing your Top Tub Seal

Customer Repair Stories

I had water leaking from the top of the tub.

I opened up the top of the washer which exposed the tub, I took the top ring off the tub and under in side of the ring is the seal. Took the old one out and put the new one in. The old seal was completely wore out.
It was real easy.
Finding the part is usually the hardest part, but thanks to Parts Select finding the part was the easiest part of the repair.
  • Lester from Elk Grove, CA
  • Difficulty Level:
    Really Easy
  • Total Repair Time:
    15 - 30 mins
6 of 8 people found this instruction helpful.
Was this instruction helpful to you?
Thank you for voting!
11 Seal
Fixes Symptom 3% of time
★★★★★
★★★★★
3 Reviews

Rated by 4 customers 


A Bit Difficult 

1- 2 hours 

Ratings submitted by customers like you who bought this part.   

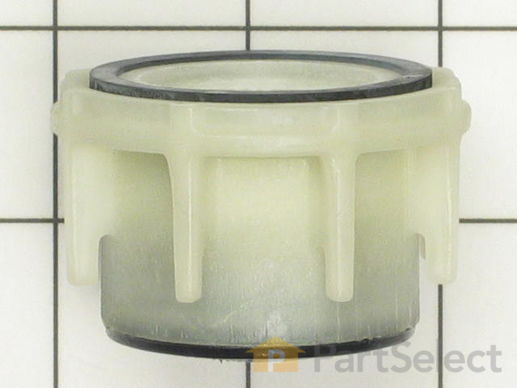
For easy removal, turn this piece counterclockwise.

  No Longer Available
PartSelect Number PS11741798
Manufacturer Part Number WP35-5655-1

Replacing your Maytag Washer Seal

Replacing your Seal
Fixes Symptom 2% of time
★★★★★
★★★★★
25 Reviews

Rated by 76 customers 


Easy 

30 - 60 mins 

Ratings submitted by customers like you who bought this part.   

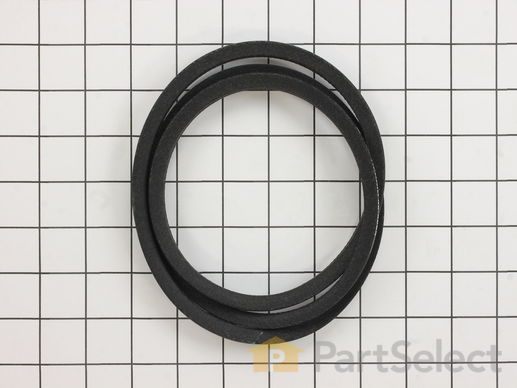
This V-style drive belt measures 51 inches long and 3/8 inches wide. The belt is made to slip on the motor pulley to bring the basket up to the speed required. Continued use can result in the belt suffering from wear and tear. Replace the V-style drive belt if you notice that it looks damaged. The most common symptoms of a damaged drive belt include: a burning smell or a loud grinding noise coming from the washer; the drum will not spin, spins slowly, or will not agitate; the washer shakes and moves, will not start, or will not drain.

$ 10.98
  In Stock
PartSelect Number PS11738882
Manufacturer Part Number WP21352320

Replacing your Norge Washer Drive Belt - 51 inches long

Replacing your Drive Belt - 51 inches long

Customer Repair Stories

drive belt was squealing and slipping

I wasted time opening up the metal container for the washing machine, which was easier than expected. The top simply pops off with a little bit of prying with a screwdriver, then the front panel is held in place with two sheet metal screws. The front panel then lifts off and you can see the exterior case for the tub drive mechanism and motor. But, it wasn't obvious what was wrong until I tilted the entire unit backwards and saw the drive belt available directly under the machine and fully accessible without any tools. It was obvious, because there was a 1/8" worth of belt fragment dust under the machine. A new belt was all it needed and after I ordered it from PartSelect, I simply jimmied the old belt off the main pulley and put the new one on. It no longer squeals or slips. Hopefully, I gained another 5 years of life out of the washing machine.
  • Kevin from North Plains, OR
  • Difficulty Level:
    Really Easy
  • Total Repair Time:
    Less than 15 mins
16 of 17 people found this instruction helpful.
Was this instruction helpful to you?
Thank you for voting!

slipping drive belt

Tipped machine 45-degrees to reveal belt on bottom of machine. Used screwdriver to remove old belt which looked fine. Installed new belt (which arrived from PartSelect within 2-days) but it felt loose. Tried machine anyway and it works just fine. Easiest repair ever. Thanks, PartSelect!
  • stephen from redondo beach, CA
  • Difficulty Level:
    Really Easy
  • Total Repair Time:
    Less than 15 mins
  • Tools:
    Screw drivers
25 of 31 people found this instruction helpful.
Was this instruction helpful to you?
Thank you for voting!
Fixes Symptom 2% of time
★★★★★
★★★★★
5 Reviews

Rated by 2 customers 


Easy 

1- 2 hours 

Ratings submitted by customers like you who bought this part.   

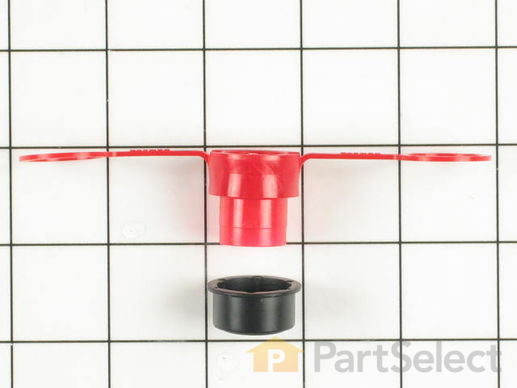
This transmission lip seal repair kit comes in two pieces: a red four inch long piece, and a black one inch long piece. Both pieces are made entirely of plastic. This repair kit comes with and instructions sheet and it is used for some washing machines.

$ 23.92
  In Stock
PartSelect Number PS2017479
Manufacturer Part Number 207843

Replacing your Maytag Washer Transmission Lower Lip Seal Repair Kit

Replacing your Transmission Lower Lip Seal Repair Kit

Customer Repair Stories

Oil leak from lower lip seal

I didn’t have special tool for brake but punch and hammer worked. Seal was easy to replace. Several videos online to show you how. It wasn’t worth it to tear apart the transmission and buy more parts/seals (if they were even available). But I didn’t know how much oil was in it. I drilled a hole in the side to somewhat check level and added 80-90 gear oil. It was almost empty and added almost a quart. Used a self taping screw/bolt with gasket sealer to plug the hole. I got 34 yrs out of this washer. If it fails, oh well. Just hate to buy a new one that only last 10yrs if im lucky.
  • Anthony from CHESANING, MI
  • Difficulty Level:
    Easy
  • Total Repair Time:
    1- 2 hours
  • Tools:
    Nutdriver, Screw drivers, Socket set, Wrench set
6 of 6 people found this instruction helpful.
Was this instruction helpful to you?
Thank you for voting!
Fixes Symptom 2% of time
★★★★★
★★★★★
1 Review

$ 31.05
  In Stock
PartSelect Number PS2004036
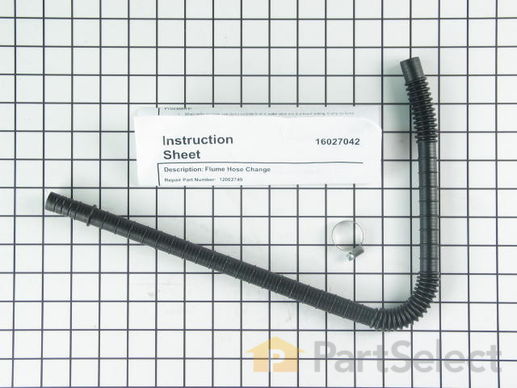
Manufacturer Part Number 12002749
Fixes Symptom 2% of time
★★★★★
★★★★★
3 Reviews

Rated by 2 customers 


Very Easy 

15 - 30 mins 

Ratings submitted by customers like you who bought this part.   

This hose can handle hot or cold water and is five feet long.

$ 21.53
  In Stock
PartSelect Number PS11746820
Manufacturer Part Number WP89503

Replacing your Kenmore Washer Inlet Hose - 5 FT

Replacing your Inlet Hose - 5 FT

Customer Repair Stories

Old hot water inlet hose had budge at both ends.

Turn water off at the inlet valve of hose you are replacing. Disconnect inlet hose the washer and let water drain out in a bucket. Then remove old hose. Replace new hose to inlet valve then washer . Use pliers to tighten both ends. Turn on water to check leaks at both ends of hose.
  • Jimmy from MEMPHIS, TN
  • Difficulty Level:
    Very Easy
  • Total Repair Time:
    Less than 15 mins
  • Tools:
    Pliers
2 of 4 people found this instruction helpful.
Was this instruction helpful to you?
Thank you for voting!

Leaking water inlet hoses.

Removed the old hoses and screwed on the new hoses.
  • Helen from NASHUA, NH
  • Difficulty Level:
    Really Easy
  • Total Repair Time:
    30 - 60 mins
4 of 5 people found this instruction helpful.
Was this instruction helpful to you?
Thank you for voting!
Fixes Symptom 1% of time

Rated by 2 customers 


A Bit Difficult 

1- 2 hours 

Ratings submitted by customers like you who bought this part.   

  No Longer Available
PartSelect Number PS2038198
Manufacturer Part Number 35-3700

Customer Repair Stories

Washed hubby's overalls with a 6 in screwdriver in his pocket. Flooded the Kitchen and the basement.

We went on line and found the correct part. It arrived in 3 days. said it might take 7. Husband and son dismantled the old plastic outer tub that had been slit by the screwdriver. Put the new one in, and filled the tub up with water to check for leaks. When the water got to the level of the fill line, it started leaking. We pumped the water out and stopped to wait for daylight. Next day we lifted the top of the machine and filled it again...the line that goes to the water level knob...was off. The woman found the leak and put the hose back on. We were semi worried when we read the reviews, but in the daylight, it really wasn't all that difficult to change out the broken tub.
  • Judy from Osceola, MO
  • Difficulty Level:
    A Bit Difficult
  • Total Repair Time:
    30 - 60 mins
  • Tools:
    Nutdriver, Screw drivers, Socket set
Was this instruction helpful to you?
Thank you for voting!

Tub cracked while replacing snubber

Remove tub assembly per snubber replacement procedure.
Place tub assembly on top of a milk crate open-side up.
Support tub assembly on milk crate with 2x4's to protect pully from damage.
Remove agitator from tub assembly.
Press down on tub assembly cap, release tabs and remove tub assembly cap.
Remove inner tub from tub assembly.
Mark tub frame with location of outer tub air bell for ease of reassembly.
Remove outer tub from transmission assembly.
Replace inner tub gasket
Replace outer tub gasket

Problem encountered was that the replacement tub had a defective air bell. The washer consequently did not detect fill level and subsequently overflowed flooding the laundry room. The bell looked ok visually. Blowing into the air tube while plugging the inside hole with a finger revealed a pinhole leak in one corner of the PP weld. PartSelect was prompt with replacement, but the job had to be redone in its entirety.

Always test the air bell before installing an outer tub.
  • Nicholas from King of Prussia, PA
  • Difficulty Level:
    A Bit Difficult
  • Total Repair Time:
    30 - 60 mins
  • Tools:
    Nutdriver, Pliers, Screw drivers, Socket set
1 of 3 people found this instruction helpful.
Was this instruction helpful to you?
Thank you for voting!