Parts That Fix KitchenAid Refrigerator KRFC300ESS01 Door won’t open or close
Door won’t open or close is a commonly reported symptom for the KRFC300ESS01 KitchenAid Refrigerator, and we have put together a full guide on how to fix this. This advice is based on feedback from people who own this exact appliance. We have listed the most common parts for your KRFC300ESS01 KitchenAid Refrigerator that will fix Door won’t open or close. We have included repair instructions, and helpful step-by-step video tutorials. If you are experiencing this issue, not to worry, DIYers just like you have fixed this, and shared their experience to help you!
This part mounts on the wall and is used to support the pantry drawer.
Customer Repair Stories
The guide pin, which opens the crisper/pantry lid, broke off. It is integral to the end cap.
Then, I reinserted the push rod to the new end cap and reattached the drawer sliders and the slider itself. At this point I realized I SHOULD have unscrewed the temperature slider at the back where it covers the cold air outlet. The screw had slipped out. I replaced it with a slightly larger wood screw. Reinstall the drawers, all done.
-
Dave from Seattle, WA
-
Difficulty Level:Really Easy
-
Total Repair Time:Less than 15 mins
-
Tools:Screw drivers, Socket set
While cleaning frig, I broke the right side pin the crisper door pivits on.
-
Bryan from Panora, IA
-
Difficulty Level:Easy
-
Total Repair Time:15 - 30 mins
-
Tools:Nutdriver, Screw drivers
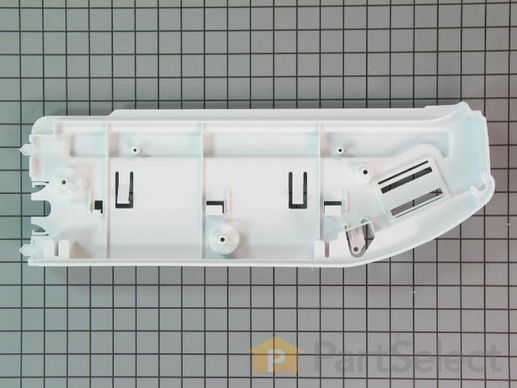
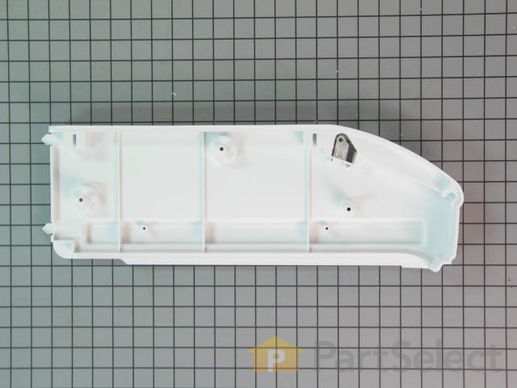
The pantry end cap is also known as a drawer support or a door shelf trim. This specific piece is sold individually and is meant for the left side of your refrigerator. It snaps into place on the door of your fridge, which allows it to hold items on the door shelf. To change the left side end cap on your refrigerator you will need a 1/4 inch nut driver. Users have ranked this installation as easy to do, with a less than thirty minute repair time.
Replacing your KitchenAid Refrigerator Pantry End Cap - Left Side

Customer Repair Stories
Button holding snack drawer cover was broken
2. removed glass shelf under crisper drawers
3. removed shelf support pieces
4. removeded snack drawer
5. removed left slide rail using phillips screwdriver (2 screws)
6. removed LH end cap using socket wrench (3 screws)
7. attached new LH end cap
8. attached slide ... Read more rail
9. installed glas shelf supports
10. installed glas shelf
11. install bottom crisper drawers
12. install snack drawer
13. install snack drawer top
total time was less than 15 minutes
-
Claude from Phoenix, AZ
-
Difficulty Level:Really Easy
-
Total Repair Time:Less than 15 mins
-
Tools:Screw drivers, Socket set
Broken hinge on bottom drawer lid.
1) Remove the two produce drawers above the lower drawer.
2) Lift off the front glass shelf support, the glass shelf, and the rear glass shelf support from below the two produce drawers.
3) Slide the lower drawer half way out. Remove the drawer lid by disengaging it from the remaining undamaged hinge pin on the OK end cap. Careful not to break the good one.
4) Slide the lower drawer all the way out, then lift up and towards you to remove it from its glides.
5) Using a 1/4" nutdriver or socket, remove the three recessed screws. Leave the drawer glide alone for now.
6) Pull the front of the end cap up and towards you about 3/4" to disengage it from a small retainig button at the top front. Pull the end cap toward you to disengage the two rear retaining fingers.
7) Using a small Phillips screwdriver, remove the drawer glide from the broken end cap and attach it to the replacement end cap. Note which end is the front before removing it.
8) Reassemble in reverse order. Again, be careful with the hinge pins.
-
Michael from Dublin, OH
-
Difficulty Level:Easy
-
Total Repair Time:15 - 30 mins
-
Tools:Nutdriver, Screw drivers
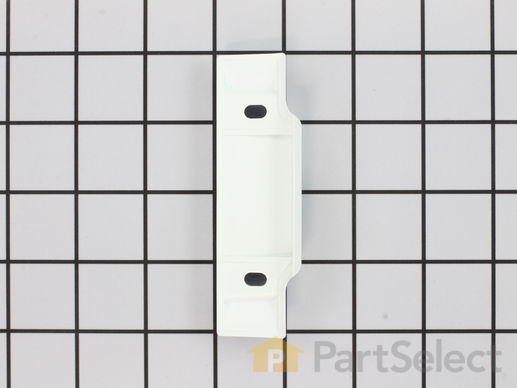
This is a replacement pivot block for your refrigerator. It is made of white plastic and is approximately 4 inches long and 1 inch wide. The pivot block catches and holds the door mullion cover when you close the door. If your refrigerator door will not close properly, you may need to replace the pivot block. This part is sold individually and is an OEM part sourced directly from the manufacturer.
Customer Repair Stories
Needed part to help fridge doors close.
-
Jan from Boca Raton, FL
-
Difficulty Level:Really Easy
-
Total Repair Time:Less than 15 mins
-
Tools:Screw drivers
Needed to replace pivot block (broke) so frig door extension could close
-
Daniel from CENTREVILLE, MD
-
Difficulty Level:Really Easy
-
Total Repair Time:Less than 15 mins
-
Tools:Screw drivers
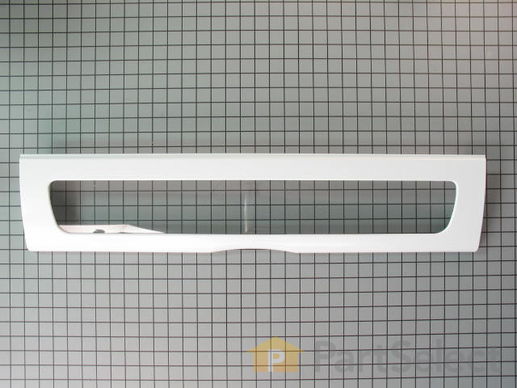
This pantry drawer lid is also known as a pantry drawer door or pantry drawer cover. This is a genuine OEM part, and is sold individually. This part helps keep everything inside the drawer. It acts as a cover, and also keeps your drawer at the proper temperature by creating a seal. You may need to replace this part if door does not open or close, or if the drawer is too cold. No tools are required for this replacement, simply push the hinge pins aside to remove the old lid. Consider checking the pantry end cap kit for damage before ordering the pantry drawer lid, as they are often purchased together.
Replacing your Maytag Refrigerator Refrigerator Pantry Drawer Door Cover

Customer Repair Stories
Cracked plastic on pantry drawer lid
-
Angela from Bay Village, OH
-
Difficulty Level:Really Easy
-
Total Repair Time:Less than 15 mins
Wife dropped a gallon of milk on the lid and cracked the see through panel
-
Stanley from Gurley, AL
-
Difficulty Level:Really Easy
-
Total Repair Time:Less than 15 mins
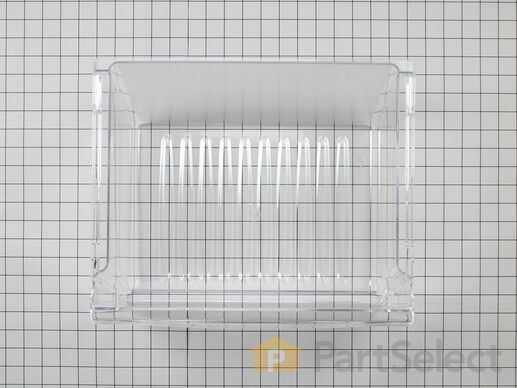
The crisper drawer in your refrigerator is used for storing various items. If you notice that your current crisper drawer is damaged, you may need to replace it. You may notice that your refrigerator door does not open or close properly, which is a sign that your cripser drawer is damaged. This crisper drawer is made of clear plastic and is roughly 20 inches in length. This part is sold individually and does not come with the plastic faceplate on it. If your current crisper has one, you will need to remove it and transfer it to the new crisper. NOTE: As per the manufacture the crisper drawer has been updated from the original. A new crisper cover may need to be purchased for the drawers to work. Factory dimensions - 12.847" Depth X 15.217" Width X 6.93 High.
Replacing your Jenn-Air Refrigerator Crisper Drawer

Customer Repair Stories
Plastic slide on crisper drawer broke
Except for one thing, it would have been simple to slide the new drawer in.
The original drawer has a white plastic "face" that is removable.
"Removable" is a relative term. It took my wife and I over 2 ... Read more 0 mins to very carefully remove the face without breaking. One person could not do it --- you need to hold the drawer firmly while another pries the face off carefully. Once off, it was able to be pushed on to the new drawer -- be firm.
-
James from Staten Island, NY
-
Difficulty Level:A Bit Difficult
-
Total Repair Time:30 - 60 mins
Broken Crisper Pan
-
G. Kevin from Roanoke, IN
-
Difficulty Level:Easy
-
Total Repair Time:Less than 15 mins
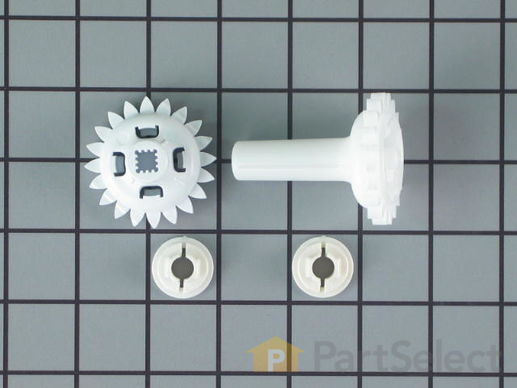
These parts will attach to your drawer rail and are used to help the drawer glide smoothly.
Replacing your Whirlpool Refrigerator Drawer Gear Kit

Customer Repair Stories
Drawer bar gear had a broken plastic piece that would not hold the bar in place
-
Shirley from Lawrenceburg, KY
-
Difficulty Level:Easy
-
Total Repair Time:15 - 30 mins
Boyfriends freezer door wouldn’t shut completely
-
Megan from NORFOLK, VA
-
Difficulty Level:Really Easy
-
Total Repair Time:Less than 15 mins
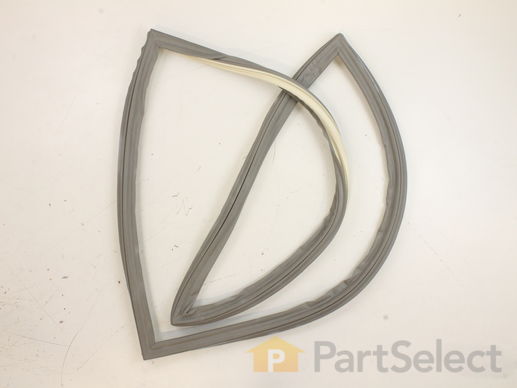
This door gasket is used to seal the refrigerator door when closed to keep the cool air inside and the room air out.
Customer Repair Stories
Door seals split and condensation forming
-
Chet from TOLEDO, OH
-
Difficulty Level:Really Easy
-
Total Repair Time:15 - 30 mins
Door gasket wasnt sealing anymore and had some minor cracks
-
Joel from DELRAY BEACH, FL
-
Difficulty Level:Very Easy
-
Total Repair Time:Less than 15 mins
Customer Repair Stories
When right hand door was opened first, and then left hand door, the mullion rail did not move all the way to the "open" position so that if the left hand door was closed after the right hand door the rail would bang against the right hand door and not close all the way until manually pushed into pos
- Remove the screw from the center hinged cover.
- Remove the mullion rail by pushing upward. The top and bottom hinges slide over tabs attached to the door. I had to bump it gently from underneath.
- Disconnect the three wire connector that's underneath the center hinged cover.
... Read more
Install the new mullion rail by reversing the above steps:
- Connect the three wire connector and snap it into its holder.
- Slide the new part over the top and bottom hinges. Be sure that all three hinges are correctly lined up before sliding the rail over the tabs.
- Push it down far enough that the hole for the screw in the center cover is lined up with its corresponding receptacle in the door.
- Replace the screw.
-
Michael from FALLBROOK, CA
-
Difficulty Level:Very Easy
-
Total Repair Time:Less than 15 mins
-
Tools:Nutdriver
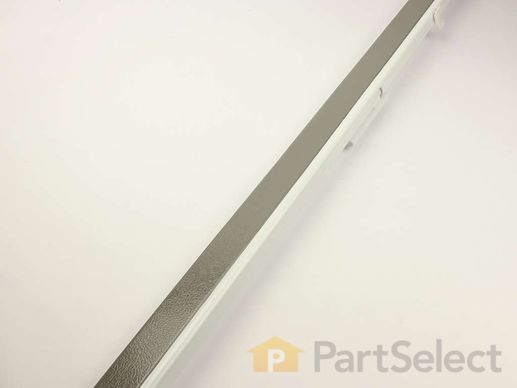
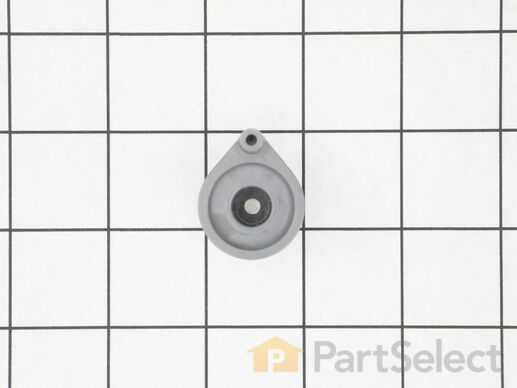
This part helps with the closing of the door.
Replacing your Whirlpool Refrigerator Door Closer - Apollo Gray


