



 My Orders




HDA36001WH Hotpoint Dishwasher - Overview

Enter a part description. DIY Heroes keep it simple, eg. "belt" or "pump".
Search filter:
Clear Filter
Your search term must have 3 or more characters.

$34.74
In Stock
Rinse Aid Fill Cap
Part #WD12X10284
This part helps keep the rinse aid the dispenser until its needed.

$198.71
In Stock
Motor and Pump Kit
Part #WD26X10013
This is a pump and motor kit for your dishwasher. This assembly replaces many old-style pump and motor kits that were manufactured since 1970. The instructions are included with this kit in to assist you. Take note that this is a completely redesigned kit by the manufacturer and now includes the drain solenoid. You may need to replace thi...Read mores part is if your appliance is leaking, not draining properly, noisy, or will not start or clean your dishes properly.
Read less

$52.98
On Order
Dishwasher Water Inlet Valve
Part #WD15X93
This water inlet valve is specially designed for those dishwashers that fit under the counter from 1974 To Present. The valve should be located behind the lower kickplate panel in either the right or left corner. The attaching solenoids on the valve open and close according to the desired amount of water needed.

$36.85
In Stock
Finish Dishwasher Cleaner
Part #WX10X10209
This dishwasher cleaner cleans, freshens, and helps maintain your dishwasher. It hygienically cleans hidden grease and lime scale from filters, spray-arms and pipes. It is safe for septic systems and contains no phosphorus.

No Longer Available
Fine Thread Telescoping Tower Power
Part #WD22X120
This telescoping power tower comes in three sections.

No Longer Available

No Longer Available
Bottom Flange Gasket
Part #WD8X5100

No Longer Available
Door Gasket with Clips
Part #WD8X5097
This is a door gasket with clips, or a door seal, which attaches to dishwashers. It provides a watertight seal to keep water from leaking out of your dishwasher during a cycle. If your dishwasher leaks while it is locked and running, you will need to replace the gasket. This gasket is off-white and includes 30 plastic clips to help you install it.

No Longer Available
Assembly SWITCH
Part #WD6X183

$185.59
Special Order
No Longer Available
DISCONTINUED
Part #WD28X303

No Longer Available
SW & BRKT
Part #WD21X683
Common Symptoms of the HDA36001WH
How this model fails, and the parts that fix it.
Leaking
Fixed by
these parts
these parts


Show All
Will not fill with water
Fixed by
these parts
these parts
Show All
Not draining
Fixed by
these parts
these parts
Show All
Not cleaning dishes properly
Fixed by
these parts
these parts

Show All
Will not dispense detergent
Fixed by
these parts
these parts
Show All
Noisy
Fixed by
these parts
these parts
Show All
Will Not Start
Fixed by
these parts
these parts
Show All
Not drying dishes properly
Fixed by
these parts
these parts
Show All
Watch our pros, then fix it yourself.
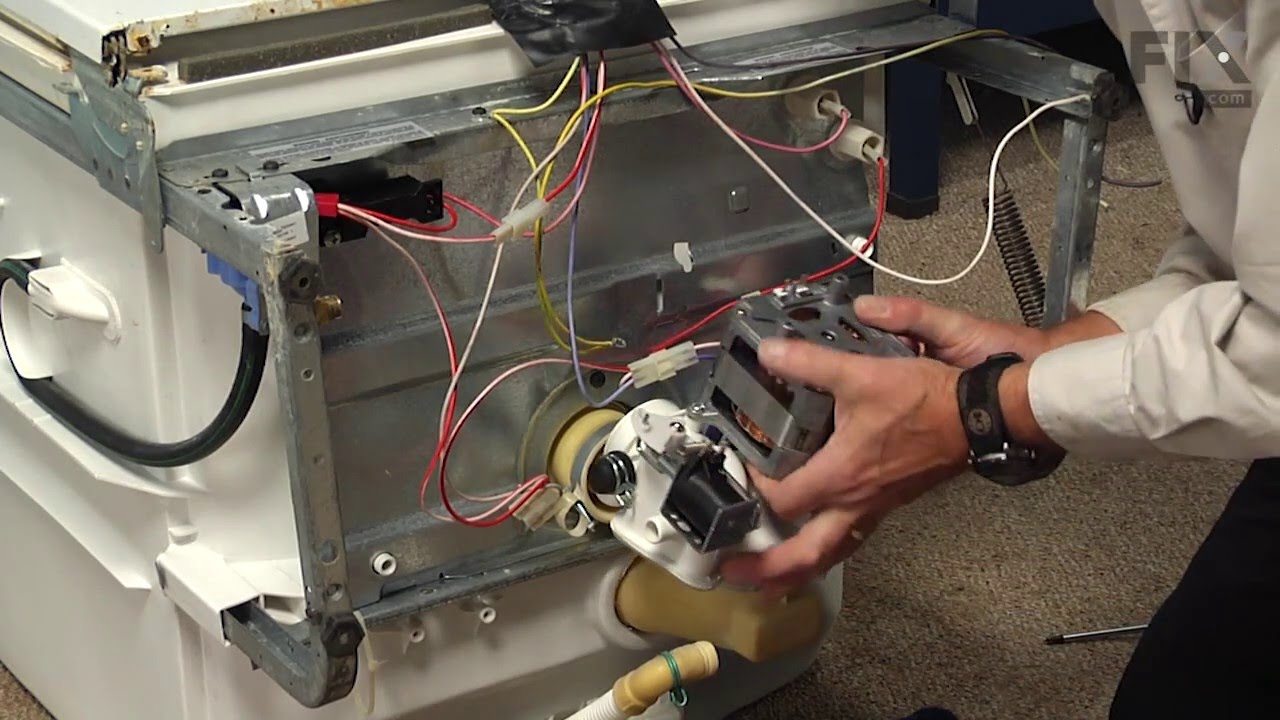
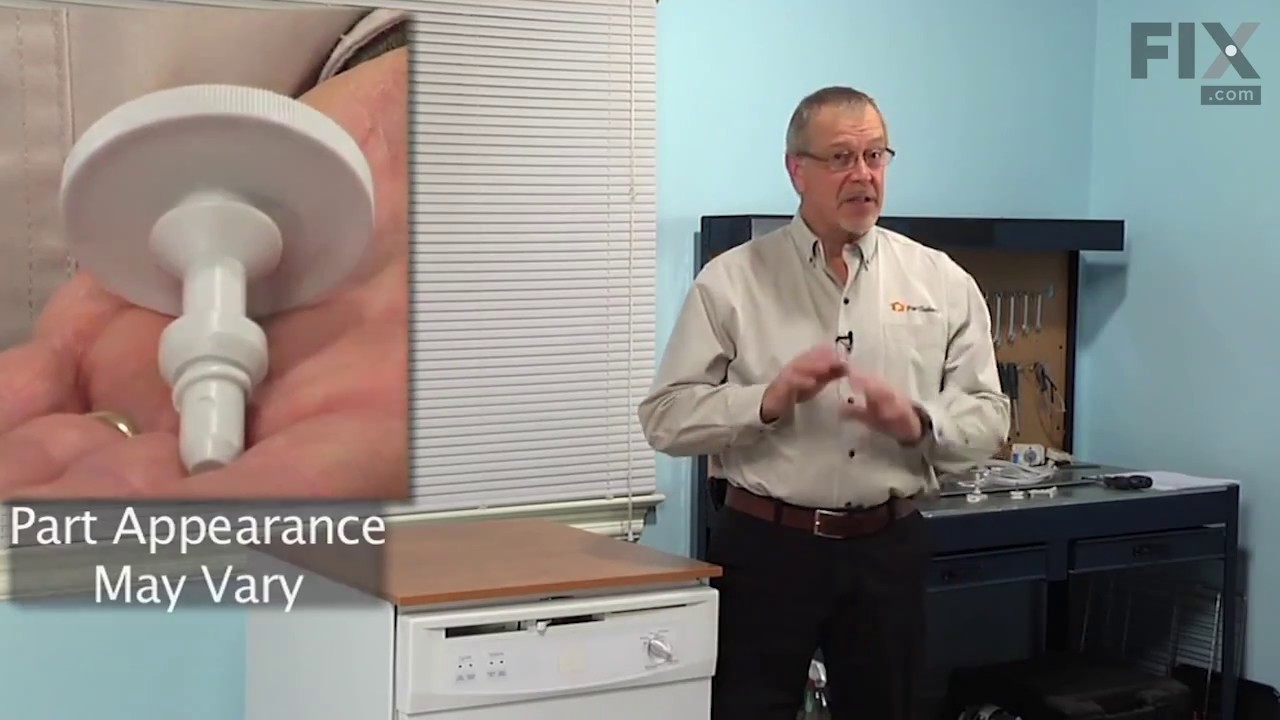
See how others fixed this model. Time, tools, difficulty, and steps that lead to victory!
View More