Models > FRS26LF7DS7 > Symptoms > Leaking

Parts That Fix Frigidaire Refrigerator FRS26LF7DS7 Leaking

Leaking is a commonly reported symptom for the FRS26LF7DS7 Frigidaire Refrigerator, and we have put together a full guide on how to fix this. This advice is based on feedback from people who own this exact appliance. We have listed the most common parts for your FRS26LF7DS7 Frigidaire Refrigerator that will fix Leaking. We have included repair instructions, and helpful step-by-step video tutorials. If you are experiencing this issue, not to worry, DIYers just like you have fixed this, and shared their experience to help you!

Fixes Symptom 67% of time
★★★★★
★★★★★
109 Reviews

Rated by 63 customers 


Really Easy 

30 - 60 mins 

Ratings submitted by customers like you who bought this part.   

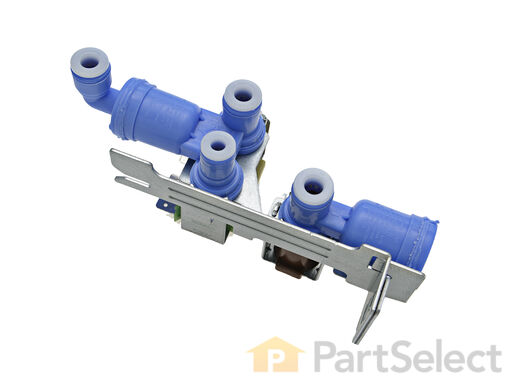
The function of the Refrigerator Water Inlet Valve (Triple Solenoid Water-Valve, Water Valve, Water Inlet Valve, Refrigerator Water Inlet Valve Assembly) is to release water from the supply line when activated, and send it through to your water dispenser or ice maker in your refrigerator. The water inlet valve is located at the back of the refrigerator, and connects to the water supply. The valve can break from material fatigue or normal use. If your water inlet valve is malfunctioning, you could be getting a lack of water to the inside of your refrigerator. Your ice maker may not produce cubes or your water dispenser may not work. The water inlet valve must be replaced if the solenoids no longer have continuity or the valve has internal blockage. This valve measures approximately 7 inches long and 4.5 inches wide, and is constructed of plastic and metal. It comes in blue, and includes the valve and mounting bracket.

$ 91.07
  In Stock
PartSelect Number PS7784018
Manufacturer Part Number 242252702

Replacing your Frigidaire Refrigerator Refrigerator Water Inlet Valve

Replacing your Refrigerator Water Inlet Valve

Customer Repair Stories

icemaker stopped making ice

Even though my wife said that our icemaker broke, there was actually nothing wrong with it. It was the valve that let water flow in during the 'harvest' cycle.
A real easy way to test the icemaker without voltage and current measurements, is to fill the tray by hand with a little cup of water; wait till the water freezes and see if the maker dumped the ice into the bin.
  • David from New Bern, NC
  • Difficulty Level:
    Really Easy
  • Total Repair Time:
    15 - 30 mins
  • Tools:
    Nutdriver, Screw drivers
334 of 387 people found this instruction helpful.
Was this instruction helpful to you?
Thank you for voting!

water leaking out of refrigerator

In my specific appliance the water valve is located in the bottom right hand corner looking at it from the back. To get to it I remove the thin layer of cardboard the covers the back of the fridge. I then proceeded to disconnect the 1/4" copper tubing which is the water feed coming out of the wall. Then I removed the screws that hold the valve assembly in place. I took the water valve out and removed the electrical connections as well as the plastic tubing which feed the water dispenser and the ice maker. To install the new water valve it was just a matter of reversing steps.
  • Jose from Alexandria, VA
  • Difficulty Level:
    Easy
  • Total Repair Time:
    15 - 30 mins
  • Tools:
    Nutdriver, Pliers, Wrench (Adjustable)
583 of 680 people found this instruction helpful.
Was this instruction helpful to you?
Thank you for voting!
Fixes Symptom 14% of time
★★★★★
★★★★★
35 Reviews

Rated by 49 customers 


Really Easy 

15 - 30 mins 

Ratings submitted by customers like you who bought this part.   

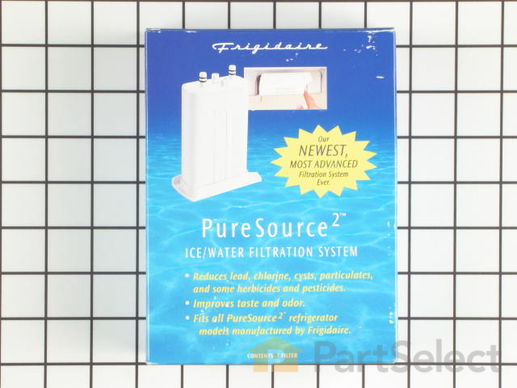
This is a single OEM water filter used in refrigerators to remove impurities and particles from water that goes through the water and ice dispenser. It is used for reducing cysts, turbidity, lead, mercury, herbicides, and more. If your icemaker is not making ice, not dispensing ice, dispenses too little ice, or there is leakage and the fridge is making loud noises, replacing the water filter may be the solution. This filter is located in the front, top right of side-by-side refrigerators. You will know it is time for a new filter when the light on the freezer door dispenser lights up red, or after 6 months (200 gallons) of use. No tools are required for this easy repair. First, press the release button to pull out the old water filter and push and lock in the new water filter. Run water through the dispenser for about 3 minutes to prime the filter for use. Dispose of the water or use it to water plants. Press the indicator for 3-10 seconds to reset after this repair is complete. This carbon-based filter measures 6 x 3 x 7 Inches and is white plastic.

$ 73.08
  In Stock
PartSelect Number PS503621
Manufacturer Part Number WF2CB

Replacing your Frigidaire Refrigerator Refrigerator Water Filter

Replacing your Refrigerator Water Filter

Customer Repair Stories

water leaking(pouring) from the filter into the refrigerator

Pushed the button on the filter in the fridge, the cartridge popped out and in with the new. That simple. Prior to replacement the water was leaking, although it was still producing water and ice through the door. When the filter was out, no leaks, but no water and ice! Just needed a new filter.
  • Michele from Red Oak, TX
  • Difficulty Level:
    Really Easy
  • Total Repair Time:
    Less than 15 mins
88 of 100 people found this instruction helpful.
Was this instruction helpful to you?
Thank you for voting!

yearly maintenance

swap filter
  • Antonio from Folsom, CA
  • Difficulty Level:
    Really Easy
  • Total Repair Time:
    Less than 15 mins
619 of 659 people found this instruction helpful.
Was this instruction helpful to you?
Thank you for voting!
Fixes Symptom 4% of time
★★★★★
★★★★★
1 Review

Rated by 8 customers 


Easy 

15 - 30 mins 

Ratings submitted by customers like you who bought this part.   

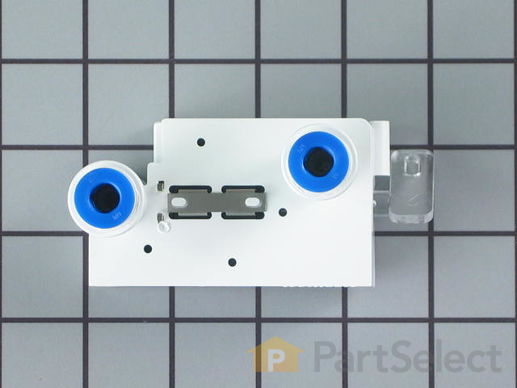
This is the replacement water filter base for your refrigerator. It is made of plastic and is mainly white in color. The water filter lines will each have a blue release collar at the top. The water filter base is found at the top of your refrigerator, beneath the console, and it is the part that the water filter presses into. If the O-rings have gone bad, and the filter is leaking, or the locking device has failed and the water filter is not locking in, you may need to replace the water filter base. This part is sold individually and is an OEM part sourced directly from the manufacturer.

$ 101.60
  In Stock
PartSelect Number PS976499
Manufacturer Part Number 240396002

Replacing your Frigidaire Refrigerator Water Filter Base

Replacing your Water Filter Base

Customer Repair Stories

Water was leaking from the filter area when in-door water dispenser used

Silly me. It couldn't possibly be the filter because it's worked for the last 9 months with no problems. Decided to replace the water filter base first. Repair was easy. I saw someone had trouble removing tubes from old base and I gave it a couple of tries to no avail so decided to cut the lines instead. Made it even easier. After repair, water continued to leak. So, replaced the filter itself and voila - leak fixed. Make sure you check the filter first. My mistake turned a $40 - 10 second repair into a $100 - 20 minute repair. Good Luck!
  • Todd from Gotha, FL
  • Difficulty Level:
    Easy
  • Total Repair Time:
    15 - 30 mins
  • Tools:
    Screw drivers, Socket set
13 of 17 people found this instruction helpful.
Was this instruction helpful to you?
Thank you for voting!

No water flow to in-door water/ice dispenser

Unscrewed the water line cover. Removed the platic case around the water filter base. Everything went well until I tried to remove the two water hoses. After I finally figured out that I had to push in the release washer while pulling the hoses out, things went well. Unfortunately it took several hours of wasted time and several searches on the internet to finally figure this part out. From there on out it went smoothly. Old base came out with two screws. Reversed process for reinstall of new base. Water hoses just slipped back into place and locked themselves in. Just takes a little patience.
  • Richard from St. Louis, MO
  • Difficulty Level:
    A Bit Difficult
  • Total Repair Time:
    15 - 30 mins
  • Tools:
    Nutdriver, Screw drivers
28 of 33 people found this instruction helpful.
Was this instruction helpful to you?
Thank you for voting!
Fixes Symptom 3% of time
★★★★★
★★★★★
1 Review

Rated by 1 customer 


Easy 

30 - 60 mins 

Ratings submitted by customers like you who bought this part.   

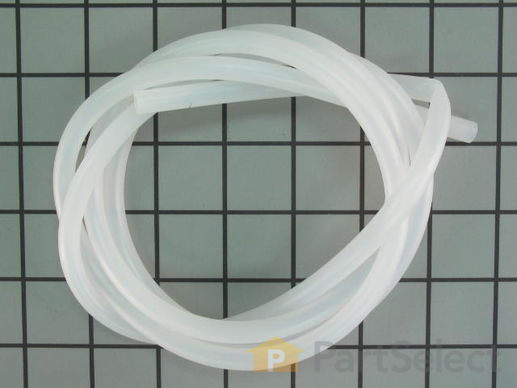
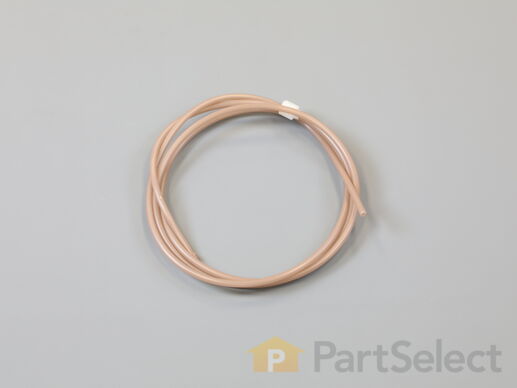
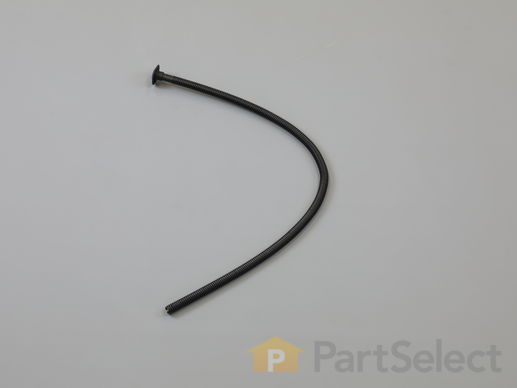
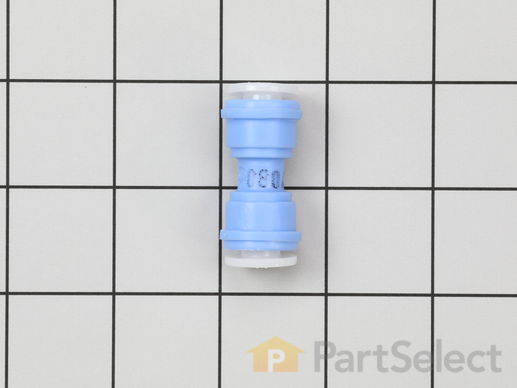
Plastic tube, 5/16".

$ 48.17
  In Stock
PartSelect Number PS429430
Manufacturer Part Number 218976409
Fixes Symptom 2% of time
★★★★★
★★★★★
28 Reviews

Rated by 50 customers 


Easy 

15 - 30 mins 

Ratings submitted by customers like you who bought this part.   

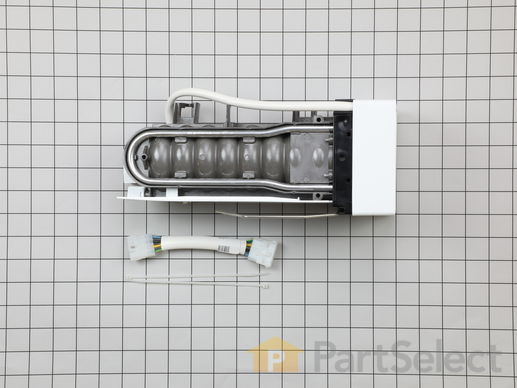
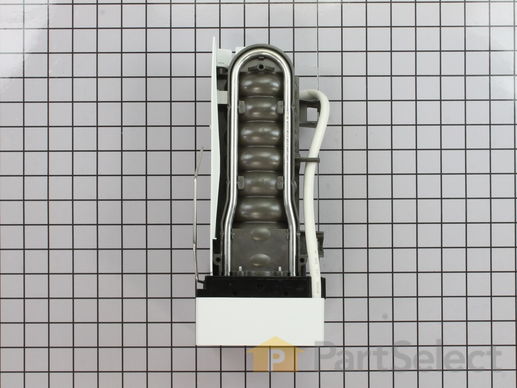
This replacement icemaker may also be known as the ice maker assembly and is compatible with your refrigerator/freezer. This assembly replaces the heat-release ice maker unit only. The kit comes with four round female connectors at the end of the wire harness. It also comes with the adaptor that converts the harness to three round female, and one round male connectors. The tools you will need in order to make this installation include a 1/4-inch nut driver, and a Phillips screwdriver. Before starting this repair make sure to unplug your refrigerator and shut off the water supply.

$ 105.42
  In Stock
PartSelect Number PS735469
Manufacturer Part Number 5303918277

Replacing your Frigidaire Refrigerator Replacement Ice Maker

Replacing your Replacement Ice Maker

Customer Repair Stories

Ice maker died!

The repair for this was very simple, although it was a tight squeeze. The model I replaced the ice maker on was a side by side. First I removed the ice bucket so I could have more room to work with. Then I unscrewed 2 screws on the left side wall holding the ice maker in place. These screws had a 1/4" nut top on them so I used my socket driver for this. Then a quick disconnect of the wiring harness. Very Simple. I did the reverse to install the new unit. Total time was around 5 minutes or so. I now have ice again.
  • John from Las Vegas, NV
  • Difficulty Level:
    Really Easy
  • Total Repair Time:
    Less than 15 mins
  • Tools:
    Socket set
45 of 49 people found this instruction helpful.
Was this instruction helpful to you?
Thank you for voting!

Ice Maker Stopped Working

It was pretty straight forward. Remove the two screws that hold the unit to the wall of the freezer. In my case, I had to use a different ice maker than what came with the frig. In order to install the replacement unit they sent a wire adaptor so it would attach to the existing wiring. That too was all fine and dandy. The only problem was that the end of the wire adaptor did not fit through the existing hole in the rear of the frig. I used a utility knife to cut through the thin metal lining. That worked just fine. However, I could not cut through the insulation because I could not reach it through the small hole. The excess wire was supposed to be pulled through the hole and out through the back of the unit. So now the excess is between the wall of the freezer and the insulation. The unit is working wonderfully. In fact, it is making more ice than I can use. I am very pleased with the replacement unit. This is the 3rd ice maker that has been in this frig. All the others had a design flaw that had a leak in the rear of the unit. This caused all the ice to form into a big block. The replacement unit has not had this problem so far. Thank you for allowing me to explain my situation so that maybe others may benifit from my experience. Thank you. Jack
  • JACK from MESA, AZ
  • Difficulty Level:
    A Bit Difficult
  • Total Repair Time:
    1- 2 hours
  • Tools:
    Screw drivers
163 of 179 people found this instruction helpful.
Was this instruction helpful to you?
Thank you for voting!
Fixes Symptom 2% of time
★★★★★
★★★★★
1 Review

Rated by 1 customer 


Easy 

30 - 60 mins 

Ratings submitted by customers like you who bought this part.   

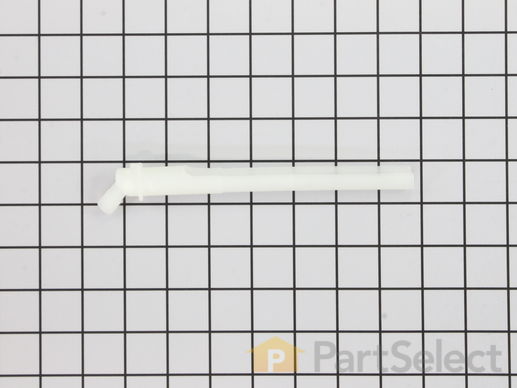
This is a water fill tube which is used in refrigerators. It attaches to the water inlet valve and supplies water to the components in your appliance that need it, such as the icemaker and water dispenser. You will need to replace your fill tube if you notice it is leaking or damaged. This replacement tube is approximately 7 inches in length, and it is made entirely of plastic. The fill tube is sold individually. Before you begin repairing your refrigerator, make sure the water supply has been turned off and that the appliance has been unplugged.

$ 28.42
  In Stock
PartSelect Number PS7783975
Manufacturer Part Number 241796405

Customer Repair Stories

Water Tube That Fills Ice Maker Leaking Water

Undone the water line that comes up the back of the refrigerator and pulled the water tube out the back of the refrigerator and reinstalled the new one and reinstalled the water line. Done
  • PAT from BATON ROUGE, LA
  • Difficulty Level:
    Easy
  • Total Repair Time:
    15 - 30 mins
Was this instruction helpful to you?
Thank you for voting!

Ice Maker not getting any water

1). Shut off water supply to fridge. 2). Move fridge out to gain access to back of fridge. 3). Remove poly line to water tube have a glass handy to catch any remaining water that might be in line. Some may have a foam insulating washer around water tube remove it first. 4). My Sears-Kenmore was a twist lock water tube have to turn it to left or right depending on brand to remove tube. 5). After removing make sure tube didn't just have water frozen in tube ( that was my problem ) run it under hot water frozen piece will come out. 5). Problem fixed, reverse directions to re-install tube!
  • Lawrence from Stow, OH
  • Difficulty Level:
    Easy
  • Total Repair Time:
    15 - 30 mins
  • Tools:
    Pliers
Was this instruction helpful to you?
Thank you for voting!
Fixes Symptom 1% of time

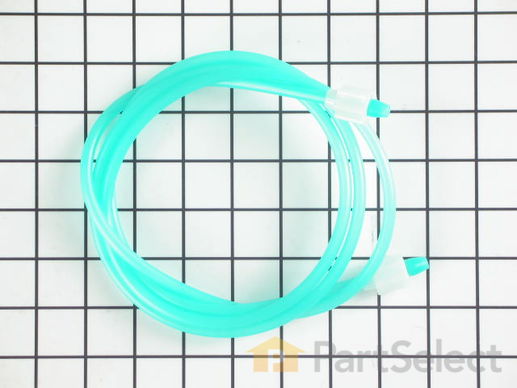
This water inlet tube is designed for use in your refrigerator. This part supplies water to refrigerator components that require water, such as the ice maker and water dispenser. The water inlet tube connects the water inlet valve to the icemaker and water dispenser. If you notice that your icemaker is not making ice, your water dispenser is not working, or your refrigerator is leaking, you may need to replace the water inlet tube. This part is made of plastic and is blue-green in color, with white plastic tips. This part is sold individually. Be sure to disconnect the water source to the refrigerator before you begin this repair.

$ 66.49
  In Stock
PartSelect Number PS429431
Manufacturer Part Number 218976901
Fixes Symptom 1% of time
★★★★★
★★★★★
1 Review

This part works in conjunction with the ice chute door.

$ 49.25
  In Stock
PartSelect Number PS1526429
Manufacturer Part Number 241688701

Replacing your Frigidaire Refrigerator Ice Dispenser Door Seal

Replacing your Ice Dispenser Door Seal
Fixes Symptom 1% of time
★★★★★
★★★★★
1 Review

Rated by 1 customer 


Really Easy 

Less than 15 mins 

Ratings submitted by customers like you who bought this part.   

$ 55.58
  In Stock
PartSelect Number PS429432
Manufacturer Part Number 218976903
Fixes Symptom 1% of time
★★★★★
★★★★★
19 Reviews

Rated by 9 customers 


Easy 

30 - 60 mins 

Ratings submitted by customers like you who bought this part.   

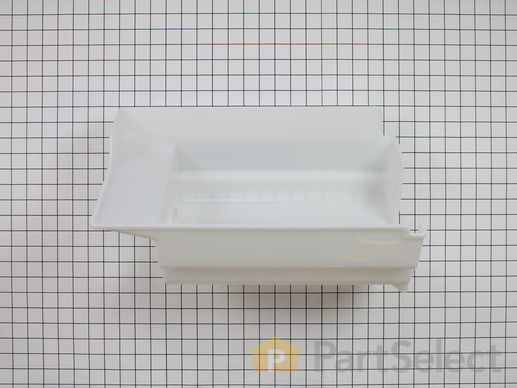
Bucket only. All other parts sold separately.

$ 83.62
  In Stock
PartSelect Number PS1526586
Manufacturer Part Number 241734001

Replacing your Frigidaire Refrigerator Ice Container/Bucket

Replacing your Ice Container/Bucket

Customer Repair Stories

A 2" x 4" section on the bottom of the ice container bucket broke out.

Simply detached the old ice container by removing four screws and removing one screw holding the lever onto the bottom of the container. A bit of advice; make sure you note how the spring is attached to the lever before removing the screw. It took me a bit to determine how the spring activated the lever when I was reattaching it to the bottom of the container. Also, double check your order before you finalize it. I must have inadvertently hit the item twice so I received two of them. This resulted in me having to return one item and paying for extra shipping both ways. I received the part within two days of my order. It was a very fast turn-around. Also, when I realized that I received two parts and had to call to explain the situation, I found the person on the phone to be extremely helpful and courteous. She sent me information regarding how to return the product and didn't ridicule me once for my stupidity.
  • David from Owensboro, KY
  • Difficulty Level:
    Easy
  • Total Repair Time:
    15 - 30 mins
  • Tools:
    Screw drivers
5 of 7 people found this instruction helpful.
Was this instruction helpful to you?
Thank you for voting!

There was a hole in the plastic bin where ice fell through to the freezer.

I removed the screws that held the the ice dispencer from the bin. I than removed three screws from the bottom of the bin. I put the new plastic piece on the end of the spiral piece that
pushes the ice. I inserted the spiral piece back into the hole. I than screwed the ice dispencer
to the bin and re-inserted it back in the refrigerator.
It took me about 5 to 10 minutes. It's really easy!
  • Thomas from Niceville, FL
  • Difficulty Level:
    Really Easy
  • Total Repair Time:
    Less than 15 mins
  • Tools:
    Screw drivers
9 of 9 people found this instruction helpful.
Was this instruction helpful to you?
Thank you for voting!
Fixes Symptom 1% of time

$ 51.40
  In Stock
PartSelect Number PS2349464
Manufacturer Part Number 241957901
Fixes Symptom 1% of time

$ 57.42
  In Stock
PartSelect Number PS1765304
Manufacturer Part Number 241806601
Fixes Symptom 1% of time
★★★★★
★★★★★
9 Reviews

Rated by 7 customers 


Really Easy 

15 - 30 mins 

Ratings submitted by customers like you who bought this part.   

This icemaker is used on newer models where the cord will plug directly in to the back of the freezer. It includes the cover, fill cup, bail arm and a four-pin plug harness.

$ 153.91
  In Stock
PartSelect Number PS1533004
Manufacturer Part Number 5304458371

Customer Repair Stories

ice would not spill into bucket

The repair was very easy. I loosened the two screws holding the icemaker onto the side of the freezer, then unplugged the icemaker. Reversed the order, and it was done. You have to shut the water off first.
  • Fredia from Benton, KY
  • Difficulty Level:
    Really Easy
  • Total Repair Time:
    15 - 30 mins
  • Tools:
    Screw drivers
8 of 14 people found this instruction helpful.
Was this instruction helpful to you?
Thank you for voting!

Did not make ice

First I removed the two screws that hold the element in place. I then pulled the element out about 3 inches and disconnected the two wires. Then I took the new icemaker out of the box and reversed the procedure.

The icemaker is making ice now.
  • Brenda from Sanford, FL
  • Difficulty Level:
    Easy
  • Total Repair Time:
    15 - 30 mins
  • Tools:
    Screw drivers
36 of 51 people found this instruction helpful.
Was this instruction helpful to you?
Thank you for voting!
Fixes Symptom 1% of time
★★★★★
★★★★★
221 Reviews

Rated by 93 customers 


Really Easy 

Less than 15 mins 

Ratings submitted by customers like you who bought this part.   

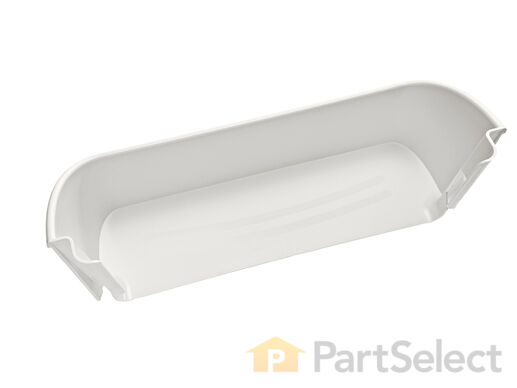
This door bin (Bottom Door Bin, Refrigerator Door Bin, Door Shelf Bin, Refrigerator Door Bin) is a movable bin mounted on the inner door to hold food items, bottles, and jars. Over time, a cold refrigerator can cause plastic to become fragile and break down. This can lead to other issues in the refrigerator. When the door bin will not hold securely onto the inner door panel, it must be replaced. This door bin measures 5.75 inches high, 16 inches wide, by 4.25 inches deep and is made of white plastic. Sold individually.

$ 46.98
  In Stock
PartSelect Number PS429724
Manufacturer Part Number 240323001

Customer Repair Stories

broken door shelf bin

Opened the package- popped the shelf in- good as new!!!
  • Elsie from Effingham, SC
  • Difficulty Level:
    Really Easy
  • Total Repair Time:
    Less than 15 mins
11 of 14 people found this instruction helpful.
Was this instruction helpful to you?
Thank you for voting!

I broke the bottom door shelf by "forcing" in too many jars

The new bin arrived, I slid it in place and away we went.
  • Marc from Oberlin, OH
  • Difficulty Level:
    Really Easy
  • Total Repair Time:
    Less than 15 mins
12 of 15 people found this instruction helpful.
Was this instruction helpful to you?
Thank you for voting!
Fixes Symptom 1% of time
★★★★★
★★★★★
17 Reviews

Rated by 30 customers 


Easy 

30 - 60 mins 

Ratings submitted by customers like you who bought this part.   

Once a glass is pressed against the actuator pad it will cause the dispenser to deliver ice or water when activated.

$ 49.56
  In Stock
PartSelect Number PS1526383
Manufacturer Part Number 241682003

Replacing your Frigidaire Refrigerator Water Dispenser Actuator

Replacing your Water Dispenser Actuator

Customer Repair Stories

I broke the lever that you npush to get water.

At first glance I didn't see the screws that would permit me to get to the actuator but I lifted the small tray at the bottom and there were two screws. Everything went easily.
  • Darryl from Sciotoville, OH
  • Difficulty Level:
    Really Easy
  • Total Repair Time:
    15 - 30 mins
  • Tools:
    Screw drivers
7 of 8 people found this instruction helpful.
Was this instruction helpful to you?
Thank you for voting!

Broken actuator-water

Easy repair, except the re-install of the entire water/ice part back into the door. The original plastic water line too short to fit back into the small opening. Hint: Go buy 10 inch of new water line and a small connector. Run the new line up through the small opening, and connect to the original water line with the small connector. This made it easy to replace and test, and then cut of the excess water line.
Thanks.
  • Wesley from New Smyrna Beach, FL
  • Difficulty Level:
    Easy
  • Total Repair Time:
    15 - 30 mins
  • Tools:
    Screw drivers
17 of 17 people found this instruction helpful.
Was this instruction helpful to you?
Thank you for voting!
Fixes Symptom less than 1% of time
★★★★★
★★★★★
24 Reviews

Rated by 22 customers 


Easy 

30 - 60 mins 

Ratings submitted by customers like you who bought this part.   

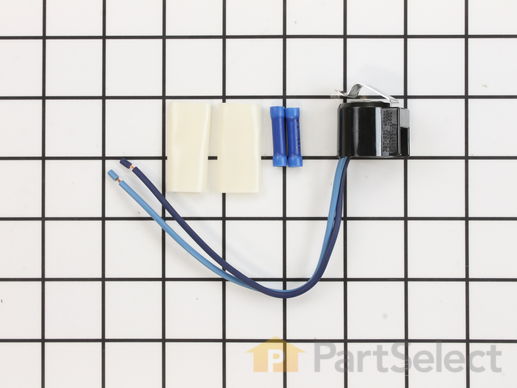
If you find that there is excessive frost in your freezer, or the freezer will not defrost, you may need to replace the defrost thermostat. The defrost thermostat kit comes with the clip, leads, and heat shrink. To access the defrost thermostat for this repair, you will need to remove your freezer shelves, as well as the back panel of your freezer. To complete this repair, you will need a 1/4-inch nut driver, a set of wire strippers and crimpers, and a heat gun or blow dryer. Before you begin this repair, be sure to disconnect the power source from the appliance.

$ 20.58
  In Stock
PartSelect Number PS469522
Manufacturer Part Number 5303918214

Replacing your Frigidaire Refrigerator Defrost Thermostat Kit

Replacing your Defrost Thermostat Kit

Customer Repair Stories

Refrigerator would sometimes freeze everything

we researched the internet with our symptoms and most sites said it was the thermostat. At $800+ for a new refrigerater, we decided to order the thermostat. Found schematics on the net, the thermostat was located in teh freezer compartment . Unplugged, removed food from freezer, removed the bottom shelf in freezer, and the back panel It was EASY to find. Cut 2 wires, replaced with new thermostat. DONE! The new thermostat came with new connecters.
  • donna from brandon, FL
  • Difficulty Level:
    Really Easy
  • Total Repair Time:
    15 - 30 mins
  • Tools:
    Screw drivers
84 of 95 people found this instruction helpful.
Was this instruction helpful to you?
Thank you for voting!

Running but not cooling off and frost in the back of the freezer

Unplugged the refrigerator. Removed the 4 hex head screws on the lower back panel at the back of the freezer. Used a blow dryer to defrost the pipes and area surrounding the thermostat. Unplug the connection from the back of the freezer, unplug the 2 wires, one that goes to the heater, one that comes from power. Unclip the thermostat from the pipe and note which pipe you unclipped it from. Cut the wires on the old thermostat midway between the plugs and the sensor. Using the supplied butt connectors, strip the wire ends on color matched wires (should be a dark blue or black) and crimp them together. Repeat with the other wire. Discard the white shrink wrapping. I wasn't able to get it small enough with a hair dryer or lighter. Plug the thermostat back into it's respective plugs. Clip the thermostat back onto the pipe you removed it from. Replace the back panel with the four screws. Ensure the bottom of the panel is set inside of the drip tray. Replace any shelving you removed. Plug the refrigerator back into the wall. Your done!
  • Leo from Bentonville, AR
  • Difficulty Level:
    Easy
  • Total Repair Time:
    15 - 30 mins
  • Tools:
    Nutdriver, Pliers
266 of 316 people found this instruction helpful.
Was this instruction helpful to you?
Thank you for voting!
Fixes Symptom less than 1% of time
★★★★★
★★★★★
81 Reviews

Rated by 26 customers 


Really Easy 

15 - 30 mins 

Ratings submitted by customers like you who bought this part.   

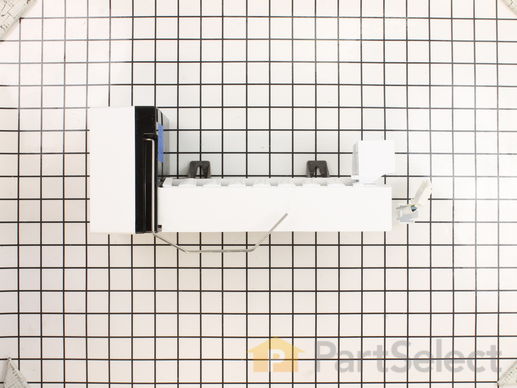
This 8-cube ice maker is used to create ice for your refrigerator. The ice maker receives water from the water inlet valve and will freeze until ice cubes are formed. Once the water has been frozen the cubes will be ejected from the mold in to the ice bucket. The ice maker will continue the process until the ice bucket has reached the limit. If your ice maker is not making ice you may need to replace this part. Please remember to disconnect the power and water supply before starting your repair. This ice maker is a genuine OEM part.

$ 153.41
  In Stock
PartSelect Number PS12364147
Manufacturer Part Number 241798231

Customer Repair Stories

Ice Maker stopped working

Reviewed the video on your website and followed the directions to the letter. Great video
  • Dennis from DEER LODGE, MT
  • Difficulty Level:
    Really Easy
  • Total Repair Time:
    15 - 30 mins
  • Tools:
    Nutdriver
38 of 45 people found this instruction helpful.
Was this instruction helpful to you?
Thank you for voting!

Broken ice maker

Unplugged faulty ice maker, removed two screws holding it to the refrigerator and took it out. Reversed the operation with the new ice maker and after a few minutes presto, we have ice.
  • Juan from Miami, FL
  • Difficulty Level:
    Really Easy
  • Total Repair Time:
    15 - 30 mins
  • Tools:
    Socket set
252 of 339 people found this instruction helpful.
Was this instruction helpful to you?
Thank you for voting!