Make sure you haven't got the discount earlier.
Parts That Fix Frigidaire Refrigerator FFSC2323TSA Ice maker not making ice
Ice maker not making ice is a commonly reported symptom for the FFSC2323TSA Frigidaire Refrigerator, and we have put together a full guide on how to fix this. This advice is based on feedback from people who own this exact appliance. We have listed the most common parts for your FFSC2323TSA Frigidaire Refrigerator that will fix Ice maker not making ice. We have included repair instructions, and helpful step-by-step video tutorials. If you are experiencing this issue, not to worry, DIYers just like you have fixed this, and shared their experience to help you!
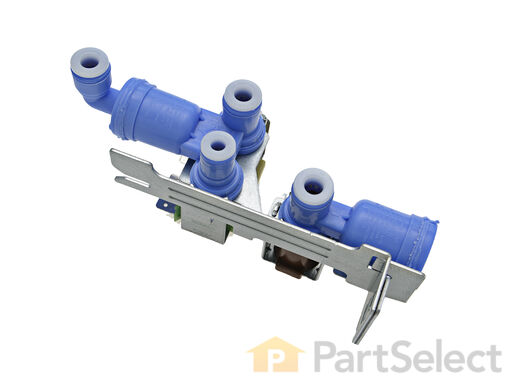
The function of the Refrigerator Water Inlet Valve (Triple Solenoid Water-Valve, Water Valve, Water Inlet Valve, Refrigerator Water Inlet Valve Assembly) is to release water from the supply line when activated, and send it through to your water dispenser or ice maker in your refrigerator. The water inlet valve is located at the back of the refrigerator, and connects to the water supply. The valve can break from material fatigue or normal use. If your water inlet valve is malfunctioning, you could be getting a lack of water to the inside of your refrigerator. Your ice maker may not produce cubes or your water dispenser may not work. The water inlet valve must be replaced if the solenoids no longer have continuity or the valve has internal blockage. This valve measures approximately 7 inches long and 4.5 inches wide, and is constructed of plastic and metal. It comes in blue, and includes the valve and mounting bracket.
Replacing your Frigidaire Refrigerator Refrigerator Water Inlet Valve

Customer Repair Stories
icemaker stopped making ice
A real easy way to test the icemaker without voltage and current measurements, is to fill the tray by hand with a little cup of water; wait till the water freezes and see if t ... Read more he maker dumped the ice into the bin.
-
David from New Bern, NC
-
Difficulty Level:Really Easy
-
Total Repair Time:15 - 30 mins
-
Tools:Nutdriver, Screw drivers
water leaking out of refrigerator
-
Jose from Alexandria, VA
-
Difficulty Level:Easy
-
Total Repair Time:15 - 30 mins
-
Tools:Nutdriver, Pliers, Wrench (Adjustable)
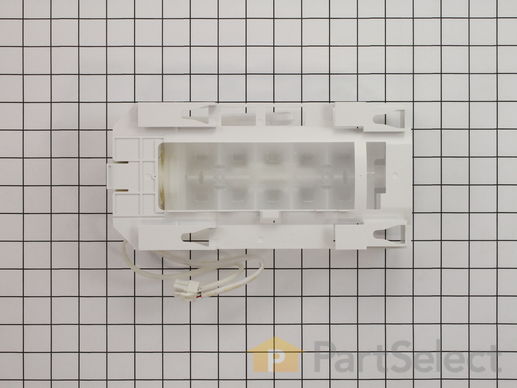
This is a genuine Frigidaire part for your refrigerator. This is an ice maker, which connects to the water lines to provide fresh ice. The most common reason to replace this part is if your refrigerator is leaking, or it will not produce ice cubes. Be sure to disconnect the power to your refrigerator before beginning this repair.
Customer Repair Stories
Not making ice and leaking water from aebecause the icemold in the ice maker cracked
-
Dave from WEST DEPTFORD, NJ
-
Difficulty Level:Really Easy
-
Total Repair Time:30 - 60 mins
-
Tools:Nutdriver, Screw drivers
Ice maker was not working
-
Richard from N CALDWELL, NJ
-
Difficulty Level:Really Easy
-
Total Repair Time:Less than 15 mins
-
Tools:Nutdriver, Screw drivers
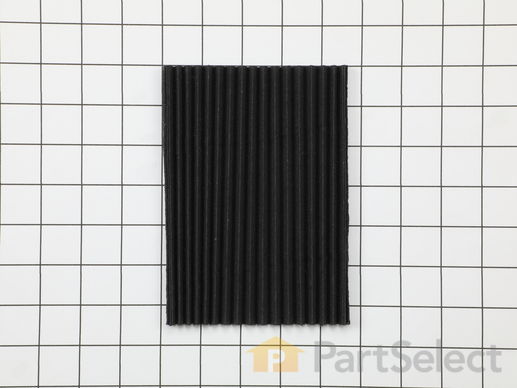
This manufacturer-approved air filter system for refrigerators eliminates odors and any impurities. It does this by neutralizing and removing odor-causing molecules. For best results, it is important to change the filter every 6 months to ensure that food is kept fresh, and the humidity is controlled. This part measures about 7 inches wide and 5 inches deep. Follow installation instructions provided by the manufacturer when installing this part to ensure accurate results and further guidance. Remember to unplug the refrigerator from the power source before starting this project. The air filter may be located in different places depending on your appliance, but is usually on the inner right or left side. See your manual for exact location. Our customers rated this as a very easy repair that takes only a few minutes; just locate and remove the old air filter and insert the new one to complete the repair, which requires no tools.
Customer Repair Stories
routine maintenance
-
fred from Austin, TX
-
Difficulty Level:Really Easy
-
Total Repair Time:Less than 15 mins
you r label (this end in arrow is wrong
-
melvin from BASKING RIDGE, NJ
-
Difficulty Level:Really Easy
-
Total Repair Time:Less than 15 mins
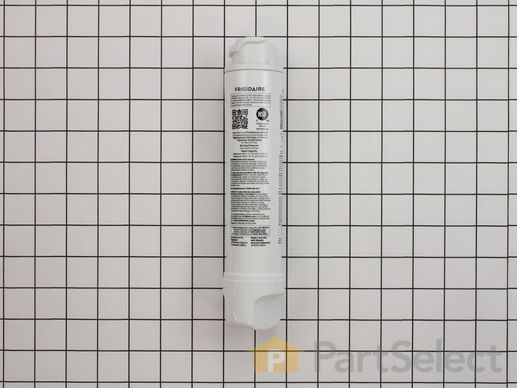
This OEM refrigerator filter is for french door and side-by-side door types and is located in the back, top-right of your appliance. By absorbing heavy metals, pharmaceuticals, pesticides, chlorine, and much more, this filter provides delicious and healthy drinking water. This filter measures 2 inches deep, 9 inches high, 2 inches wide, and weighs 0.9 lbs. The installation is quick and easy with a push and twist feature. Don't forget to run water through the dispenser for about three minutes or 1.5 gallons to prepare the filter before use. For best performance replace this filter every six months.
Customer Repair Stories
WATER FILTER EXPIRED
HOWEVER, THE WATER FILTER INDICATOR STILL SAYS
'REPLACE'. THERE IS NO LEAKAGE, BUT IT APPEARS LIKE THE NEW CARTRIDGE IS NOT COMPLETELY INSERTED. I'VE TRIED REMOVING AND REPLACING THE NEW CARTRIDGE SEVERAL TIMES, BUT IT STILL SAYS 'REPLACE'.
INCIDENTALLY, THIS WAS THE SECOND ORDER OF THE CARTRIDGE AND LAS ... Read more T TIME I GOT TWO, AND THEY BOTH FIT FINE! WITH THIS ORDER I GOT JUST ONE.
-
Bo from SUN CITY WEST, AZ
-
Difficulty Level:A Bit Difficult
-
Total Repair Time:15 - 30 mins
Change filter
-
Claude from MARYVILLE, TN
-
Difficulty Level:Easy
-
Total Repair Time:Less than 15 mins
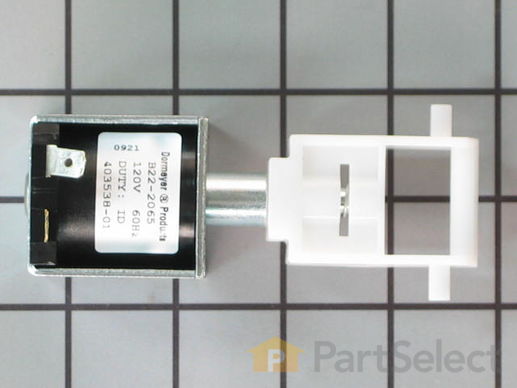
The cube solenoid allows cube or crushed ice to be dispensed on demand. 120V 60Hz
Replacing your Frigidaire Refrigerator Refrigerator Ice Dispenser Solenoid

Customer Repair Stories
ice maker is stuck on crushed ice.
-
Mary from MAGNOLIA, AR
-
Difficulty Level:A Bit Difficult
-
Total Repair Time:More than 2 hours
-
Tools:Nutdriver, Screw drivers
Ice maker wouldn't change from crushed to cubed ice
-
robert from sioux falls, SD
-
Difficulty Level:Easy
-
Total Repair Time:30 - 60 mins
-
Tools:Nutdriver, Screw drivers


