Models > EFME517SIW0 > Symptoms > Marks left on clothes

Parts That Fix Electrolux Dryer EFME517SIW0 Marks left on clothes

Marks left on clothes is a commonly reported symptom for the EFME517SIW0 Electrolux Dryer, and we have put together a full guide on how to fix this. This advice is based on feedback from people who own this exact appliance. We have listed the most common parts for your EFME517SIW0 Electrolux Dryer that will fix Marks left on clothes. We have included repair instructions, and helpful step-by-step video tutorials. If you are experiencing this issue, not to worry, DIYers just like you have fixed this, and shared their experience to help you!

Fixes Symptom 71% of time
★★★★★
★★★★★
2 Reviews

Rated by 3 customers 


Easy 

1- 2 hours 

Ratings submitted by customers like you who bought this part.   

$ 89.91
  In Stock
PartSelect Number PS11775712
Manufacturer Part Number 5304508449

Customer Repair Stories

Doable with 2 people but it definitely took tiime

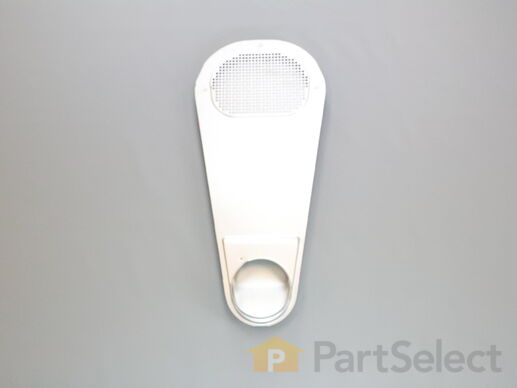
Once we got the dryer out of the cramped where we could work on it, the project went a little quicker. I'd recommend using paper plates/bowls, that you label, to hold all the screws for each piece you remove off the back. It doesn't seem like it will be a lot, but we had at least 20-30 screws in 4-5 different sizes. Unlike someone else's install, we had to completely pull the white back panel off, as well as the main back cover, due to one screw holding the air duct from the inside of the dryer compartment (meaning we couldn't reach everything from the back). Getting this screw out was a challenge and seemed like a huge design flaw, but if you can't get to that screw, the old air duct isn't coming out. There are 2 other screws holding the air duct but they're easy to reach once the back panel is off.
Once that was taken out the process was straightforward, we just took our time reattaching everything step-by-step. Now our dryer works like new.
  • Louis from LOS ANGELES, CA
  • Difficulty Level:
    A Bit Difficult
  • Total Repair Time:
    1- 2 hours
  • Tools:
    Screw drivers
1 person found this instruction helpful.
Was this instruction helpful to you?
Thank you for voting!

Internal vent inside the drum was coated in black (plastics from use)

1. Loosened the 3 screws inside of the drum
2. Removed the entire back of the dryer (lots of screws)
3. Removed the old vent (there are 2 screws at the bottom that hold it in)
4. Install new vent (put the screws back in)
5. Close up back and proceed to put all of the screws back
  • Rich from New Albany, OH
  • Difficulty Level:
    Easy
  • Total Repair Time:
    30 - 60 mins
  • Tools:
    Screw drivers
9 of 10 people found this instruction helpful.
Was this instruction helpful to you?
Thank you for voting!
Fixes Symptom 29% of time
★★★★★
★★★★★
6 Reviews

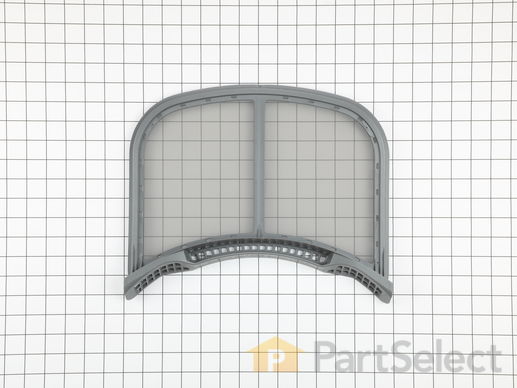
This lint screen is for dryers. The lint screen traps lint and debris from the exhaust air flowing from the dryer.

$ 70.59
  In Stock
PartSelect Number PS12114610
Manufacturer Part Number 5304511512