Parts That Fix Whirlpool Refrigerator ED25RFXFW01 Leaking
Leaking is a commonly reported symptom for the ED25RFXFW01 Whirlpool Refrigerator, and we have put together a full guide on how to fix this. This advice is based on feedback from people who own this exact appliance. We have listed the most common parts for your ED25RFXFW01 Whirlpool Refrigerator that will fix Leaking. We have included repair instructions, and helpful step-by-step video tutorials. If you are experiencing this issue, not to worry, DIYers just like you have fixed this, and shared their experience to help you!
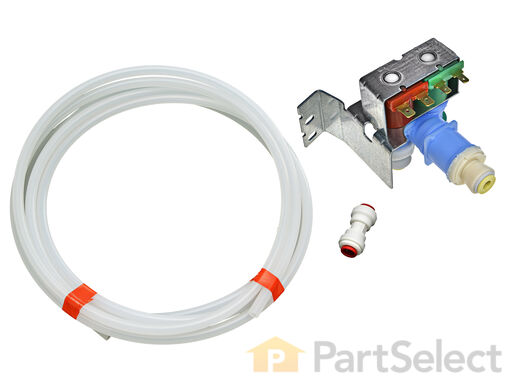
The water inlet valve (Refrigerator Water Inlet Valve Kit) provides water for the ice maker and water dispenser. This part is located at the back of the refrigerator, and connects to the water supply. If your water inlet valve is malfunctioning, you could be getting a lack of water to the inside of your refrigerator. Your ice maker may not produce cubes or your water dispenser may not work. This breakage can occur from material fatigue or normal use, and is a sign the part should be replaced soon. The water inlet valve must be replaced if the solenoids no longer have continuity or the valve has internal blockage. The part measures approximately 6.5 inches long and 3 inches wide and is constructed of plastic and metal. It comes in blue/green/red.
Replacing your Whirlpool Refrigerator Water Inlet Valve

Customer Repair Stories
Ice maker would't fill with water
The valve was the new style where you push in the tubing until it locks. I carefully trimmed each tube square with a sharp razor knife, the old valve used plastic compression fittings which had to be cut off.One of the inlet tubes was smaller than the opening on the valve. I then noticed that there was a reducer in the box that snapped into place making the line a perfect fit! Even though the inlet valve looked different than the original it was an easy installation. After replacing it, I had ice again! Totally impressed with the service and how quickly they shipped the parts on the same day! I will never again run around town trying to find parts! Thanks to all of the hard working employees at Part Select!
-
Jerry from Cooper City, FL
-
Difficulty Level:Easy
-
Total Repair Time:30 - 60 mins
-
Tools:Nutdriver, Screw drivers
When the remote water was turned on, water was pouring onto floor from rear of refrigerator
-
Mark from Wolfeboro, NH
-
Difficulty Level:Easy
-
Total Repair Time:15 - 30 mins
-
Tools:Pliers, Socket set, Wrench (Adjustable)
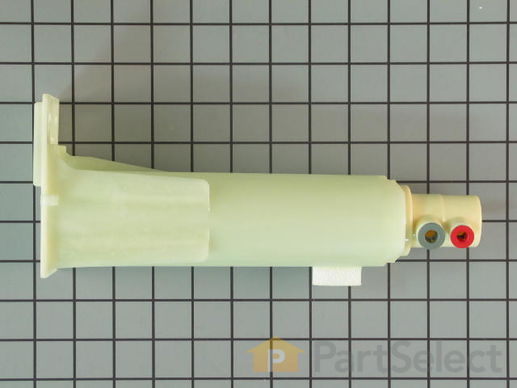
The filter is NOT included with this part. This part has a 1/4" and a 5/16" push on fittings - that way, you can push in the water lines for easy installation.
Replacing your Whirlpool Refrigerator Housing, Water Filter

Customer Repair Stories
Water filter end broke off so I could not get out of housing.
-
William from Waxhaw, NC
-
Difficulty Level:Easy
-
Total Repair Time:Less than 15 mins
-
Tools:Wrench (Adjustable)
Filter Housing Unit Leaking
-
John from Vernon, CT
-
Difficulty Level:Really Easy
-
Total Repair Time:15 - 30 mins
-
Tools:Screw drivers, Wrench set
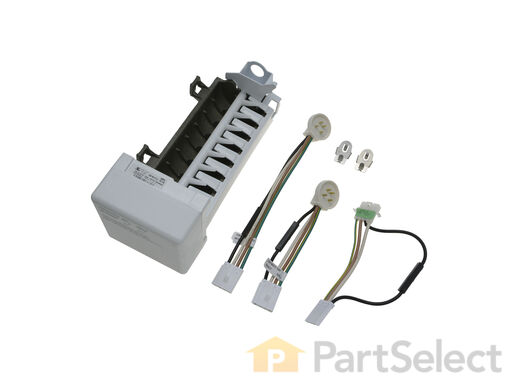
This ice maker (Complete Icemaker Assembly, Whirlpool Icemaker Kit, Ice Maker Assembly, Refrigerator Ice Maker, Icemaker) receives water from the water inlet valve, freezes it, and dispenses it into the ice bucket until the bucket is full. Ice makers will need to be replaced every 3-10 years depending on the frequency of usage, and water quality. You can perform a voltage test with a multimeter or perform an inlet valve test. If you’re unable to make ice, or notice leaks then it may be a sign your ice maker is damaged and could be in need of a replacement. This model measures approximately 11x5 inches, is constructed of plastic and metal, and comes in black/silver. This ice maker is a complete assembly; the whole assembly attaches to the wall of your freezer.
Replacing your Kenmore Refrigerator Replacement Ice Maker

Customer Repair Stories
No Ice in the Ice Maker
-
Chris from Duluth, GA
-
Difficulty Level:Really Easy
-
Total Repair Time:Less than 15 mins
-
Tools:Socket set
Ice Maker quit working, I could manually cycle unit but then the water would overflow when unit was re-filling.
-
Max from Green Castle, IN
-
Difficulty Level:Really Easy
-
Total Repair Time:15 - 30 mins
-
Tools:Nutdriver, Screw drivers
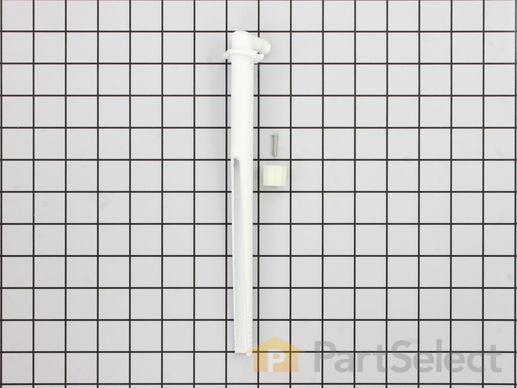
The icemaker water fill tube provides water to the icemaker so it can produce ice and dispense water. If you notice that your ice maker is not making or dispensing ice, or is leaking, you may need to replace the water fill tube. This water fill tube kit comes with a fill tube and a compression nut. This part is made of white plastic and is approximately 10 inches in length. The ice maker water fill tube is in the rear of the fridge. To complete this repair, you will need a 1/4 inch nut driver and a utility knife. Before beginning this repair, you may want to disconnect the water and power supply to the refrigerator.
Replacing your Kenmore Refrigerator Ice Maker Water Fill Tube Kit

Customer Repair Stories
Broken gooseneck on fill tube
Shut off water supply line, and turn of ... Read more f ice maker (lift the metal bar in the ice bucket all the way up). Loosen the hose fitting, and remove two screws. Pull out the old tube, and slide the new one in. You may have to wiggle the tube around from the inside to get the alignment correct. Replace screws and fitting. Turn water and ice maker back on, and check for leaks. It really is that easy! It took me longer to type this than to actually replace the part.
Only one potential catch. The instructions warn that you may have to cut the new tube to match the length of the old tube, so make sure you compare the length of the old and new tube. I didn't have to to do anything - the replacement part was the exact same length of the original. If by chance you do need to cut the tube, you'll need small saw of some sort, such as a coping or hack saw.
-
Thomas from Brunswick, OH
-
Difficulty Level:Really Easy
-
Total Repair Time:15 - 30 mins
-
Tools:Screw drivers
Broken elbow on icemaker water fill tube.
-
Charles from Orland Hills, IL
-
Difficulty Level:Really Easy
-
Total Repair Time:Less than 15 mins
-
Tools:Nutdriver
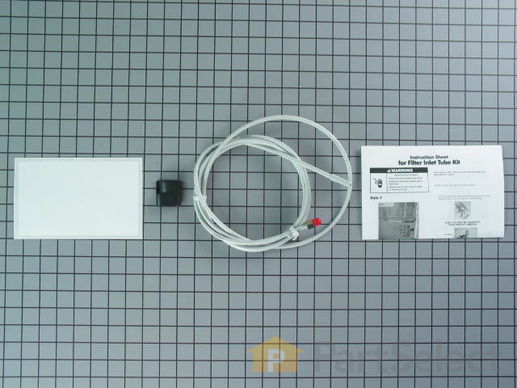
As per the manufacturer, this part starts out as 1/4" tubing but ends up at 5/16".
Replacing your Kenmore Refrigerator Filter Inlet Water Tube

Customer Repair Stories
water leak
-
Dean from Clermont, FL
-
Difficulty Level:Easy
-
Total Repair Time:30 - 60 mins
-
Tools:Screw drivers, Socket set
There was a pin size hole in the tube.
-
Julia from Seguin, TX
-
Difficulty Level:Easy
-
Total Repair Time:30 - 60 mins
-
Tools:Screw drivers
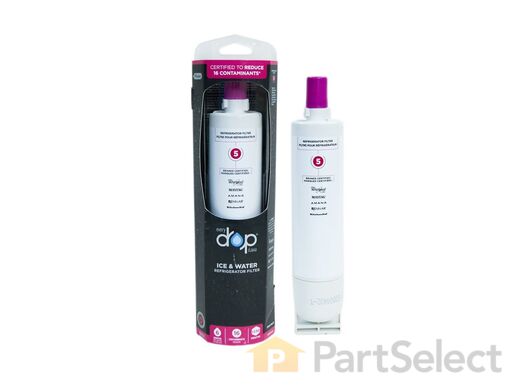
This EveryDrop Filter5 is certified to reduce the most contaminants with Triple Filtration Technology. Now, you and your family can enjoy the enriching benefits of cleaner, freshly filtered ice & water. Not just in beverages, but for preparing meals, too. This advanced generation of ice and water refrigerator filters from EveryDrop Filters are certified to reduce more contaminants with Triple Filtration Technology. Filter 5 reduces 16 contaminants, so you can feel reassured that you and your family are getting the most out of your water. Remember to replace your refrigerator filter every 6 months to maximize contaminant reduction.
Replacing your Whirlpool Refrigerator EveryDrop Water Filter

Customer Repair Stories
Replace Ice & Water Filter
-
Redentor from Daly City, CA
-
Difficulty Level:Really Easy
-
Total Repair Time:Less than 15 mins
Change ice/water filter
-
Nora from Bethesda, MD
-
Difficulty Level:Really Easy
-
Total Repair Time:Less than 15 mins
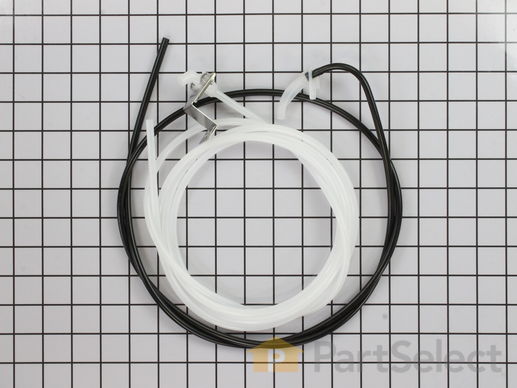
This is the replacement water tube kit for your refrigerator. This tubing is made of plastic, is 1/4 inch in diameter, and comes with 2 inserts. This tube may be longer than the original tube, and may need to be cut. This water tube transports water to the ice and water dispensers. If your refrigerator is leaking, or if the ice and water dispensers are not dispensing properly, you may need to replace this tube. This part is sold individually and is an OEM part sourced directly from the manufacturer.
Replacing your Kenmore Refrigerator Water Tube Kit

Customer Repair Stories
35 year old water tube became brittle and cracked; leaking water
-
Melvin from OPELIKA, AL
-
Difficulty Level:Very Easy
-
Total Repair Time:Less than 15 mins
-
Tools:Screw drivers
Water began to leak under the refrigerator. Source looked like it was coming from control valve suppling water to ice maker and water dispenser.
-
jesse from hacienda heights, CA
-
Difficulty Level:Really Easy
-
Total Repair Time:30 - 60 mins
-
Tools:Nutdriver, Pliers, Screw drivers
This kit is intended for use with refrigerators that have a water dispenser in the door.
Customer Repair Stories
Water leaked on floor when water dispenser was used.
2. Unscrew water nozzle from dispenser.
3. Remove grill on bottom front of refrigerator.
4. Unscrew tubing at the left side of the union.
5. Unclip tubing from the refrigerator frame.
6. Pull tubing out of the dispenser about 6 inches.
7. Cut off nozzle with scissors. ... Read more
8. Insert 1/4" diameter x 1" long molly bolt about halfway into end of tubing where it was cut.
9. Insert the remainder of the molly bolt into the end of the new tubing.
10. Pull the old tubing through the bottom of the door.
11. When the new tubing is pulled all the way through the door disconnect from the old tubing. Remove molly bolt if it is in the new tubing.
12. Remove the ferrel from the old tubing and use to attach new tubing to the union.
13. Connect the water nozzle to the dispenser.
14. Insert new tubing into the clips on the refrigerator frame.
15. Re-install grill.
16. Turn on water.
-
Dave from Danville, AL
-
Difficulty Level:Really Easy
-
Total Repair Time:15 - 30 mins
-
Tools:Wrench set
Nozzle was broken
-
Robert from Tuckerton, NJ
-
Difficulty Level:A Bit Difficult
-
Total Repair Time:1- 2 hours
-
Tools:Nutdriver, Pliers, Screw drivers
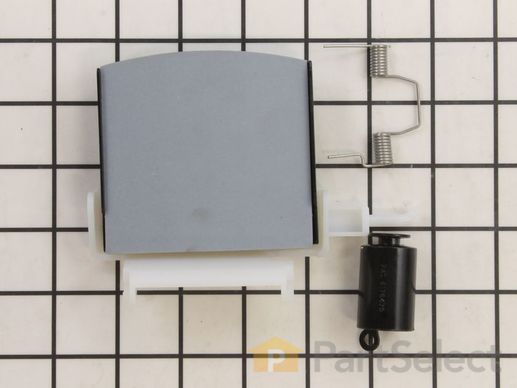
In this kit you will find the support, the ice door, spring, and delay. The heater ribbon is no longer needed and therefore will not be included with this part. This kit works in the dispenser chute to let ice through when it is being dispensed. If you have the following symptoms such as: door sweating, difficulty opening or closing door, frost buildup, warm freezer section, or problems with ice dispensing, then this is a solution. The tools needed for this repair are a putty knife, needle nose pliers, and 1/4 inch nut driver. Wear work gloves to protect your hands when performing this repair.
Replacing your Whirlpool Refrigerator Ice Door Kit

Customer Repair Stories
Warm Air Getting Into Freezer
-
David from Chesterfield, MO
-
Difficulty Level:A Bit Difficult
-
Total Repair Time:30 - 60 mins
-
Tools:Pliers, Screw drivers, Socket set
where ic e dispencer spring is held to door broke at mold
-
helen j from murrells inlet, SC
-
Difficulty Level:Really Easy
-
Total Repair Time:15 - 30 mins
-
Tools:Nutdriver, Pliers, Screw drivers
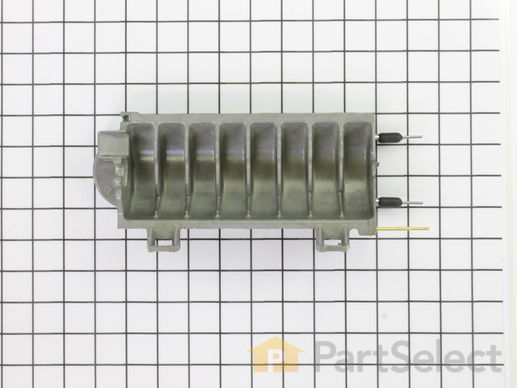
This is an ice maker mold and heater assembly for a refrigerator ice maker. It is used with modular style icemakers and is located in the freezer section of the refrigerator. This ice mold is flake resistant which prevents the coating on the mold from flaking into the ice cubes when the ice mold begins to wear. The ice mold forms the ice cubes and the heater allows the ice cubes to fall from the ice mold to drop them into the ice bucket. You will need to remove the ice maker from the refrigerator to access the mold and heater assembly. This is a genuine replacement part.
Replacing your Kenmore Refrigerator Ice Mold

Customer Repair Stories
The black plastic or teflon coating on the ice mold was coming off in flakes and freezing in the ice cubes
-
Roger from Sunnyvale, CA
-
Difficulty Level:Easy
-
Total Repair Time:30 - 60 mins
-
Tools:Nutdriver, Screw drivers
Ice maker mold was cracked and leaking water into the bin which then froze all the cubes together.
-
George from Cottage Grove, MN
-
Difficulty Level:Really Easy
-
Total Repair Time:Less than 15 mins
-
Tools:Nutdriver, Screw drivers
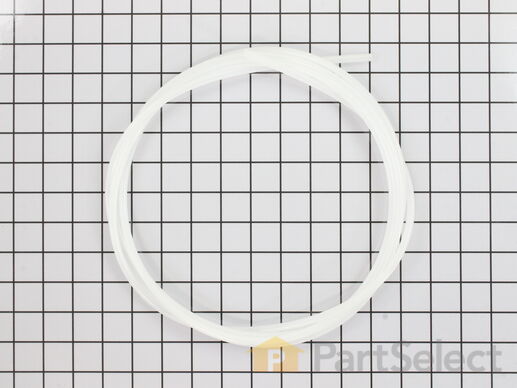
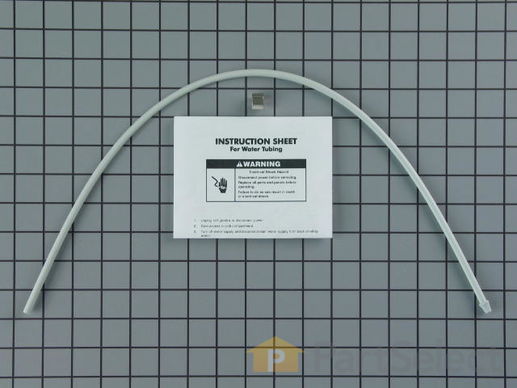
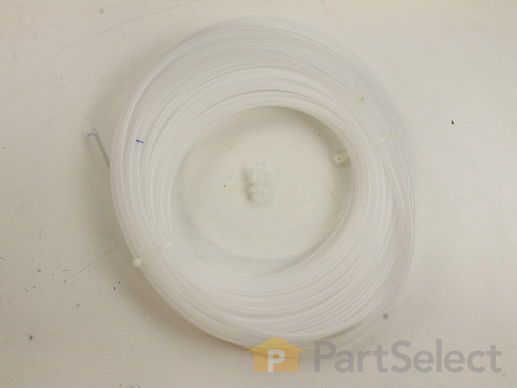
The Water Tube is an OEM component specifically designed for Whirlpool refrigerators. This 1/4" outer diameter water tube provides a pathway for water to flow through the refrigerator's internal components during operations like ice production. This water tube can be cut to fit, is approximately 24 1/2" long.
This refrigerator ice maker fill cup dispenses the water into the ice cube mold during the fill cycle. Replacing the water fill cup is a possible solution if you notice that the ice maker is leaking, or not making/dispensing ice. If you notice the fill cup has been damaged or cracked; replace the part straight away. This water fill cup is a genuine OEM part and will fit most refrigerators, but check the list of compatible brands to make sure yours is included before purchasing.
Replacing your Kenmore Refrigerator Water Fill Cup and Bearing

Customer Repair Stories
Icemaker arm was broken
Once I got this part, I removed the freezer door and trays, and pulled the icemaker out by removing 3 flathead screws and unplugging the c ... Read more ables. Laying in the freezer on the floor was a bit unconfortable, but not too bad.
Then I inspected the icemaker. There was no obvious way to remove the part without disassembling the front of the unit (where the motor is) to release the spindle and free the part, so I did that - 3 or 4 nuts was all that held it together. Once that was out, I removed the spindle, swapped out the part, and put it all back together and back in the freezer. Plugged it in and waited.
It took a while to start making ice. Like 5 hours. Now it's going pretty slow (much slower than before.) Haven't had time to look into it, but my suspicion is the rubber hose that feeds water into the icemaker is blocked with ice or kinked. In any case, we have ice now (but not a lot), and the unit shuts itself off properly. However, we went from having too much ice (thing never shut off) to too little (thing makes ice too slow), so I need to shoot for somewhere in the middle ;)
-
Jason from Austin, TX
-
Difficulty Level:A Bit Difficult
-
Total Repair Time:30 - 60 mins
-
Tools:Nutdriver, Screw drivers
The Bearing Cup Assembly was broken and ice would jamb against it during the ice making cycle.
-
David from Chester, CA
-
Difficulty Level:Really Easy
-
Total Repair Time:Less than 15 mins
-
Tools:Nutdriver, Screw drivers
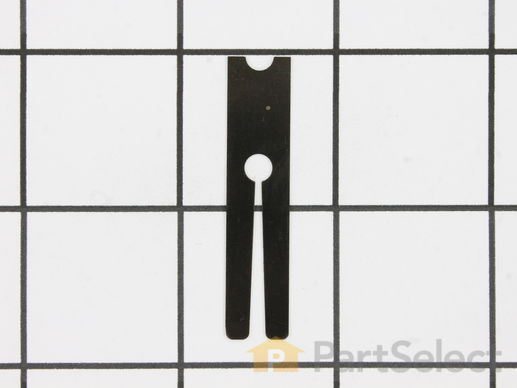
This part is the replacement dispenser lever retainer for your refrigerator. It is made of metal and is approximately 2 inches long and ½ an inch wide. The bottom half of the dispenser lever retainer holds in the pivot points of the ice and water arms. If it breaks, the arms will be loose and can shake around. The top half springs the ice and water arms back into the original position, and if the retainer is broken, they will not be able to do this. The dispenser lever retainer is found behind the dispenser trim and can be removed with a ¼ inch nut driver. This part is sold individually and is an OEM part.
Replacing your Whirlpool Refrigerator Levers Retainer/Clip

Customer Repair Stories
Deli slides broken both sides / door closer cam fridge side
-
William from Dayton, TX
-
Difficulty Level:Very Easy
-
Total Repair Time:15 - 30 mins
-
Tools:Nutdriver, Screw drivers, Socket set
One finger of the spring steel peice that holds the ice maker and water dispenser levers out broke.
I found you by googling appliance repair parts, and fou ... Read more nd your site really easy to use. I couldn't believe how fast the part came and the very reasonable price. I put you on my web browser's favorites.
Thanks,
Ron
-
Ron from Newton, IA
-
Difficulty Level:Really Easy
-
Total Repair Time:15 - 30 mins
-
Tools:Pliers, Socket set
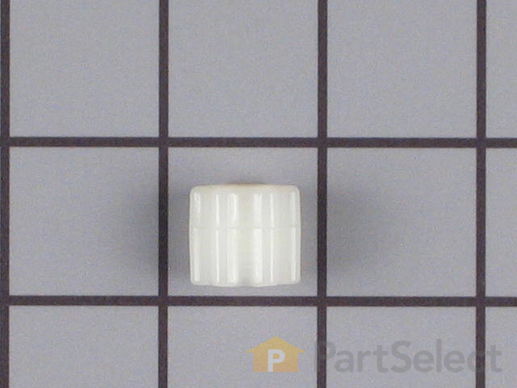
The compression nut is used as a connection between the water supply line and other components in your refrigerator such as your ice maker and your water dispenser. Tools required for this repair include a pair of pliers and a socket set. Before installing this part you should take all perishable foods out of your refrigerator and store them somewhere cool, unplug the refrigerator from the power source, and shut off the water supply. This repair may require you to wear work gloves to protect your hands, and is considered an easy do-it-yourself fix.
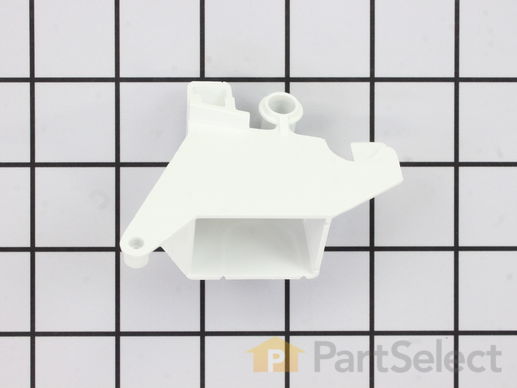
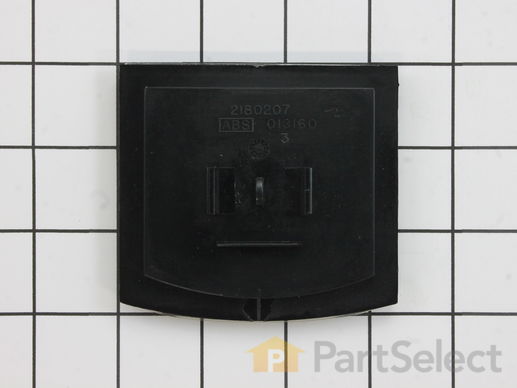
*Please note, this door chute is no longer being manufactured with a heater.
Replacing your Whirlpool Refrigerator Ice Dispenser Door Chute

Customer Repair Stories
Worn out door chute
-
Murali from Rochester, MN
-
Difficulty Level:A Bit Difficult
-
Total Repair Time:30 - 60 mins
-
Tools:Screw drivers
Ice Door Leaking
-
Steve from Metairie, LA
-
Difficulty Level:Easy
-
Total Repair Time:15 - 30 mins
-
Tools:Nutdriver, Screw drivers
This kit no longer includes the connectors. It is only the tubing/water reservoir. Note: This tubing requires an adapter coupler (PS369735) to take the tubing from 1/4 inch to 5/16 inch.
Replacing your Whirlpool Refrigerator Water Dispenser Reservoir Tubing

Customer Repair Stories
Dispensed water w/ funny looking particles
-
MARGARITA from TAMPA, FL
-
Difficulty Level:A Bit Difficult
-
Total Repair Time:1- 2 hours
-
Tools:Wrench (Adjustable), Wrench set
The old resevoir needed to be replaced
1. Turn off the water at the water line for the fridge
2. Disconnect the pressure fittings for both lines running to the resevoir.
3. Remove the old resevoir
4. Install the new resevoir and run the lines back to the orginal fittings.
5. Reconnect the fittings, turn on water.< ... Read more br />6. Drink water!
-
Fred from Martinsburg, WV
-
Difficulty Level:Really Easy
-
Total Repair Time:15 - 30 mins
-
Tools:Pliers, Socket set
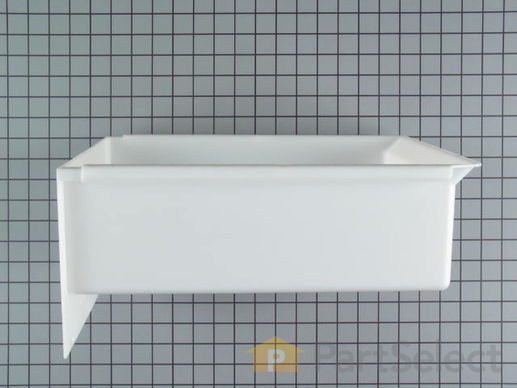
Bucket only. All other parts sold separately. This part holds the ice once it's released from the icemaker.
Replacing your Whirlpool Refrigerator Ice Bucket

Customer Repair Stories
Ice bucket cracked and pieces broke off the bottom
-
Elizabeth from SANDY, UT
-
Difficulty Level:Really Easy
-
Total Repair Time:15 - 30 mins
-
Tools:Screw drivers
Ice bucket had cracked and came apart at the front bottom.
Henry
-
Henry from ROWLETT, TX
-
Difficulty Level:Very Easy
-
Total Repair Time:15 - 30 mins
-
Tools:Screw drivers
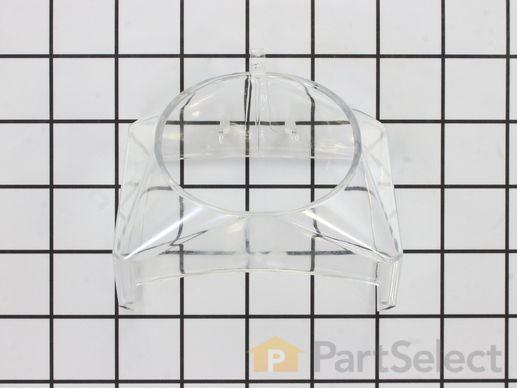
This is a refrigerator ice guide that is made entirely of clear plastic. This ice guide is located in the freezer door. Turn your refrigerator ice dispenser off before replacing the part. This is a simple repair, and the only tool you will need is a small flat blade screwdriver to push on the pivot tab on the bottom of the ice guide. Do not worry about breaking the side or pivot tabs on your existing ice guide because it will be discarded anyway. This is a genuine manufacturer replacement part.
Replacing your Whirlpool Refrigerator Ice Guide

Customer Repair Stories
plastic ice cube guide installed
-
Richard from Bloomington, IL
-
Difficulty Level:Easy
-
Total Repair Time:Less than 15 mins
External Ice Guide Broke a Tooth and Fell Off
Snapping it on was a breeze, although you do have to apply more pressure than feels ... Read more comfortable with plastic clips. We can know get ice out of the external door system again.
-
Tracy from Jacksonville, FL
-
Difficulty Level:Really Easy
-
Total Repair Time:Less than 15 mins
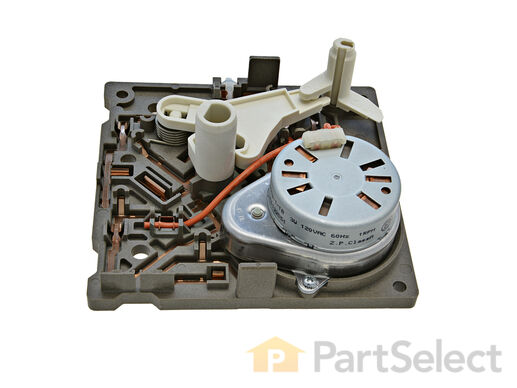
The “Icemaker Control Assembly” (Module & Motor Assembly, Ice Maker Control Module, Icemaker Module, Refrigerator Ice Maker Module) is what controls the actions of your ice maker. The control turns the timing cams and the ejector blades. It controls most of the basic parts and functions such as the heater, water inlet valve, the cube size, and cube ejection. If your ice maker control is broken it can no longer properly control the ice maker functions. It may not produce any ice, make small ice cubes, or have intermittent operation. This can occur due to normal wear and tear. The icemaker control assembly is attached to the ice maker mold, and is under the white cover. Test the icemaker control assembly by using a multimeter. If this reveals the assembly to be defective, you will need to replace this part. It is approximately 4.25 inches square, beige, and is constructed of plastic and metal. This replacement part features one icemaker control assembly, including the control module and the motor.
Replacing your Kenmore Refrigerator Icemaker Control Assembly

Customer Repair Stories
Ice Maker stopped working
Pulled off white plastic end-cap and noticed the plastic gear disk had snapped off (sub part # R0167202)
However, it is all-one-part of the motor assembly unit # w10190935 (part # PS2341896) which must be ordered as a complete part.
Unscrewed the motor assembly (3 screws) with phillips head screw driver.
Screwed in the new unit.
Placed ice maker back into location and tightend the bacing srews.
1 hour later ice was falling!
-
Robert from Port Washington, NY
-
Difficulty Level:Really Easy
-
Total Repair Time:15 - 30 mins
-
Tools:Screw drivers, Socket set
No ice
-
Daniel from Suwanee, GA
-
Difficulty Level:Easy
-
Total Repair Time:15 - 30 mins
-
Tools:Screw drivers, Socket set
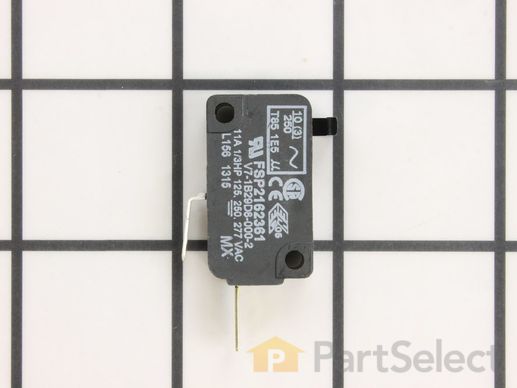
This switch is located inside the dispenser.
Replacing your Whirlpool Refrigerator Micro Switch

Customer Repair Stories
under the water tray there was not screws holding the plate on
-
CHARLES from MAGNA, UT
-
Difficulty Level:Easy
-
Total Repair Time:30 - 60 mins
-
Tools:Screw drivers, Wrench set
Ice dispenser would not dispense ice through the door
-
Larry from Garner, NC
-
Difficulty Level:Easy
-
Total Repair Time:15 - 30 mins
-
Tools:Pliers, Screw drivers
Sold individually.
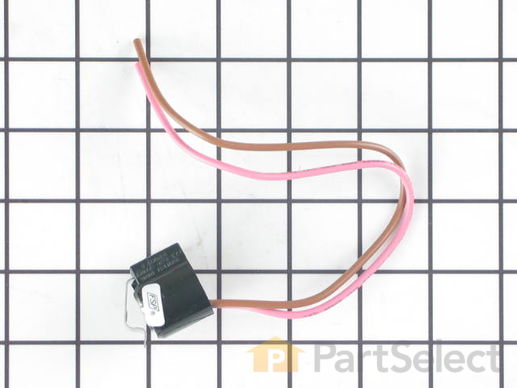
If you have ice building up in your freezer, or if your freezer is getting too warm during the defrost cycle you may need to replace the bi-metal defrost thermostat. The function of the defrost bi-metal thermostat is to clip onto the evaporator and protect your evaporator from overheating during the defrost cycle. If your refrigerator does not defrost properly you can test both the thermostat and the heater to figure out which part is at fault. For this repair, you will need a Phillips screwdriver, a 1/4 inch nut driver, a flat blade screwdriver, a pair of wire strippers, a roll of electrical tape, and a few butt splice connectors.
Replacing your Whirlpool Refrigerator Bi-Metal Defrost Thermostat

Customer Repair Stories
Auto Defrost Freezer keeps defrosting SIDE BY SIDE KITCHENAID
-James
-
James from Ringoes, NJ
-
Difficulty Level:Easy
-
Total Repair Time:15 - 30 mins
-
Tools:Nutdriver, Screw drivers
Fridge was getting too warm, ice buildup on coils.
Part Info:
The bi-metal strip is clipped onto the evaporator coils and is designed to regulate the defrost coil temperature. If it is n ... Read more ot functioning properly you may notice ice buildup preventing air flow (and preventing proper refrigeration), or more rarely the freezer side may get too warm during the defrost cycle.
Materials:
* Replacement bi-metal strip
* Wire cutters
* Wire strippers
* Wire nuts
* Electrical tape
* 10MM socket
Steps:
1: UNPLUG THE FRIDGE! If there is ice buildup, wait until the ice has melted. A box fan blowing at the ice will help melt it more quickly.
2: Remove the panel covering the evaporator coils. It's located inside the fridge, on the freezer side.
3: Un-clip the bi-metal strip from the evaporator coils.
4: Unplug the wires from the evaporator fan, defrost coil and bi-metal strip, then disconnect the main connector that is plugged into the rear wall.
5: Clip both wires to the old ( bad ) bi-metal strip. Cut close to the casing of the bi-metal strip so there are long wires to splice onto.
6: Strip 1/4 to 1/2 inches of insulation off of the ends of the wires ( depending on the size of the wire-nuts you use). Twist the bare wires slightly to prevent fraying.
7: Do the same for the ends of the wires on the (new) bi-metal strip.
8: Take the ends of the wires belonging to the (new) bi-metal strip and the wires coming from the main plug. Take the like-colored wires, and twist the bare metal ends together.
9: Twist on wire nuts, for both sets of wires. Make sure they are snug, with no bare wire showing.
10: Tape over the wire nuts with electrical tape. Tape over the wires nuts in a spiral fashion, completely covering the nut and both wires that are now spliced together. This will prevent accidental shorting.
11: Plug the main plug back into the rear wall of the fridge. Also re-connect the connectors to the evaporator fan and defrost coil. Make sure the clips on the connectors are snug to ensure a good connection.
12: Clip the new bi-metal strip onto the coils, in the same spot as before. ( Usually just after the small incoming copper tubing that connects to the coils, known as the expansion valve. That is usually the coldest spot on the coils during operation).
13: Replace the panel that covers the coils.
14: Plug the fridge back in... Now you fridge should defrost correctly. If it does not, your defrost coil could be burned out, or the control board could be faulty.
-
Cathy from Winter Park, FL
-
Difficulty Level:A Bit Difficult
-
Total Repair Time:15 - 30 mins
-
Tools:Nutdriver
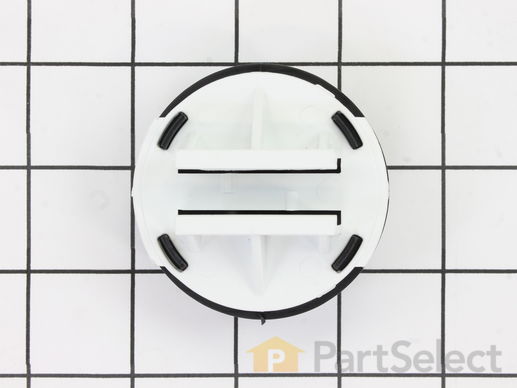
This black water filter cap is located near the bottom kickplate.
Replacing your Whirlpool Refrigerator Cap, Water Filter (Black)

Customer Repair Stories
I broke the old cap trying to turn the filter cc wise.
-
Victor from San Mateo, CA
-
Difficulty Level:Really Easy
-
Total Repair Time:Less than 15 mins
water filter cap broke when extracting old filter
-
John from North Andover, MA
-
Difficulty Level:Really Easy
-
Total Repair Time:Less than 15 mins
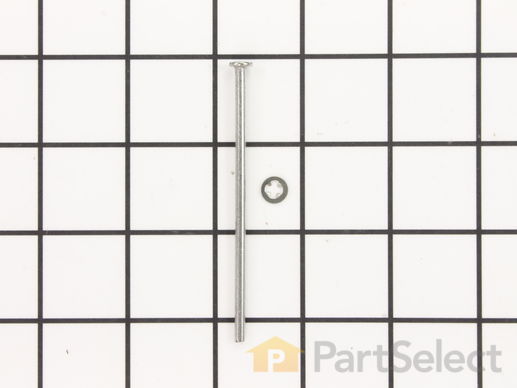
This dispenser door pin comes with the washer.
Customer Repair Stories
Ice dispenser door hinge inop
2. Note the electrical connections on the back of ... Read more the cover plate and locate the connect close to the inside of the freezer door and disconnect it. (Note: this is much easier than pulling each wire off its connection point and then having to remember which color coded wire went where).
3. Carefully work the door hinge pin back out to the right and remove it and the hinge (Note: in my case the pin was already half way out so the old door couldn't close - and since this model door had a heater which came on because the door was misaligned there was constant flow of warm upwards causing ice to melt, run down and re freeze thus making the door difficult to open).
4. Unscrew the single her head screw holding the small metal piece to the right that retains the know upon which the outer door frame turns. Move the frame to the right to free it and work it out if the way. You now have access to the ice-maker door and hinge pin assy.
-
Robert from Emory, TX
-
Difficulty Level:A Bit Difficult
-
Total Repair Time:30 - 60 mins
-
Tools:Screw drivers
Ice Door not closing properly
-
Jennifer from Sahuarita, AZ
-
Difficulty Level:Difficult
-
Total Repair Time:1- 2 hours
-
Tools:Pliers, Screw drivers, Socket set
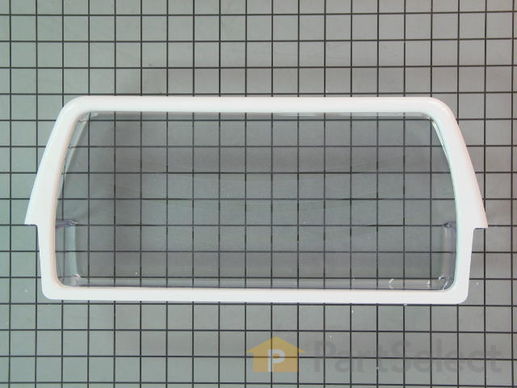
This manufacturer-certified Refrigerator Door Shelf Bin, also known as the crisper bin and door shelf bin, is made of clear plastic, and is easy to install. It is used to hold items in the fridge door, like jars, bottles, cans, and condiments, and this item is clear with white trim around its top edge and you'll be able to visually see if the part is broken. This particular shelf attaches to the fridge door. You can check if this model is right for your appliance by checking your user manual and model number. This individually-sold door bin fits many different models of side-by-side refrigerator, and can be installed with the use of no tools.
Replacing your Whirlpool Refrigerator Refrigerator Door Shelf Bin

Customer Repair Stories
Not enough door storage
-
Dennis from Owings, MD
-
Difficulty Level:Really Easy
-
Total Repair Time:Less than 15 mins
plastic door shelf was cracked & couldn't hold any weight
-
Nancy from Hilton Head Island, SC
-
Difficulty Level:Really Easy
-
Total Repair Time:Less than 15 mins


