


 My Orders




20231 - Overview
Models starting with 20231
Click on the best match to narrow your results.
- 20231 (1988) Kenmore Range (Kenmore Range/Stove/Oven Model 20231(1988) Parts)
- 202312-0100-B1 Briggs and Stratton Engine (Engine)
- 202312-0100-E9 Briggs and Stratton Engine (Engine)
- 202312-0112-B1 Briggs and Stratton Engine (Engine)
- 202312-0112-E9 Briggs and Stratton Engine (Engine)
- 202312-0145-B1 Briggs and Stratton Engine (Engine)
- 202312-0145-E9 Briggs and Stratton Engine (Engine)
- 202312-0147-B1 Briggs and Stratton Engine (Engine)
- 202312-0147-E9 Briggs and Stratton Engine (Engine)
- 202312-0155-B1 Briggs and Stratton Engine (Engine)
- 202312-0155-E9 Briggs and Stratton Engine (Engine)
- 202312-0159-B1 Briggs and Stratton Engine (Engine)
- 202312-0159-B9 Briggs and Stratton Engine (Engine)
- 202312-0179-B1 Briggs and Stratton Engine (Engine)
- 202312-0179-E9 Briggs and Stratton Engine (Engine)
- 202312-0196-B1 Briggs and Stratton Engine (Engine)
- 202312-0196-E9 Briggs and Stratton Engine (Engine)
- 202312-0199-B1 Briggs and Stratton Engine (Engine)
- 202312-0199-E9 Briggs and Stratton Engine (Engine)
- 202312-0205-B1 Briggs and Stratton Engine (Engine)
- 202312-0205-E9 Briggs and Stratton Engine (Engine)
- 202312-0218-B1 Briggs and Stratton Engine (Engine)
- 202312-0218-B9 Briggs and Stratton Engine (Engine)
- 202312-0434-B1 Briggs and Stratton Engine (Engine)
- 202312-0434-B9 Briggs and Stratton Engine (Engine)
- 202312-1157-B1 Briggs and Stratton Engine (Engine)
- 202312-1157-E9 Briggs and Stratton Engine (Engine)
- 202317-0204-B1 Briggs and Stratton Engine (Engine)
- 202317-0204-E9 Briggs and Stratton Engine (Engine)
- 202317-0225-B1 Briggs and Stratton Engine (Engine)
Enter a part description. DIY Heroes keep it simple, eg. "belt" or "pump".
Search filter:
Clear Filter
Your search term must have 3 or more characters.

$52.67
In Stock
Bake Element - 220V 2300W
Part #WB44X5082
This bake element goes in the bottom of your range and is 220 volts and 2300 watts. This closed hinged style element with screw-in terminals measures at 15-1/4 inches long and 18-1/4 inches wide. The bottom bake element provides heat for baking. Tools you will need for this repair include pliers, screwdrivers, and an adjustable wrench. Be...Read morefore you begin this installation, remember to shut off the house circuit breaker or unplug your range. For safety purposes we also recommend wearing work gloves.
Read less

$10.70
In Stock
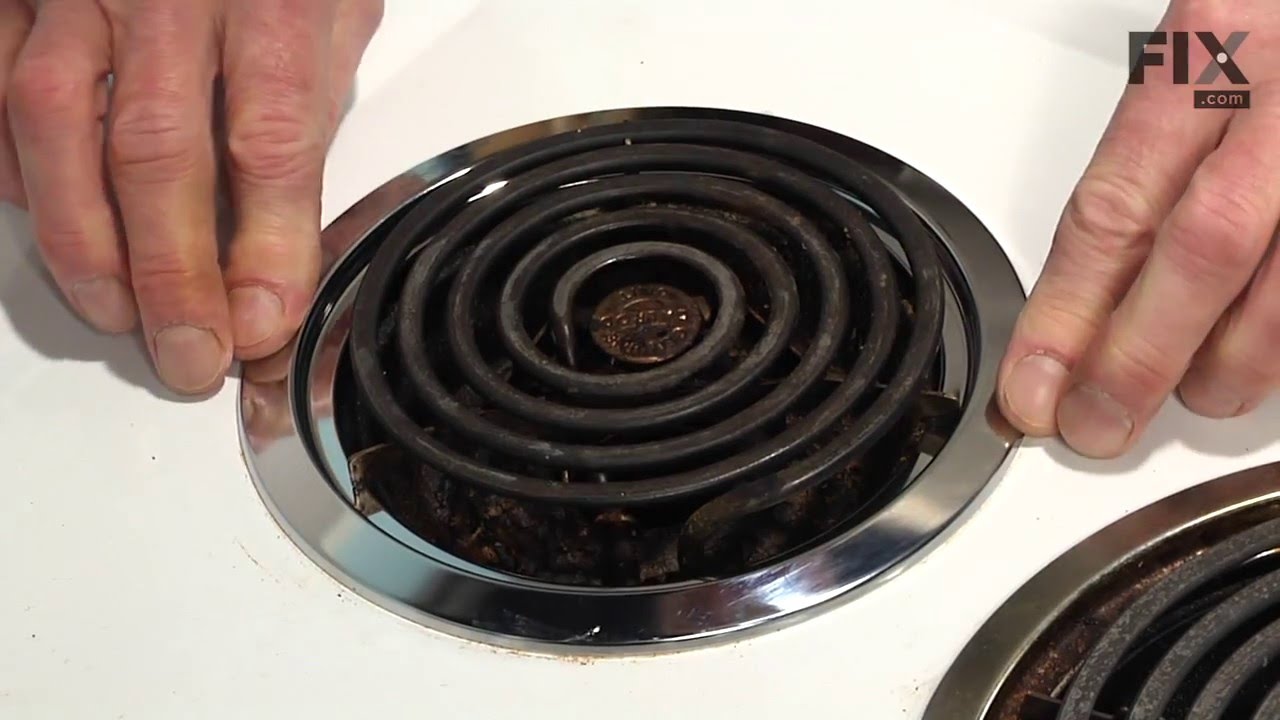
Trim Ring - 6 Inch
Part #WB31X5013
This 6 inch high rise burner trim ring is intended for use with detached style low rise tilt lock surface mount burners on ranges.

$17.15
In Stock
Trim Ring - 8 Inch
Part #WB31X5014
This 8 inch high rise burner trim ring is intended for use with detached style low rise tilt lock surface mount burners on ranges.

$28.42
In Stock
Drip Bowl - 8 Inch
Part #WB32X10013
This eight inch chrome drip bowl is intended for use with with tilt lock style surface mount burner element units.

$21.95
In Stock
Light Bulb - 40W
Part #40A15
This 40-Watt light bulb is sold individually.
It is specially designed to withstand extreme temperatures, so this bulb is compatible with a variety of appliance types including refrigerators, ranges, microwaves, and dryers. It features a frosted glass bulb with a standard metal socket base, which allows you to easily unscrew the burnt-out light and twist the new bulb into place.

$53.20
In Stock
Range Infinite Heat Switch Kit
Part #WB21X36771
The infinite switch controls the stove top surface burner. This switch will work with most of the electrical range models with coil burner elements.

$8.98
In Stock
Filter- A/C Cartridge
Part #491588S
This is a replacement air filter/AC cartridge for your small engine. The air filter prevents dirt and debris from entering the engine. Over time, the air filter can become clogged or damaged, and this can lead to reduced performance. This air filter is approximately 4 inches wide and approximately 5 inches long. To replace the air filter,...Read more locate the air filter cover on the side of the engine, unscrew it, and remove the old filter. Be sure to clear out any dirt, clippings, or other debris that has found its way into the air filter assembly before you insert the new filter. Reattach the air filter cover, and secure it with the screws. This product is sold individually.
Read less

$43.18
In Stock
Broiler Pan - Large
Part #WB48X10056
This large broiler pan is found in the bottom of your oven and is used to catch drippings from broiling foods. This part includes the grate and bottom pan and is made of porcelain. The grate measures 15-1/2 inches wide by 13 inches deep and the pan is about 17 inches wide by 13 inches deep. No tools are required to replace this item, simp...Read morely pull out the lower drawer of your range, pull down the front of the drawer, slide the pan out and slide the new one into place. This is a genuine part sourced right from the manufacturer.
Read less

$9.42
In Stock
Gasket-rocker Cover
Part #690971
Authentic Manufacturer Sourced replacement part used on a variety of Engines. This rocker cover gasket is for the cylinder head. It is sold Individually. It provides a strong seal to protect from leaks. Over time gaskets tend to deteriorate and would need to be replaced.

$6.40
In Stock
Starter Pawl-Ratchet
Part #281505S
The manufacturer-approved Ratchet Pawl (Starter Pawl) comes in a set of two (2). This part attaches inside the recoil assembly, and is used to engage the flywheel. if broken due to wear/damage it will have a hard time engaging the fly wheel, making the engine harder to start, and should be replaced. Installation is rated as "Easy" by cust...Read moreomers, and will require a screwdriver, pliers and nutdriver. Refer to your make, model and diagram to ensure this is the correct part for you.This model is plastic and comes in white.
Read less

$6.40
In Stock
Plug-spark
Part #491055S
This spark plug is designed to provide reliable ignition and efficient fuel combustion in small engine applications. Built for consistent performance and durability, it helps maintain smooth operation, steady power output, and easier starting. Ideal for routine maintenance or replacement, it supports dependable engine performance in lawn and garden equipment, generators, and similar outdoor power machines.

$25.54
In Stock
Pulley/spring Assembly
Part #498144
Upgrade your equipment with this reliable Pulley/Spring Assembly from Briggs and Stratton. Known for their superior quality, Briggs and Stratton parts are designed to help prolong the life of your machines, contributing to their efficiency and performance. This assembly is precision engineered to meet rigorous standards, ensuring robust, ...Read morelong-lasting usage. It aims to improve your machines functionality while maintaining its overall operation efficiency. Enhance your units performance with the assurance of Briggs and Stratton, a trusted name in the industry. Invest in this top-quality Pulley/Spring Assembly and experience the difference today.
Read less
Exact Part matches for your search term

No Longer Available
No Longer Available
$37.25
Special Order
Common Symptoms of models starting with 20231
How this model fails, and the parts that fix it.
Little to no heat when baking
Fixed by
these parts
these parts

Show All
Element will not heat
Fixed by
these parts
these parts

Show All
Oven not heating evenly
Fixed by
these parts
these parts
Show All
Oven is too hot
Fixed by
these parts
these parts
Show All
Will Not Start
Fixed by
these parts
these parts


Show All
Little to no heat when broiling
Fixed by
these parts
these parts
Show All
Cannot pull starter cord out or engine will not turn over
Fixed by
these parts
these parts

Show All
Watch our pros, then fix it yourself.
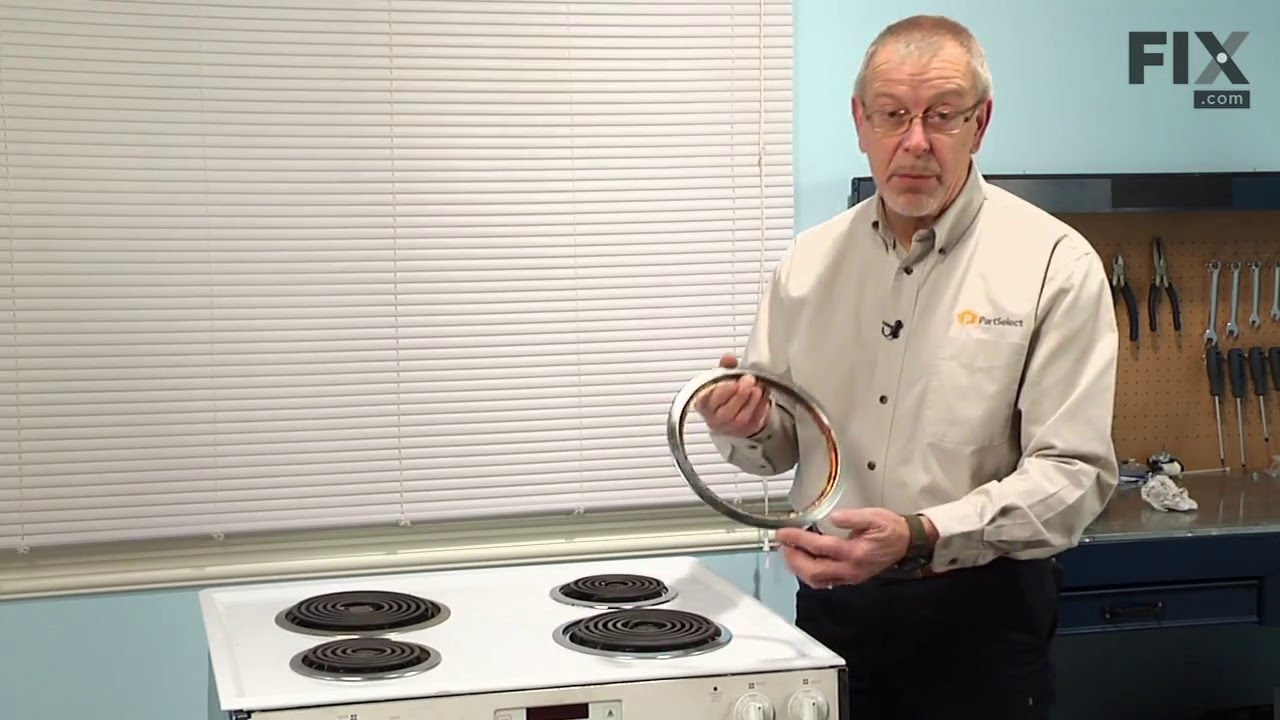
See how others fixed this model. Time, tools, difficulty, and steps that lead to victory!
View More