Models > MDB7100AWW > Symptoms > Leaking

Parts That Fix Maytag Dishwasher MDB7100AWW Leaking

Leaking is a commonly reported symptom for the MDB7100AWW Maytag Dishwasher, and we have put together a full guide on how to fix this. This advice is based on feedback from people who own this exact appliance. We have listed the most common parts for your MDB7100AWW Maytag Dishwasher that will fix Leaking. We have included repair instructions, and helpful step-by-step video tutorials. If you are experiencing this issue, not to worry, DIYers just like you have fixed this, and shared their experience to help you!

Fixes Symptom 44% of time
★★★★★
★★★★★
44 Reviews

Rated by 101 customers 


Really Easy 

15 - 30 mins 

Ratings submitted by customers like you who bought this part.   

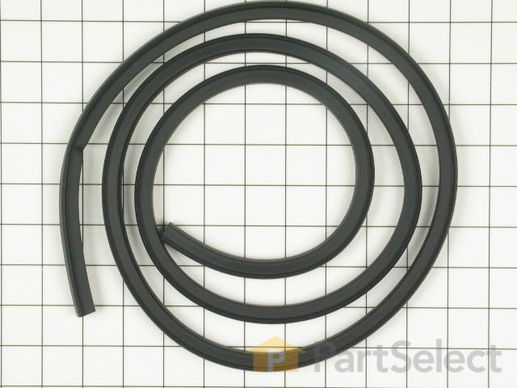
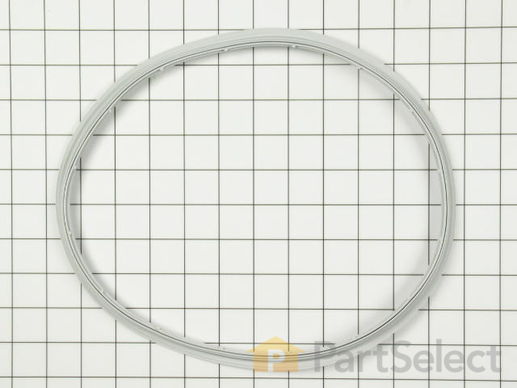
This dishwasher door gasket, or door seal, allows the dishwasher door to have an airtight seal when closing the door. No tools are required for this installation, simply remove the existing gasket and press the replacement gasket into the channel around the door. It is recommended to clean the channel while the gasket is removed. This part may need to be replaced if the existing one is cracked, broken, or hardened, possibly causing water to leak through the door while it is running. This part is sold individually, and is sourced from the original manufacturer.

$ 69.78
  In Stock
PartSelect Number PS11746830
Manufacturer Part Number WP902894

Replacing your Maytag Dishwasher Door Gasket

Replacing your Door Gasket

Customer Repair Stories

Dishwasher leaked from lower door area

Observed the way gasket was installed including slight overhang on each side.
I simply pulled out the old gasket, starting at one end. I then wiped down the area with a dampened rag and pressed in the new gasket exactly the way the old one came out. It is important not to stretch it, just push it into place ending up with the same overhang on both sides.
Total time less than 5 minutes with no tools.
  • Michael from Grand Rapids, MI
  • Difficulty Level:
    Really Easy
  • Total Repair Time:
    Less than 15 mins
104 of 168 people found this instruction helpful.
Was this instruction helpful to you?
Thank you for voting!

Dishwasher was leaking in the lower left hand corner from time to time.

Using the pliers, my husband pulled out the old gasket to get it started. He then pushed the new gasket in with his fingers and used a screwdriver to press in the ends. That's it. Pretty easy. I ran the dishwasher a couple of hours after he installed it and there were no leaks. Still not leaking. Seems a bit quieter since the seal
is better.

I was secretly hoping for a new dishwasher eventually. But it makes much more sense to shell out $43 for the gasket rather than spend the $600 or better for a new dishwasher!

I found the website very easy to use as well. Everything shipped quickly and there were no problems at all. I will bookmark this in favorites should I need it again!
  • Dina from Hammonton, NJ
  • Difficulty Level:
    Really Easy
  • Total Repair Time:
    Less than 15 mins
  • Tools:
    Pliers, Screw drivers
109 of 112 people found this instruction helpful.
Was this instruction helpful to you?
Thank you for voting!
Fixes Symptom 14% of time
★★★★★
★★★★★
4 Reviews

Rated by 25 customers 


Easy 

30 - 60 mins 

Ratings submitted by customers like you who bought this part.   

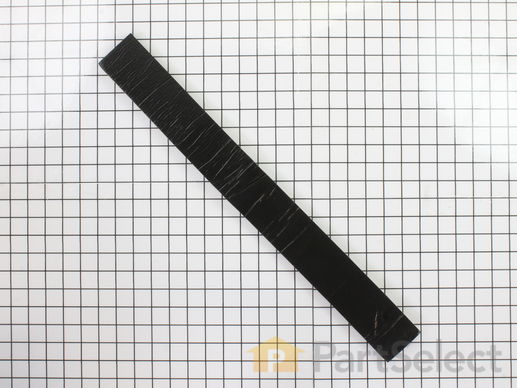
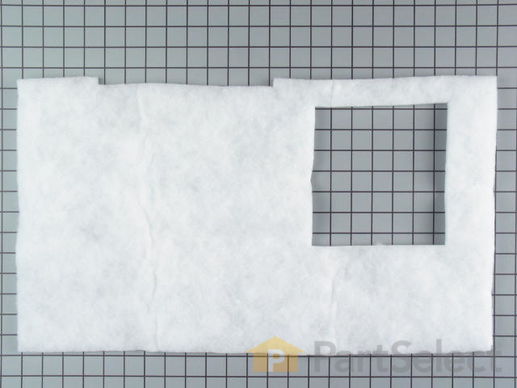
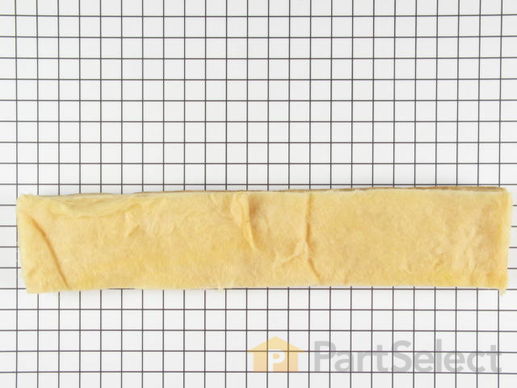
This genuine inner door foam insulation strip, sometimes known as bottom seal foam, is used to create a waterproof seal that helps prevent leaking from the door area of the dishwasher. The existing insulation strip may leave a sticky residue or leftover disintegrated strip that must be scraped off before installing the new strip. Residue can be scraped off with a putty knife. Be sure to remove all residue and clean surrounding areas of the dishwasher build. It is strongly recommended to check other sealant parts on the dishwasher door such as the door gasket and dispenser grommet to ensure the leaking issue is fully solved.

$ 36.28
  In Stock
PartSelect Number PS11748543
Manufacturer Part Number WPW10117748

Replacing your Maytag Dishwasher Inner Door Foam Insulation Strip

Replacing your Inner Door Foam Insulation Strip

Customer Repair Stories

Leaking at bottom of door

The initial repair was more involved due to figuring out how to get at the problem. A foam sealer strip located at the bottom of the inner door had lost it's seal. I first sent off for one and it was of relatively thin material. It was carefully installed but still leaked. I ordered another one from Part Select and it had thicker foam. It was installed right over the previously installed strip and made a tight seal. (knock on wood)
  • E L from Seeley Lake, MT
  • Difficulty Level:
    Difficult
  • Total Repair Time:
    15 - 30 mins
  • Tools:
    Screw drivers
27 of 28 people found this instruction helpful.
Was this instruction helpful to you?
Thank you for voting!

dishwasher door leaks

I ordered and replaced both the door gasket (easy) and inner door seal (difficult) to try and correct a leak during operation. The door gasket was easily replaced. However, the inner door seal was a bit more trouble. After removing the inner door I found that the old inner seal needed to be removed and surfaces thoroughly cleaned of old build-up of dishwasher soap residue, in order to allow the sticky back tape side of door seal to properly stick to the door. There also was a plastic cover over the wire bundle that needed to be cleaned. The inner door seal was the exact length, so proper positioning of the sticky back was very important.
Upon reassemly the leak still existed and I was unable to correct the leak. Further inspection indicated that the basic tub/body of the dishwasher might be slightly distorted due to age and may not create seal with door seal as originally designed.
I guess I need to find a new dishwasher, at this point.
A word to the wise: Check to see if the tub/body is still in good condition.
  • jerry from vernon, CT
  • Difficulty Level:
    Difficult
  • Total Repair Time:
    More than 2 hours
  • Tools:
    Screw drivers
80 of 89 people found this instruction helpful.
Was this instruction helpful to you?
Thank you for voting!
Fixes Symptom 8% of time
★★★★★
★★★★★
2 Reviews

Rated by 52 customers 


Easy 

30 - 60 mins 

Ratings submitted by customers like you who bought this part.   

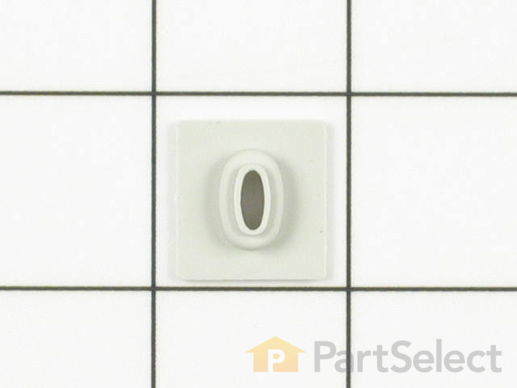
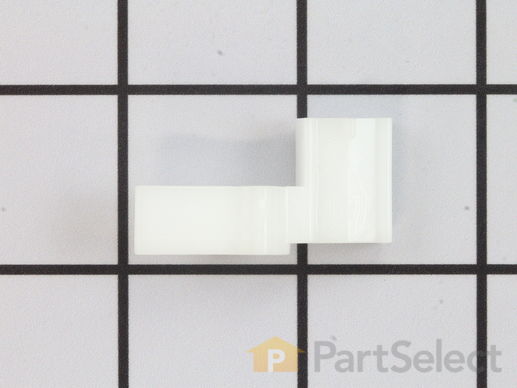
This grommet for your soap dispenser door is just under an inch long.

$ 62.28
  In Stock
PartSelect Number PS11747610
Manufacturer Part Number WP99001553

Replacing your Maytag Dishwasher Dispenser Door Latch Grommet

Replacing your Dispenser Door Latch Grommet

Customer Repair Stories

Water leak bottom right side if door mid cycle

Removed 7 Torx Screws ... removed inner door panel ... snapped off the selinoid after noting the exact original position ... removed the Latch assembly 2 hex head screws ... removed the old Grommet which was crumbling apart ... stretched the new grommet in place. Then did the steps in reverse to complete a successful repair.
Thanks to your website, quick turn-around service and customer's repair stories, I probably saved a few dollars but mostly, I realized how much I love my dishwasher now more than ever!
  • Mary from Narrowsburg, NY
  • Difficulty Level:
    Really Easy
  • Total Repair Time:
    15 - 30 mins
  • Tools:
    Nutdriver, Screw drivers
3 of 4 people found this instruction helpful.
Was this instruction helpful to you?
Thank you for voting!

water leak through door

1- turn power off. 2- remove 7 screws to take door apart 3- remove 2 screws to take dispenser out. 4- i unhooked electic plug from it. 5- replace grommet and all back together. not bad to be 72 years old.
  • marvis from barbourville, KY
  • Difficulty Level:
    Easy
  • Total Repair Time:
    30 - 60 mins
  • Tools:
    Nutdriver, Screw drivers
8 of 8 people found this instruction helpful.
Was this instruction helpful to you?
Thank you for voting!
Fixes Symptom 4% of time
★★★★★
★★★★★
1 Review

Rated by 4 customers 


Really Easy 

15 - 30 mins 

Ratings submitted by customers like you who bought this part.   

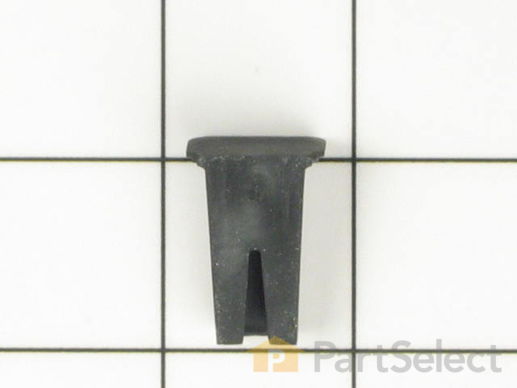
This black water deflector is sold individually. It is used to keep water away from the dishwasher door.

$ 13.05
  In Stock
PartSelect Number PS11747624
Manufacturer Part Number WP99001885

Customer Repair Stories

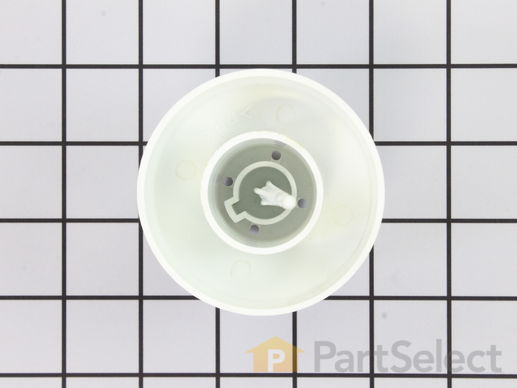
water leakage

slid the part in the groove (left side)
  • maria from Ruther Glen, VA
  • Difficulty Level:
    Really Easy
  • Total Repair Time:
    Less than 15 mins
5 of 5 people found this instruction helpful.
Was this instruction helpful to you?
Thank you for voting!

Water was pouring out of dishwasher door

I googled the simptoms online, and found that the most common cause for a door leak was the door seal. I purchased the seal online from PartSelect.com. Two days later, the part arrived. I pulled out the old seal and pushed in the new one. No tools required. That fixed the problem. While looking at the parts diagram, I noticed that my dishwasher didn't have the water deflectors installed. I don't know if they were ever there. They were cheap, so I ordered them online and slid them into place in less than 10 seconds. Again, no tools required. Dishwasher runs great, no leaks.
  • Walt from Woodbridge, VA
  • Difficulty Level:
    Really Easy
  • Total Repair Time:
    Less than 15 mins
20 of 23 people found this instruction helpful.
Was this instruction helpful to you?
Thank you for voting!
Fixes Symptom 4% of time
★★★★★
★★★★★
1 Review

Rated by 17 customers 


Easy 

30 - 60 mins 

Ratings submitted by customers like you who bought this part.   

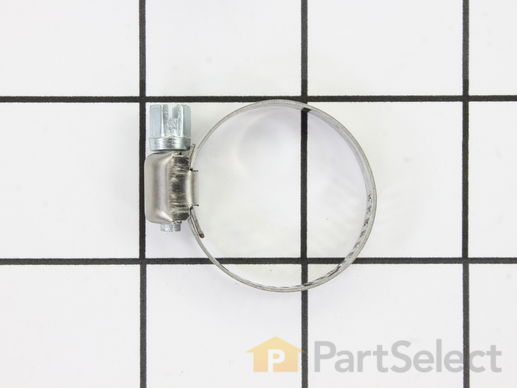
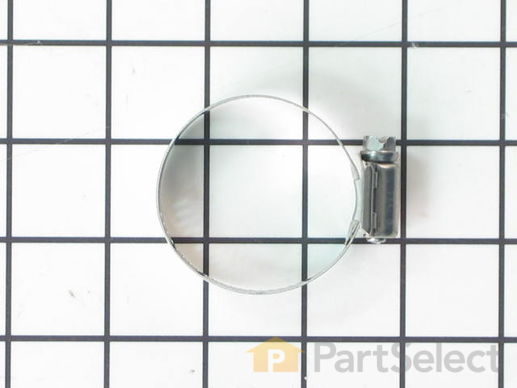
This hose clamp is used in a wide variety of household appliances. Most often it is found in washers, dishwashers, refrigerators, freezers, dehumidifiers, garbage disposals, or air conditioners. This clamp is used to securely attach a hose to another part of your appliance, which helps prevent leaks from those connections. Depending on the appliance, it can attach hoses to drain pumps, water inlet valves, pressure switches, and injector nozzles. We recommend you refer to model-specific diagrams for appropriate uses and exact placement. This hose clamp is made of metal, and is sold individually. To access and replace this part you will need a nut driver, pliers, and screwdrivers. Before you begin any repair work, make sure you have unplugged your appliance, and shut off the water supply if applicable.

$ 11.80
  In Stock
PartSelect Number PS11743008
Manufacturer Part Number WP596669

Replacing your Kenmore Washer Hose Clamp

Replacing your Hose Clamp
Fixes Symptom 3% of time

Rated by 11 customers 


Easy 

15 - 30 mins 

Ratings submitted by customers like you who bought this part.   

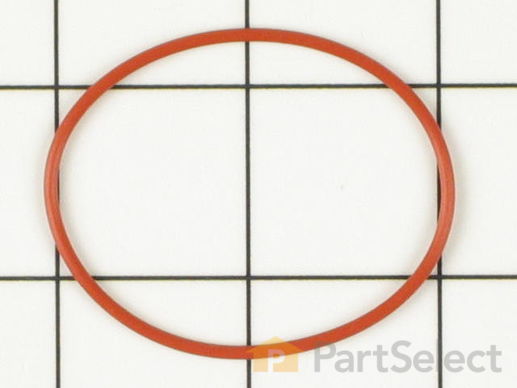
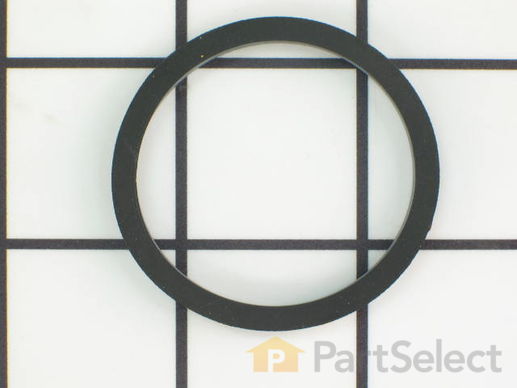
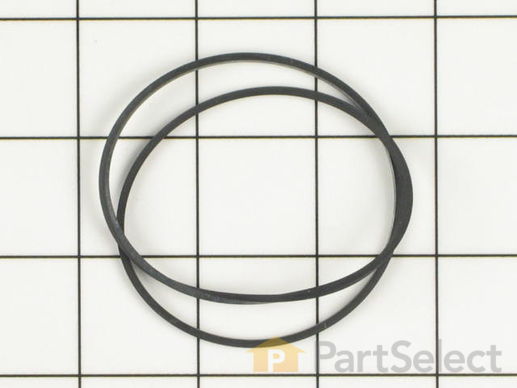
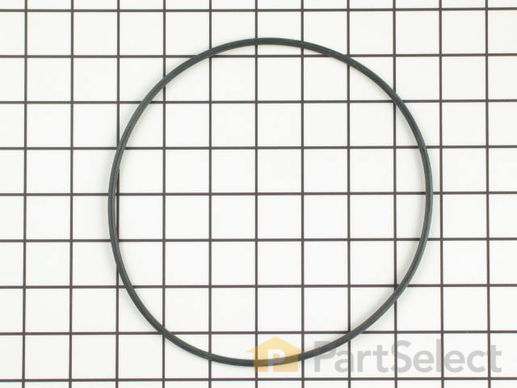
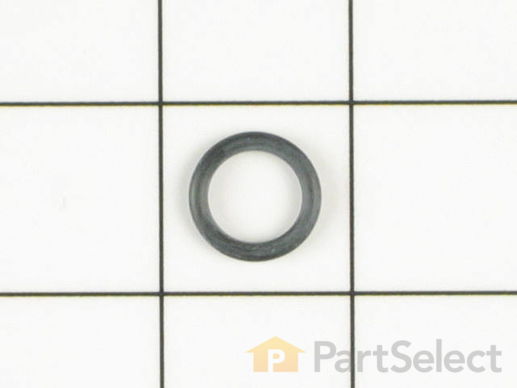
This reservoir o-ring is almost two inches in diameter.

$ 7.62
  In Stock
PartSelect Number PS11747635
Manufacturer Part Number WP99002003
Fixes Symptom 3% of time

Rated by 11 customers 


Easy 

30 - 60 mins 

Ratings submitted by customers like you who bought this part.   

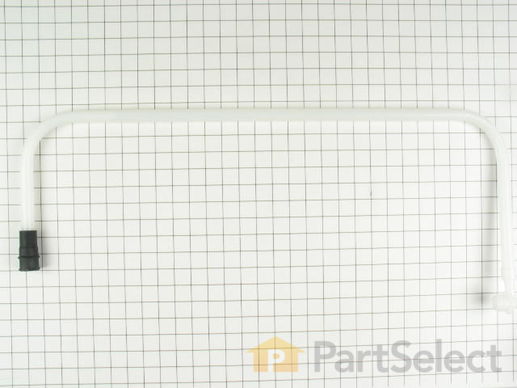
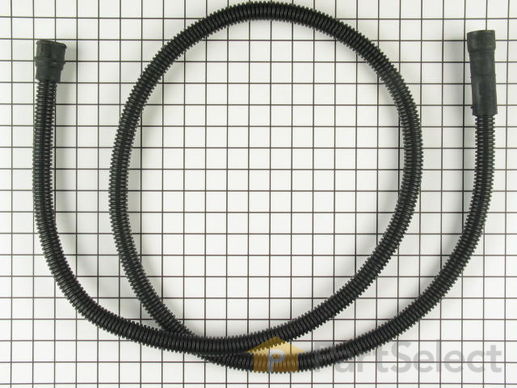
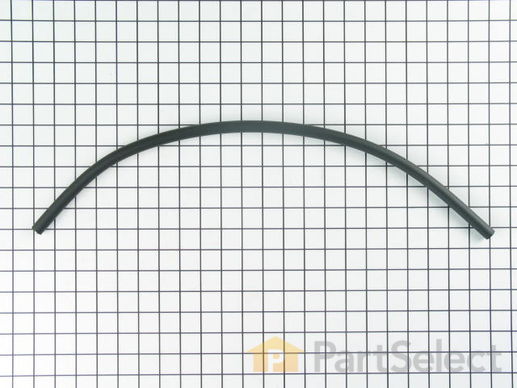
This part is used to carry water from the circulation pump to the arm.

  No Longer Available
PartSelect Number PS2097822
Manufacturer Part Number 912647

Customer Repair Stories

A sudden puddle of water under the dishwasher

I first removed the bottom access panel and 2 upper screws holding the dishwasher to the counter. Be sure to remove the standing water in the bottom tray. I pulled the chassis far enough forward to reach where the top shower hose attaches ( the supply line and wire had enough slack to move the chassis ). Not knowing how the rotating shower arm attached, I unscrewed the ribbed retaining ring above it, and found the whole assembly came loose - freeing the upper end of the shower hose. Put a shallow tray under the lower end of the shower hose to catch the remaining water and loosen the hose clamp to free the remaining end of the hose. Transfer the rubber washer at the top end and the hose clamp at the bottom, to the new hose and install. A quick repair, but one that shouldn't be needed on a 4 year old dishwasher.
  • George from Asheville, NC
  • Difficulty Level:
    Easy
  • Total Repair Time:
    15 - 30 mins
  • Tools:
    Nutdriver, Screw drivers
3 of 3 people found this instruction helpful.
Was this instruction helpful to you?
Thank you for voting!

Water under the dishwasher

1. I removed the covers below the door and watched during a wash cycle to see where the water was leaking. There was a small pinhole on the rubber connector at the end of what turned out to be the "top shower hose". I was hoping I could just replace that rubber connector, but apparently it is permanantly attached to the entire "top shower hose" assembly.
2. To remove the top shower hose I first turned of the circuit breaker to the dishwasher.
3. I needed to slide the dishwasher about half way out of the cabinet, requiring removal of two screws at the top of the dishwasher attaching it to the counter.
4. I also had to turn off the water and disconnect the water supply hose (at supply valve, not inside the washer) because it had no slack to allow the dishwasher to slide out of the cabinet.
5. I removed the hose clamp at the bottom of the dishwasher.
6. I removed the top dish rack (there are clips on the ends of the rails that can be opened to allow the rack to come out).
7. I popped off the upper washer arm by fiddling with the clip mechanism. Then I removed the threaded "nut" holding the hose in place.
8. As others mentioned, it is good to remember to save and re-use the hose clamp and rubber washer.
9. Removed the old hose.
10. Ordered new hose, waited for delivery. Kids washed dishes by hand for a few days.
11. Installed the new hose. Replaced the rubber washer at the top end and fastened with the "nut." Replaced the washer arm and top dish rack.
12. Connected the bottom end of hose, re-using the hose clamp.
13. Positioned dishwasher back under cabinet and replaced screws.
14. Re-connected the water supply hose.
15. Turned circuit breaker back on.
16. Began using dishwasher again. Observed a few wash cycles to ensure no leaks.
17. Re-attached the covers below the door.
18. Done.
  • Kurt from North Ogden, UT
  • Difficulty Level:
    Easy
  • Total Repair Time:
    1- 2 hours
  • Tools:
    Screw drivers, Wrench (Adjustable)
43 of 44 people found this instruction helpful.
Was this instruction helpful to you?
Thank you for voting!
Fixes Symptom 3% of time
★★★★★
★★★★★
13 Reviews

Rated by 26 customers 


Easy 

30 - 60 mins 

Ratings submitted by customers like you who bought this part.   

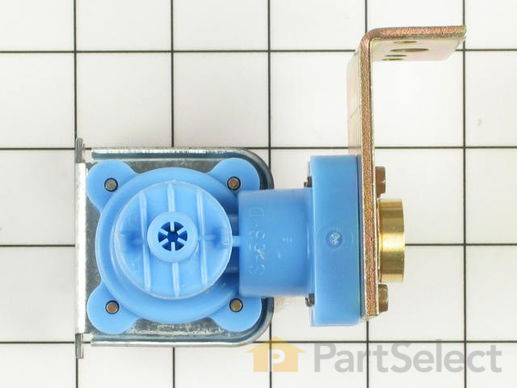
This water inlet valve is specially designed for those dishwashers of the vertical axis style and comes with a mounting bracket. The attaching solenoids on the valve open and close according to the desired amount of water needed.

$ 72.20
  In Stock
PartSelect Number PS11747602
Manufacturer Part Number WP99001359

Replacing your Maytag Dishwasher Water Inlet Valve - 120V

Replacing your Water Inlet Valve - 120V

Customer Repair Stories

No water in the washer barrel

Diagnosed potential problem from scematic diagram found at Parts Select .Com by entering model #. It was very likely the inlet water solenoid. Tear down was simple: Turn off water, disconnect water lines to and from solenoid, disconnect two electric terminals and remove part by removing two screws from dishwasher chasis. Before you buy the new solenoid, unscrew the water inlet elbow from solenoid and check the filter/screen inside the solenoid to make sure it isn't clogged. Assuming it's not, order the replacement part and reinstall in reverse order. Be sure to use plumber's tape on screw connections to make sure there are no leaks..... Also for ease of acces, you'll need to turn the dishwaher down on it's front. Put towels down to cushion the front and keep the controls from contact with the floor. Good luck!!
  • Terry from Great Falls, VA
  • Difficulty Level:
    Really Easy
  • Total Repair Time:
    15 - 30 mins
  • Tools:
    Pliers, Wrench set
12 of 14 people found this instruction helpful.
Was this instruction helpful to you?
Thank you for voting!

The dishwasher wouldn't fill with water.

I first turned off the water to the dishwasher, then the electricity to it, then took off the front bottom access panel, I then unbolted the inlet valve from the side of the machine, undid the electrical hookups remembering which one connected to which, then unclamped the two hoses, I then put the new one back in place, redoing the hoses and electrical and bolting it back to the side of the machine, then putting the front bottom access panel back on, then turning back on the water and electicity. The one thing that may make it easier if you can is to pull the dishwasher out from under the cabinets and lay it down so the bottom is exposed. This would make the process a little smoother.
  • Jared from Rutland, VT
  • Difficulty Level:
    Easy
  • Total Repair Time:
    15 - 30 mins
  • Tools:
    Wrench (Adjustable)
34 of 36 people found this instruction helpful.
Was this instruction helpful to you?
Thank you for voting!
Fixes Symptom 2% of time
★★★★★
★★★★★
1 Review

Rated by 9 customers 


Easy 

15 - 30 mins 

Ratings submitted by customers like you who bought this part.   

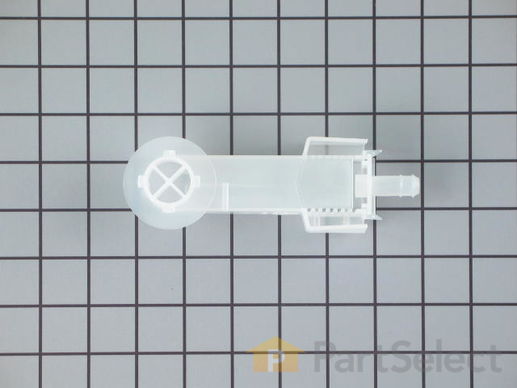
This float assembly is all white in color and is made of plastic. Water that fills your dishwasher lifts this float, and when it reaches a certain level, it shuts off the flow of water into the dishwasher.

$ 11.10
  In Stock
PartSelect Number PS11747672
Manufacturer Part Number WP99002363

Customer Repair Stories

dishwasher would not fill with water

simply placed the new float assembly where it needed to go. problem solved!
  • Margaret from Chicago, IL
  • Difficulty Level:
    Really Easy
  • Total Repair Time:
    Less than 15 mins
Was this instruction helpful to you?
Thank you for voting!

broken float assembly

I went to take the bottom front panel off and ended up dropping the screw down behind the baseboard and then found that I did not need to take the panel off. The broken end of the float was not obstructing and I was able to just drop the new float in place. I spent more time looking for a replacement screw than any thing else. Ran it and it works fine.
  • Ruth from Cresco, IA
  • Difficulty Level:
    Really Easy
  • Total Repair Time:
    15 - 30 mins
  • Tools:
    Screw drivers, Socket set
3 of 5 people found this instruction helpful.
Was this instruction helpful to you?
Thank you for voting!
Fixes Symptom 2% of time

Rated by 10 customers 


A Bit Difficult 

1- 2 hours 

Ratings submitted by customers like you who bought this part.   

This gasket seals the pump.

  No Longer Available
PartSelect Number PS2097779
Manufacturer Part Number 912529

Customer Repair Stories

Leaking at the gasket seal

There were no instructions with the rubber gasket seal . The gasket kept popping off. Finally got it to stay and it still leaked. We actually siliconed it in.
  • Shirley from New Berlin, WI
  • Difficulty Level:
    Very Difficult
  • Total Repair Time:
    More than 2 hours
  • Tools:
    Screw drivers, Wrench set
0 of 3 people found this instruction helpful.
Was this instruction helpful to you?
Thank you for voting!

Pump gasket had deteriorated with age and causing odors.

The dishwasher is well engineered to perform this work.

Remove the bottom two panels to provide access and visibility to base of pump motor.

Locate plastic pump locking lever and push toward rear of DW to unlock pump from DW.

Inside the DW remove basketsand spray arms. Revove screws holding cover over pump motor and remove cover.

From below raise pump motor and support with block (piece of 2x4 worked well).

insde DW, removre old gasket, clean well around pump and botom of DW, install new gasket.

From below remove block to drop pump motro back into place, and re-tighten locking lever by pull toward you.

re-assemble inside componets, run through a rinse cycle to test for leaks and replace bottom panels.


I
  • Kenneth from Brooks, GA
  • Difficulty Level:
    Easy
  • Total Repair Time:
    30 - 60 mins
  • Tools:
    Screw drivers, Socket set
17 of 17 people found this instruction helpful.
Was this instruction helpful to you?
Thank you for voting!
Fixes Symptom 1% of time

Rated by 1 customer 


Really Easy 

15 - 30 mins 

Ratings submitted by customers like you who bought this part.   

This dishwasher drain hose is eighty-seven inches long. It is all black in color and is made of a hard plastic.

$ 91.74
  In Stock
PartSelect Number PS11747615
Manufacturer Part Number WP99001782

Customer Repair Stories

Leaking

Couldn't find the part at any hardware store or bax store. Bought 3 diferent hoses before I found the right one on line with you.
  • Brian from Collierville, TN
  • Difficulty Level:
    Really Easy
  • Total Repair Time:
    Less than 15 mins
  • Tools:
    Screw drivers
Was this instruction helpful to you?
Thank you for voting!

leaking drain hose

removed clamps with screwdriver from bottom of dishwasher and clamp from sink drain. I taped the new hose to the old one and pulled it through. worked perfect.
  • David from Wilmington, NY
  • Difficulty Level:
    Really Easy
  • Total Repair Time:
    15 - 30 mins
  • Tools:
    Screw drivers
14 of 24 people found this instruction helpful.
Was this instruction helpful to you?
Thank you for voting!
Fixes Symptom 1% of time
★★★★★
★★★★★
79 Reviews

Rated by 111 customers 


Really Easy 

Less than 15 mins 

Ratings submitted by customers like you who bought this part.   

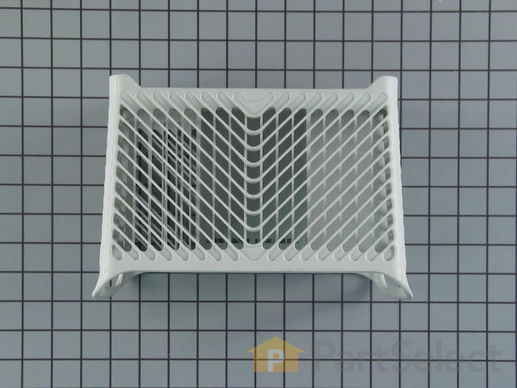
This silverware basket is gray in color and measures 8 inches wide by 11-1/2 inches high by 12 inches deep. The silverware basket is used to hold small utensils such as forks, spoons, and knives during dishwashing. The manufacturer has redesigned this part to be a complete, full basket with a handle and covers. The basket comes apart in two pieces if you prefer to place them along the sides of your dishwasher instead of at the front section of your bottom dish rack. To prolong the life of this part, try to place utensils into the holders carefully instead of dropping them in.

$ 27.75
  In Stock
PartSelect Number PS11743069
Manufacturer Part Number WP6-918873

Replacing your Maytag Dishwasher Silverware Basket - Gray

Replacing your Silverware Basket - Gray

Customer Repair Stories

Maytag makes a really crappy silverware basket. The bottom of ours fell apart the first year.

There was no repair to be done. Just replaced the defective basket with the new one.
I got the part two days after ordering it. Great service.
  • Kenneth from Houston, TX
  • Difficulty Level:
    Really Easy
  • Total Repair Time:
    Less than 15 mins
160 of 230 people found this instruction helpful.
Was this instruction helpful to you?
Thank you for voting!

The utensil basket was old, bowed and the bottom was falling out.

I ordered a new replacement basket. The new one is a little different but it fits in the same place and takes up the same amount of room in the dishwasher. It looks very nice too.
  • Janet from Plano, TX
  • Difficulty Level:
    Really Easy
  • Total Repair Time:
    Less than 15 mins
476 of 489 people found this instruction helpful.
Was this instruction helpful to you?
Thank you for voting!
Fixes Symptom 1% of time
★★★★★
★★★★★
2 Reviews

Rated by 25 customers 


Easy 

30 - 60 mins 

Ratings submitted by customers like you who bought this part.   

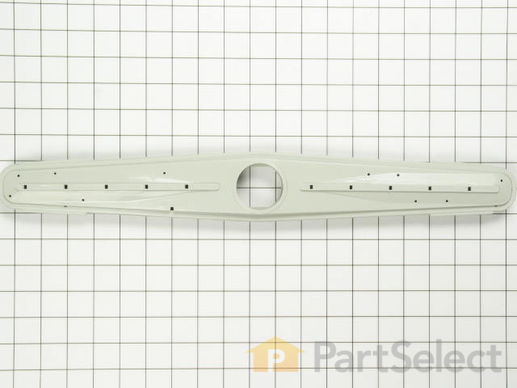
This lower dishwasher spray arm is just about twenty inches in length and three inches wide in the center. Also, this spray arm is gray in color.

$ 83.76
  In Stock
PartSelect Number PS11747617
Manufacturer Part Number WP99001788

Customer Repair Stories

Dishes not getting clean

I asked my husband if I ordered the parts would he change them for me, and when they arrived, it looked so simple I did it myself. I removed the washer arm by unscrewing the disk that holds it in place. I took the metal heat deflectors off the old arm (they just easily pried off) and put them on the new. I lifted off the large round "plate" that the arm rests on and cleaned the underside. Then put it back together in reverse order.
  • Bonnie from Kenner, LA
  • Difficulty Level:
    Really Easy
  • Total Repair Time:
    Less than 15 mins
1 person found this instruction helpful.
Was this instruction helpful to you?
Thank you for voting!

The dishwasher was not getting dishes clean

We had tried to use dish washer cleaners, and they would work for a time, but we started spending more money on cleaner than we wanted. I ordered and then I replaced the lower spray arm. It took a little effort to get the top screw off, due to hard water deposits. The new one went on very easily, just screwed right in like the old one. It's working great and I really don't mind not getting a new one or paying for a service call!!!
  • Vickie from Lincoln, NE
  • Difficulty Level:
    Really Easy
  • Total Repair Time:
    Less than 15 mins
  • Tools:
    Wrench (Adjustable)
3 of 4 people found this instruction helpful.
Was this instruction helpful to you?
Thank you for voting!
Fixes Symptom 1% of time
★★★★★
★★★★★
3 Reviews

Rated by 10 customers 


Really Easy 

15 - 30 mins 

Ratings submitted by customers like you who bought this part.   

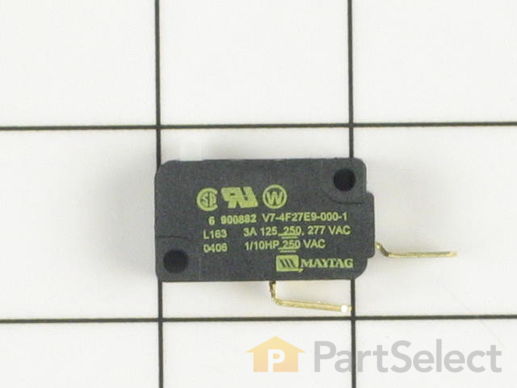
Water that fills your dishwasher lifts this float. When it reaches a certain level, the float triggers the float switch to shut off, thereby shutting off the flow of water into the dishwasher.

$ 55.39
  In Stock
PartSelect Number PS11747680
Manufacturer Part Number WP99002560

Customer Repair Stories

No water would enter in dishwasher

Removed covers on the bottom of dishwasher so I could get access to area. Measured no voltage on water inlet pump. removed to wires from foat switch, one screw to remove float switch. When I pressed the float switch button to activate the switch would not move. Ordered and replaced the switch. 30 minutes tops
  • Rick from Laingsburg, MI
  • Difficulty Level:
    Really Easy
  • Total Repair Time:
    15 - 30 mins
  • Tools:
    Screw drivers
5 of 10 people found this instruction helpful.
Was this instruction helpful to you?
Thank you for voting!

Dishwasher would not fill with water

Remove the lower panel by taking out the 2 screws on top and 2 at the bottom of the panel. To diagnose the problem, verify that there is water supplied from the valve under the sink to the water supply valve under the DW. This can be done by turning off the valve under the sink, disconnecting the copper supply line under the DW then turning on the valve under the sink to see if water passes through the line.

The float switch is located on the left front (as you face the DW). This is activated by the float in the tub. Check to be certain that the float is not restricted. The contact point on the switch is a spring loaded plunger. It should depress as the float rises and pop back out as the float returns to its low point.

Turn off the circuit breaker for the DW. To remove the switch, pull off the two electric leads from the switch. Mark the top lead with a piece of tape. Then remove the one philips screw. Replace the switch by reversing the procedure. Note that you have aligned the float contact point with the float.
  • Clifford from Palm Harbor, FL
  • Difficulty Level:
    Easy
  • Total Repair Time:
    Less than 15 mins
  • Tools:
    Nutdriver, Screw drivers
11 of 28 people found this instruction helpful.
Was this instruction helpful to you?
Thank you for voting!
Fixes Symptom 1% of time

Rated by 5 customers 


A Bit Difficult 

30 - 60 mins 

Ratings submitted by customers like you who bought this part.   

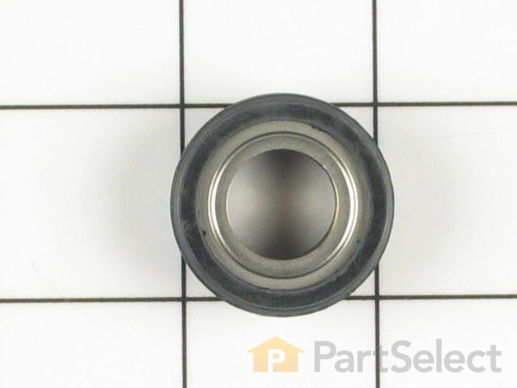
This seal has a rubber exterior and a metal interior.

  No Longer Available
PartSelect Number PS2097154
Manufacturer Part Number 902882

Customer Repair Stories

Blades broken off impeller do to glass prior broken in dishwasher

Called you on Saturday excellent operator placed order even with my card 1st refusing to do transaction. Received pump seal Monday (yes) and All the parts 3 days. Sears (only)the rubber seal! Used one nut driver, labor 1 hr. Thanks to everyone and the phone operator.. My wife is very pleased @ 3 days even over weekend delivery (and) price was less than sears. We shall shop your website again
  • Randall from Long Beach, CA
  • Difficulty Level:
    A Bit Difficult
  • Total Repair Time:
    30 - 60 mins
  • Tools:
    Nutdriver
1 of 2 people found this instruction helpful.
Was this instruction helpful to you?
Thank you for voting!

our dishwasher needed a motor shaft seal

I recieved a different part than was in the picture and description that I ordered, and was billed twice for it. I wasn't able to fix my dishwasher
  • Carrie from Platteville, CO
  • Difficulty Level:
    Very Difficult
  • Total Repair Time:
    Less than 15 mins
4 of 7 people found this instruction helpful.
Was this instruction helpful to you?
Thank you for voting!
Fixes Symptom 1% of time

  No Longer Available
PartSelect Number PS2097781
Manufacturer Part Number 912533
Fixes Symptom 1% of time

Rated by 1 customer 


Easy 

30 - 60 mins 

Ratings submitted by customers like you who bought this part.   

  No Longer Available
PartSelect Number PS2097819
Manufacturer Part Number 912644

Customer Repair Stories

Water leaking around the Inlet injector on side of dishwasher.

My original order was for the "Motor Gasket" in the bottom of the tub that just looked nasty. Not leaking. Replacing that was a little more complicated, but used another customer's recommendations and worked great. Ran an empty load to check for leaks and thats when we discovered that we had a leak on the side of the darn thing. So we ordered the "Injector Seal Ring. Got it in about 5 days and after installing, (2 seconds), we still had a leak! Soooo, ordered the "Water Inlet Injector". 5 days later, we have NO MORE LEAKS!!! I would STRONGLY suggest that anyone who has a leak at the Water Inlet, order a new Injector right along with the Seal Ring. The shipping and handling was WAY more than the price of the parts. I'm happy to say that my 10 year old dishwasher is running like a champ. Thank You.
  • Juli from Grangeville, ID
  • Difficulty Level:
    Easy
  • Total Repair Time:
    30 - 60 mins
  • Tools:
    Screw drivers
8 of 9 people found this instruction helpful.
Was this instruction helpful to you?
Thank you for voting!
Fixes Symptom 1% of time

Rated by 10 customers 


Easy 

1- 2 hours 

Ratings submitted by customers like you who bought this part.   

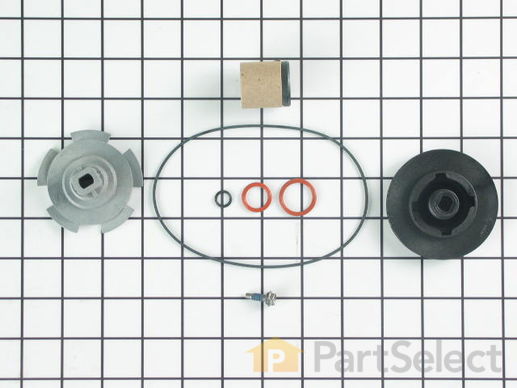
This kit includes 2 impellers, 1 suction plate, 4 seals and a screw.

  No Longer Available
PartSelect Number PS2340860
Manufacturer Part Number 6-915435

Customer Repair Stories

Dishwasher was leaking from motor shaft seal.

Repair was simple, and easy to install. Instructions were fairly straight forward. Only thing to be aware of is when you get to the last part, the cutter blade, it is difficult to remove, and you must pay attention to get it on the new impeller fully seated and make sure that the tabs clear the upper cover that goes on top of it. I had an issue with the tabs catching, causing a loud noise, I simply removed, rechecked, and cut the tabs down a little bit, and re-installed. Overall, took me an hour to complete and I have a quiet and functional dishwasher again!
  • David from West Bloomfield, MI
  • Difficulty Level:
    Easy
  • Total Repair Time:
    30 - 60 mins
  • Tools:
    Nutdriver, Pliers, Screw drivers
0 of 2 people found this instruction helpful.
Was this instruction helpful to you?
Thank you for voting!

Dishes Not Getting Clean

I followed the instructions that came with the parts kit. Everything went fine. When removing the old upper impeller, it came out in two pieces. I did have one o-ring leftover as the instructions did not say where it went. Anyway, the new parts are installed & dishes are getting clean again. I was very impressed with how fast the parts kit arrived at my house.
  • JOHN from SNOHOMISH, WA
  • Difficulty Level:
    Really Easy
  • Total Repair Time:
    30 - 60 mins
  • Tools:
    Pliers, Screw drivers, Socket set
1 of 3 people found this instruction helpful.
Was this instruction helpful to you?
Thank you for voting!
Fixes Symptom 1% of time

Rated by 4 customers 


Easy 

30 - 60 mins 

Ratings submitted by customers like you who bought this part.   

Note: This part has been updated by the manufacturer. It may appear different but will still function the same as the original. The hose clamp is about 2 inches in diameter and made of stainless steel. A hose clamp generally attaches hoses and tubes to various equipment This part consists of a band and a screw that tightens along the slots when it is turned. This part works with washers, dishwashers, food waste disposers, and ice makers. This will need to be replaced if you notice leaking coming from the appliance.

$ 9.81
  In Stock
PartSelect Number PS11743289
Manufacturer Part Number WP616099
Fixes Symptom less than 1% of time

Rated by 3 customers 


Easy 

1- 2 hours 

Ratings submitted by customers like you who bought this part.   

$ 32.75
  Special Order
PartSelect Number PS2097450
Manufacturer Part Number 910069
Fixes Symptom less than 1% of time

Rated by 10 customers 


Easy 

30 - 60 mins 

Ratings submitted by customers like you who bought this part.   

  No Longer Available
PartSelect Number PS2099734
Manufacturer Part Number 99002354

Customer Repair Stories

Detergent cup was leaking and the detergent just dripped down the side of the door.

Took out the pins that hold the detergent cup on, beginning with the side without the spring. Make sure you check how the side with the spring is installed before you take it out. If it's not done right when you put the new one on the lid won't spring open. Then installed the new detergent cup lid. Easy as pie and it would have cost $50 to just have someone come out to look at it and this cost $12. Can't beat that!
  • Susan from Sidney, OH
  • Difficulty Level:
    Easy
  • Total Repair Time:
    Less than 15 mins
  • Tools:
    Pliers
5 of 6 people found this instruction helpful.
Was this instruction helpful to you?
Thank you for voting!

We had to replace the soap dispenser door because it wouldn't open during the wash cycle.

Open the soap dispenser door. On the top right side, there is a round pin holder. Take a small brad or nail and knock the pin out from right to left. Hold the door in place and after the right side pin is out, carefully slide the door up and to the right in order to remove the pin and spring from the left side slot. Notice how the spring is inserted in the slot as it has to go back in exactly as it came out. (short end first. Long end last.)

Put the spring on the left side pin and reinsert the door into place and then tap in he right side pin.

You're done but you won't know that until you run the dishwasher and if the dispenser door is open
at the end of the wash cycle, you did good. If not you have to reinsert the spring properly or buy a new spring if you've damaged the old one.

Good luck.,

RBM
  • Robert from Hamlet, NC
  • Difficulty Level:
    Easy
  • Total Repair Time:
    30 - 60 mins
  • Tools:
    Pliers
5 of 6 people found this instruction helpful.
Was this instruction helpful to you?
Thank you for voting!
Fixes Symptom less than 1% of time
★★★★★
★★★★★
16 Reviews

Rated by 27 customers 


Easy 

30 - 60 mins 

Ratings submitted by customers like you who bought this part.   

The door spring retainer is used in dishwashers. It attaches and holds the door spring to the support frame. If your dishwashers door keeps crashing, or both the door and dish rack are falling apart, then replacing the door spring retainer, which provides more flexibility, could be the solution to your symptoms. Before starting this project make sure to unplug the dishwasher as well as shut off the water supply before installing the spring retainer. Tools are not needed for this easy repair. Refer to the manufacturers installation instructions for best results and accuracy.

$ 11.10
  In Stock
PartSelect Number PS11746857
Manufacturer Part Number WP912653

Replacing your Maytag Dishwasher Door Spring Linkage

Replacing your Door Spring Linkage

Customer Repair Stories

Door would fall open

Removed four screws on bottom plate. Located repair site on outside of cabinet. Had to hook spring on bottom rear plate by brail. Then attached linkage to spring and ran stiff wire through linkage to raise it above arm. Called a man with stronger but larger hands had him stretch the spring while I guided linkage over arm and into the slot using the wire. Removed stiff wire with needle nose pliers and reassembled front plate.
  • Margaret from New Orleans, LA
  • Difficulty Level:
    A Bit Difficult
  • Total Repair Time:
    15 - 30 mins
  • Tools:
    Pliers, Screw drivers
5 of 5 people found this instruction helpful.
Was this instruction helpful to you?
Thank you for voting!

Dishwasher door was crashing open

The replacement of the spring linkage was simple - the pulling out and pushing in of the under-the-counter dishwasher was the difficult and time-consuming part. The repair of the part took less than a minute.

The actual repair -
1. Hook the linkage to the dishwasher door
2. Hook the spring to the dishwasher base ... Read more />3. Hook the spring to the linkage.

Getting the dishwasher out to be able to make the repair involved:
1. Unscrewing the base panel (6 screws had to be removed)
2. Unscrewing the dishwasher from the counter (two screws)
3. Turning off the water supply
4. Disconnecting the inline water supply from the dishwasher.

Once the part was replaced, I had to return the dishwasher to its original position, which meant performing the four steps (in reverse) used to pull out the dishwasher.
  • Bill from Morganville, NJ
  • Difficulty Level:
    Easy
  • Total Repair Time:
    15 - 30 mins
  • Tools:
    Socket set, Wrench (Adjustable)
12 of 12 people found this instruction helpful.
Was this instruction helpful to you?
Thank you for voting!
Fixes Symptom less than 1% of time

  No Longer Available
PartSelect Number PS2097810
Manufacturer Part Number 912633
Fixes Symptom less than 1% of time

Rated by 19 customers 


Easy 

30 - 60 mins 

Ratings submitted by customers like you who bought this part.   

This upper discharge housing gasket is fifteen inches long.

  No Longer Available
PartSelect Number PS2098976
Manufacturer Part Number 99001326
Fixes Symptom less than 1% of time

Rated by 3 customers 


Easy 

15 - 30 mins 

Ratings submitted by customers like you who bought this part.   

  No Longer Available
PartSelect Number PS2097661
Manufacturer Part Number 912014
Fixes Symptom less than 1% of time

Rated by 7 customers 


Easy 

30 - 60 mins 

Ratings submitted by customers like you who bought this part.   

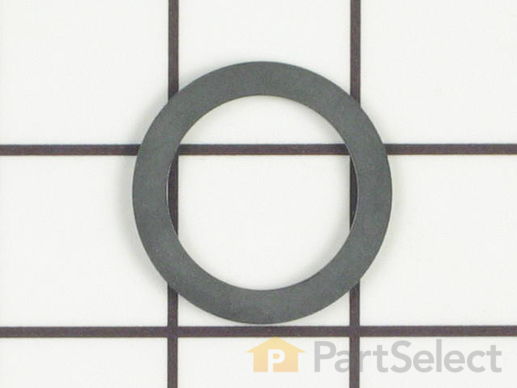
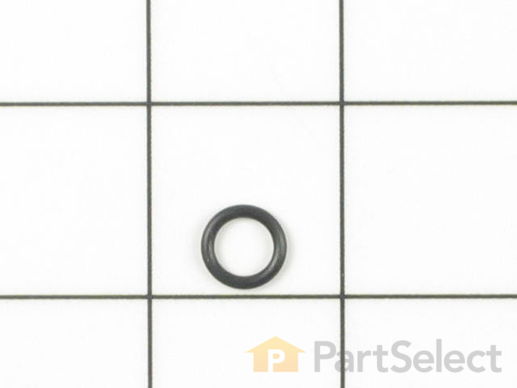
This o-ring seal is well under an inch in diameter. It is all black in color and it is made entirely of rubber.

$ 5.36
  Special Order
PartSelect Number PS11746845
Manufacturer Part Number WP910934
Fixes Symptom less than 1% of time

  No Longer Available
PartSelect Number PS2099437
Manufacturer Part Number 99002005
Fixes Symptom less than 1% of time
★★★★★
★★★★★
1 Review

Rated by 3 customers 


Really Easy 

30 - 60 mins 

Ratings submitted by customers like you who bought this part.   

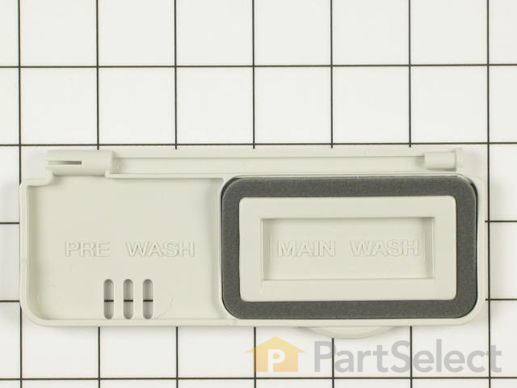
This part holds the rinse aid liquid in the dispenser until the timer activates the rinse cycle.

$ 55.49
  Special Order
PartSelect Number PS11743034
Manufacturer Part Number WP6-903123

Customer Repair Stories

cover for jet dry

good just screwed in
  • elaine from Virginia, MN
  • Difficulty Level:
    Really Easy
  • Total Repair Time:
    Less than 15 mins
Was this instruction helpful to you?
Thank you for voting!

rinse aid plastic burned and curdled

order replace part easy to use
  • Elinor from VLY COTTAGE, NY
  • Difficulty Level:
    Very Easy
  • Total Repair Time:
    Less than 15 mins
1 person found this instruction helpful.
Was this instruction helpful to you?
Thank you for voting!
Fixes Symptom less than 1% of time

$ 25.86
  Special Order
PartSelect Number PS11743084
Manufacturer Part Number WP6-920580
Fixes Symptom less than 1% of time

Rated by 14 customers 


Easy 

30 - 60 mins 

Ratings submitted by customers like you who bought this part.   

  No Longer Available
PartSelect Number PS2097730
Manufacturer Part Number 912313

Replacing your Maytag Dishwasher Lower Spray Arm Seal

Replacing your Lower Spray Arm Seal

Customer Repair Stories

Dishes are not cleaned,ery good machine just when south over night

Removed lower spray arm and installed new seal under spray arm.Did not fix problem,I am guessing a low spray pressure.Everything checks out O.K.Anyone have some suggestions.How does the rinse aid get out of the holding tankr?
  • Larry from Ashtabula, OH
  • Difficulty Level:
    Really Easy
  • Total Repair Time:
    Less than 15 mins
1 of 2 people found this instruction helpful.
Was this instruction helpful to you?
Thank you for voting!
31 O-RING
Fixes Symptom less than 1% of time

Rated by 14 customers 


Easy 

1- 2 hours 

Ratings submitted by customers like you who bought this part.   

  No Longer Available
PartSelect Number PS2099290
Manufacturer Part Number 99001797
Fixes Symptom less than 1% of time

Rated by 3 customers 


Easy 

15 - 30 mins 

Ratings submitted by customers like you who bought this part.   

  No Longer Available
PartSelect Number PS2099901
Manufacturer Part Number 99002531
33 O-RING
Fixes Symptom less than 1% of time

Rated by 6 customers 


Easy 

1- 2 hours 

Ratings submitted by customers like you who bought this part.   

$ 1.55
  Special Order
PartSelect Number PS11746849
Manufacturer Part Number WP912510
Fixes Symptom less than 1% of time

  No Longer Available
PartSelect Number PS2099788
Manufacturer Part Number 99002413
Fixes Symptom less than 1% of time

Rated by 1 customer 


A Bit Difficult 

1- 2 hours 

Ratings submitted by customers like you who bought this part.   

No applicable info

  No Longer Available
PartSelect Number PS1763737
Manufacturer Part Number Y913079
Fixes Symptom less than 1% of time
★★★★★
★★★★★
2 Reviews

Rated by 21 customers 


Easy 

30 - 60 mins 

Ratings submitted by customers like you who bought this part.   

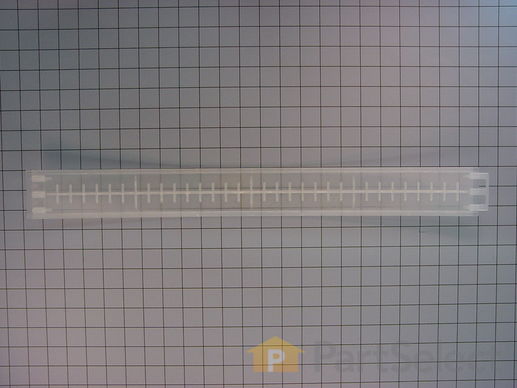
This pump housing filter is twenty-three inches long and a little over two inches wide. This filter wraps around a dishwasher's pump housing and clips in place. It is all white in color and is made of plastic with a mesh screen.

$ 45.43
  In Stock
PartSelect Number PS11747618
Manufacturer Part Number WP99001791

Replacing your Maytag Dishwasher Pump Housing Filter

Replacing your Pump Housing Filter

Customer Repair Stories

dishes didnt clean

my husband took the bottom rack out, unscrewed it where there were screws, lifted up the unscrewed part, took the filter out,cleaned out any gunk, replaced the filter put the part back on, rescrewed it, put the rack back in and it works much better.
  • Lois from Olathe, KS
  • Difficulty Level:
    Really Easy
  • Total Repair Time:
    15 - 30 mins
  • Tools:
    Screw drivers
2 of 3 people found this instruction helpful.
Was this instruction helpful to you?
Thank you for voting!

Wouldn't come clean.

New pump housing filter was needed as the old one was plugged and distorted.

I
  • Keith from Beaver Dam, WI
  • Difficulty Level:
    Easy
  • Total Repair Time:
    30 - 60 mins
  • Tools:
    Nutdriver
2 of 2 people found this instruction helpful.
Was this instruction helpful to you?
Thank you for voting!
Fixes Symptom less than 1% of time

This rinse aid reservoir is seven and a half inches long. It is all white in color and is made of plastic.

$ 43.76
  Special Order
PartSelect Number PS11747725
Manufacturer Part Number WP99002833