Parts That Fix Whirlpool Range GW397LXUS06 Oven not heating evenly
Oven not heating evenly is a commonly reported symptom for the GW397LXUS06 Whirlpool Range, and we have put together a full guide on how to fix this. This advice is based on feedback from people who own this exact appliance. We have listed the most common parts for your GW397LXUS06 Whirlpool Range that will fix Oven not heating evenly. We have included repair instructions, and helpful step-by-step video tutorials. If you are experiencing this issue, not to worry, DIYers just like you have fixed this, and shared their experience to help you!
The temperature sensor on your oven detects the temperature within the oven cavity. If you notice your oven is too hot, not hot enough, or does not heat evenly, the short oven sensor kit may need replacing. This oven sensor is referred to as the short sensor and is 3 inches long. It should not be confused with the 6-inch-long sensor. The oven sensor is located on the back wall of the interior of the oven. Before starting this repair, be sure to disconnect the power source from the oven. If you are repairing a gas range, make sure to disconnect the gas source as well.
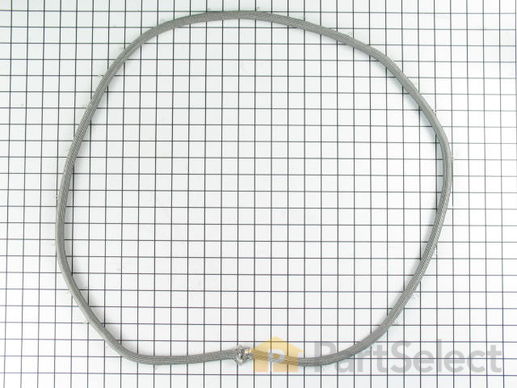
The oven door gasket on your range functions as a seal between the warm interior of your oven, and the outside. It prevents heat from fleeing your oven when the door is closed. Before making any repairs to your oven you should make sure to wear work gloves to protect your hands, and give your oven time to cool. The only tool you will need to make this repair is a pair of needle nose pliers. This oven door gasket comes with built in retaining clips; if any retaining clips from your old gasket are left in the oven make sure to remove them before installing your new gasket.
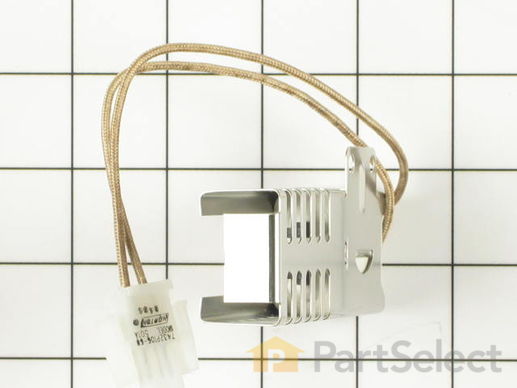
This broil igniter assembly comes with its own metallic mounting bracket and a 7-inch-long dual wire lead with a plastic plug. This part will need to be repaired if your oven element is giving off no heat or very little, or is not heating evenly. You may also notice a smell of gas. The ignitor may still be glowing, but could still have gone bad. You will need a 1/4-inch nut-driver and a 5/16 nut-driver. Open the oven door and pull the door off the hinges to completely remove. Pull out the racks. Using your 1/4-inch nut driver, take out the screws at the bottom rear end of the oven, which will allow you to completely remove the bottom. Unscrew the nuts holding the igniter in place. Remove the igniter with the 5/16 nut driver. You should now have access to remove the old igniter.


