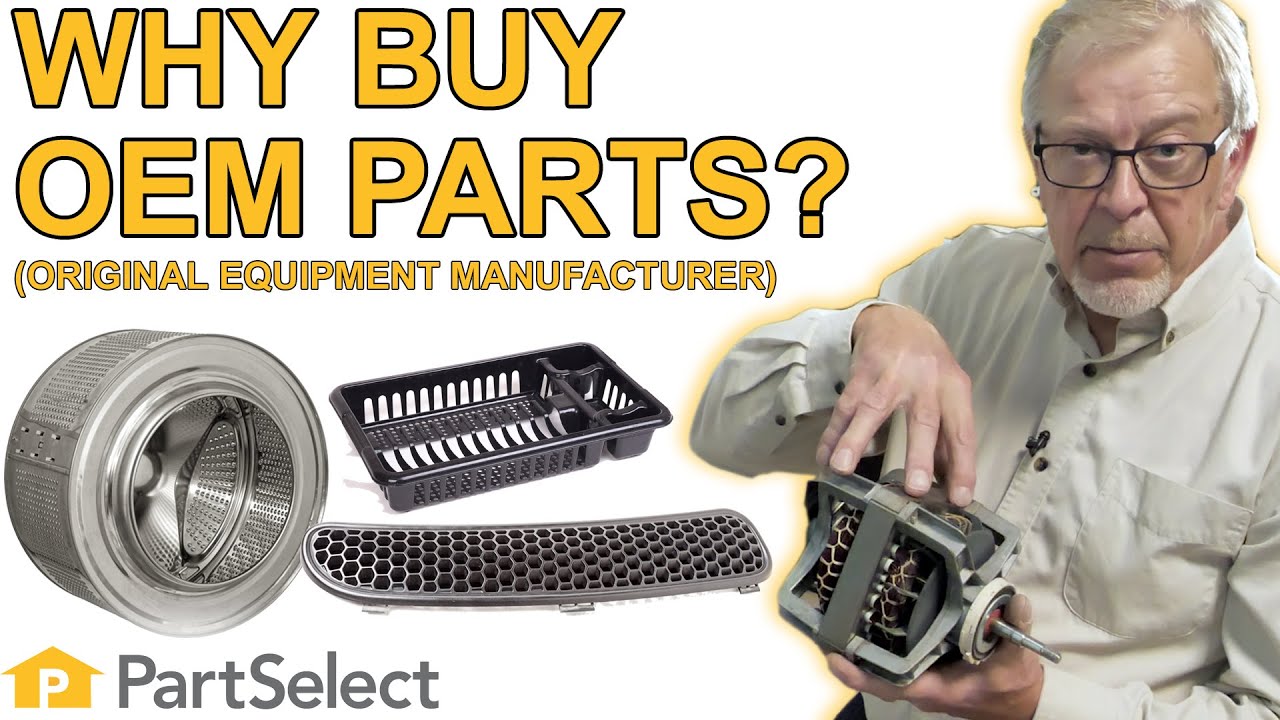
OEM stands for Original Equipment Manufacturer. This means that the company who made your appliance is also supplying the replacement part.
Features
OEM
Generic
Genuine brand name
Guaranteed to fit
Superior Quality
Long term value
About this fix
Common problems and models this part fixes.
Really Easy
15 - 30 mins
Rated by verified customers
Works with the following products:
Refrigerator
Part# WR2X8818 replaces these:
AP2060482, 299041, WR02X8818, WR2X8661
Customer Reviews
Real ratings from other people who bought this part.
Average Rating:
★★★★★
★★★★★
1 Review
4.0
Out of 5
5 Stars
0
4 Stars
1
3 Stars
0
2 Stars
0
1 Star
0
Search reviews left by others. DIY doesn't mean you have to do it alone. Use simple keywords like "fit", "broken", "easy", or "quality" to find reviews that match!
Search filter:
Clear Filter
Your search term must have 3 or more characters.
Sort by:
Prev
1
Next
Sorry, we couldn't find any existing reviews that matched. Try using some different or simpler keywords.
★★★★★
★★★★★
Shannon F - March 22, 2018
Verified Purchase
Super easy.
But it didn't come with the needed screw... Which was sad, cause mine was rusted out. I had to make due at local hardware store.
Prev
1
Next
Repair Tips
See how others fixed this model. Time, tools, difficulty, and steps that lead to victory!
Really Easy
15 - 30 mins
Average repair rating from 9 real customers like you
Sort by:
Prev
1
Next
Search repair tips from other customers using simple keywords like "replace", "fit", "remove", "inspect". DIY doesn't mean you have to do it alone!
Search filter:
Clear Filter
Your search term must have 3 or more characters.
Sorry, we couldn't find any existing installation instruction that matched.
Ice got stuck at dispenser door
3 of 3 peoplefound this instruction helpful.
Brian from ORLANDO, FL
Really Easy
30 - 60 mins
Pliers, Screw drivers
I started by finding thw dispenser door part. On the parts diagram it showed all the other parts I might need to replace. Due to the age of the fridge I decided to replace them all, especially the sprIngs. I made sure to watch all of the videos for each part. Although they overlapped, each one showed the repair in more detail. The repair
... Read more was as shown. If your frosge has been in service like mine for many years, plan on taking thw whole ice chute and dispenser door assembly out for thorough cleaning. One trick I learned is to take pictures as I disassemble so I can refer back for reassembly. When I put it together, the microswitch didn't work. I ordered that part, the only one I missed initially and installed it when it came in. Everything worked well. There was no video for the torsion spring and alignment of the chute and frame is tricky, make sure you take a picture. Part Select should dona video foe that. The putty knife trick for the trim ring was key. It was only shown in one video for an internal part so glad I watched them all.
ice despenser door would stick open and frost up to the point of of ice not coming out
35 of 47 peoplefound this instruction helpful.
joe from raleigh, NC
Easy
Less than 15 mins
Screw drivers
after finding the video describing the same problem, i gave it a shot. Major problem was figuring out how to take outside trim off of the ice/water dispenser. Everything i tried did not work like the videos i had seen. Looking thru some of the posted blogs i found another way to get behind the control panel without even taking off the tri
... Read morem piece. i pressed a 1/8th allen wrench into the two outer holes on the bottom of the control panel which released the panel to pull out from the bottom. after that it was simple to release the three plugs from the circuit board and remove the control panel. 4 phi lips screws later the ice chute comes straight out revealing the flapper door which is held in by 2 more screws. once that assembly is out the solenoid is held by three more screws. there was nothing difficult at all about this repair once the secret was out about the first step about the three holes (use only the outer two) in the bottom of the control panel
Ice cube production stopped; ice cube chute door is seized.
41 of 59 peoplefound this instruction helpful.
Bruce from Mebane, NC
Really Easy
30 - 60 mins
Screw drivers, Socket set
Problem: I have a black colored GE 24.9 cubic inch side-by-side refrigerator, model #GSH25KGMCBB that I purchased new in 2002. The ice cube maker stopped supplying ice cubes and the ice dispenser door stopped operating.
Repair: Unplugged refrigerator first and shut off the house water supply valve. Removed the lower rear acce
... Read moress cover and replaced the double solenoid water valve. Icemaker and water dispenser tubing are easily removed by pushing in and holding down the white plastic collar where the tubing is inserted into each port on the valve body; no tools required to release the tubing. Hint: When reconnecting the water outlet tubing, ensure the tube diameter matches the port on the valve body. Insert each tube by hand back into the ports of the valve until they firmly seated.
Removed the control panel by inserting a small screwdriver into the three holes located on the bottom of the control panel body. Removed all of the ice dispenser door hardware and the door solenoid. The door solenoid armature was seized by corrosion. Cleaned off all of the accumulated dirt and mold with a 1:10 ratio solution of bleach and water. Replaced all of the door recess and solenoid valve fasteners with my own stainless steel #4-40 thread, 0.25" long socket head screws for longer life. The installation of the remaining hardware is the reverse of how it was removed.
The installation looks very clean now and $150 later, the ice maker still doesn't produce ice!
Root-cause analysis: I disconnected the ice cube maker water supply line from the double solenoid valve at the rear of the refrigerator and was able to blow air with my mouth straight through the outlet of the water tubing located inside of the freezer compartment; to ensure it wasn't blocked. Verified the water supply valve is not being energized! Turns out that the blinking green LED indicator on the ice cube maker is indicating more than the troubleshooting guide does about that because the white colored insulated conductor in the electrical harness for the ice cube maker is not energizing the solenoid on the water supply valve!
Conclusion: the ice cube maker assembly is next on the list of replacement parts!!
Removed the front panel on the door that has the ice maker controls. Removed the screws and parts. Reassembled the parts and it works better than new. Ice door closes firmly and holds tight.
Pulled the ice/water control panel off using the three holes under the lip. Pops off pretty easy. Next came 4 screws holding the chute for the ice. Two bottom screws were very rusty, top two look brand new. Watch the wires. Replace the solenoid assembly by unplugging wires leading to the board, then removed the plunger over the top of the
... Read more hook on the far right. Went ahead and replaced the dispenser door assembly or flapper. Plugged refridge back in and pressed the ice dispenser handle and listened for the solenoid to cycle. Perfect. There is a little delay before you hear the flapper fall into place. Saving rest of parts just in case they are needed next time.Thanks to everyone who wrote in to show how easy it would be. No telling how much a repairman would have charged me.
Recessed door on ice dispenser would stay open causing the freezer to frost up
70 of 92 peoplefound this instruction helpful.
Turcotte's Housing Service, In from Newmarket, NH
Really Easy
15 - 30 mins
Screw drivers
I inserted the tip of a very small screwdriver from a eye glass repair kit into the three small holes under the panel near where the ice is dispensed. I never would have known about this simple procedure if it wasn't for the feedback you post from your parts cumtomers. Once I did this the front panel with the buttons on it poped off and i
... Read moret was just a matter of removing a few screws at that point. The wires from the new solenoid easily plugged into the board on the front panel. I would recommend changing the screws at the same time. The old one's worked but they were rusty. I feel the solenoid was my only problem but I changed all the parts in between the dispenser door and the solenoid just to be sure.
first I snapped out control face plate on outside of door. removed the screws for each part,and unplugged the wires at the connectors, replaced new parts and plugged in connectors to new circuit board.I decided to replace the board,switch and solenoid all at the same time, not knowing which part was bad.I have to say it was well worth it!
... Read more it works better than when it was new!!!! It was a lot easier than I thought it was going to be.
Unplugged power cord. Used a small screw driver to release the bottom of the control panel. Pulled it out and unplugged wires, then set it aside. Removed 4 screws from the housing shield and pulled it out. Now the solenoid assembly and related parts are accessable. I removed the solenoid assembly by loosening the top screw and removing th
... Read moree 2 bottom screws. This was the main problem, but I also replaced related parts that were worn or corroded. I also cleaned and disinfected everything in there while I had it apart because it was pretty nasty! Now it works like new.
Ask our experts a question about this part and we'll get back to you as soon as possible!
We may have answered a similar question already! Search questions and answers left by others using simple keywords like "fit", "broken", "easy", or "quality" to find questions that match.
Search filter:
Clear Filter
Your search term must have 3 or more characters.
Sort by:
Prev
1
Next
Sorry, we couldn't find any existing answers that matched.Try using some different or simpler keywords, or submit your new question by using the "Ask a Question" button above!
Phillys - For model number GSL25JFTABS
February 29, 2024
I replaced the ice funnel because the other had broken off. (We just moved here. ) now it won’t stop blowing out ice and the water tube sticks almost straight out so water squirts over your glass if you don’t watch it carefully.
What do I need to do.
Hi Phillys, thank you for getting in touch. Based on the description that you have provided, we would recommend replacing the dispenser door flap, part number PS964304, to fix the issue. It opens to let ice through when dispensing into a glass or other container. We hope that helps!
I had a small black piece of plastic with 2 holes in it break off the bottom corner of the refrigerator door. Now the door feels really heavy and will not close. What part do i need to replace this and fix the issue?
Hi Joe, thank you for your question. It sounds like it might be your door stop that you want to replace but the one listed underneath your model is white. If that is not the part then it might be that the piece you are looking for only comes with the door itself. I hope that helps. Good luck with your repair.
refrigerator door handle came off. small hole appears to hold pin but pin is gone. can this part be ordered or do I need the entire handle?
Hello Steve, thank you for contacting us. We have researched the model you have provided and have found that the parts you are looking for are the set screw, part number PS963535, and the handle fastener, part number PS2340133. If the threads in the handle are good, the mentioned parts will potentially solve your problem. Customer service is always available to help you place an order if you are having trouble doing so. Good luck with your repair.



 My Orders