


 My Orders




Dispenser Door Assembly or Flapper WR17X11653
Official part for General Electric, Hotpoint, Kenmore







Fits your ESS25LSMEBS!
About This Part
What it does. Why it matters. Everything you need to know for an easy fix.
Dispenser Door Assembly or Flapper Specifications
This “Dispenser Door Assembly” (Door Recess Assembly, Ice Door Assembly, Dispenser Door, Refrigerator Dispenser Ice Chute Door Kit, Dispenser Door Flap, Ice Chute Door, Flapper) keeps the room air from infiltrating the freezer. Once the lever is pressed, the door flap opens and allows the ice to dispense into your container. If your door flapper is broken, it could allow outside air to enter the freezer and alter the inside temperature. You may notice frost buildup surrounding the dispenser area. The door flap can disconnect from the dispenser lever, or the tabs that hold it in place may break. Frequent use may distort the sealing face and cause air leaks and frost buildup. This part mounts in the ice dispenser, and measures approximately 3.25 inches in diameter. It is constructed of plastic and rubber, and comes in white/black. This part is sold individually.
Part #WR17X11653
Manufactured by
GE
for General Electric, Hotpoint, Kenmore

You May Also Need
Because heroes deserve fewer surprise re-installs.

$56.33
In Stock

$16.10
In Stock

$16.05
In Stock

$20.36
Special Order

Affresh Dishwasher Cleaner Tablets - 6
Part #W10549851
$22.52
In Stock

Affresh Washing Machine Cleaner Tablets – 6 Count
Part #W10501250
$28.42
In Stock

$18.22
On Order

$27.36
In Stock

Refrigerator Deodorizer
Part #MCS62101805
$31.58
In Stock
Genuine OEM: Original Parts. Lasting Repairs.
Because quality isn't optional.
OEM stands for Original Equipment Manufacturer. This means that the company who made your appliance is also supplying the replacement part.

| Features | OEM | Generic |
|---|---|---|
| Genuine brand name | ||
| Guaranteed to fit | ||
| Superior Quality | ||
| Long term value |
Part Videos
Watch our pros, then fix it yourself.
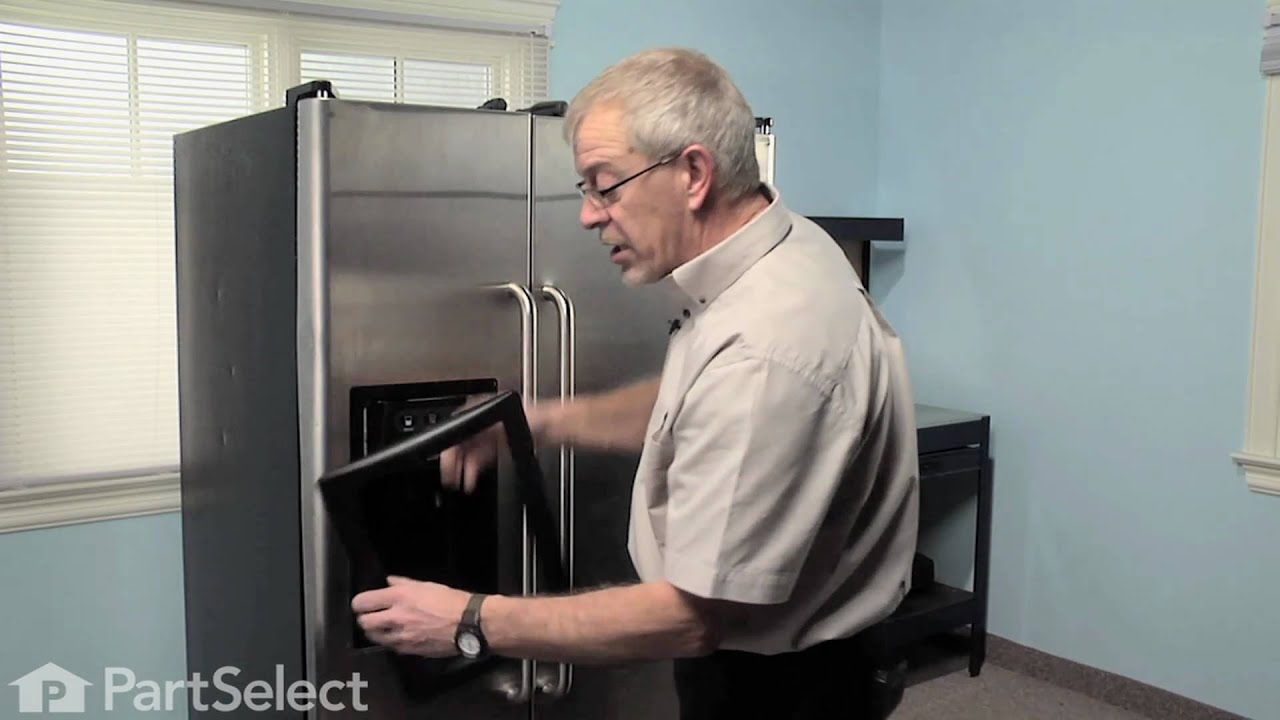
Replacing your General Electric Refrigerator Dispenser Door Assembly or Flapper
Repair Tips
See how others fixed this model. Time, tools, difficulty, and steps that lead to victory!
Sort by:
- Prev
- 1
- 2
- 3
- Next
Search repair tips from other customers using simple keywords like "replace", "fit", "remove", "inspect". DIY doesn't mean you have to do it alone!
Search filter:
Clear Filter
Your search term must have 3 or more characters.
Sorry, we couldn't find any existing installation instruction that matched.
Ice got stuck at dispenser door
3 of 3 people
found this instruction helpful.
I started by finding thw dispenser door part. On the parts diagram it showed all the other parts I might need to replace. Due to the age of the fridge I decided to replace them all, especially the sprIngs. I made sure to watch all of the videos for each part. Although they overlapped, each one showed the repair in more detail. The repair
... Read more
was as shown. If your frosge has been in service like mine for many years, plan on taking thw whole ice chute and dispenser door assembly out for thorough cleaning. One trick I learned is to take pictures as I disassemble so I can refer back for reassembly. When I put it together, the microswitch didn't work. I ordered that part, the only one I missed initially and installed it when it came in. Everything worked well. There was no video for the torsion spring and alignment of the chute and frame is tricky, make sure you take a picture. Part Select should dona video foe that. The putty knife trick for the trim ring was key. It was only shown in one video for an internal part so glad I watched them all.
Read less
Other Parts Used:


Was this helpful?
Thank you for voting!
Frost on the inside of the ice shoot, and the dispenser door recess crank was broken.
1 person
found this instruction helpful.
Used a putty knife to take the frame out .disconnected the power. Disconnected the panel. unscrewed the dispenser door recess crank (only 4 screws) . After that unscrewed the assembly of the flapper It was an easy process after that to install the new parts using a flat head and a
Phillips screw drivers.
Phillips screw drivers.
Other Parts Used:

Was this helpful?
Thank you for voting!
Ice dispencer door does not close properly causing ice formation
1 person
found this instruction helpful.
Used the instruction provide by Part Select, which are easy to follow.
When it came to replacing the Solenoid, the two bottom screws were easy to remove, The third screw (located on the top) needed lo be loosened, That screw was very difficult to remove because it was rusted, and I had to replace it.
I suggest that a spare screw ... Read more should be supplied wit the solenoid.
When it came to replacing the Solenoid, the two bottom screws were easy to remove, The third screw (located on the top) needed lo be loosened, That screw was very difficult to remove because it was rusted, and I had to replace it.
I suggest that a spare screw ... Read more should be supplied wit the solenoid.
Read less
Other Parts Used:
Was this helpful?
Thank you for voting!
Frozen water dispenser line; install water line heater
2 of 2 people
found this instruction helpful.
This should have been easy, but I couldn't get the housing shield off. I removed the 4 screws but it wouldn't come off. It seemed to be stuck in the lower right. (It seems that many people have the same problem.) I decided to destroy the old one and install a new dispenser housing shield, and replace the flapper while I was at it. I final
... Read more
ly got the shield off (by taking a pipe wrench to it and breaking it into little pieces) and discovered what the problem was: the light in the lower right had melted the plastic of the dispenser shield, which fused to the plastic of the housing! Bad design, GE! After that, it was no problem. However, I couldn't remember how to replace the microswitch. I should have taken a picture, first. Duh. Lucky for me, Parts Select had a very informative video showing how to replace the microswitch. ! was saved! Thanks, Part Select!
Read less
Other Parts Used:

Was this helpful?
Thank you for voting!
Frost in upper portion of freezer
1 person
found this instruction helpful.
Removed escutcheon, removed control panel, remover and replaced flapper, spring and crank. Followed the instruction exactly. Although I hope this fixes the frosting problem, I did not see anything wrong with the parts I removed. I hope this fixes the problem,
Other Parts Used:
Was this helpful?
Thank you for voting!
ice door not closing
2 of 3 people
found this instruction helpful.
looked at the video you supplied for repair.. that made it so easy to repair the problem. I felt quite confident in myself after the video.The repair went smoothly and the refridgerator wotks super thank you so much Rick
Other Parts Used:
Was this helpful?
Thank you for voting!
FROST IN FREEZER NO WATER
2 of 2 people
found this instruction helpful.
FOLLOW INSTRUCTIONS OF YOUR VIDEO
Other Parts Used:
Was this helpful?
Thank you for voting!
- Prev
- 1
- 2
- 3
- Next
DIY Questions and Expert Answers
38 questions answered by our Repair Experts.
Ask our experts a question about this part and we'll get back to you as soon as possible!
We may have answered a similar question already! Search questions and answers left by others using simple keywords like "fit", "broken", "easy", or "quality" to find questions that match.
Search filter:
Clear Filter
Your search term must have 3 or more characters.
Sort by:
- Prev
- 1
- 2
- 3
- Next
Sorry, we couldn't find any existing answers that matched.Try using some different or simpler keywords, or submit your new question by using the "Ask a Question" button above!
Diane
- For model number TFX25KRCBWW
November 6, 2017
My ice dispenser opening keeps freezing up, after watching your video on replacing the flap i discovered that the flap on mine does not close, i can only assume that's the problem. What i need to know now is replacing the flap going to fix the problem or do i need to replace what closes the flap

Hi Diane,
Thank you for your question. That flap seals your freezer from the outside. The only thing I can think of is because it is not sealing, moisture is getting in from the outside and freezing around your opening. I hope that helps. Good luck with your repair.
9 people
found this instruction helpful.
Was this helpful?
Thank you for voting!
MARY
- For model number GSS25tSRESS
January 9, 2019
Ice builds up in the chute and the ice cubes cannot fall through,, resulting in the whole chute becoming frozen solid. Is this the part that needs to be replaced to keep the warm air from entering from the outside and causing this problem?
Hello Mary, thank you for your question. Yes, this is one of the first parts we would recommend replacing. Warm air is getting up inside the dispenser and frosting and freezing. You may also want to replace the Dispenser Door Recess Crank Part Number: PS291908 and Recess Door Spring Part Number: PS285013 at the same time. Good luck with your repair!
7 people
found this instruction helpful.
Was this helpful?
Thank you for voting!
Brian
- For model number GSH25KGMDBB
October 1, 2017
I'm getting freezing inside the shoot of my ice maker and by the ice maker dispenser. I order a new flapper.I also have inconsistent dripping coming from where the water comes out.If I dispense more water it will stop.I don't believe this has to do with the faulty flapper because it comes out the white tube. What could the issue be?
Hi Brian, Thank you for the question. I suggest replacing the Dual Inlet Water Valve,PartSelect Number: PS304374.If the valve is defective it will become "stuck" open and allow water to flow through creating the dripping.It can also cause the water to sit in the tubing and cause the freezing. Hope this helps!

$84.51
In Stock
5 people
found this instruction helpful.
Was this helpful?
Thank you for voting!
John
- For model number GSHF5KGXECWW
December 12, 2018
My flapper stays open about one inch, i can push it closed, could my problem be the spring that should close it?
Hello John, Thank you for the question. It is possible the flapper is warped or damaged as well. I suggest taking the flapper, spring and crank out to check for damage. Hope this helps, good luck with this repair!
5 people
found this instruction helpful.
Was this helpful?
Thank you for voting!
Debbie
- For model number GSS25WSTASS
August 30, 2017
If i replace the ice flapper since it will not close would i need any other parts
Hi Debbie,
Thank you for your inquiry. The cranker no longer comes with this part. You can use the original crank from the old part. I hope this helps. Thank you and have a great day!
4 people
found this instruction helpful.
Was this helpful?
Thank you for voting!
Clifton
- For model number GSH25JSRFSS
August 15, 2017
I changed the water valve, but still no water dispensing. The ices works for both crush and cube when i select dispense. Only the water still will not come out. I tried to see if the water gets to the connector at the bottom of the door and it dose. But no water will dispense from the outlet in the door.
Hello Clifton, thank you for contacting us. That sounds like you may need a new water filter, they can become clogged and prevent water from passing through. The part number for the water filter is PS8746144 you may also need the adapter if you have not changed it before, part number PS220347. Hope this helps!

$74.23
In Stock
3 people
found this instruction helpful.
Was this helpful?
Thank you for voting!
Fran
October 1, 2017
Do you have a help video and if so where do i fine it
Hello Fran, thank you for contacting us. There is a how to video just under the image of the part. You can follow the link below, good luck with the repair!
https://www.partselect.com/PS964304-GE-WR17X11653-Dispenser-Door-Assembly-or-Flapper.htm#RepairVideo
3 people
found this instruction helpful.
Was this helpful?
Thank you for voting!
Bob
- For model number PS123SGRBSV
February 21, 2020
The ice flapper is not closing fully. Are there parts i need to replace to close the flapper or what could be causing this? I can reach up and push the flapper to a closed position. I cannot see if it is in fact fully closed with no air leakis
Hello, Thank you for your question. You will need to replace the flapper- PartSelect Number: PS964304. We hope this helps.
3 people
found this instruction helpful.
Was this helpful?
Thank you for voting!
Tim
- For model number TBX22pbr
October 16, 2019
I ordered a ice dispenser door and realized the existing door was just stuck in the open position. How can i get it to open and close normally? Or why doesn’t it close?
Hello Tim, thank you for your question. If the flapper door isn't opening and closing properly, the issue is most likely the dispenser door solenoid PartSelect Number PS304961. Good luck with your repair!
3 people
found this instruction helpful.
Was this helpful?
Thank you for voting!
Ron
- For model number Gss25sgmdbs
April 20, 2023
I replaced the freezer flap and spring and when i put it back together, the ice and water wont stop coming out. Thoughts?
Hello Ron, thank you for your question. You may need to replace the Ice Dispenser Solenoid Service Kit PS11699580. Or, it may also be the Micro Switch PS8259956. The Micro switch is what tells your refrigerator that it is ok to dispense ice or water. We hope our suggestions help.
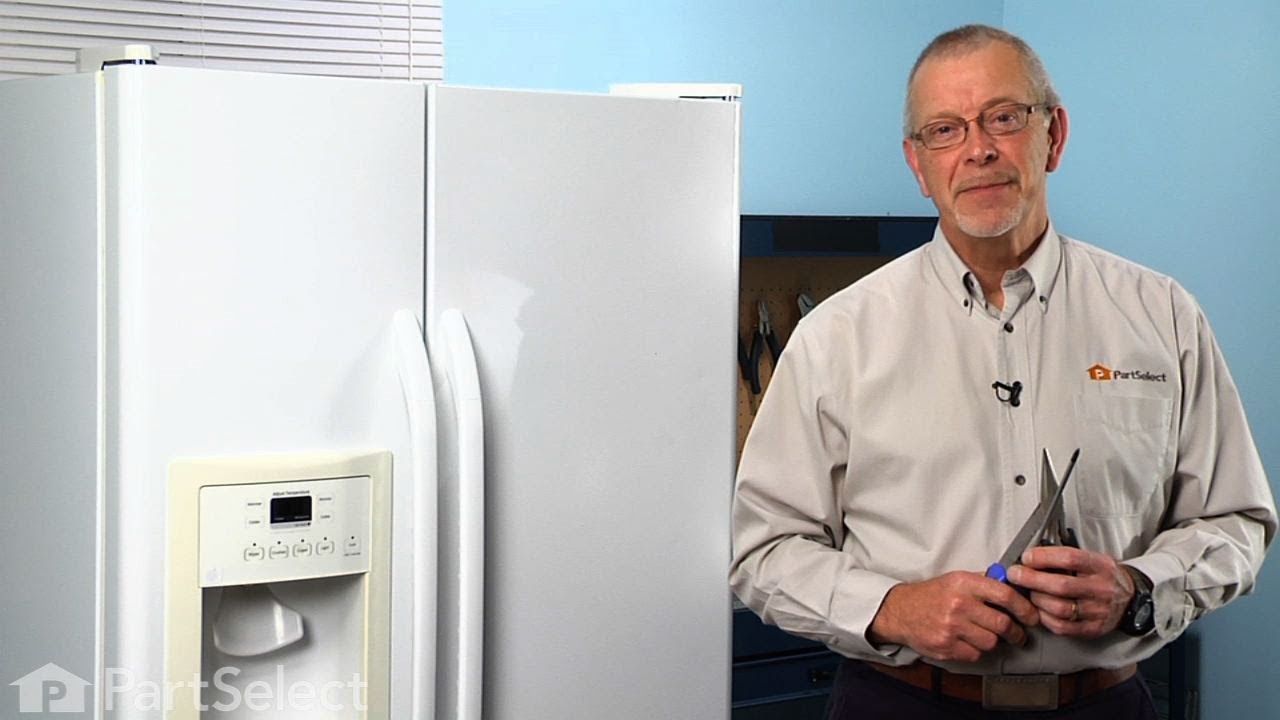

$61.82
In Stock

$106.80
In Stock
1 person
found this instruction helpful.
Was this helpful?
Thank you for voting!
- Prev
- 1
- 2
- 3
- Next
✖
Ask a Question
Ask our experts a question on this part and we'll respond as soon as we can.
Sorry, we couldn't find a match for "".
Here's a guide for finding your model number.
Something went wrong. Please try again later.
Your Question Has Been Submitted!
Our experts will send you an email as soon as your question has been answered.