What it does. Why it matters. Everything you need to know for an easy fix.
Primary Water Inlet Valve Specifications
This part has one port and 2 solenoids and comes with a mounting bracket. The water valve is a solenoid-operated switch located at the bottom of the refrigerator. When it is energized by electrical power, water is released from the supply line through the water valve and into the compact icemaker mold.
Part #WR57X10023
Manufactured by
GE
for General Electric, Kenmore, Hotpoint
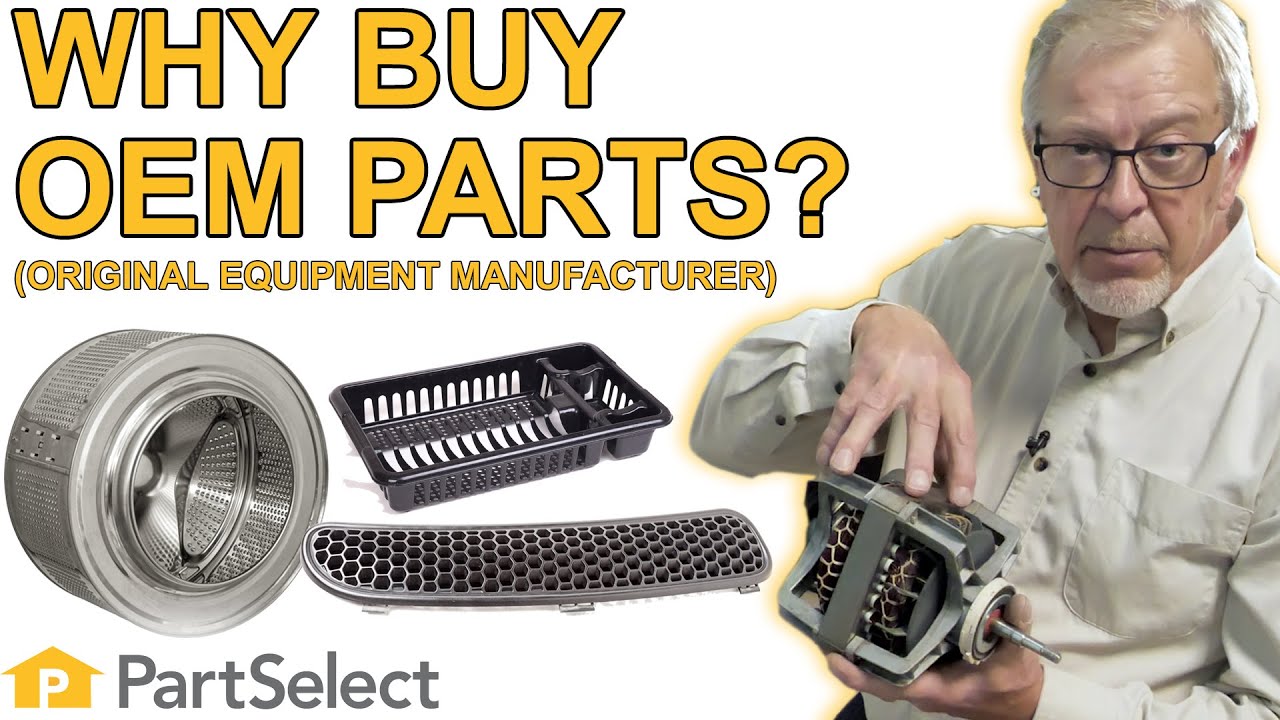
OEM stands for Original Equipment Manufacturer. This means that the company who made your appliance is also supplying the replacement part.
Features
OEM
Generic
Genuine brand name
Guaranteed to fit
Superior Quality
Long term value
About this fix
Common problems and models this part fixes.
Easy
30 - 60 mins
Rated by verified customers
What this part fixes:
Leaking
Not dispensing water
Ice maker not making ice
Works with the following products:
Refrigerator
Part# WR57X10023 replaces these:
AP2071735, 783336, WR57X10023
Customer Reviews
Real ratings from other people who bought this part.
Average Rating:
★★★★★
★★★★★
4 Reviews
4.5
Out of 5
5 Stars
3
4 Stars
0
3 Stars
1
2 Stars
0
1 Star
0
Search reviews left by others. DIY doesn't mean you have to do it alone. Use simple keywords like "fit", "broken", "easy", or "quality" to find reviews that match!
Search filter:
Clear Filter
Your search term must have 3 or more characters.
Sort by:
Prev
1
Next
Sorry, we couldn't find any existing reviews that matched. Try using some different or simpler keywords.
★★★★★
★★★★★
James W - October 29, 2018
Verified Purchase
{ agree easy repair works as it shoud
The part was received quickly and works. Problem solved.
★★★★★
★★★★★
Margaret S - September 13, 2018
Verified Purchase
Filtered water at last!
My son-in-law completed the repair to the refrigerator water valve, and it's working perfectly. The part was exactly right and very easy to install. Thanks so much for the very prompt service and easy to follow parts listing.
★★★★★
★★★★★
Carol S - June 6, 2019
Verified Purchase
Easy to install
Unscrewed the old bracket, slipped off the electrical connectors, disconnected the water hoses, removed the old valve, then reversed the process with the new. Maybe 15-20 minutes. Works fine.
★★★★★
★★★★★
James E - February 20, 2020
Verified Purchase
Back to working ice maker
Your web site advertises lowest price guaranteed, they did not when asked to price match a competitor. We agreed on free shipping instead but I was still charged for shipping which took over a week.
Prev
1
Next
Repair Tips
See how others fixed this model. Time, tools, difficulty, and steps that lead to victory!
Easy
30 - 60 mins
Average repair rating from 20 real customers like you
Sort by:
Prev
1
2
Next
Search repair tips from other customers using simple keywords like "replace", "fit", "remove", "inspect". DIY doesn't mean you have to do it alone!
Search filter:
Clear Filter
Your search term must have 3 or more characters.
Sorry, we couldn't find any existing installation instruction that matched.
water leak from valve
23 of 47 peoplefound this instruction helpful.
MILTON from MARIETTA, GA
Really Easy
Less than 15 mins
Socket set, Wrench set
The hardest part was moving the side-by-side refigerator out from the wall. After accessing the back of the unit ,it was a matter of removing a few screws to remove the back plate. The valve was attached with one screw that held it to the unit. After disconnecting the electrical and water lines the valve was out. Replaced the new valve in
... Read more reverse order. Everything works great.
Read less
Was this helpful?
Thank you for voting!
Water Leaking from behind refrigerator
13 of 25 peoplefound this instruction helpful.
Greg from Eden prairie, MN
Really Easy
15 - 30 mins
Screw drivers, Socket set
Turn off water to the refrigerator and unplug from wall outlet remove the defective inlet valve replace with new inlet valve. Now is a great to clean use a air compressor and vacuum and your old crusty frige will be good as new ! Special thanks to Parts Select fast shipping and original ge parts!!
Was this helpful?
Thank you for voting!
top of the valve ruptured
39 of 67 peoplefound this instruction helpful.
Jeremy from Anniston, AL
Easy
15 - 30 mins
Pliers, Screw drivers, Socket set
Isolated water line. Remove water valve from harness. Disconnect water connections. Disconnect electrical connections. Removed valve. Installed new part. Reconnected water connections and electrical connections. Opened water line.
Was this helpful?
Thank you for voting!
Water was leaking at valve, luckily it was only a mist, but still leaked through to basement before I noticed it.
110 of 3848 peoplefound this instruction helpful.
Danny from Spring Lake, MI
Really Easy
15 - 30 mins
Nutdriver
Removed back panel using 1/4 inch nut driver. Shut off water and removed water supply line with a 1/2 inch open end wrench Then removed water supply line to ice maker & water @ door. This requires no tools, just push down on orange fitting & pull out tubing. Remove bracket and water valve assembly and install new one.
Was this helpful?
Thank you for voting!
Water was leaking from rear of refirgerator
18 of 33 peoplefound this instruction helpful.
James from Midland, MI
Easy
15 - 30 mins
Wrench set
Unplugged refrigerator. Disconnected inlet water line. Disconnected outlet from leaking valve. Unplugged electrical connections. Reversed with the new part.
Shut off water supply to refrigerator. Unplugged electrical supply. Removed waterline from valve and valve from refrigerator. Disconnected electrical connections to valve. Disconnected water supply from valve to refrigerator. Repeated the process in reverse order using the replacement valve. Checked water in refrigerator door for prop
... Read moreer operation and monitored area around valve for leaks before rolling refrigerator back into cabinet space.
Read less
Was this helpful?
Thank you for voting!
Leaking Water
37 of 50 peoplefound this instruction helpful.
Paul from Danvers, MA
Easy
15 - 30 mins
Screw drivers, Wrench (Adjustable)
Unplugged frig. Turned off water supply to pump. Removed black cardboard covering on back of frig with nut driver (6 screws).
Took digital photo of assembly to confirm reassembly position.
Removed copper waterline to pump with adjustable wrench. Removed 1 screw holding pump assembly to refrigerator. Pulled assembly o
... Read moreut of the frig. Unscrewed two small black screws on a second bracket. Pulled old pump further out of frig. Unplugged two connectors. Removed plastic waterline from pump by turning hose counter-clockwise and gently pulling.
Inserted plastic water line into new pump by turning line in clockwise and it pushing into orange plastic stop. Reconnected two electrical connectors. Reconnected bracket to pump with two small black screws. Gently pushed assembly back into the frig and reconnected pump assembly to the frig with 1 screw. Reconnected copper water line to pump first wrapping threads on pump with Teflon plumbers tape.
Turned on water to check for leaks. Installed cardboard back on frig with 6 screws. Plugged in frig.
NOTE. My new pump assembly had the electrical connectors reversed. Take care to pair up the correct colored connectors.
Read less
Was this helpful?
Thank you for voting!
Water on door quit working
16 of 28 peoplefound this instruction helpful.
William from Coppell, TX
Easy
30 - 60 mins
Nutdriver, Screw drivers
After changing the water filter to eliminate that, I did some research and determined it was probably a water valve. As this unit has a primary and secondary, and the secondary feeds the door (after receiving water from the primary) I mistakenly replaced the secondary. It was the primary water valve which was trickling enough water to k
... Read moreeep the icemaker happy but not enough to drive the water on the door. In the future, I will do a test with a spare piece of water line which I ultimately did to figure this one out.
Read less
Was this helpful?
Thank you for voting!
Water Leak@Spout - Motherboard Lost it's Mind - Broken Ice Auger
101 of 1366 peoplefound this instruction helpful.
Marci A. from Neptune, NJ
Really Easy
15 - 30 mins
Nutdriver, Pliers, Wrench (Adjustable)
Valve wasn't closing completely, replaced ALL valves I'm already in there). Got a pair of valves as spares too. Motherboard went AWOL...as a computer engineer it was a simple diagnosis....replace ..the broken Auger?....that was user error...Housekeeper put an ice pack in the ice drawer...you can just imagine the consequences. How easy was
... Read more it?.....SO easy little hint....don't bother to wrestle the hoses off the valves...just cut them flush with the valve body....there's plenty of hose to spare. If you're a younger person you can do it in 15 mins
I had noticed water on the front left of the fridge on the floor.I thought it was the drain in the freezer so i poured hot water with baking soda into the drain but it didn't help..I pulled the fridge out and saw water dripping from the water valve solenoid.I searched the web for parts and found Parts select.com.I found the part quickly a
... Read morend they had pictures from all angles to assure me that it was the exact part which was great.The transaction on line was simple and the part came the next day.I will definitly use this sight again
Read less
Was this helpful?
Thank you for voting!
Prev
1
2
Next
DIY Questions and Expert Answers
22 questions answered by our Repair Experts.
Ask our experts a question about this part and we'll get back to you as soon as possible!
We may have answered a similar question already! Search questions and answers left by others using simple keywords like "fit", "broken", "easy", or "quality" to find questions that match.
Search filter:
Clear Filter
Your search term must have 3 or more characters.
Sort by:
Prev
1
2
3
Next
Sorry, we couldn't find any existing answers that matched.Try using some different or simpler keywords, or submit your new question by using the "Ask a Question" button above!
Craig - For model number TPX24BPBEBB
September 12, 2017
Have water to ice maker but not dispenser already changed part 799 on diagram will this correct problem
Hello Craig, thank you for your email. It sounds like it may be an issue with the dispenser control board. If this becomes faulty it can cause issues such as no water, no ice, or both. Hope this helps!
Part # ps304374, is the correct part I need for water is not going to the ice maker nor to the water dispenser?
Hi Dan,
Thank you for the question. Yes we recommend replacing the water valve if it is not releasing water to the ice maker and dispenser.
We will be happy to verify the correct part number but we will require the full model number of the appliance. Refrigerators have a second sticker on the inside wall of the appliance with the complete model number. Please feel free to submit a new question or contact our customer service with the model number to verify the correct valve part number.
Look forward to hearing from you!
25 peoplefound this instruction helpful.
Was this helpful?
Thank you for voting!
Licinio - For model number FLSE72GCS8
September 17, 2017
La lavadora permanece lavando, no responde los programas de los ciclos programados, al tocar la perilla del selector del reloj programador hace la parada, y comienza el siguiente ciclo, eso ocurre entre ciclos. Ejemplo: El ciclo de lavado y se para al final del exprimido si no se toca la perilla del programador,
Hola Licinio,
Gracias por su pregunta. Parece que es posible que necesite reemplazar su Timer electrónico. Puede probar esa parte con un multímetro para comprobar si está funcionando correctamente. Espero que esto ayude. Buena suerte con su reparación.
23 peoplefound this instruction helpful.
Was this helpful?
Thank you for voting!
Mitchell - For model number TFX26KPDAAA
December 29, 2017
Water dispenser works, but leaks a little water after usage or after filter is attached, will the water inlet valve fix that problem?
Hello Mitchell, Thank you for your inquiry. You should check the water inlet valve, the water tube union and the plastic tubing. Hope this helps!
23 peoplefound this instruction helpful.
Was this helpful?
Thank you for voting!
DAN - For model number GSS25WGTABB
August 30, 2017
I was asked to get back with you with the total model #.. no water is going to iced maker or dispenser. i believe i need a dual inlet water valve.. please confirm with the part # i need.. thanks for your help..
Hello Dan. This does sound like it will be the water valve. The correct part number for the water valve on your model would be PS304374. Good luck with the repair!
I ordered part #ps10059162, temperature sensore, on 1/8 and got it and was put on stove on 1/13, when son could do it. The stove works, but not like it should. The stove starts heating but stops about halfway thru the cycle. Ex: Set it for 400* and it will stop heating at approx. 275*. You can turn oven off, restart the heat cycle and it will work. I really need this bottom oven to be more reliable so hoping you can tell me if there is another part i might possibly need. Thank you, nancy
Hi Nancy,
Thank you for your question. It sort of sounds like you may also have an issue with your temperature sensor inside of your appliance. I would suggest testing that part with a multi meter to make sure that it is working correctly. It sounds like it is just not reading the temperatures correctly. Good luck with your repair.
19 peoplefound this instruction helpful.
Was this helpful?
Thank you for voting!
Dennis - For model number 11082405140
January 16, 2018
My washer would not go into a spin after draining the water the pump would remain running without spinning. I wanted to test the lid switch, so i put a jumper on it , the washer will now spin but for only one cycle, if i remove the jumper and install it again the washer will start spinning. I must keep doing this to complete the wash cycle. Please help.
Hi Dennis,
Thank you for your question. Based on what you described, it sounds like the lid switch is the issue and it needs to be replaced. You should also check the direct drive motor coupling, the clutch assembly and the direct drive water pump. I hope this helps. Thank you and have a great day!
18 peoplefound this instruction helpful.
Was this helpful?
Thank you for voting!
Wayne - For model number Tfs28ppbebs
January 21, 2018
Water dispenser turns on and dispenses water randomly without pressing button. Over nite it fills a 16 ounce cup. Changed control board in front and valve in rear bottom. There is another valve farther in i have not changed. Had technician service ice maker too so this is not it.
Hi Wayne,
Thank you for your question. There are 2 other valves listed under your model number. The primary water valve, part number PS304365 and the secondary water inlet valve, part number PS304366. I hope this helps. Thank you and have a great day!
15 peoplefound this instruction helpful.
Was this helpful?
Thank you for voting!
Wayne - For model number TFS28PPBEBS
January 26, 2018
Whenever our ice maker fills, the water dispenser runs, overfilling the tray on the door and running to the floor. This occurs at any time of day or night.Our ice maker is also not filling completely, only the first half on the refrigerator side filling and making ice. These 2 may be related. I am most concerned about the water dispenser just running by itself but i should address the ice issue too. Thanks.
Hello Wayne, Thank you for your inquiry. We would recommend checking the following parts to fix your issue: water inlet valve, ice maker switch, dispenser switch, dispenser control board, door switches and water tubes. You can test the parts with a multimeter. If you are unfamiliar with how a multimeter functions, there are YouTube videos available to assist you. Hope this helps!
13 peoplefound this instruction helpful.
Was this helpful?
Thank you for voting!
Rajendra Nayak - For model number LSR8233EZ0
February 14, 2018
Thanks for that quick answer. Is there any way of pin pointing which part is causing this problem rather than suspecting parts ,replacing it and then not solving the problem go after other parts those have direct link with each other, to the problem? Or is it that leave this problem to the pros who are equipped with the gadgets that spell out who is the culprit that causes the problem?
Hi Rajendra,
Thank you for your question. the only way to see which part is causing the issue is to inspect each one.
For any electronic parts you will need to use a multimeter to check the continuity of them. I hope this helps. Thank you and have a great day!
13 peoplefound this instruction helpful.
Was this helpful?
Thank you for voting!
Prev
1
2
3
Next
✖
Ask a Question
Ask our experts a question on this part and we'll respond as soon as we can.



 My Orders