



 My Orders




36359522997 Kenmore Refrigerator - Overview
Diagrams for 36359522997
See every part. Know exactly what you need.

Enter a part description. DIY Heroes keep it simple, eg. "belt" or "pump".
Search filter:
Clear Filter
Your search term must have 3 or more characters.

$74.23
In Stock
Refrigerator Ice and Water Filter
Part #MWFP
This ice and water filter helps reduce impurities in select side by side and bottom freezer refrigerators. Replace it about every six months, or when water flow slows, ice production drops, or the filter light turns red. Some older filter setups may need an adapter. Place a cloth under the filter before removal. Check the exact refrigerator model before ordering.

$207.55
In Stock
Ice Maker
Part #WR30X10093
This 10 by 5 inch ice maker (Electromechanical Icemaker Kit, Ice Maker Assembly) produces ice. This particular model will produce seven crescent shaped cubes every cycle. It is constructed of plastic and metal, and comes in black/white. This kit includes a set of installation instructions, a 4-pin round plug-in connector, 6 post plug-in c...Read moreonnectors, tube and fill cup. The ideal temperature of a freezer is zero degrees Fahrenheit. If the temperature in your freezer is at an appropriate level yet ice is still not being made, it could be an issue with the water inlet valve or your ice maker assembly. If you determine it is the ice maker, this is the replacement you need. The ice maker can break from normal wear and accidental damage. Ice makers will need to be replaced every 3-10 years depending on the frequency of usage and water quality. This model is mounted on the freezer wall.
Read less

$33.60
In Stock
Dispenser Door Assembly or Flapper
Part #WR17X11653
This “Dispenser Door Assembly” (Door Recess Assembly, Ice Door Assembly, Dispenser Door, Refrigerator Dispenser Ice Chute Door Kit, Dispenser Door Flap, Ice Chute Door, Flapper) keeps the room air from infiltrating the freezer. Once the lever is pressed, the door flap opens and allows the ice to dispense into your container. If your door...Read more flapper is broken, it could allow outside air to enter the freezer and alter the inside temperature. You may notice frost buildup surrounding the dispenser area. The door flap can disconnect from the dispenser lever, or the tabs that hold it in place may break. Frequent use may distort the sealing face and cause air leaks and frost buildup. This part mounts in the ice dispenser, and measures approximately 3.25 inches in diameter. It is constructed of plastic and rubber, and comes in white/black. This part is sold individually.
Read less

$18.22
In Stock

$55.23
In Stock
Bottom Hinge Assembly
Part #WR13X10020
Comes with both cam risers. This hinge kit is suitable for the bottom of either the freezer door or the refrigerator door of some refrigerators.

$92.28
In Stock
Defrost Heater and Bracket Assembly
Part #WR51X10055
The defrost heater keeps the cooling coils from frosting over. The heater will get hot and melt any ice or frost build up around the coils.

$16.05
In Stock
Evaporator/Condensor Fan Grommet
Part #WR02X10098
This evaporator fan motor grommet, or condenser fan grommet is built for refrigerators. It provides a cushion between the fan motor and the motor mounting bracket. It is made or round, black plastic and is approximately one inch in diameter. If your grommet is torn or damaged and you are getting noise from the fan motor, you may need to replace it. This is an OEM part sourced directly from the manufacturer.

$21.95
In Stock
Light Bulb - 40W
Part #40A15
This 40-Watt light bulb is sold individually.
It is specially designed to withstand extreme temperatures, so this bulb is compatible with a variety of appliance types including refrigerators, ranges, microwaves, and dryers. It features a frosted glass bulb with a standard metal socket base, which allows you to easily unscrew the burnt-out light and twist the new bulb into place.

$38.32
In Stock
LIGHT SWITCH
Part #WR23X37285
The interior light of your refrigerator is controlled by a switch that is activated when the door is opened and closed. If your refrigerator light will not turn on, there could be an issue with the switch. The switch is spring loaded and is a generally closed type of switch meaning there should be no continuity when the button is depresse...Read mored, and continuity through the switch when the button is not depressed. This plastic, white, OEM switch is sourced directly from the manufacturer, is sold individually and is easy to replace. The repair usually takes less than 15 minutes and requires a flat blade screwdriver and needle nose pliers.
Read less

$17.15
In Stock
Hinge Cam Riser
Part #WR02X10140
This part helps with the closing of the door and helps keep it in position.

$40.56
In Stock
Plastic Tubing - 5/16 Inch
Part #WR17X2891
This part is the replacement water line for your refrigerator. It is a long plastic tube, which is 5/16 of an inch in diameter. If your refrigerator is leaking, or will not dispense water or ice, you may have a damaged water line. When you replace the water line, you may want to pick up a new water tube union as well. You can use a utilit...Read morey knife to cut the old water line where it is damaged, and use the union to attach the new water line to the old one. This tubing is sold individually and is an OEM part.
Read less

$78.26
In Stock
Primary Water Inlet Valve
Part #WR57X10023
This part has one port and 2 solenoids and comes with a mounting bracket. The water valve is a solenoid-operated switch located at the bottom of the refrigerator. When it is energized by electrical power, water is released from the supply line through the water valve and into the compact icemaker mold.
Common Symptoms of the 36359522997
How this model fails, and the parts that fix it.
Leaking
Fixed by
these parts
these parts


Show All
Ice maker not making ice
Fixed by
these parts
these parts


Show All
Not dispensing water
Fixed by
these parts
these parts

Show All
Light not working
Fixed by
these parts
these parts

Show All
Fridge too warm
Fixed by
these parts
these parts


Show All
Door won’t open or close
Fixed by
these parts
these parts

Show All
Noisy
Fixed by
these parts
these parts

Show All
Ice maker won’t dispense ice
Fixed by
these parts
these parts

Show All
Freezer not defrosting
Fixed by
these parts
these parts

Show All
Freezer section too warm
Fixed by
these parts
these parts
Show All
Door Sweating
Fixed by
these parts
these parts
Show All
Frost buildup
Fixed by
these parts
these parts
Show All
Ice maker dispenses too little ice
Fixed by
these parts
these parts
Show All
Fridge and Freezer are too warm
Fixed by
these parts
these parts
Show All
Clicking sound
Fixed by
these parts
these parts
Show All
Freezer too cold
Fixed by
these parts
these parts
Show All
Fridge runs too long
Fixed by
these parts
these parts
Show All
Too warm
Fixed by
these parts
these parts
Show All
Ice maker dispenses too much ice
Fixed by
these parts
these parts
Show All
Fridge too cold
Fixed by
these parts
these parts
Show All
Won’t start
Fixed by
these parts
these parts
Show All
Touchpad does not respond
Fixed by
these parts
these parts
Show All
Watch our pros, then fix it yourself.
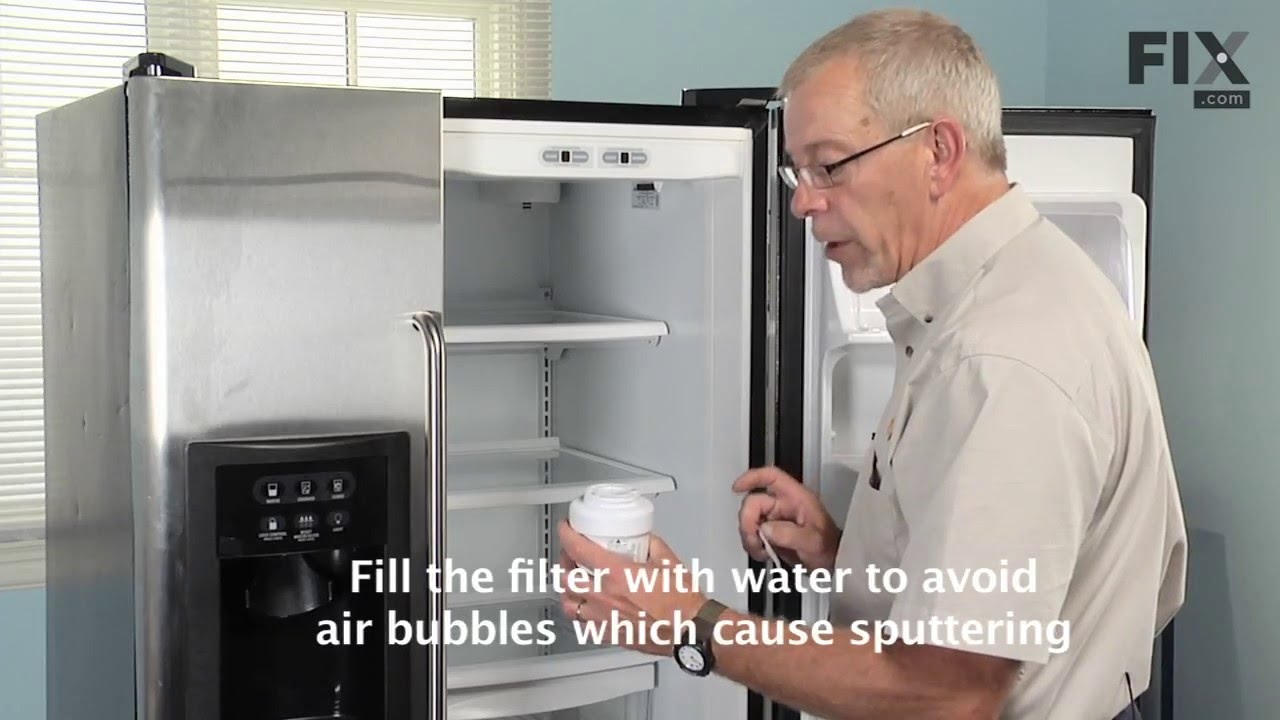


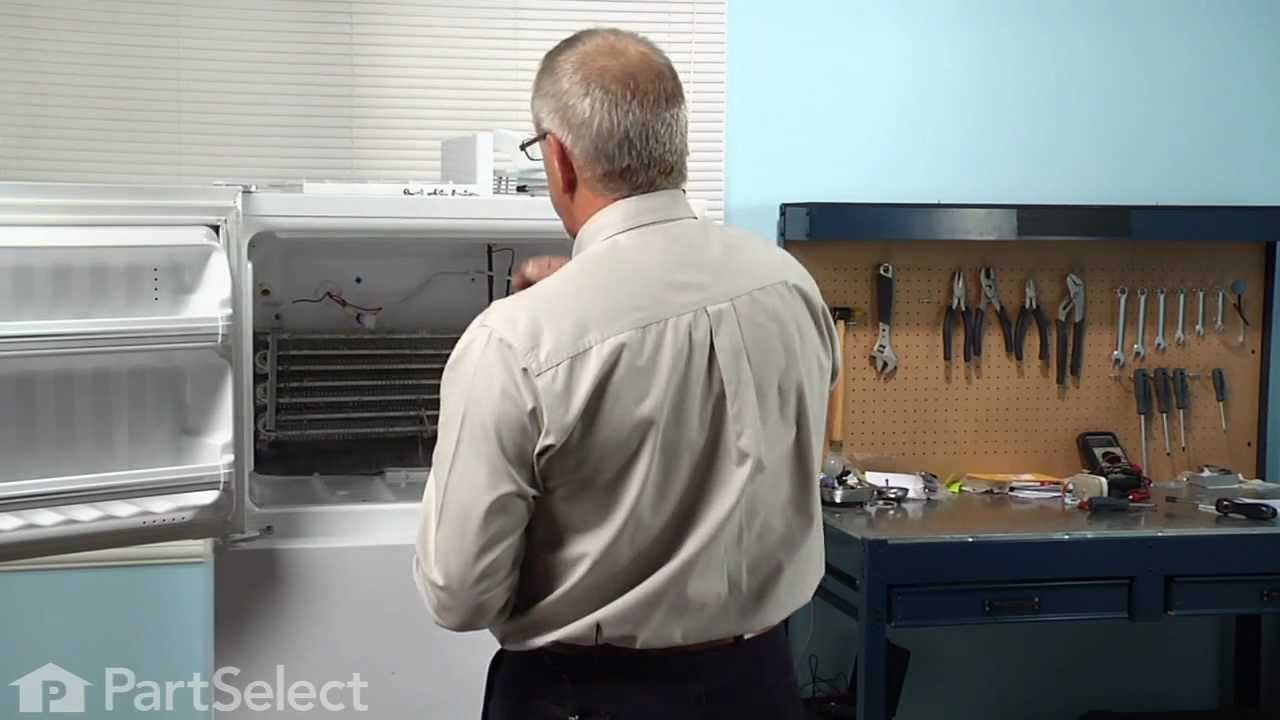

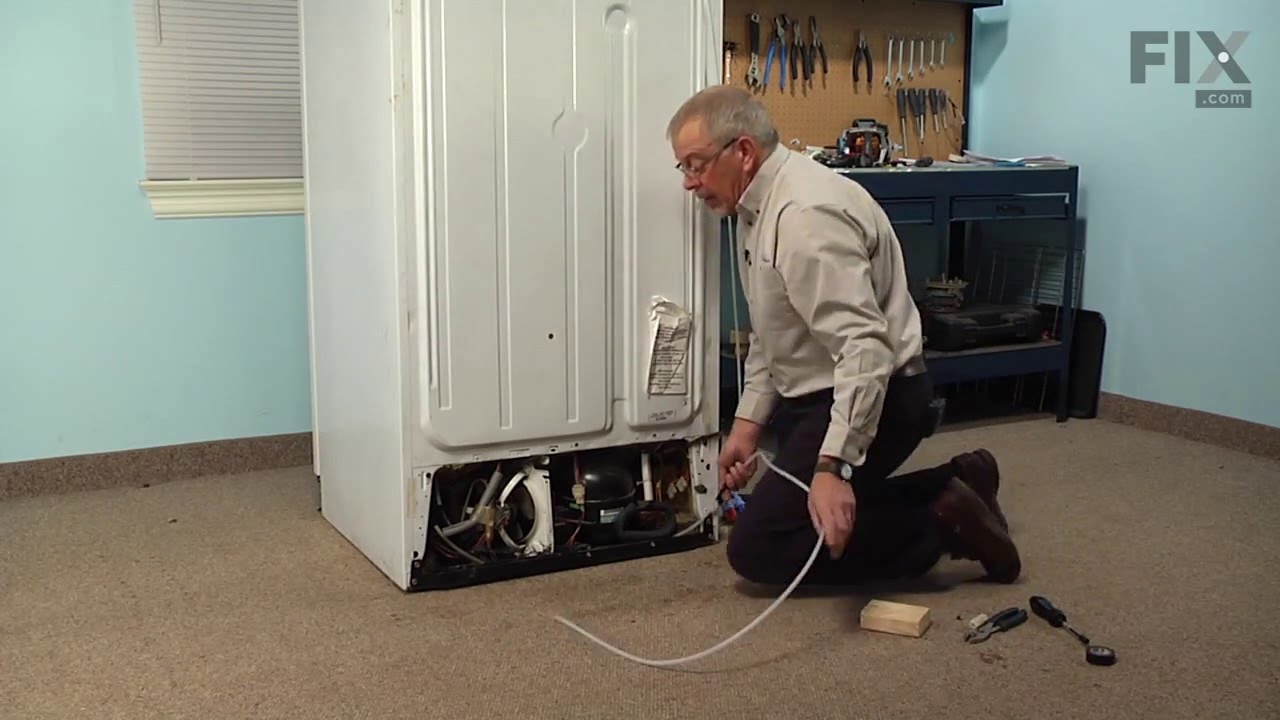
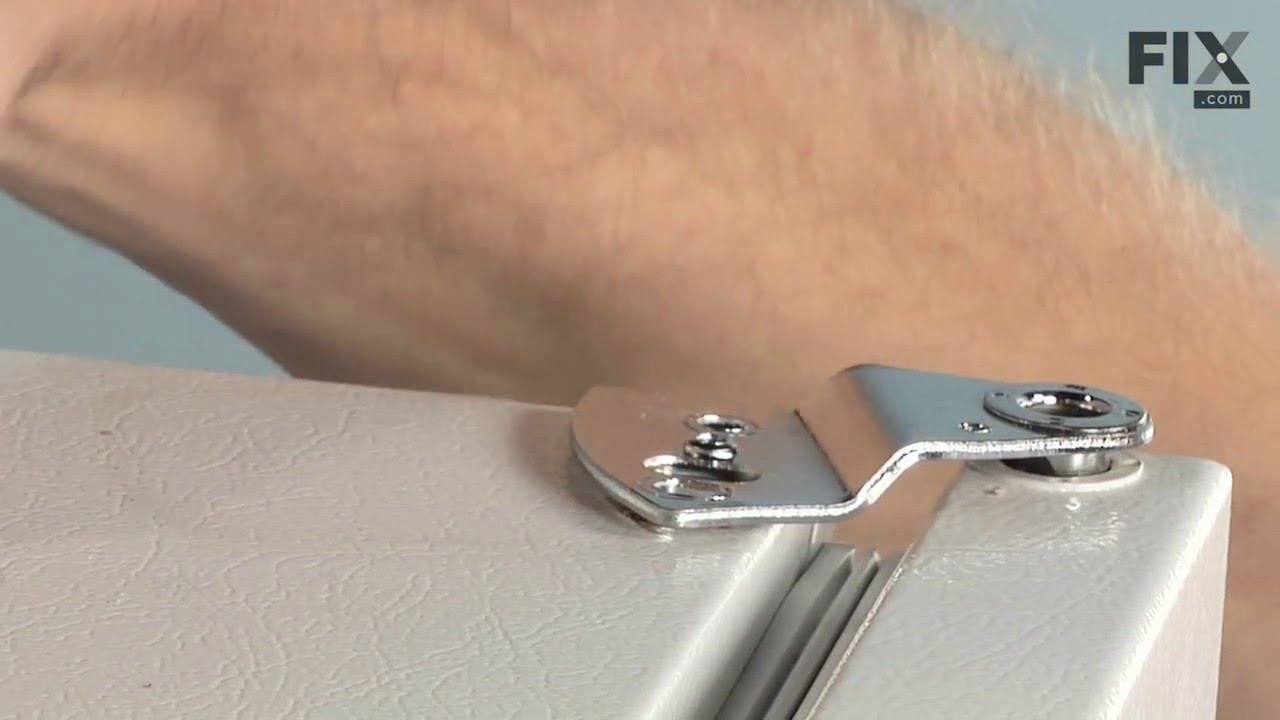
See how others fixed this model. Time, tools, difficulty, and steps that lead to victory!
View More
Search repair tips from other customers using simple keywords like "replace", "fit", "remove", "inspect". DIY doesn't mean you have to do it alone!
Search filter:
Clear Filter
Your search term must have 3 or more characters.
Water leaked out on floor from behind refrigerator.
171 of 260 people
found this instruction helpful.
First turned water source off and unplugged fridge. Then removed back panel, turned water supply back on and saw leak from valve. Turned water off again and ordered new valve. Paid for 3-5 day shipping, but it came next day! Removed single bolt holding bracket it place. Simple firm pull release of water lines feeding from valve. Unscrewed
... Read more
brass water supply nut with crescent wrench. Marked four electrical leads so I'd know where to replace them. Then repeated process in reverse to install new valve. Simply push water lines back into color coded valve outlets.Also replaced water filter and found that the GWF Filter is now the MWF fitler.
Read less
Other Parts Used:


Was this helpful?
Thank you for voting!