


 My Orders




MW10 - Overview
Models starting with MW10
Click on the best match to narrow your results.
- MW1000XP0 Whirlpool Microwave (Table top)
- MW1000XP1 Whirlpool Microwave (Table top)
- MW1000XS0 Whirlpool Microwave (Table top)
- MW1000XS1 Whirlpool Microwave (Table top)
- MW1000XW0 Whirlpool Microwave (Table top)
- MW100L*118 General Electric Washer
- MW100L*119 General Electric Washer
- MW1010 (XAA) Samsung Microwave (SAMSUNG MICROWAVE OVEN)
- MW1020 (MAC) Samsung Microwave (Samsung Microwave Model MW1020/MAC Parts)
- MW1020BA Samsung Microwave (Samsung Microwave Model MW1020BA Parts)
- MW1020WA Samsung Microwave (Samsung Microwave Mw1020wa)
- MW1020WAXAA Samsung Microwave (Samsung Microwave Model MW1020WAXAA Parts)
- MW1025WB Samsung Microwave (Samsung Microwave Mw1025wb)
- MW1030BA Maytag Microwave
- MW1030BA (XAA) Samsung Microwave (SAMSUNG MICROWAVE)
- MW1030SB Maytag Microwave
- MW1030SB (XAA) Samsung Microwave (SAMSUNG MICROWAVE)
- MW1030WA Maytag Microwave
- MW1030WA (XAA) Samsung Microwave (SAMSUNG MICROWAVE)
- MW1030WC Samsung Microwave (Samsung Microwave Model MW1030WC Parts)
- MW1030WCXAA Samsung Microwave (Samsung Microwave Model MW1030WCXAA Parts)
- MW1030WE (SAM) Samsung Microwave
- MW1030WE (XAO) Samsung Microwave
- MW1030WE (XAP) Samsung Microwave
- MW1040BC (XAA) Samsung Microwave (SAMSUNG MICROWAVE)
- MW1040BC Maytag Microwave
- MW1040WA Samsung Microwave (Samsung Microwave Model MW1040WA Parts)
- MW1040WAXAP Samsung Microwave (Samsung Microwave Model MW1040WAXAP Parts)
- MW1040WC (XAA) Samsung Microwave (SAMSUNG MICROWAVE)
- MW1040WC Maytag Microwave
- MW1050STC Samsung Microwave (Samsung Microwave Model MW1050STC Parts)
- MW1050STCXAP Samsung Microwave (Samsung Microwave Model MW1050STCXAP Parts)
- MW1060SAXAA Samsung Microwave (Samsung Microwave Model MW1060SAXAA Parts)
- MW1080STA (XAA) Samsung Microwave (SAMSUNG MICROWAVE)
- MW1080STA Maytag Microwave
- MW10MSWBA4RCM Midea Air Conditioner (Midea Window Type Air Conditioner Mw10mswba4rcm)
- MW10MSWBA5RCM Midea Air Conditioner (Midea Window Air Conditioner Mw10mswba5rcm)
Enter a part description. DIY Heroes keep it simple, eg. "belt" or "pump".
Search filter:
Clear Filter
Your search term must have 3 or more characters.

$16.05
In Stock
Timer Knob Clip
Part #WH1X2117
The timer knob clip on your washing machine connects the timer knob to the control panel. If your timer knob is damaged or will not stay in place, you may need to replace the clip. If the timer does not advance or the washing machine will not start, this may also be a symptom of a damaged timer knob clip. This part is clear plastic and is...Read more about 1 inch in size. Many of our customers have rated this repair as easy, and the only tools you may require are a set of needle-nose pliers. This is an OEM part sourced directly from the manufacturer.
Read less

$93.10
In Stock
Cooking Tray
Part #WB39X10003
This is a cooking tray and it is a common component in any microwave. This piece is transparent and is made of glass. The diameter of this part measures to be roughly 12.5 inches. Although you may find it to be slightly smaller than the original tray it is a genuine OEM replacement part that is sourced directly from the manufacturer. The ...Read morefunction of the cooking tray is to provide a stable surface that rotates in the center of your microwave. The purpose of this piece is to help ensure food cooks evenly in your microwave every time.
Read less

$15.00
In Stock
V-Style Drive Belt
Part #WH1X2026
This V-shaped drive belt is 29 1/2 inches long x 1/2-inch-wide, and fits both front-load and top-load washing machines. When belts are worn or frayed, they are known to make noise. If you have a top-load washer, a drive belt may be connecting the transmission to the drive motor. It would generally be a rubber V-belt covered in fabric to a...Read morellow free movement. Or it could be a rubber belt aided by a tensioning device like an idler pulley, to stop the motor from causing too much friction to the belt. For front-loaders, the drive belt goes between the drive motor and the wash basket. If your drive belt is worn or frayed, it should be replaced straight away. After replacing the drive belt, run a wash cycle to ensure the belt is correctly fitted.
Read less

$21.45
In Stock
Screw
Part #W11233072
This is a multi-use and multi-appliance screw. It can be used on a microwave, refrigerator, range/oven, air conditioner, dehumidifier, washer, or dryer. The measurements of this screw are 8 x 1/2 inch. It has 6 threads. Refer to the manual provided by the manufacturer for further information on repair and accurate guidance. Remember to wear work gloves as a safety precaution.

$7.47
In Stock

No Longer Available

$70.95
In Stock
Water Inlet Valve with Outlet Insert
Part #WH13X81
This washing machine water inlet valve has two ports for water to enter.

No Longer Available
Timer Knob with Clip
Part #WH1X2757
This part is the replacement timer knob for your washer. It is made of white plastic and is about 1 ¼ inches in diameter. The timer knob sits on the timer shaft and allows you to choose the wash cycle that is suitable for you. If your timer knob is stripped or broken, you will need to replace it. To replace the timer knob, carefully remov...Read moree it from the shaft, and slide the new timer on. This part is sold individually and is an authentic OEM part sourced directly from the manufacturer.
Read less

No Longer Available

$5.45
In Stock
Ceramic Fuse - 20 amp
Part #WPM0805101
This microwave fuse is just over an inch in length. It has a white ceramic center, and metal on either end. This is a twenty amp 250-volt fuse, and is used to power your microwave. If your microwave will not heat properly, will not turn on, or the touch pad becomes unresponsive, there could be a faulty fuse which should be replaced. Remem...Read moreber, since this part contains an electrical charge, before you replace the fuse from your microwave, make sure that the power is disconnected from the unit. This part is sold individually.
NOTE: Make sure your microwave is unplugged, and your capacitor is discharged before you begin this repair. A capacitor stores large amounts of electricity even after your microwave is unplugged.
Read less

$17.95
In Stock
Micro Door Switch
Part #3405-001034
This door switch, also known as a safety switch, is a genuine OEM replacement part for microwaves. It is a safety mechanism that sends signals to the microwaves control system, telling it when the door is open/closed. This ensures that the microwave only operates when the door is securely shut and switches off as soon as the door is open....Read more Over time, this switch can become worn out or damaged. A faulty door switch can result in failure to switch the microwave on/off, lack of heat, and running with the door open. To confirm that the door switch is faulty, use a multimeter to test for electrical failure. To remove the faulty switch, disconnect the wiring connectors and take note of where they are positioned. Place the new switch in position and reattach the wiring connectors to the appropriate terminals and close the microwave door to check that the switch engages appropriately.
Read less

$23.95
In Stock
Black Sleeve Diode
Part #WPR9800486
In your microwave, the diode allows current to flow one-way only, converting alternating current to direct current. If you notice that your microwave does not heat properly, you may need to replace the diode. This product is approximately 3 inches in length. Before completing this repair, be sure to disconnect the power source from the mi...Read morecrowave. The diode is located inside the main compartment of the microwave, so you will need to open it up before you can complete this repair. This is an OEM part sourced directly from the manufacturer. Many of our customers have rated this repair as easy.
Read less
Common Symptoms of models starting with MW10
How this model fails, and the parts that fix it.
No heat
Fixed by
these parts
these parts


Show All
Will not agitate
Fixed by
these parts
these parts


Show All
Leaking
Fixed by
these parts
these parts


Show All
Burning smell
Fixed by
these parts
these parts
Show All
Won’t turn on
Fixed by
these parts
these parts


Show All
Will Not Start
Fixed by
these parts
these parts


Show All
No hot or cold water
Fixed by
these parts
these parts
Show All
Spins slowly
Fixed by
these parts
these parts
Show All
Doesn’t shut off
Fixed by
these parts
these parts
Show All
Will not drain
Fixed by
these parts
these parts
Show All
Spinning Issues
Fixed by
these parts
these parts
Show All
Tray won’t turn
Fixed by
these parts
these parts

Show All
Touchpad does not respond
Fixed by
these parts
these parts
Show All
Watch our pros, then fix it yourself.
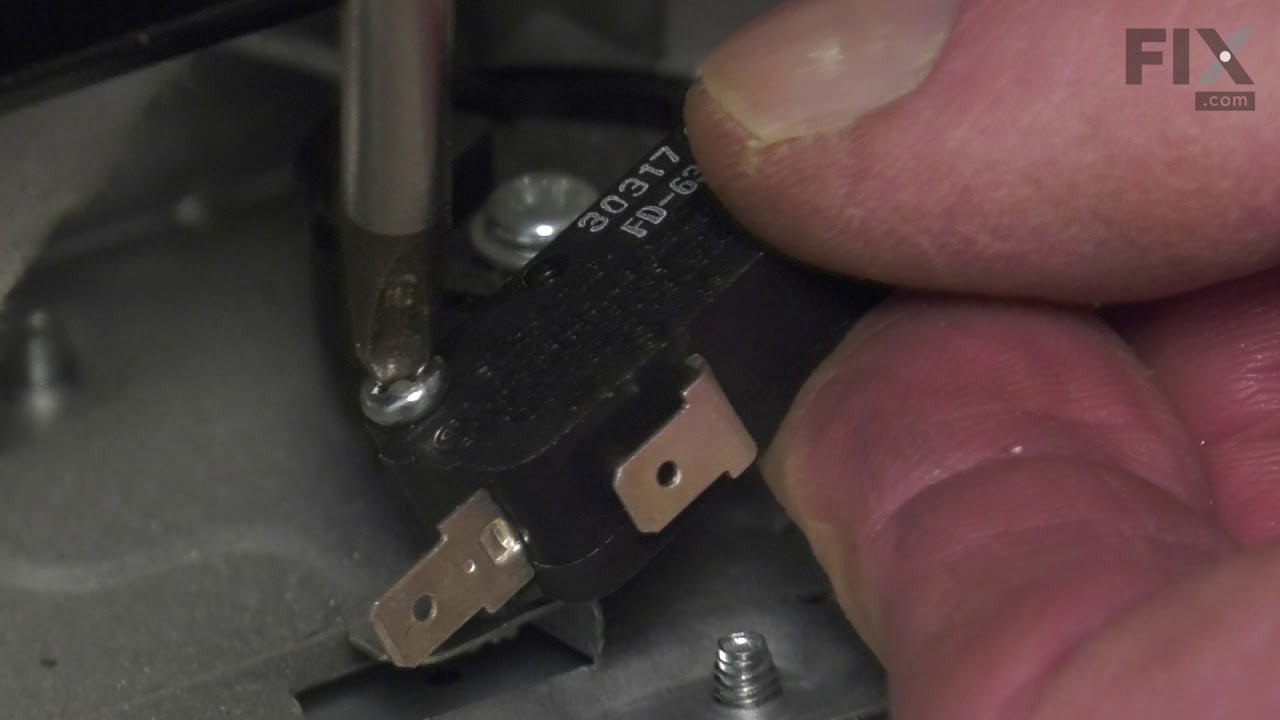
See how others fixed this model. Time, tools, difficulty, and steps that lead to victory!
View More