


 My Orders




MW1030WE (SAM) Samsung Microwave - Overview

Enter a part description. DIY Heroes keep it simple, eg. "belt" or "pump".
Search filter:
Clear Filter
Your search term must have 3 or more characters.

$17.95
In Stock
Micro Door Switch
Part #3405-001034
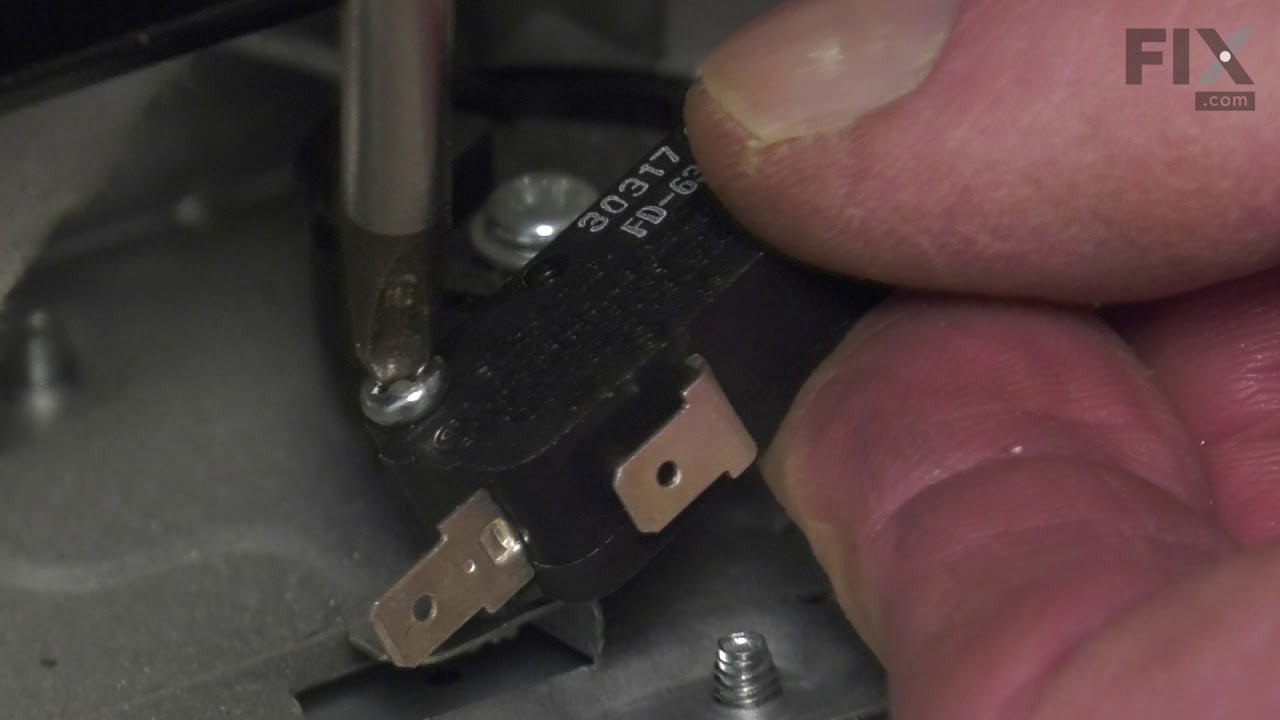
This door switch, also known as a safety switch, is a genuine OEM replacement part for microwaves. It is a safety mechanism that sends signals to the microwaves control system, telling it when the door is open/closed. This ensures that the microwave only operates when the door is securely shut and switches off as soon as the door is open....Read more Over time, this switch can become worn out or damaged. A faulty door switch can result in failure to switch the microwave on/off, lack of heat, and running with the door open. To confirm that the door switch is faulty, use a multimeter to test for electrical failure. To remove the faulty switch, disconnect the wiring connectors and take note of where they are positioned. Place the new switch in position and reattach the wiring connectors to the appropriate terminals and close the microwave door to check that the switch engages appropriately.
Read less

$73.43
On Order
Tray
Part #DE74-20015G
This is a cooking tray, but may also be known as a turntable tray, and it is used in conjunction with your microwave or oven/microwave combo. The outer diameter of this part is roughly 12.75 inches. The tray is made entirely of glass and is colorless. The purpose of this part is to act as a stable and even cooking surface for your food to...Read more sit on during a cooking cycle. To ensure a more even cooking temperature the tray will also spin when your appliance is activated. The most common reason for needing to replace this part is if your current one has been damaged.
Read less

$22.95
In Stock

$28.33
In Stock
Button Spring
Part #DE61-70076A

$56.94
In Stock
Synchronous Motor
Part #DE31-10154D

$80.95
In Stock
Coil
Part #2501-001011

$6.40
In Stock
Screw
Part #6002-000630

$6.55
In Stock
Door Switch Lever
Part #DE66-00088B
This genuine microwave door switch lever is an essential component of the door interlock system, helping detect when the microwave door is properly closed so the appliance can operate safely. Designed to engage the door switch mechanism during opening and closing, it helps ensure the microwave starts only when the door is securely latched...Read more. Replacing a worn, cracked, or damaged lever can help resolve issues such as a microwave that will not start, intermittent operation, or failure to recognize that the door is closed. Made from durable plastic for reliable performance, this OEM replacement part helps restore proper door switch function and safe appliance operation. Installation typically involves disconnecting power, removing the outer cabinet or control panel as required to access the door switch housing, replacing the damaged lever, and reassembling the unit before testing operation. This is just the lever, not the switch itself.
Read less

$31.58
On Order
Door Lever
Part #DE66-90013A

$24.43
In Stock
Self-Tapping Screw
Part #DE60-10082I

No Longer Available
Latch Body
Part #DE72-00138D

$31.58
Special Order
Key Door
Part #DE64-40006F
Common Symptoms of the MW1030WE
How this model fails, and the parts that fix it.
No heat
Fixed by
these parts
these parts

Show All
Doesn’t shut off
Fixed by
these parts
these parts
Show All
Won’t turn on
Fixed by
these parts
these parts

Show All
Watch our pros, then fix it yourself.
See how others fixed this model. Time, tools, difficulty, and steps that lead to victory!
View More
Search repair tips from other customers using simple keywords like "replace", "fit", "remove", "inspect". DIY doesn't mean you have to do it alone!
Search filter:
Clear Filter
Your search term must have 3 or more characters.
microwave ran with the door open
9 of 14 people
found this instruction helpful.
First I read through the customer comments, reviews, questions, etc. at Parts Select, which is always a good bet. Then I put "samsung microwave door switch replacement" into youtube and watched some videos. They don't even have to be for Samsung. From what I can tell, many of the appliance companies use the same design and the same jun
... Read more
k parts, so watching a GE video is almost the same for example. Watch some videos to familiarize yourself with the steps. There are maybe six to disassemble and install the new part. I replaced all three switches. They are not expensive and to replace 3 is only 5% more work than to replace just one; you have to take the microwave apart in either case. UNPLUG THE MICROWAVE FROM THE WALL. Start taking it apart. I use my phone to take a picture of any thing I remove, unscrew or disconnect, especially wires, BEFORE I disconnect them. Thee pictures serve as a reference when I go to reconnect and reassemble. If I am uncertain then I check the picture. Good luck!
Read less
Other Parts Used:
Was this helpful?
Thank you for voting!
Our microwave would turn on after the timer was set but only the light would turn on, nothing else.
5 of 5 people
found this instruction helpful.
I replaced all 3 door switches. Once you remove the top vent then remove the panel. Then remove the two screws holding the door switches in place and pop them out and replace them. It was tricky getting around all the wires but eventually was able to get around them. Took less than 20 mins to do and was less than $40 to fix. Much better t
... Read more
han having to replace our over the stove microwave.
Read less
Other Parts Used:
Was this helpful?
Thank you for voting!
Turntable started turn when door opened, then unit wouldn't run when start was pressed
5 of 6 people
found this instruction helpful.
Unplugged the unit. With a screwdriver removed two screws on the top plastic vent. This exposed the screw holding the control panel. Removed that screw to access the switches. Removed the visible connected wiring from the switches. Grabbed each switch with pliers to gentle pull them from their holders. Inserted new switches and reconnecte
... Read more
d wiring, ensuring the correct orientation of switches in their holders.
Recommend replace all three switches.
Recommend replace all three switches.
Read less
Other Parts Used:
Was this helpful?
Thank you for voting!