


 My Orders




KRFC70 Refrigerator - Overview
Models starting with KRFC70
Click on the best match to narrow your results.
- KRFC704FBS00 KitchenAid Refrigerator (REFRIGERATOR)
- KRFC704FBS01 Whirlpool Refrigerator
- KRFC704FBS02 Whirlpool Refrigerator
- KRFC704FBS03 Whirlpool Refrigerator (Refrigerator)
- KRFC704FBS04 KitchenAid Refrigerator (Model # Krfc704fbs04 Official Kitchenaid Refrigerator)
- KRFC704FBS05 KitchenAid Refrigerator (Kitchenaid Refrigerator Krfc704fbs05)
- KRFC704FBS06 KitchenAid Refrigerator
- KRFC704FPS00 KitchenAid Refrigerator (REFRIGERATOR)
- KRFC704FPS01 Whirlpool Refrigerator
- KRFC704FPS03 Whirlpool Refrigerator
- KRFC704FPS04 Whirlpool Refrigerator (Refrigerator)
- KRFC704FPS05 KitchenAid Refrigerator (Model # Krfc704fps05 Official Kitchenaid Refrigerator, French Door, Bottom Mount)
- KRFC704FPS06 KitchenAid Refrigerator (Model # Krfc704fps06 Official Kitchenaid Refrigerator, Bottom Mount)
- KRFC704FPS07 KitchenAid Refrigerator
- KRFC704FSS00 KitchenAid Refrigerator (REFRIGERATOR)
- KRFC704FSS01 Whirlpool Refrigerator
- KRFC704FSS02 Whirlpool Refrigerator
- KRFC704FSS03 Whirlpool Refrigerator (Refrigerator)
- KRFC704FSS04 KitchenAid Refrigerator (Model # Krfc704fss04 Official Kitchenaid Refrigerator)
Enter a part description. DIY Heroes keep it simple, eg. "belt" or "pump".
Search filter:
Clear Filter
Your search term must have 3 or more characters.

$17.15
On Order
Refrigerator Air Filter
Part #W10311524
This Refrigerator Air Filter is a white 1.8x3.2" plastic filter which neutralizes odor and bacteria in the air. It should be replaced every six months at a minimum. Refer to your user manual and model number to see if this filter is right for your fridge. Location for storage of the air filter may vary from model to model, but generally, ...Read moreyou will find a small cover on the back-middle-top of your fridge, which can be popped off to reveal the air filter, which can be easily changed out from there. This part does not come sold with the indicator; it is the filter only. Sold individually.
Read less

$84.45
In Stock
Water Filter
Part #EDR2RXD1
This water filter is a genuine replacement for bottom-freezer refrigerators that accept a Filter 2. it is certified to remove up to 24 different contaminants which include pharmaceuticals, waterborne parasites, lead, and pesticides. The filter should be replaced every six months, or when 200 gallons of water have passed through, to ensure...Read more optimum contaminant reduction. The filter is found in the top right corner of your fridge, and replacing it is easy. Simply pop out the old one (keep a bucket underneath to catch any water) and slide in the new one. You will hear a click once it has locked into place. You should run water through the filter for a couple minutes prior to use. This filter measures approximately two inches wide, two inches deep, and 7.5 inches long.
Read less

$78.26
In Stock
Refrigerator Water Filter
Part #F2WC9I1
This genuine OEM replacement part is a water filter for your fridge or freestanding ice maker. The filter is used to remove contaminants and particles from the water, to ensure a clean and fresh taste. The filter should be replaced every six to nine months, or after 2000 gallons of water have passed through, whichever occurs first.

$11.77
In Stock
Refrigerator Screw
Part #WPW10661886
This mounting screw is a genuine OEM replacement part for the door handle in your refrigerator. If you are having trouble shutting the refrigerator door, or opening it, replacing this screw can help solve the issue. Replacing this part is easy and requires minimal disassembly of the refrigerator end cap handle. Your will need a screwdriver to complete this repair.

$24.15
In Stock
Touch-Up Paint - White
Part #72017
This touch-up paint can be used on a wide variety of household appliances. It is most often used on washers, dryer, refrigerators, dishwashers, ranges, freezers, trash compactors, or microwaves. It is an 18 ml, or.6 fluid ounces, bottle of touch-up paint. It also features a brush for easy application. This quick-drying, long-lasting paint...Read more is perfect for fixing any nicks, scratches, or chips on the exterior of your appliance. This paint is white in color, and provides a durable finish.
Read less

$62.60
In Stock
Water Inlet Valve
Part #W10865826
This OEM, 120V, 60 HZ water inlet valve is specially designed for refrigerators. It is responsible for regulating the flow of water into the water dispenser and ice maker of the fridge. If your refrigerator is leaking or it is unable to dispense water, the water inlet valve may be damaged or experiencing electrical failure. It will need t...Read moreo be replaced to restore the functionality of the appliance. You can find the valve at the back of the refrigerator where it is connected to the water supply line.
Read less

$63.64
In Stock
Door Shelf Bin
Part #W10887799
This is a door shelf bin for a variety of refrigerator models. This bin is used to hold and support various food items in your refrigerator door. This shelf measures approximately 12.5 inches wide and 2.5 inches deep and is made of clear plastic. If your current fridge shelf is cracked, broken, or simply not able to adequately support the...Read more items you have placed in it, it will need to be replaced. Replacing this shelf is simple and only requires you to lift out the old one, and push the new one in. This OEM shelf is sold individually, and does not include any other parts or accessories.
Read less

$36.85
In Stock
Spray Paint - 12 oz. - White
Part #350930
Appliance spray paint is a great way to cover up any chips and scratches that have appeared on your appliances. Instead of replacing the part entirely, this is an easy fix. This is also a great way to give a fresh new look to any handles or areas that have discoloring due to wear. Make sure to clean the area before you begin and wear a pr...Read moreotective mask for safety. Give the can a good shake and spray a few inches away from the surface. Apply the paint until the area is fully covered as desired. Wait until the paint has dried before using the appliance.
Read less

$111.43
In Stock
Ice Bucket Auger Motor
Part #W10822606
This auger motor is for refrigerators.
Auger motor turns the auger that pushes the ice cubes through the dispenser chute.
Safely store any food that could deteriorate while the power is off. Unplug the refrigerator before installing this part. Wear work gloves to protect your hands.

$11.77
Special Order

$7.47
In Stock
Refrigerator Screw
Part #WP98165
This screw is a little under an inch long and is made of metal. It is used with a refrigerator's ice maker assembly. Sold individually.

$151.47
In Stock
Led Module Service Kit, White - 9+3 Leds
Part #W11683243
The board fits behind the light lens and has LED lights that illuminate the interior of the refrigerator or freezer compartments.
Common Symptoms of models starting with KRFC70
How this model fails, and the parts that fix it.
Leaking
Fixed by
these parts
these parts

Show All
Ice maker not making ice
Fixed by
these parts
these parts


Show All
Light not working
Fixed by
these parts
these parts


Show All
Ice maker won’t dispense ice
Fixed by
these parts
these parts


Show All
Fridge too warm
Fixed by
these parts
these parts

Show All
Fridge too cold
Fixed by
these parts
these parts
Show All
Noisy
Fixed by
these parts
these parts
Show All
Not dispensing water
Fixed by
these parts
these parts
Show All
Door Sweating
Fixed by
these parts
these parts
Show All
Clicking sound
Fixed by
these parts
these parts
Show All
Door won’t open or close
Fixed by
these parts
these parts

Show All
Freezer not defrosting
Fixed by
these parts
these parts
Show All
Frost buildup
Fixed by
these parts
these parts

Show All
Watch our pros, then fix it yourself.
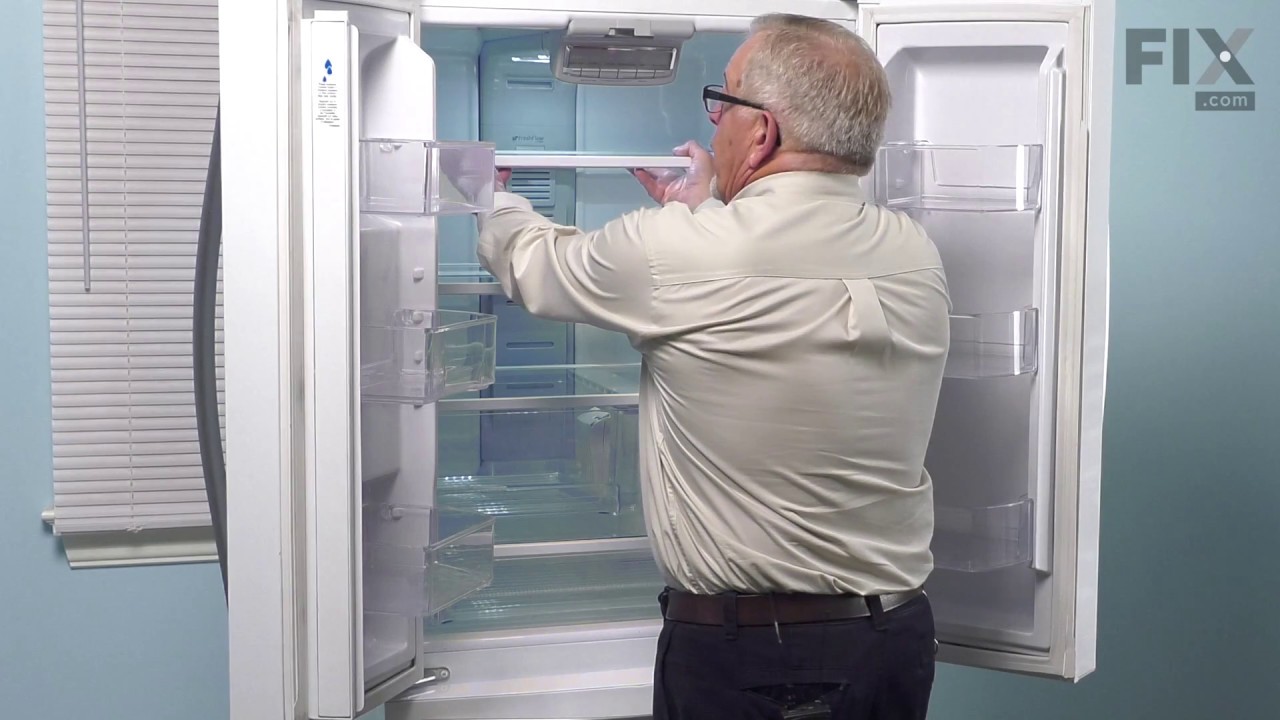
See how others fixed this model. Time, tools, difficulty, and steps that lead to victory!
View More