


 My Orders




7955183 Kenmore - Overview
Models starting with 7955183
Click on the best match to narrow your results.
- 79551832410 Kenmore Refrigerator (REFRIGERATOR)
- 79551832411 Kenmore Refrigerator (Kenmore Refrigerator 79551832411)
- 79551832412 Kenmore Refrigerator (Kenmore 79551832412 Refrigerator)
- 79551832413 Kenmore Refrigerator (Kenmore Refrigerator 79551832413)
- 79551832414 Kenmore Dishwasher (Kenmore Dishwasher 79551832414)
- 79551832415 Kenmore Refrigerator (Kenmore Refrigerator 79551832415)
- 79551833410 Kenmore Refrigerator (REFRIGERATOR)
- 79551833411 Kenmore Refrigerator (REFRIGERATOR)
- 79551833412 Kenmore Refrigerator (REFRIGERATOR)
- 79551833413 Kenmore Refrigerator (Kenmore Refrigerator 79551833413)
- 79551833414 Kenmore Refrigerator (Kenmore 79551833414 Side By Side Refrigerator)
- 79551833415 Kenmore Refrigerator (Kenmore Refrigerator 79551833415)
- 79551833416 Kenmore Refrigerator (Kenmore 79551833416 Refrigerator)
- 79551839410 Kenmore Refrigerator (REFRIGERATOR)
- 79551839411 Kenmore Refrigerator (Kenmore 79551839411 Refrigerator)
- 79551839412 Kenmore Refrigerator (Kenmore 79551839412 Refrigerator)
- 79551839413 Kenmore Refrigerator (Kenmore Refrigerator 79551839413)
- 79551839414 Kenmore Refrigerator (Kenmore 79551839414 Side By Side Refrigerator)
- 79551839415 Kenmore Refrigerator (Kenmore Refrigerator 79551839415)
Enter a part description. DIY Heroes keep it simple, eg. "belt" or "pump".
Search filter:
Clear Filter
Your search term must have 3 or more characters.

$15.00
In Stock
Dishwasher Roller Assembly
Part #4581DD3003C
The dishwasher roller assembly connects to the dishrack, and is located in the lower level of the dishwasher. It allows the dishrack to easily slide in and out. If the lower rack keeps falling off the track in your dishwasher, makes noises, the door will not close, or the dishes are not getting clean, then it is best to replace it for mor...Read moree security. A flat blade screw driver is the only tool needed for this installation. Open the lower dishwasher rack and remove retaining tabs from both ends of the rack and slide it out. Locate the older roll assembly, remove it and replace the rollers. Remember to put the tabs on each side back before sliding it back in. Make sure the dishwasher is off before starting this installation project.
Read less

$15.00
In Stock
Handle Screw
Part #MJB63190001
This handle screw, also known as a mounting bolt, is a mounting screw to help secure the door handle to your refrigerator door. If your handle is loose, you may just need to tighten the screw. If your screw is missing or broken, it may need to be replaced. There are multiple handle screws on your fridge, please consider ordering extra as ...Read morethey commonly wear at the same rate. This is about 1 inch long and metallic in color.
Read less

$53.20
In Stock
Diverter Motor - 120V 60Hz
Part #4681ED3001D
This diverter motor, or stepper motor, controls the movement of the spray arms in your dishwasher. It directs water between the drain pump and the spray arms by turning a check valve inside the pump, managing the flow of water to these spray arms. This diverter motor runs on 120 volts and 60 Hz. When this motor fails, the dishwasher will ...Read morenot wash or drain properly. Please keep in mind that this genuine OEM replacement part is sold separately from the spray arms.
Read less

$66.77
In Stock
Hose Drain Assembly
Part #AEM74333104
This LG drain hose assembly is a genuine OEM replacement that is compatible with various LG washers. The assembly includes the hose and plastic connectors. The flexible rubber hose transports used water from the washer tub out into a dedicated drainage system such as a laundry sink or standpipe. The drain hose may become clogged, dislodge...Read mored, or damaged by loose items like coins in the laundry or by hard impacts from outside. If the hose is faulty, you will likely notice standing water in the washer tub after a cycle, mold growth, leaking, or water overflow. It is recommended to replace the drain hose promptly if it is faulty to ensure the proper functioning of your washer.
Read less

$31.58
In Stock
Micro Switch
Part #6600JB3001C
This is a micro switch for various models of LG refrigerators. This switch is responsible for turning the ice dispenser on and off within the freezer compartment of the fridge. If this switch is damaged or shorted, it will cause the ice maker to work inconsistently, or not at all. This switch is different from the water dispenser switch, ...Read morewhich has an entirely different shape all together. Replacing this switch is simple and only requires a Philips-head screwdriver to disconnect the old switch and install the new one. This switch is a genuine OEM LG part and does not come with any other parts or accessories.
Read less

$196.44
In Stock
Ice Maker Assembly
Part #AEQ73130002
This genuine refrigerator ice maker assembly is a complete replacement unit designed to automatically manage water intake, freeze ice, and dispense finished cubes into the storage bin. Ideal for restoring reliable ice production, it includes the ice mold, motor, and control components in one assembly. This replacement can help resolve com...Read moremon issues such as failure to make ice, improperly formed cubes, or inconsistent ice dispensing. The assembly measures approximately 11 inches long, 5 inches wide, and 4 inches high.
Read less

$492.75
On Order
Compressor
Part #TCA38151706
This part must be installed by a licensed and trained LG technician that is able to perform a software update, which is required for the installation of this compressor. Part number CJT30000002 is needed to perform the update.
Also, the three pins on the side of the new compressor may be oriented differently than the original. If diff...Read moreerent, when installing the new compressor the compressor electrical connector must be rotated 45 degrees counter-clockwise.
Read less

$96.17
In Stock
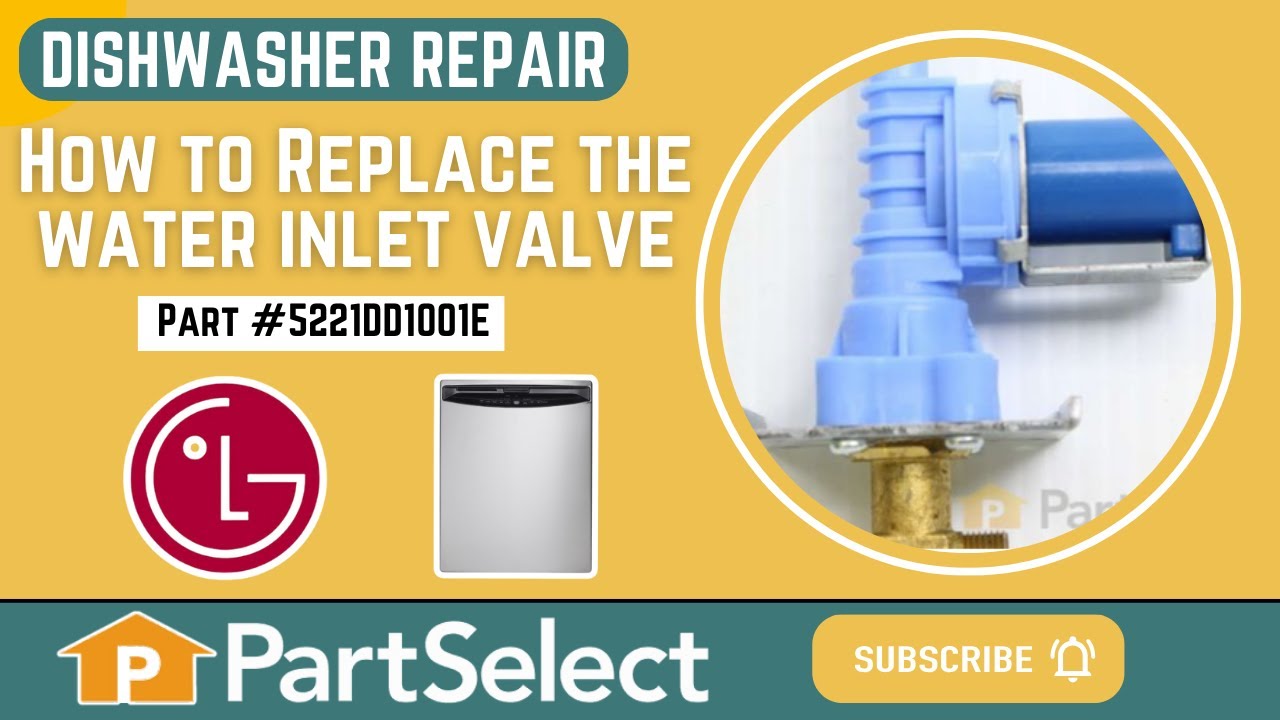
Dishwasher Water Inlet Valve
Part #5221DD1001E
This part is the replacement inlet valve for your dishwasher. It is approximately 4-1/2 inches by 3-1/2 inches. The water inlet valve in your dishwasher connects to the water source and solenoid wires, and ensures the tub has the right amount of water entering it. If your dishwasher continues to fill after it is full, or if it fills slow...Read morely, you may need to replace this valve. Another indication that your valve is damaged and will need to be replaced, is if you notice it is leaking when the dishwasher fills up. Before you begin this repair, be sure to disconnect the water and power sources from your washer. This part is sold individually and is an authentic OEM part.
Read less

$101.29
In Stock

$31.58
In Stock

$15.00
In Stock

$15.00
In Stock
Bushing
Part #4830ED4001B
Common Symptoms of models starting with 7955183
How this model fails, and the parts that fix it.
Leaking
Fixed by
these parts
these parts


Show All
Not cleaning dishes properly
Fixed by
these parts
these parts


Show All
Noisy
Fixed by
these parts
these parts


Show All
Not draining
Fixed by
these parts
these parts

Show All
Will not fill with water
Fixed by
these parts
these parts
Show All
Ice maker won’t dispense ice
Fixed by
these parts
these parts

Show All
Ice maker not making ice
Fixed by
these parts
these parts

Show All
Fridge and Freezer are too warm
Fixed by
these parts
these parts

Show All
Ice maker dispenses too much ice
Fixed by
these parts
these parts
Show All
Not dispensing water
Fixed by
these parts
these parts
Show All
Fridge too warm
Fixed by
these parts
these parts
Show All
Watch our pros, then fix it yourself.
See how others fixed this model. Time, tools, difficulty, and steps that lead to victory!
View More