


 My Orders




3LM Maytag - Overview
Models starting with 3LM
Click on the best match to narrow your results.
- 3LMEDC100YW0 Maytag Dryer (27" ELECTRIC DRYER)
- 3LMEDC100YW1 Maytag Dryer (27" ELECTRIC DRYER)
- 3LMEDC100YW2 Maytag Dryer (27" ELECTRIC DRYER)
- 3LMEDC300YW1 Maytag Dryer (27" ELECTRIC DRYER)
- 3LMEDC300YW2 Maytag Dryer (27" ELECTRIC DRYER)
- 3LMEDC315FW0 Maytag Dryer (DRYER)
- 3LMEDC415FW0 Maytag Dryer (RESIDENTIAL)
- 3LMVWC100YW0 Maytag Washer (AUTOMATIC WASHER)
- 3LMVWC100YW1 Maytag Washer (AUTOMATIC WASHER)
- 3LMVWC315FW0 Maytag Washer (RESIDENTIAL WASHER)
- 3LMVWC315FW1 Maytag Washer (Maytag Washing Machine 3lmvwc315fw1)
- 3LMVWC400YW0 Maytag Washer (AUTOMATIC WASHER)
- 3LMVWC400YW1 Maytag Washer (AUTOMATIC WASHER)
- 3LMVWC400YW3 Maytag Washer (WASHER)
- 3LMVWC415FW0 Maytag Washer (RESIDENTIAL WASHER)
- 3LMVWC415FW1 Maytag Washer (Washer)
Enter a part description. DIY Heroes keep it simple, eg. "belt" or "pump".
Search filter:
Clear Filter
Your search term must have 3 or more characters.

$15.00
In Stock
Multi Rib Belt - 92-1/4"
Part #341241
This dryer drum belt (Whirlpool Dryer Belt, Drive Belt) has four ridges, three grooves and is 1/4" wide, and 92 1/4 inches in length. It comes in black and is made of rubber. The belt transfers the rotation of the motor to turn the drum. The belt attaches to the drum, idler pulley, and motor pulley.

$6.40
In Stock
Agitator Directional Cogs
Part #80040
This kit is used for replacing the agitator directional cogs (Agitator Dogs, Agitator Repair Kit, Washer Agitator Dogs, Agitator Dog Ears). The agitator is what creates the thrusting motion in your washer to tumble your clothes during the washer cycle. Your agitator will rotate one way, and not the other. The agitator dogs are what preven...Read moret the agitator from rotating in both directions, while allowing it to rotate in one direction. Your agitator cogs may be malfunctioning if you can manually rotate the agitator in both directions. If broken they will need to be replaced. Cogs can be found by simply removing the softener dispenser and then removing the agitator cap. The are attached to the agitator. This replacement part features 4 agitator directional cogs. There are 4 cogs per package that are made up of high-quality plastic. This part comes in white/beige.
Read less

$21.45
In Stock
Agitator Repair Kit
Part #285811
This kit (Medium Cam Agitator Repair Kit, Washer Agitator Cam Repair Kit, Cam Agitator) is used to repair the agitator. These parts are located inside the agitator auger near the top. You will need to remove the softener dispenser first if your model is equipped with one. This part is driven by the output shaft of the transmission to mov...Read moree the clothes during a wash cycle. The agitator auger rotates one way but not the other, which forces the laundry down and out for a constant tumbling during the wash cycle. The agitator is subjected to a lot of force during the washer wash cycle. Constant and frequent use of the appliance can cause damage, especially during heavy loads. If you’re experiencing a noisy agitator, or an agitator that spins freely in both directions, then it may be in need of repairs. If your agitator is no longer agitating properly, your clothes will not tumble, and will not be washed properly. The agitator repair kit includes an agitator cam, 4 directional cogs, a bearing, thrust spacer, inner cap seal, and a washer. It is constructed of plastic and rubber, and comes in black/white.
Read less

$8.55
In Stock
Door Catch Kit
Part #279570
This part replaces your appliances latch (Door Latch Kit, Door Catch, Dryer Door Latch Kit). On your appliance you will find both a strike and a catch. The strike is mounted on the body of the dryer, while the catch is mounted on the dryer door. These two parts work together to keep your dryer door closed. The catch holds the door strike ...Read moreto keep the door closed during the drying cycle. If the door does not latch closed, you won’t be able to start a drying cycle. If this part is malfunctioning, you may not be able to open or close your door. In some instances, it may seem like your door is closing, but if it is not latching properly you won’t be able to start your drying cycle. You should replace this part as soon as it’s malfunctioning. Your dryer may run even though the latch is malfunctioning, but it is unsafe if the dryer continues to run while the door is open. This replacement part features 1 door latch kit which includes 2 strikes, 3 catches, and a set of instructions. This model is constructed of plastic and metal, and comes in white/silver.
Read less

$38.96
In Stock
Dryer Repair Kit
Part #4392067
This Whirlpool Dryer Repair Kit is a convenient solution for fixing noise and drum movement problems in 27-inch dryers. Compatible with models from Whirlpool, Kenmore, Maytag, and more, the kit includes a drive belt, drum support rollers, an idler pulley, mounting clips, and a washer. It’s designed for straightforward installation using s...Read moretandard tools, and should only be installed after disconnecting power. Ideal for restoring smooth, quiet dryer performance, this kit combines essential components in one package to save time and effort during repairs.
Installation requires disassembling the dryer to replace parts using standard tools. Ensure the dryer is unplugged before starting. This durable OEM kit provides reliable repairs for quieter, more efficient operation.
Read less

$20.37
In Stock
Dryer High Limit Thermostat
Part #WP3977767
A dryer high-limit thermostat (High Limit Thermostat, Hi-Limit Thermostat, Dryer High-Limit Thermostat) is a switch that is actuated by temperature change. This high limit thermostat acts as a safety mechanism to keep the dryer from overheating. If your thermostat is malfunctioning, your dryer may not heat. This thermostat is located bene...Read moreath the dryer vent at the back of the appliance. The terminal extension arm connects to the heater element terminal. You can test the high limit thermostat with a multimeter. Test the thermostat for continuity at room temperature. If your reading indicates a defective thermostat, it must be replaced. This model is made of metal and plastic, and comes in silver/black. This part features 1 high limit thermostat with a terminal extension arm.
Read less

$19.30
In Stock
Dryer Drum Support Roller
Part #WPW10314173
This genuine OEM dryer drum support roller is designed to hold the drum in place while allowing it to rotate smoothly and quietly during operation. Built for durability and reliable performance, it helps reduce noise and ensures consistent tumbling. Ideal for replacing worn or damaged rollers, it resolves issues such as squeaking, rumblin...Read moreg, or poor drum movement, helping restore efficient and dependable dryer operation.
Read less

$26.82
In Stock
Idler Pulley
Part #279640
This Idler Pulley includes the tri-ring and gasket and everything included here is manufacturer-certified. This part maintains correct tension on the drive belt in order to spin the drum properly. If damaged or broken the dryer will not dry properly, will not tumble properly, or may not even start. Installation is rated as "Medium" diffic...Read moreulty. This part is located on the dryer drum, around the tension pulley. Refer to your user manual and model number for repair instructions and to ensure this part is right for you. For this repair project, the tools needed are a Phillips screwdriver, 1/4 inch nut driver, putty knife, small flat blade screw driver, and needle nose pliers.
Read less

$44.23
In Stock
Lint Filter
Part #W10120998
The filter collects lint during the drying cycle. This filter is 12 1/2 inches wide and 10 1/2 inches deep. Replacing the lint filter is an easy repair which requires no tools. When replacing the lint filter, check the filter slot for a buildup of lint, which can be a fire hazard. Continue to check often to make sure the filter and slot are both cleared of lint.

$45.29
In Stock
Dryer Door Handle - White
Part #W10861225
This white OEM dryer door handle is used to open and close the dryer's door. Comprised of plastic and 6-by-2-inches in dimension, the handle is sold individually and attaches to the dryer door. Your dryer door may need replacing if you've accidentally pulled too hard on the door handle in opening. This will be more likely to happen over t...Read moreime as the material weakens through frequent use. If your handle is broken, you may no longer be able to open or close your dryer door, depending on the position your handle broke in. You'll know you need to replace this part if the locking tab has broken off, causing the handle to continually fall out.
Read less

$57.38
In Stock
LINT SCREEN ASSY, WOD
Part #W11778253
This manufacturer-certified dryer lint filter is used to collect lint during the dryer cycle, to prevent damage to the machine and to prevent lint from sticking to clothes. This model comes in white and is easy to install. It slides into the lint filter slot in your dryer. If there is visible damage to the screen then it's time to replace...Read more the part. Check your user manual and model number to see if this is the right part for you. Make sure you empty the lint filter after every use of the dryer and check the filter slot for an excess buildup of lint, which can shorten the life of your filter and be a fire hazard. The screen is approximately 20 inches in length, not including the handle, and around 8.5 inches wide.
Read less

$11.77
In Stock
Roller Support Tri-Ring
Part #WPW10512946
If you notice that your dryer is noisy or will not tumble, you may need to replace the tri ring. This part is triangular, and is less than an inch in size. Tri rings can be found both on the idler pulley shaft, or on the rear drum roller shaft. In either case, you will need to remove the front panel of the dryer and the drum to access the...Read more part for repair. Once you have accessed the damaged tri ring, you will simply need to slip it off and replace it with the new one. This part is sold individually. Be sure to disconnect the power source from the dryer before you begin this repair.
Read less
Common Symptoms of models starting with 3LM
How this model fails, and the parts that fix it.
Will not agitate
Fixed by
these parts
these parts


Show All
Noisy
Fixed by
these parts
these parts


Show All
Door won’t close
Fixed by
these parts
these parts


Show All
Drum Not Spinning
Fixed by
these parts
these parts

Show All
Shaking and Moving
Fixed by
these parts
these parts


Show All
Spinning Issues
Fixed by
these parts
these parts

Show All
Leaking
Fixed by
these parts
these parts


Show All
Not Heating
Fixed by
these parts
these parts


Show All
Marks left on clothes
Fixed by
these parts
these parts


Show All
Spins slowly
Fixed by
these parts
these parts
Show All
Door Pops Open
Fixed by
these parts
these parts

Show All
Too hot
Fixed by
these parts
these parts

Show All
Won’t Start
Fixed by
these parts
these parts

Show All
Timer Not Working
Fixed by
these parts
these parts

Show All
Does not dispense fabric softener or detergent
Fixed by
these parts
these parts


Show All
Noisy and Marks Left on Clothes
Fixed by
these parts
these parts
Show All
Will Not Start
Fixed by
these parts
these parts


Show All
Will not drain
Fixed by
these parts
these parts
Show All
Lid or door won’t close
Fixed by
these parts
these parts
Show All
Heat stays on after drum has stopped
Fixed by
these parts
these parts
Show All
Locking Issues
Fixed by
these parts
these parts
Show All
Burning smell
Fixed by
these parts
these parts

Show All
Running With Door Open
Fixed by
these parts
these parts
Show All
Cycle Not Advancing
Fixed by
these parts
these parts
Show All
Not cleaning dishes properly
Fixed by
these parts
these parts
Show All
Draining Issues
Fixed by
these parts
these parts
Show All
Touchpad does not respond
Fixed by
these parts
these parts
Show All
Steam Comes Out
Fixed by
these parts
these parts

Show All
Watch our pros, then fix it yourself.

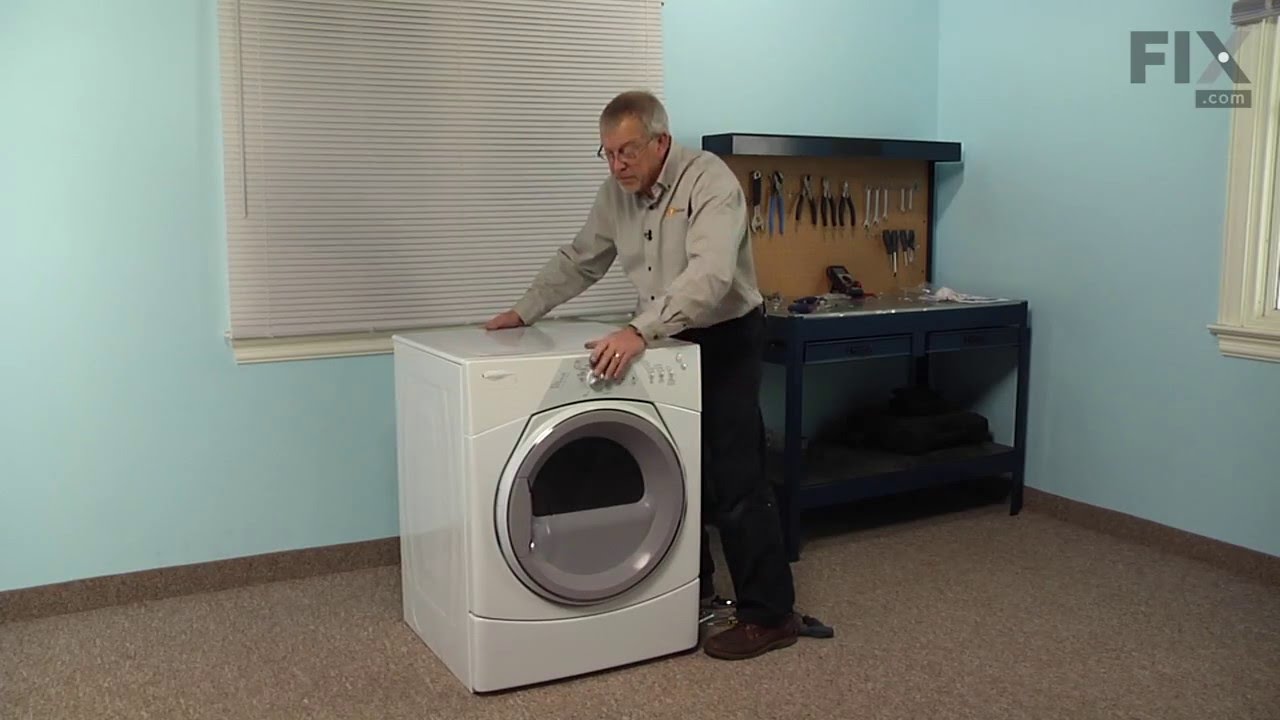
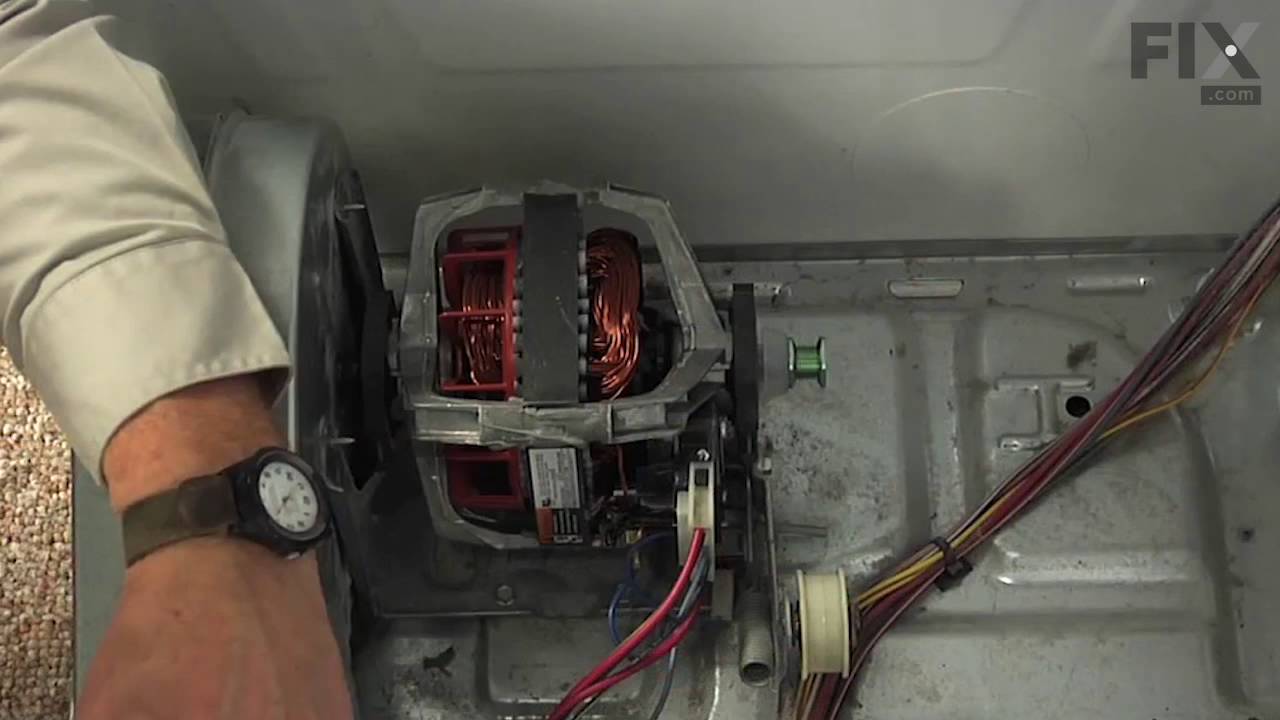
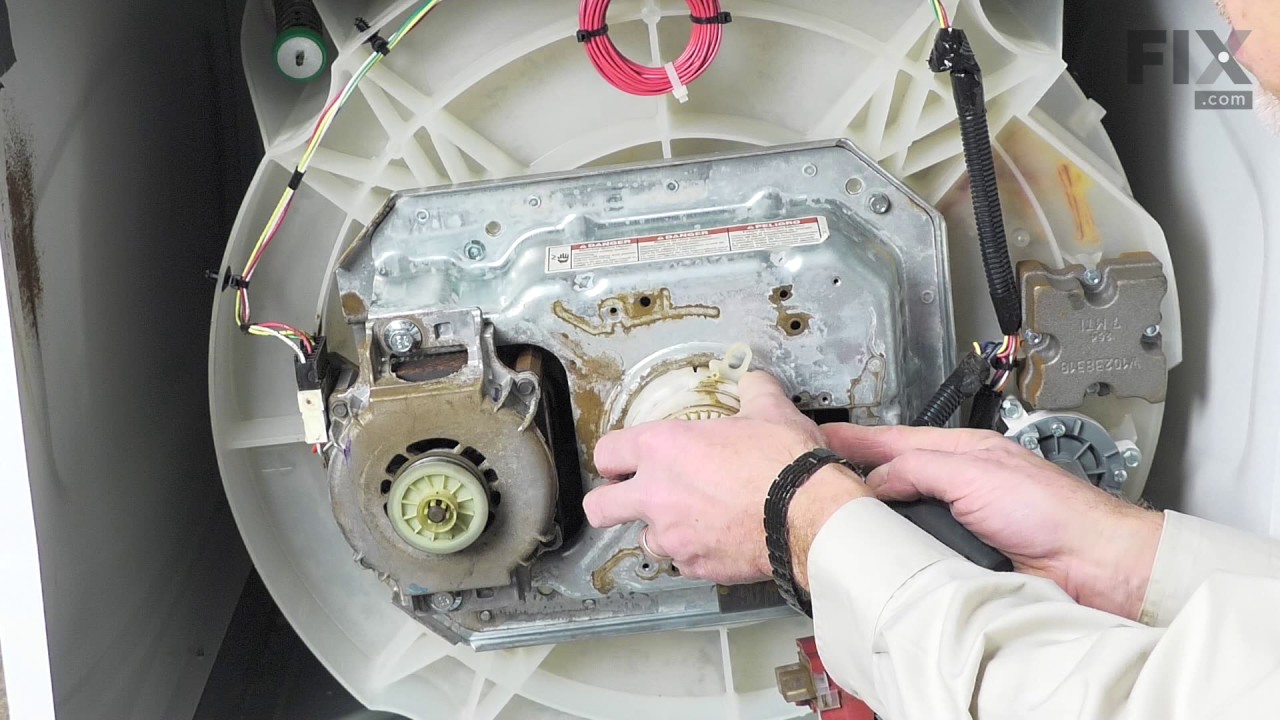
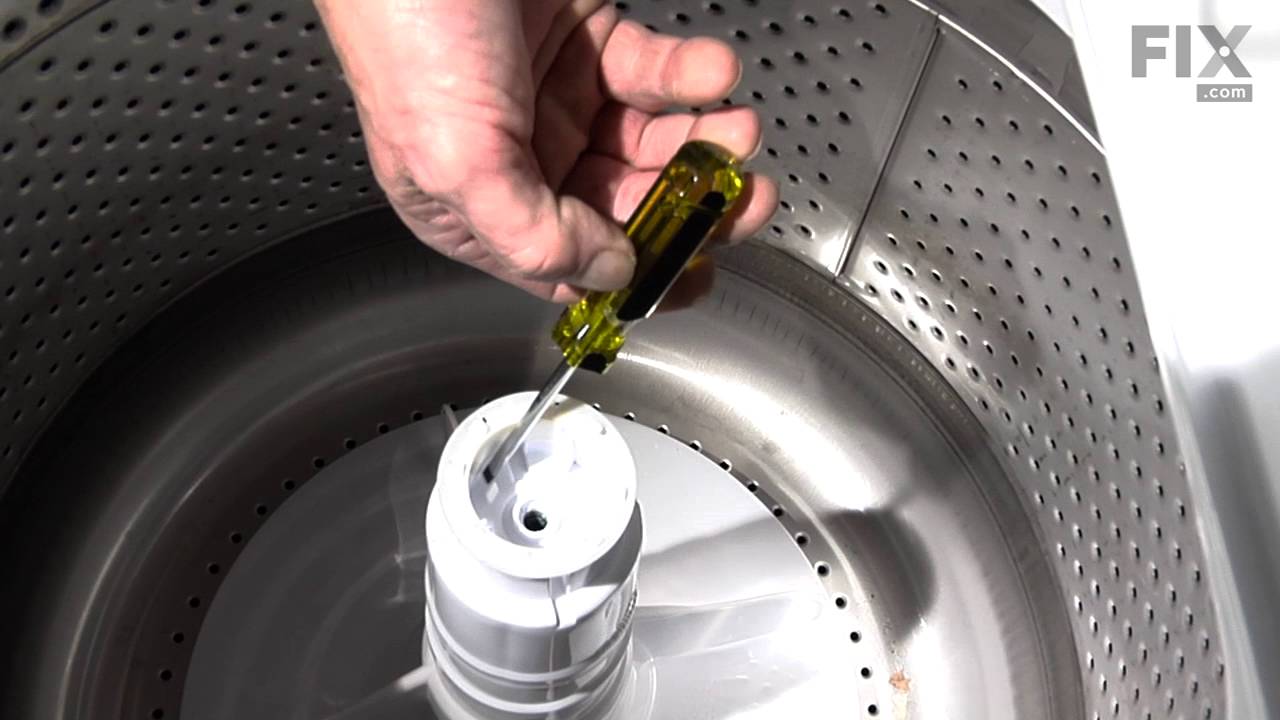
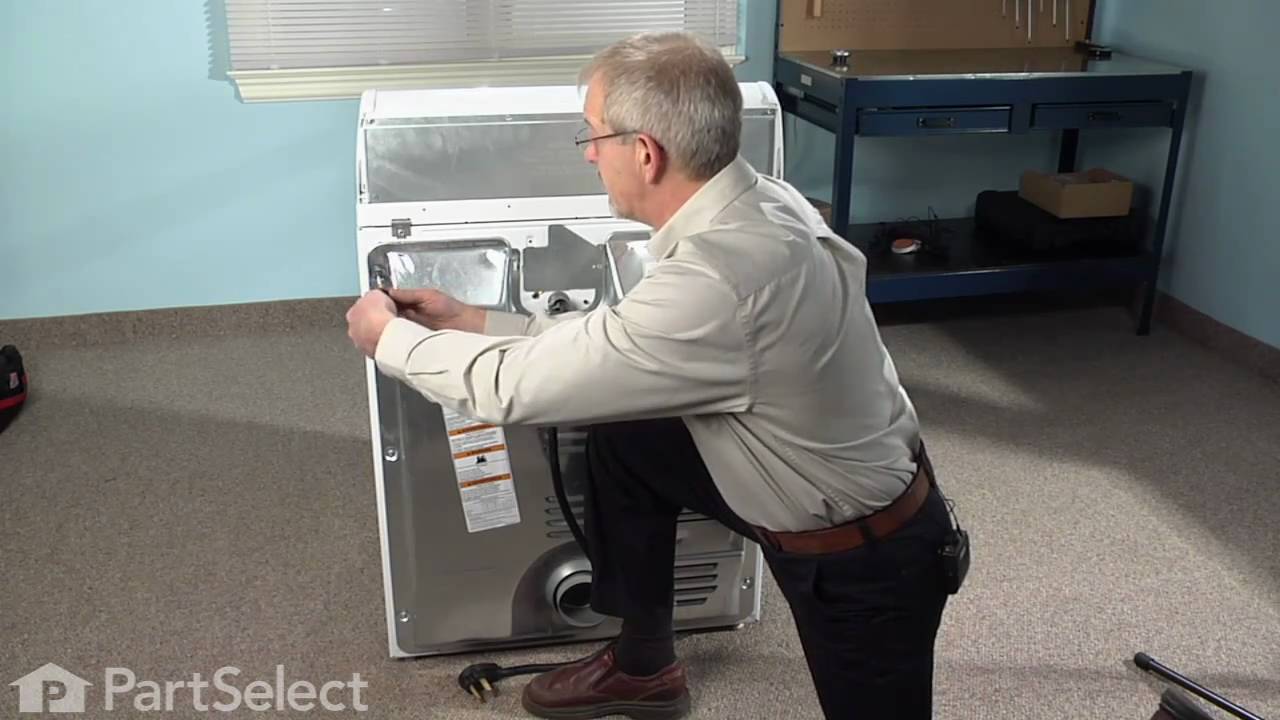
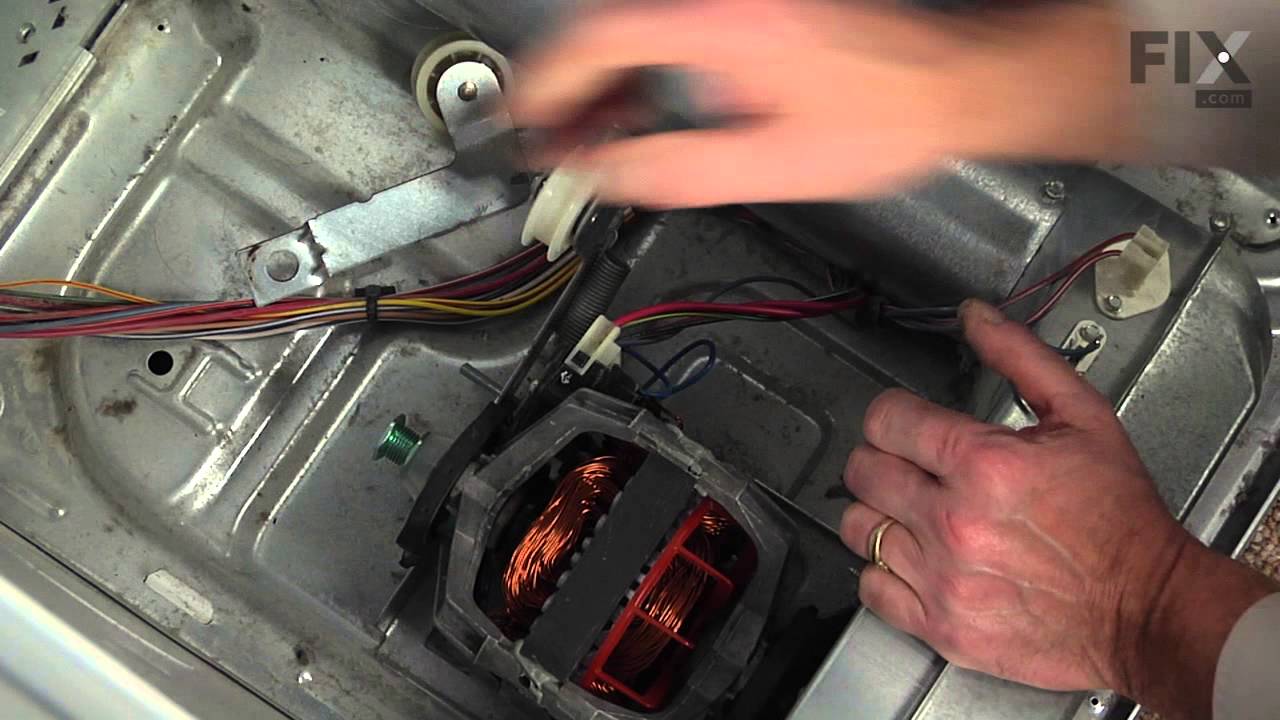
See how others fixed this model. Time, tools, difficulty, and steps that lead to victory!
View More