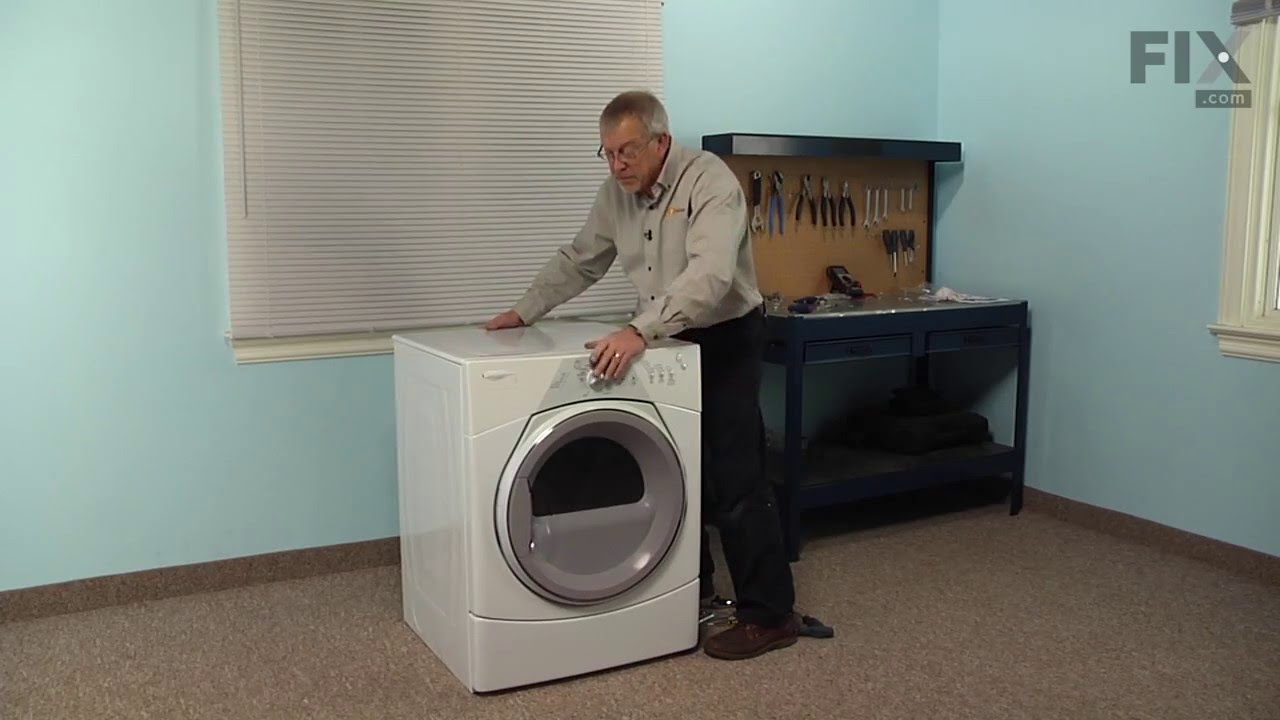
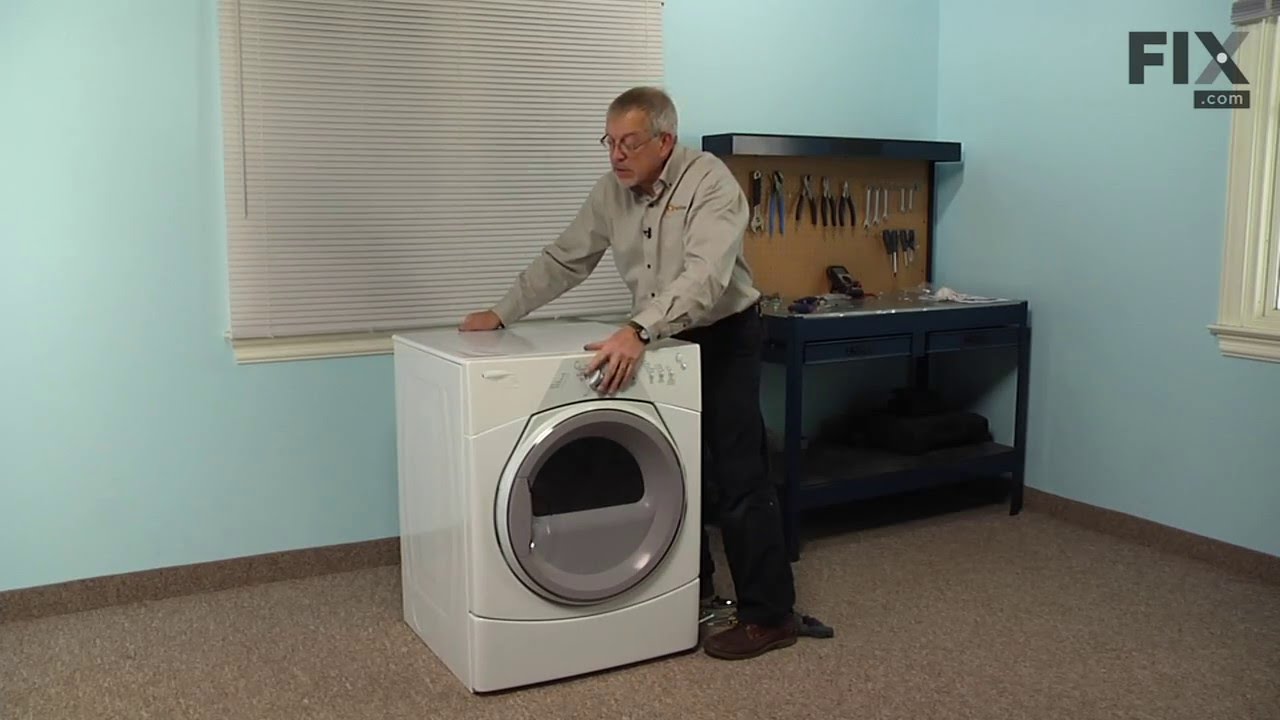
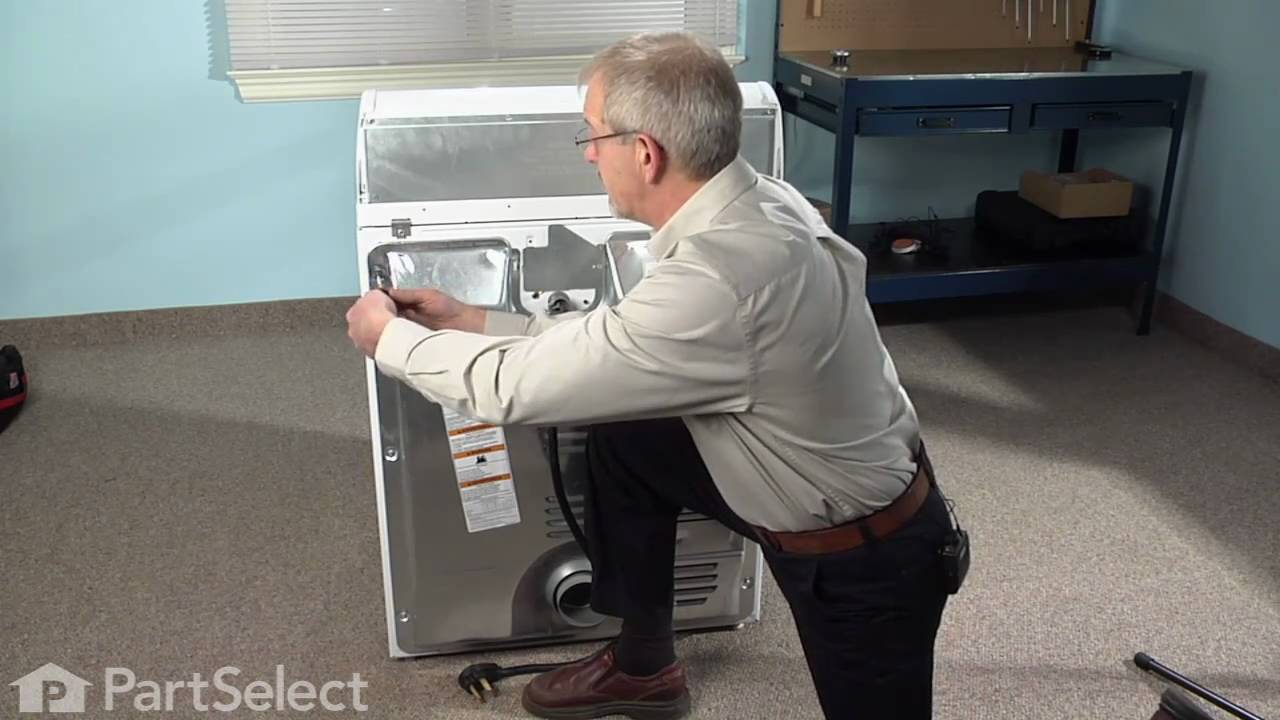
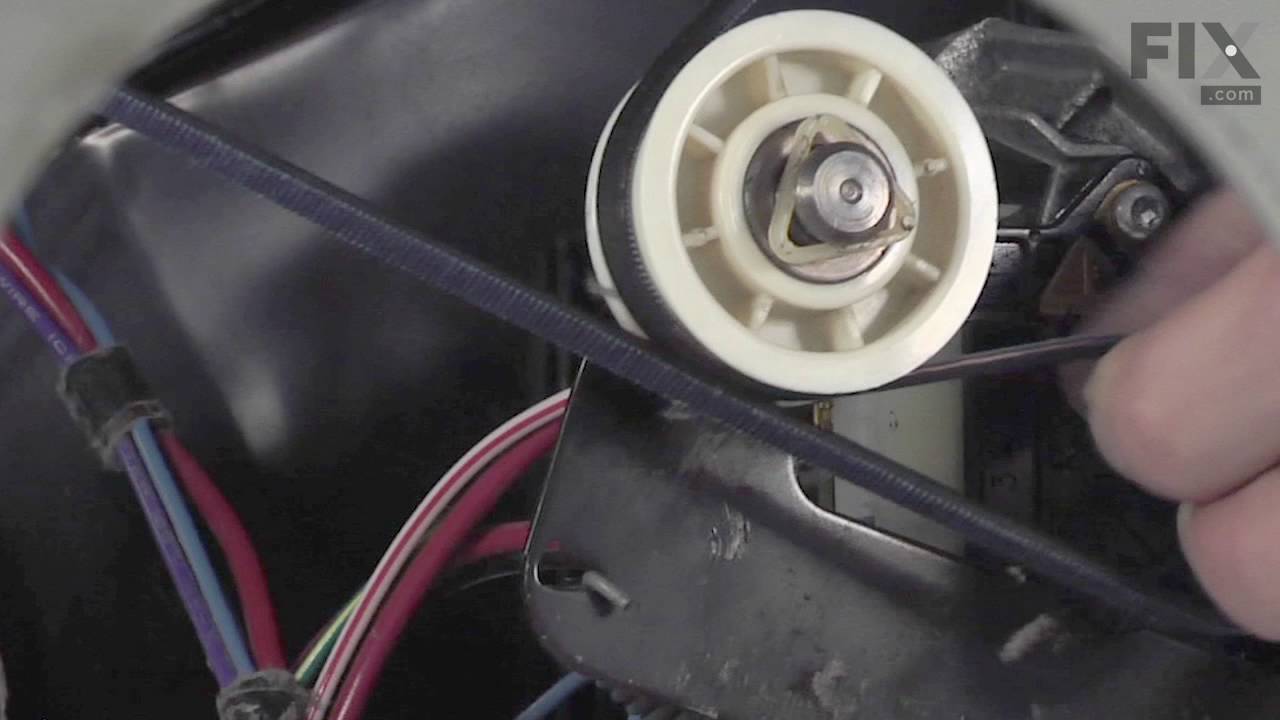
This dryer drum belt (Whirlpool Dryer Belt, Drive Belt) has four ridges, three grooves and is 1/4" wide, and 92 1/4 inches in length. It comes in black and is made of rubber. The belt transfers the rotation of the motor to turn the drum. The belt attaches to the drum, idler pulley, and motor pulley.
This Whirlpool Dryer Repair Kit is a convenient solution for fixing noise and drum movement problems in 27-inch dryers. Compatible with models from Whirlpool, Kenmore, Maytag, and more, the kit includes a drive belt, drum support rollers, an idler pulley, mounting clips, and a washer. It’s designed for straightforward installation using s...Read moretandard tools, and should only be installed after disconnecting power. Ideal for restoring smooth, quiet dryer performance, this kit combines essential components in one package to save time and effort during repairs.
Installation requires disassembling the dryer to replace parts using standard tools. Ensure the dryer is unplugged before starting. This durable OEM kit provides reliable repairs for quieter, more efficient operation.
A dryer high-limit thermostat (High Limit Thermostat, Hi-Limit Thermostat, Dryer High-Limit Thermostat) is a switch that is actuated by temperature change. This high limit thermostat acts as a safety mechanism to keep the dryer from overheating. If your thermostat is malfunctioning, your dryer may not heat. This thermostat is located bene...Read moreath the dryer vent at the back of the appliance. The terminal extension arm connects to the heater element terminal. You can test the high limit thermostat with a multimeter. Test the thermostat for continuity at room temperature. If your reading indicates a defective thermostat, it must be replaced. This model is made of metal and plastic, and comes in silver/black. This part features 1 high limit thermostat with a terminal extension arm.
This genuine OEM dryer drum support roller is designed to hold the drum in place while allowing it to rotate smoothly and quietly during operation. Built for durability and reliable performance, it helps reduce noise and ensures consistent tumbling. Ideal for replacing worn or damaged rollers, it resolves issues such as squeaking, rumblin...Read moreg, or poor drum movement, helping restore efficient and dependable dryer operation.
This white OEM dryer door handle is used to open and close the dryer's door. Comprised of plastic and 6-by-2-inches in dimension, the handle is sold individually and attaches to the dryer door. Your dryer door may need replacing if you've accidentally pulled too hard on the door handle in opening. This will be more likely to happen over t...Read moreime as the material weakens through frequent use. If your handle is broken, you may no longer be able to open or close your dryer door, depending on the position your handle broke in. You'll know you need to replace this part if the locking tab has broken off, causing the handle to continually fall out.
This manufacturer-certified dryer lint filter is used to collect lint during the dryer cycle, to prevent damage to the machine and to prevent lint from sticking to clothes. This model comes in white and is easy to install. It slides into the lint filter slot in your dryer. If there is visible damage to the screen then it's time to replace...Read more the part. Check your user manual and model number to see if this is the right part for you. Make sure you empty the lint filter after every use of the dryer and check the filter slot for an excess buildup of lint, which can shorten the life of your filter and be a fire hazard. The screen is approximately 20 inches in length, not including the handle, and around 8.5 inches wide.
If you notice that your dryer is noisy or will not tumble, you may need to replace the tri ring. This part is triangular, and is less than an inch in size. Tri rings can be found both on the idler pulley shaft, or on the rear drum roller shaft. In either case, you will need to remove the front panel of the dryer and the drum to access the...Read more part for repair. Once you have accessed the damaged tri ring, you will simply need to slip it off and replace it with the new one. This part is sold individually. Be sure to disconnect the power source from the dryer before you begin this repair.
If your washer shakes or vibrates loudly when it reaches its max speed, check that the leveling legs are even. To ensure that the washer is firmly on the ground using all four legs, adjust the legs so that the machine is level, and tighten the locking nuts on the legs that are threaded. Keep the washer as close to the floor as possible. Y...Read moreour model might have rear legs that level themselves, or it might have threaded legs all around. Make sure the rubber feet have not worn out. Replace any missing or damaged legs and feet. This replacement part is sold individually.
The blower wheel is a squirrel cage type wheel whose purpose is to move the air through the room or appliance. The blower wheel spins on the motor shaft to blow air through the dryer drum and out through the exhaust.
Ask our experts a question about this model and we'll get back to you as soon as possible!
We may have answered a similar question already! Search questions and answers left by others using simple keywords like "fit", "broken", "easy", or "quality" to find questions that match.
Search filter:
Clear Filter
Your search term must have 3 or more characters.
Sort by:
Prev
1
Next
Sorry, we couldn't find any existing answers that matched.Try using some different or simpler keywords, or submit your new question by using the "Ask a Question" button above!
Andrew - For model number 3LMEDC315FW0
November 1, 2021
My dryer cuts out and then starts working again after about 50 minutes. What part would I need to get it to work normally?
Hello Andrew, Thank you for the question. This is normally an indication the dryer is over heating. We suggest checking the Vent hose and cabinet with the Lint Duct and clean them out to ensure proper air flow. You can also check the High Limit Thermostat and the Multi-Temperature Cycling Thermostat for continuity. We hope this helps!
See how others fixed this model. Time, tools, difficulty, and steps that lead to victory!View More
Search repair tips from other customers using simple keywords like "replace", "fit", "remove", "inspect". DIY doesn't mean you have to do it alone!
Search filter:
Clear Filter
Your search term must have 3 or more characters.
broken tumbler belt
145 of 165 peoplefound this instruction helpful.
Michael from San Antonio, TX
Easy
30 - 60 mins
Screw drivers, Wrench set
1. Removed the screws from the lint catcher 2. Removed the bolts from upper rear of dryer 3. Pried off the dryer top from the front (it rests on rear hinges) 4. Disconnected dryer door wiring 5. Removed bolt from inside upper front corners; removed front panel (be careful: the edges are sharp and the tumbler will fall
... Read morewhen it loses support) 6. Removed broken belt and lint from interior parts; removed tensioner (which had fallen out of place). Note: The newer models have a tensioner pulley; my older model had a smooth semicircle that was confusing at first glance 7. Flipped dryer onto its back (for easier reinsertion of new belt and tumbler) 8. Placed new belt on tumbler; reinserted tumbler 9. Inserted new belt through tensioner, inserted tensioner "legs" into grooves on floor. Note: The belt will pull the tensioner upright when it's inserted properly (which isn't obvious at first) 10. Made sure belt and tumbler seal were properly installed 11. Replaced parts in reverse order The process took over an hour because I couldn't figure out how to insert the belt through the tensioner. The trick is to insert the folded belt through the tensioner and onto the motor pulley. If I had to do it again, it would take about 30 minutes (including cleaning lint)
Read less
Was this helpful?
Thank you for voting!
very loud squeeling sound
110 of 120 peoplefound this instruction helpful.
jason from HOLDEN, MA
Really Easy
30 - 60 mins
Socket set
The issue was the idler pulley. First I began opening up the front panel based on a youtube video but soon realized the model was slightly different and required a lot more items to remove. I saw the pulley in the back with nothing in the way so I put the front panel crap back on and removed the rear panel. There it was, very simple to re
... Read moremove and replace. I'm not looking forward to drum rollers though. Hopefully they're aren't as difficult as they appear.
Read less
Was this helpful?
Thank you for voting!
Bought motor, then bought blower wheel also
95 of 111 peoplefound this instruction helpful.
Daniel from Coatesville, PA
Easy
More than 2 hours
Nutdriver, Screw drivers, Wrench (Adjustable)
couldn't get blower wheel off of the motor. really tight. rounded off the wheel's square hub while trying to hold it still as I turned the motor shaft out. No, I wasn't turning it the wrong way :) I ended up going to the back of the dryer and using the multimax to quickly cut the wheel away from the hub. I love that oscillating saw!
... Read moreJust for fun, I put the motor in a bench vise and got the wheel hub off (in pieces). VERY tight! Ordered new wheel, and the job was smooth sailing from there on. I am guessing that experienced repair people automatically order the motor and blower wheel at the same time(?) BTW both parts were perfect matches for the originals. Not surprised; this has always been my experience with partselect.com!



 My Orders