


 My Orders




Icemaker Motor Kit 8201515
Official part for Whirlpool, Kenmore, KitchenAid, Maytag






About This Part
What it does. Why it matters. Everything you need to know for an easy fix.
Icemaker Motor Kit Specifications
This kit includes the module motor, ejector arm, and ice stripper arm. The complete icemaker is sold separately.
Part #8201515
Manufactured by
Whirlpool
for Whirlpool, Kenmore, KitchenAid, Maytag

You May Also Need
Because heroes deserve fewer surprise re-installs.

$20.36
Special Order

Affresh Dishwasher Cleaner Tablets - 6
Part #W10549851
$22.52
In Stock

Affresh Washing Machine Cleaner Tablets – 6 Count
Part #W10501250
$28.42
In Stock

$18.22
On Order

$27.36
In Stock

Refrigerator Deodorizer
Part #MCS62101805
$31.58
In Stock
Genuine OEM: Original Parts. Lasting Repairs.
Because quality isn't optional.
OEM stands for Original Equipment Manufacturer. This means that the company who made your appliance is also supplying the replacement part.
| Features | OEM | Generic |
|---|---|---|
| Genuine brand name | ||
| Guaranteed to fit | ||
| Superior Quality | ||
| Long term value |
Part Videos
Watch our pros, then fix it yourself.
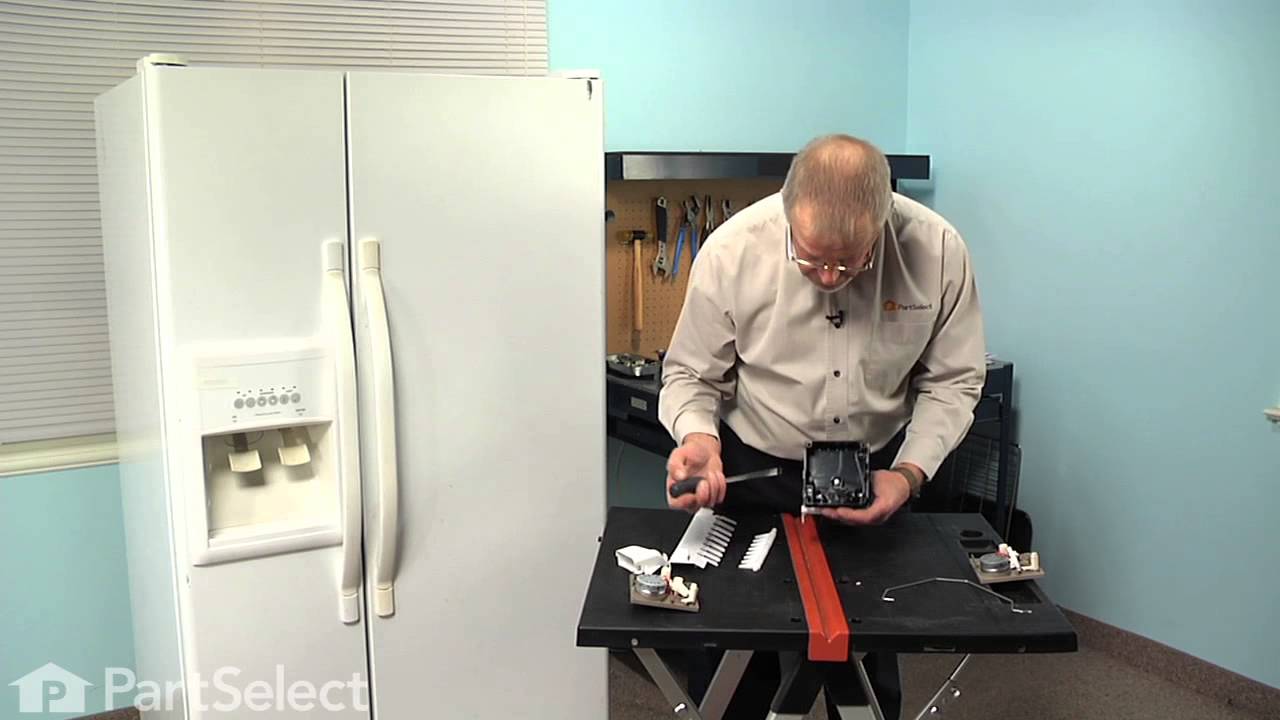
Replacing your Whirlpool Refrigerator Icemaker Motor Kit
Repair Tips
See how others fixed this model. Time, tools, difficulty, and steps that lead to victory!
Sort by:
- Prev
- 1
- 2
- 3
- Next
Search repair tips from other customers using simple keywords like "replace", "fit", "remove", "inspect". DIY doesn't mean you have to do it alone!
Search filter:
Clear Filter
Your search term must have 3 or more characters.
Sorry, we couldn't find any existing installation instruction that matched.
Ice maker stopped working.
22 of 32 people
found this instruction helpful.
Removed the icemaker to see if I could determine problem; motor was seized; got part numbers and ordered from you; parts arrived next day (even though overnight delivery wasnt' requested - so THANK YOU!); compared new parts to original to be sure of fit; reassembled unit; reinstalled in freezer, and waited for the sound of water filling t
... Read more
he tray. Producing like brand new again! Cancelled the service call w/ Sears for the following week (when it was convenient for them) Loved your service!
Read less
Other Parts Used:

Was this helpful?
Thank you for voting!
My icemaker hadn't worked for years
1 of 3 people
found this instruction helpful.
My son took the icemaker apart and helped me figure out what I needed to fix it. We ordered the part, which was easy with the diagrams this site supplies. I was able to get the new part in after just a little figuring out what I needed to do. I am so happy to get automatic ice again.
Other Parts Used:

Was this helpful?
Thank you for voting!
- Prev
- 1
- 2
- 3
- Next
DIY Questions and Expert Answers
38 questions answered by our Repair Experts.
Ask our experts a question about this part and we'll get back to you as soon as possible!
We may have answered a similar question already! Search questions and answers left by others using simple keywords like "fit", "broken", "easy", or "quality" to find questions that match.
Search filter:
Clear Filter
Your search term must have 3 or more characters.
Sort by:
- Prev
- 1
- 2
- 3
- Next
Sorry, we couldn't find any existing answers that matched.Try using some different or simpler keywords, or submit your new question by using the "Ask a Question" button above!
Scott
- For model number GSS26C5XXY00
November 6, 2018
My Whirlpool refrigerator (model gss26c5xxy00) is not making ice, but is dispensing water. Is this a sign that the ice maker module needs to be replaced? If so, where is it located? It appears to be at the top of the inside of the freezer door.Thanks

Hello Scott, Thank you for the question. I suggest checking to see if the ice maker is getting water. If no water is getting to the ice maker, you may have a defective water valve. PartSelect Number: PS11750831. You can also try to fill the ice mold with a glass of water to see if the ice maker is making ice as normal. If it does, I suggest testing the water valve. Hope this helps, good luck with this repair!

$105.47
In Stock
11 people
found this instruction helpful.
Was this helpful?
Thank you for voting!
Robert
- For model number W8TXNGMWQ00
December 15, 2017
Ice maker making low winding noise and it will not make any ice. Do you have any suggestions?
Hello Robert,
Thanks for your question. The icemaker motor kit may need to be replaced, but we would also advise checking the water inlet valve with a multi-meter for continuity along with the cycling thermostat and replacing either if they do not show continuity.
I hope this helps.

$55.29
In Stock

$60.51
In Stock
7 people
found this instruction helpful.
Was this helpful?
Thank you for voting!
Ronald
- For model number ED5VHEXVQ04
May 8, 2019
Ice maker does not drop ice into bin. What could cause this? Arm is in down position. Ice is frozen but not dumping.
Hello Ronald, thank you for asking. First remove the ice maker and check for any bad connections under the panel on the end of it. If there are no bad or loose connections, you may need to replace either the Ice Maker Motor Kit part PS733947 or the Ice Maker itself part PS11749920. We hope this helps.
3 people
found this instruction helpful.
Was this helpful?
Thank you for voting!
Jerome
- For model number 10659124800
January 29, 2020
Installed new ice maker in frig. It works , but makes ice very slowly. I noticed on the new unit, that the wiring was not wired the same as on my old ice maker. Coming out of the ice maker, the black and the white are the same, but going into the frig. Wall the white and black are reversed on the new wiring. I called, about this and was told to just use my old wiring that was in the frig. Which i did. ? Is there another adjustment to speed process up? Or is it wired wrong?
Hi Jerome, thank you for your question. You may actually just need to adjust how much water your ice maker is calling up from the valve. There is a little plastic screw on the motor that you can adjust for how long the water fills the ice maker. 7 to 9 seconds is a good time. Good luck with your repair.
2 people
found this instruction helpful.
Was this helpful?
Thank you for voting!
Staci
- For model number WSF26C2EXB01
January 27, 2018
My unit is still making ice but the ice will not dispense out of the door. When you press the outside lever the unit makes a sound but nothing inside is moving to release the ice. Would this be an issue with the motor? I see that there are also comments about replacing the coupling or bracket but I am not seeing any physical sign that they may be damaged.
Hello Staci,
Thanks for your question. We would recommend testing the ice maker motor and the auger motor with a multimeter to check if there is any continuity. Replace either part if they do not show electrical continuity.
I hope this helps.

$159.64
In Stock
2 people
found this instruction helpful.
Was this helpful?
Thank you for voting!
Vincent
- For model number ED5VHEXTL01
January 23, 2019
My ice maker is making ice but will not dispense ice , what is the problem.
Hello Vincent, thank you for your question. If the ice maker isn't dispensing the ice out of the ice tray and into the bucket, the most likely issue is the icemaker itself. We would recommend replacing the icemaker itself, part number PartSelect Number: PS11749920. I hope this helps!
2 people
found this instruction helpful.
Was this helpful?
Thank you for voting!
Jon
- For model number 10651129210
August 1, 2018
I have Kenmore.Model # 10651129210 i am looking for complete unit ice maker.I don"t know part #
Hi Jon,
Thank you for your question. The part number listed under your model number for the ice maker is PS11752389. I hope this helps. Thank you and have a great day!
1 person
found this instruction helpful.
Was this helpful?
Thank you for voting!
Michael
- For model number Ed5kvexvq00
November 16, 2018
Replaced inlet valve, replaced icemaker.Replaced water filter. Icemaker cycles. But no water comes to icemaker. Checked tube from inlet valve to icemaker, it is clear.What am i missing here. Is there some hidden switch or sensor that i missed?
Hello Michael,Thank you for contacting us. Checking the model number unfortunately we do not have this symptom listed, for more specialized assistance or to speak with someone about this, I would suggest calling the manufacturer of the appliance directly. Hope this helps!
1 person
found this instruction helpful.
Was this helpful?
Thank you for voting!
Our Ice Maker Stopped Making Ice. There Appears To Be Water Dripping Into The Ice Bin And Freezing
- For model number wsf26c2exy02
February 2, 2018
Our ice maker stopped making ice. There appears to be water dripping into the ice bin and freezing on the bottom of the bin/auger. The ice tray itself appears to be frozen/full but not dumping. I also checked and note that the ice maker/level control led is not emitting light when the bin latch is manually held shut along with the freezer door latch. I’m fairly inexperienced and looking for help on what part to try first/most likely cause of the problem.Kind regards,
joe
Hello, Thank you for your inquiry. We would recommend checking the following parts to fix your issue: ice mode, thermostat, ice maker motor kit, the receiver control board and the led emitter control board. You can test the parts with a multimeter. If you are unfamiliar with how a multimeter functions, there are YouTube videos available to assist you. Hope this helps!
1 person
found this instruction helpful.
Was this helpful?
Thank you for voting!
Ronald
- For model number ED5VHEXVQ4
May 10, 2019
The picture looks like the ice maker motor kit ps733947 comes with the ice maker ps11749920. Is that correct?
Hello Ronald, thank you for inquiring. Yes, you are correct that the Ice Maker Motor Kit is included in the Ice Maker. Both of these are the correct replacements for your model.
1 person
found this instruction helpful.
Was this helpful?
Thank you for voting!
- Prev
- 1
- 2
- 3
- Next
✖
Ask a Question
Ask our experts a question on this part and we'll respond as soon as we can.
Sorry, we couldn't find a match for "".
Here's a guide for finding your model number.
Something went wrong. Please try again later.
Your Question Has Been Submitted!
Our experts will send you an email as soon as your question has been answered.