


 My Orders




10644023603 Kenmore Refrigerator - Overview
Diagrams for 10644023603
See every part. Know exactly what you need.

Enter a part description. DIY Heroes keep it simple, eg. "belt" or "pump".
Search filter:
Clear Filter
Your search term must have 3 or more characters.

$84.45
In Stock
Whirlpool EveryDrop3 Refrigerator Water Filter
Part #EDR3RXD1
This EveryDrop Filter3 is certified to reduce the most contaminants with Triple Filtration Technology. Now, you and your family can enjoy the enriching benefits of cleaner, freshly filtered ice & water. Not just in beverages, but for preparing meals, too. This advanced generation of ice and water refrigerator filters from EveryDrop Filter...Read mores are certified to reduce more contaminants with Triple Filtration Technology. Filter 5 reduces 16 contaminants, so you can feel reassured that you and your family are getting the most out of your water. Remember to replace your refrigerator filter every 6 months to maximize contaminant reduction.
Read less

$120.55
In Stock
Ice Maker Assembly - 8 Cube
Part #2198597
This Ice Maker (Icemaker Assembly, Complete Icemaker Assembly, Ice Maker Assembly, Refrigerator Ice Maker) can be used with 25-27 cubic feet refrigerators that have a vertical auger dispenser located on the freezer door. It’s used to make ice. When this part fails, no ice cubes will be made. It could prevent the icemaker from filling with...Read more water or just prevent the harvesting of the ice cubes. This is a sign the part should be replaced. The parts electrical contacts and motor can fail due to normal wear and tear. The icemaker attaches to the ceiling of the freezer compartment. This assembly measures 11 inches by 5 inches, is constructed of plastic and metal, and comes in black/white.
Read less

$35.80
In Stock

$30.53
In Stock

$34.74
In Stock
Refrigerator Bimetal Defrost Thermostat
Part #WPW10225581
If you have ice building up in your freezer, or if your freezer is getting too warm during the defrost cycle you may need to replace the bi-metal defrost thermostat. The function of the defrost bi-metal thermostat is to clip onto the evaporator and protect your evaporator from overheating during the defrost cycle. If your refrigerator doe...Read mores not defrost properly you can test both the thermostat and the heater to figure out which part is at fault. For this repair, you will need a Phillips screwdriver, a 1/4 inch nut driver, a flat blade screwdriver, a pair of wire strippers, a roll of electrical tape, and a few butt splice connectors.
Read less

$13.95
In Stock
Light Bulb - 120V 25W
Part #WPA3073101
This light bulb is a 120 volt, 25 watt incandescent appliance light bulb with a small base screw-in that fits in a variety of appliances such as microwaves, refrigerators, freezers, cooktops, or stoves. Its purpose is to light up the appliance when the door is open. This is a genuine OEM part. You may need to replace the light bulb if the...Read more existing bulb is burnt out or broken. This light bulb is sold individually and is a common wear part, it is recommended to order a spare.
Read less

No Longer Available
Ice Door Kit
Part #W10823377
In this kit you will find the support, the ice door, spring, and delay. The heater ribbon is no longer needed and therefore will not be included with this part. This kit works in the dispenser chute to let ice through when it is being dispensed. If you have the following symptoms such as: door sweating, difficulty opening or closing door,...Read more frost buildup, warm freezer section, or problems with ice dispensing, then this is a solution. The tools needed for this repair are a putty knife, needle nose pliers, and 1/4 inch nut driver. Wear work gloves to protect your hands when performing this repair.
Read less

$265.04
In Stock
Electronic Control Board
Part #W11629974
This set of two electronic control boards includes both the emitter and receiver modules, which work together to manage ice production and dispensing in compatible refrigerator models. The emitter sends a signal to detect ice levels, while the receiver interprets that signal to determine when the ice bin is full and when to initiate dumpi...Read moreng or refilling. These boards are essential for maintaining proper ice maker functionality, ensuring efficient operation and preventing overfilling or underproduction. Installation should be performed with the appliance unplugged, and compatibility must be confirmed using the refrigerator’s model number.
Read less

$82.05
In Stock
Condenser Fan Motor Kit
Part #W10124096
This condenser fan motor kit includes a motor, fan blade, wire harness, and screws. Used in a refrigerator, the condenser fan motor moves the condenser fan blade to direct and move air across the condenser coil. Please note: The manufacturer has changed the appearance of the product from the original. The kit still functions the same as t...Read morehe original part. It is an OEM factory replacement. Make sure to unplug the refrigerator from the power source and wear gloves to protect your hands. Also, a helpful tip is to store food to prevent deterioration when the power is off.
Read less

$134.34
In Stock
Crisper Cover with Glass
Part #W10508993
This part is also known as a shelf frame. This drawer cover is for refrigerators.
Drawer cover has rail brackets under the cover that hold the drawer and allow the drawer to slide in and out on the rails.
Follow the instructions in the owner's manual or installation guide when installing this part. This comes with glass.

$133.36
In Stock
Refrigerator Shelf Glass
Part #W10864399
This refrigerator glass shelf serves as a replacement for the crisper pan cover and is designed to sit securely above the crisper drawers, providing both a protective barrier and additional storage space. Crafted from tempered glass, it offers a durable and safe surface that helps contain spills and maintain organization within the refrig...Read moreerator. The transparent design allows for easy visibility of items stored below. Measuring approximately 16.5 inches in width and 13 inches in depth, it fits directly into the existing white plastic frame without the need for tools or disassembly. Ideal for replacing cracked or broken glass, this shelf restores both function and appearance to your refrigerator interior. Sold individually.
Read less

$10.70
In Stock
Manuals & Care Guides for 10644023603
Click to downloadCommon Symptoms of the 10644023603
How this model fails, and the parts that fix it.
Ice maker not making ice
Fixed by
these parts
these parts


Show All
Light not working
Fixed by
these parts
these parts


Show All
Ice maker won’t dispense ice
Fixed by
these parts
these parts


Show All
Noisy
Fixed by
these parts
these parts


Show All
Leaking
Fixed by
these parts
these parts


Show All
Fridge too warm
Fixed by
these parts
these parts

Show All
Freezer not defrosting
Fixed by
these parts
these parts
Show All
Not dispensing water
Fixed by
these parts
these parts


Show All
Freezer section too warm
Fixed by
these parts
these parts
Show All
Door won’t open or close
Fixed by
these parts
these parts


Show All
Fridge and Freezer are too warm
Fixed by
these parts
these parts
Show All
Door Sweating
Fixed by
these parts
these parts

Show All
Frost buildup
Fixed by
these parts
these parts
Show All
Fridge too cold
Fixed by
these parts
these parts

Show All
Freezer too cold
Fixed by
these parts
these parts
Show All
Ice maker dispenses too much ice
Fixed by
these parts
these parts

Show All
Will Not Start
Fixed by
these parts
these parts

Show All
Too warm
Fixed by
these parts
these parts
Show All
Fridge runs too long
Fixed by
these parts
these parts
Show All
Clicking sound
Fixed by
these parts
these parts
Show All
Ice maker dispenses too little ice
Fixed by
these parts
these parts
Show All
Won’t start
Fixed by
these parts
these parts
Show All
Door latch failure
Fixed by
these parts
these parts

Show All
Watch our pros, then fix it yourself.
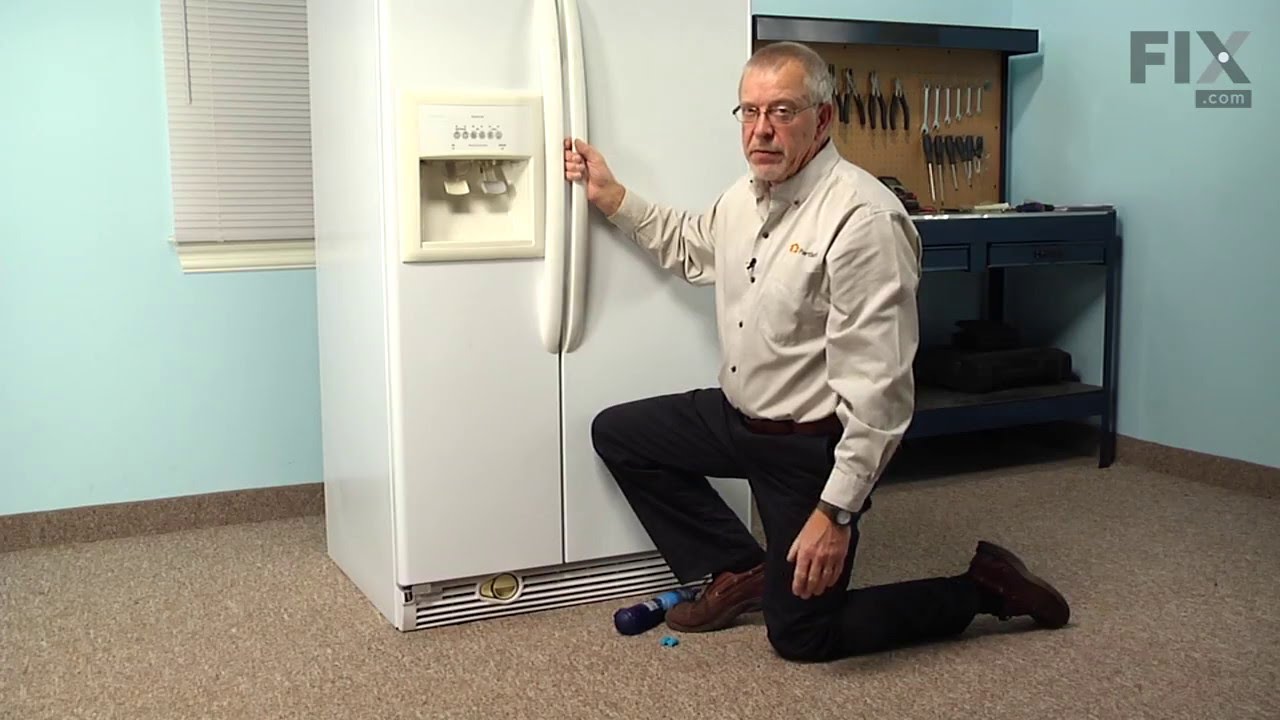
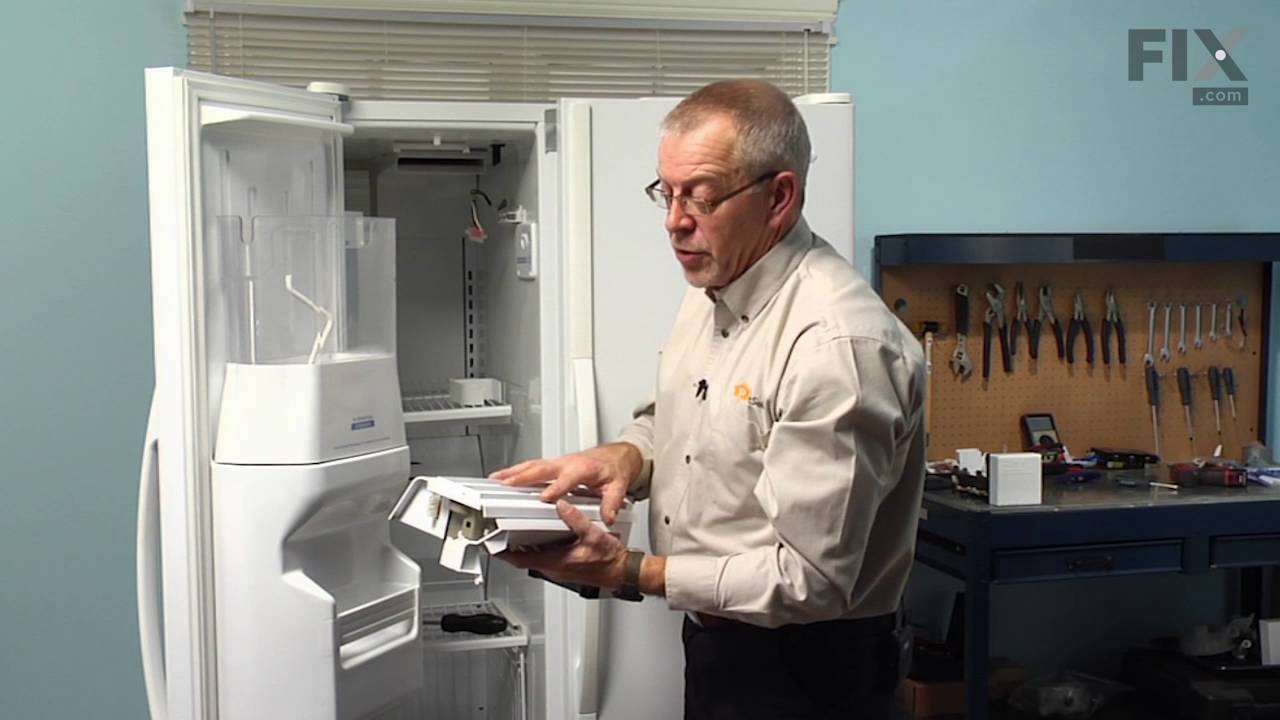


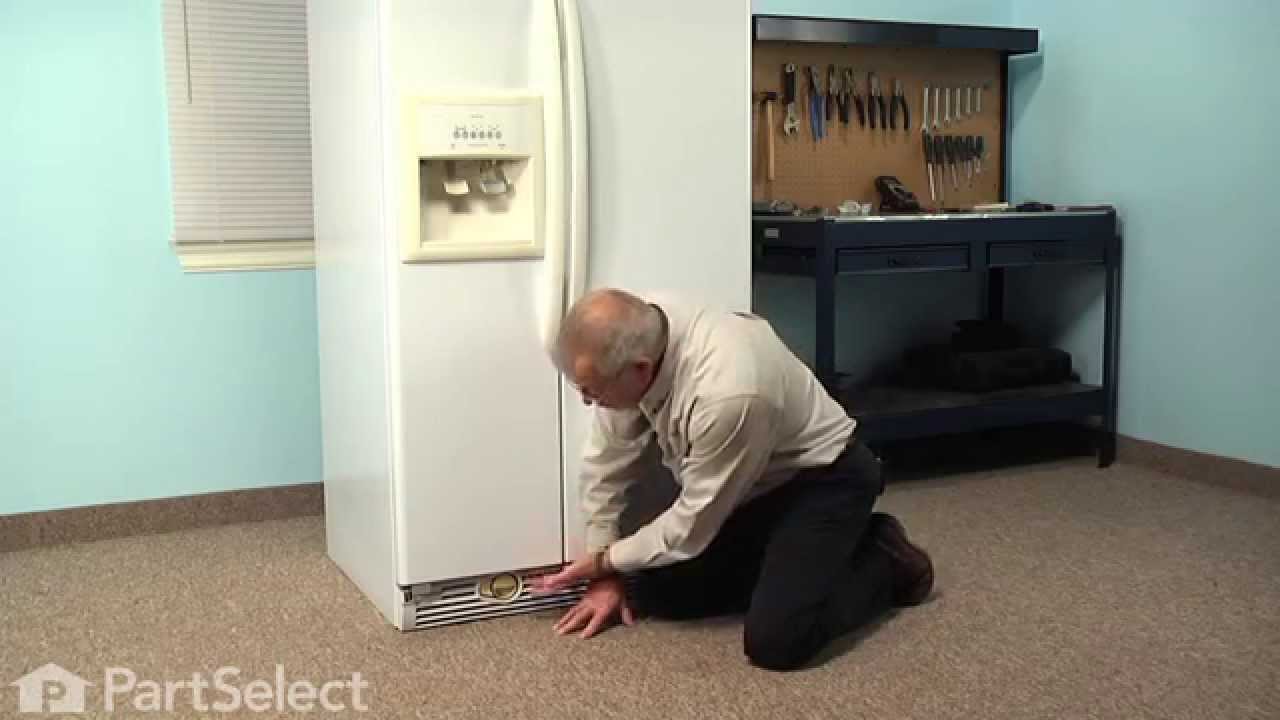
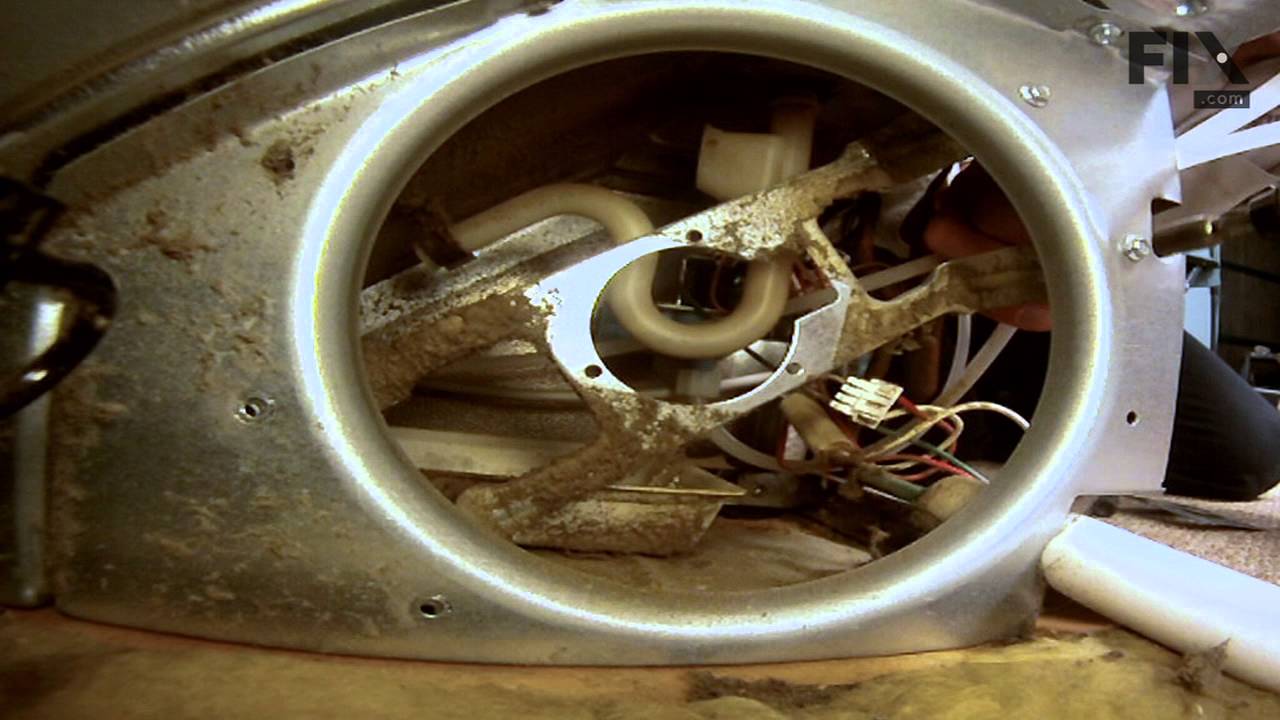

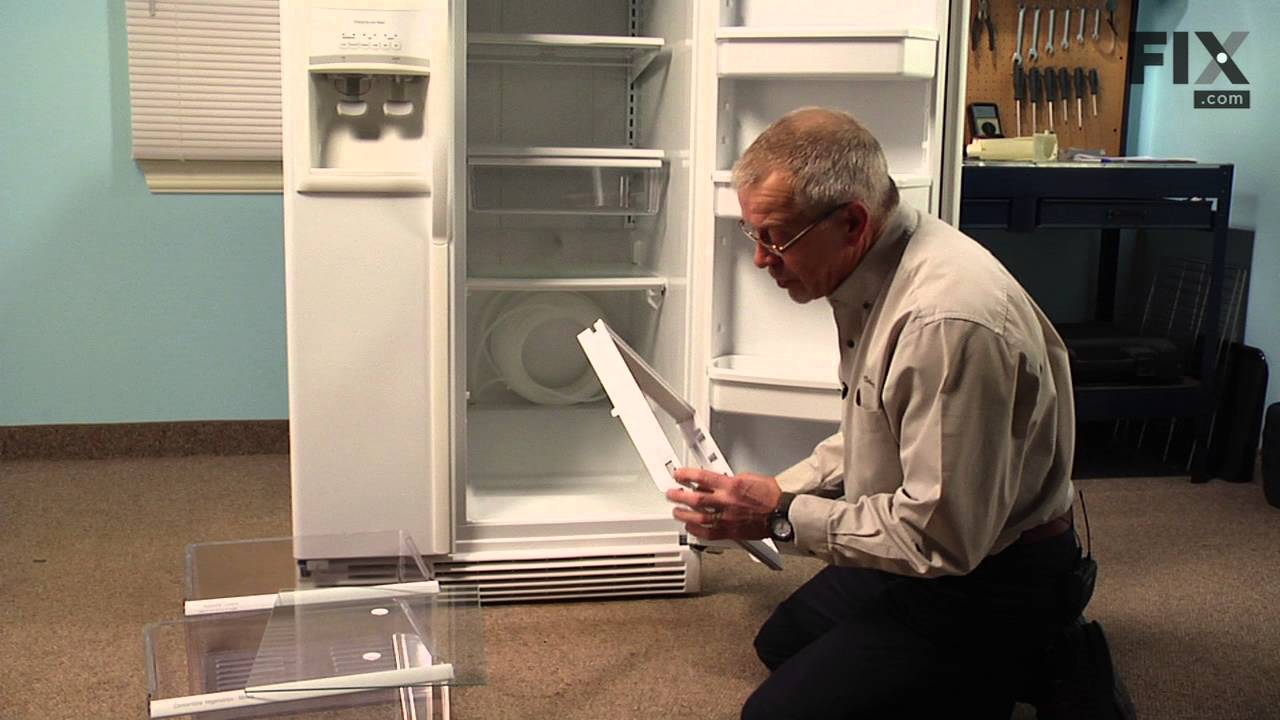
See how others fixed this model. Time, tools, difficulty, and steps that lead to victory!
View More