EasyApplianceParts is now PartSelect! We've merged our sites to provide a better shopping experience for you.   Full Details

Find Parts

Parts Departments

Top Model Types

Top Brands

Repair Help

Expert Repair Videos

Keep typing for more specific results...

Washer Hose Clamp WP596669

Official part for Kenmore, Whirlpool, Maytag, KitchenAid

Bestseller
Install video
Part Location Diagram of WP596669 Whirlpool Washer Hose Clamp
See part 6 in the diagram
Replacing your Kenmore Washer Washer Hose Clamp
( Grid squares measure 1x1 inch )
Price Match
$7.47
In Stock
Order now and your part arrives by Sep 3
 Fits your ADB1400AG!

About This Part

What it does. Why it matters. Everything you need to know for an easy fix.

Washer Hose Clamp Specifications

This hose clamp is used in a wide variety of household appliances. Most often it is found in washers, dishwashers, refrigerators, freezers, dehumidifiers, garbage disposals, or air conditioners. This clamp is used to securely attach a hose to another part of your appliance, which helps prevent leaks from those connections. Depending on the appliance, it can attach hoses to drain pumps, water inlet valves, pressure switches, and injector nozzles. We recommend you refer to model-specific diagrams for appropriate uses and exact placement. This hose clamp is made of metal, and is sold individually. To access and replace this part you will need a nut driver, pliers, and screwdrivers. Before you begin any repair work, make sure you have unplugged your appliance, and shut off the water supply if applicable.
Part #WP596669
Manufactured by Whirlpool for Kenmore, Whirlpool, Maytag, KitchenAid

You May Also Need

Genuine OEM: Original Parts. Lasting Repairs.

Because quality isn't optional.

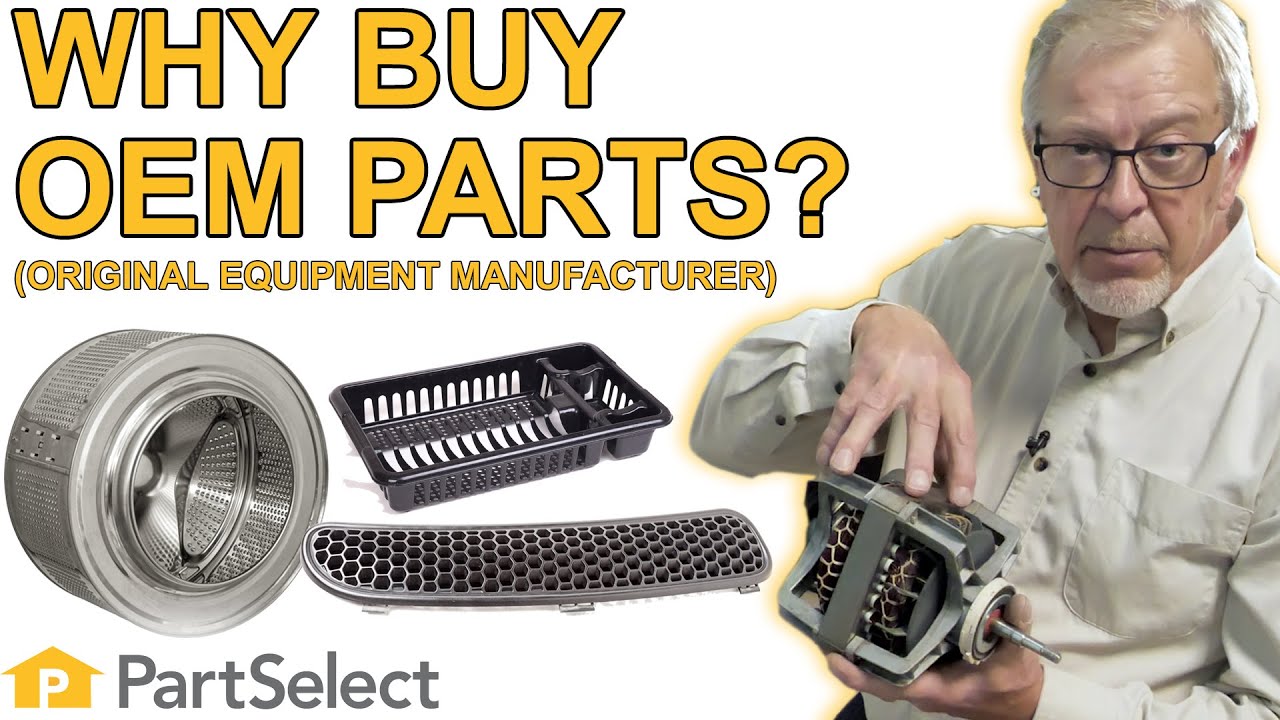
OEM stands for Original Equipment Manufacturer. This means that the company who made your appliance is also supplying the replacement part.

How Buying OEM Parts Can Save You Time and Money
Features OEM Generic
Genuine brand name
Guaranteed to fit
Superior Quality
Long term value

Part Videos

Watch our pros, then fix it yourself.

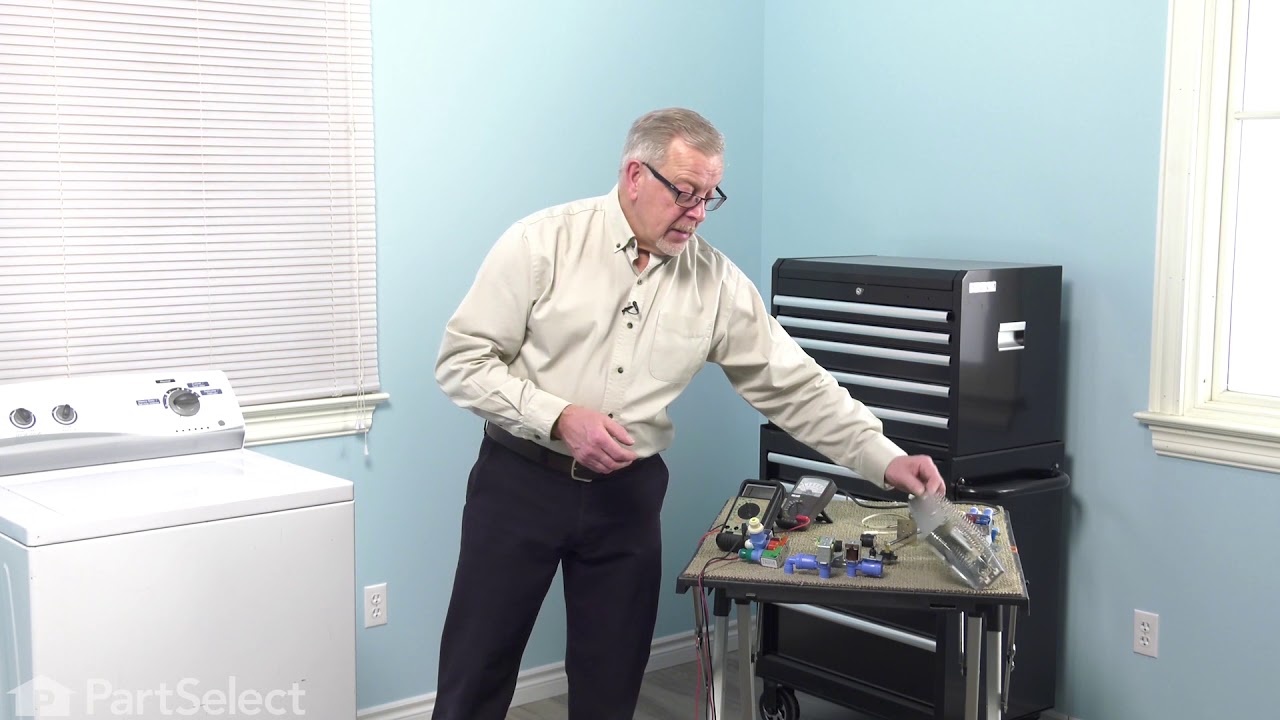
Replacing your Kenmore Washer Washer Hose Clamp

Replacing your Kenmore Washer Washer Hose Clamp

About this fix

Common problems and models this part fixes.

Easy 

30 - 60 mins 

What this part fixes:
  • Leaking
Works with the following products:
  • Washer
  • Dishwasher
  • Refrigerator
  • Washer Dryer Combo
  • Canister Vacuum
  • Freezer
  • Filters & Accessories
  • Dehumidifier
  • Cabinet
  • Central Vacuum
  • Dryer
  • Ice Maker
Part# WP596669 replaces these:
AP6009835, 01-37-687, 113200024, 113200152, 113200392, 14206537, 16314, 2-11639, 2-14739, 2-1575, 2-16169, 2-2515, 2-985, 200985, 201575, 202515, 21002253, 211639, 214739, 216169 , 22002509, 22003018, 22003072, 22003073, 22003905, 22294, 23001257, 23001506, 25-6049, 25-7796, 25-7867, 251830, 25988, 272794, 272796, 272844, 272845, 272846, 272847, 274337, 27643, 287859, 288446, 301958, 34001161, 34001207, 34001208, 34001224, 34941, 353366, 353367, 356436, 357821, 36801, 370450, 370451, 370452, 371501, 371503, 371505, 371506, 388000, 39282, 3955674, 4-0059, 4-0168, 4-0179, 4-10296, 4-10377, 4-179, 400059, 400168, 400179, 40054901, 410296, 410377, 4171914, 478572, 487728, 488157, 489257, 563972, 568692, 569097, 596110, 596471, 596508, 596669, 6-911856, 6-919982, 6-920322, 601105, 616148, 644261, 648470, 650369, 65036900, 650373, 660632, 660635, 67001408, 7-57247, 710082, 715453, 757247, 797369, 798017, 8055019, 8181537, 8181538, 8194172, 8318451, 8318490, 8318491, 8318492, 8318493, 8318494, 8318495, 8526324, 8526325, 8533946, 8541009, 866812, 866823, 9-0433, 9-0440, 9-11856, 900433, 900440, 911856, 9602-3, 965242, 965321, 9724996, 9724997, 98292, 983190, 98334, 98465, 98659, 99003634, 99003635, DC61-00219C, DC65-00008A, P113200024, P113200152, P113200392, R0601506, R0601540, R9800234, W10096851, W10096852, W10116736, W10117298, W10117299, W10156124, W10286344, W10286346, W10286356, W10286357, Y22003072, Y2200954, Y22294, Y757247 Show less

Customer Reviews

Real ratings from other people who bought this part.

Average Rating:

★★★★★
★★★★★
1 Review
5.0

Out of 5

  • 5 Stars
    1
  • 4 Stars
    0
  • 3 Stars
    0
  • 2 Stars
    0
  • 1 Star
    0
Sort by:
  • 1
Sorry, we couldn't find any existing reviews that matched. Try using some different or simpler keywords.
  • 1

Repair Tips

See how others fixed this model. Time, tools, difficulty, and steps that lead to victory!

Easy 

30 - 60 mins 

Average repair rating from 17 real customers like you

Sort by:
  • 1
  • 2
Sorry, we couldn't find any existing installation instruction that matched.
Washer was leaking
2 of 2 people found this instruction helpful.
  • Julie from Bloomingburg, NY
  • Very Easy
  • 30 - 60 mins
  • Nutdriver, Pliers, Screw drivers
Followed the instructional film that was included on website.
Was this helpful?
Thank you for voting!
water was leaking from injector hose
3 of 12 people found this instruction helpful.
  • Stephen from NEW CUMBERLND, PA
  • Really Easy
  • 30 - 60 mins
  • Pliers, Socket set
Took old injector hose off, put new hose clamp on lower hose, was a little awkward tightening it, not much room, but took my time, really was not that hard to do, water sprays in tub much faster now, I have had washing machine 28 years, first major repair
Was this helpful?
Thank you for voting!
Water Leak as Washer Performs Its Functions
3 of 4 people found this instruction helpful.
  • David from SARASOTA, FL
  • Very Easy
  • 30 - 60 mins
  • Nutdriver, Screw drivers
1. Remove the front panel of the washer by removing two screws at bottom of panel … 2. pull bottom of panel out, and remove. … 3. Remove two screws that secure the washer's top to the box (one on each side of the top; located in front. … 4. lift front edge of top and tilt it up and backward. … 5. you now have EASY access to the fill hose at the top of the tub. This is where the Rubber injector valve and Injector Sleeve are located (right on top). Replace these parts and re-assemble the washer by reversing process. I suggest that while you are in this deep, replace the factory compression-type hose clamps with stainless steel hose clamps. You can see this demonstrated on a YouTube video.
Was this helpful?
Thank you for voting!
Leaking at top of tub when filling with water
4 of 5 people found this instruction helpful.
  • Frank from Patterson, CA
  • Easy
  • 1- 2 hours
  • Nutdriver, Pliers, Screw drivers, Socket set
Did repair as instructed by video, I'm 74 years old if I can do it anybody can!
Was this helpful?
Thank you for voting!
Cold water flow was slow
22 of 36 people found this instruction helpful.
  • Garry from Palm Bay, FL
  • Really Easy
  • 15 - 30 mins
  • Pliers, Screw drivers, Socket set
Removed old part; exchanged rubber plungers between the hot and cold. Symptoms still the same - so eliminated the need for new rubber plungers (even though they still needed to be replaced). The only item left were the magnetic switches opening and closing the flows. The syphon was replaced due to broken plastic mountings causing the syphon to hang into the drum. Repair was a snap and finding the parts on your site was very easy and parts were there within 2 days at standard shipping. Thank you.
Was this helpful?
Thank you for voting!
Water leaking from left side of washer during fill cycles
2 of 6 people found this instruction helpful.
  • John from Bethlehem, PA
  • Really Easy
  • 30 - 60 mins
  • Screw drivers, Socket set, Wrench (Adjustable)
Remove two screws to take off the front. Remove two bolts to loosen the top, slide it aside. Remove one hose clamp and take out injector valve and nozzle. Lube the new nozzle with soapy water, slide the valve in and re-insert into hose. I replaced the hose clamp, but it wasn't really necessary.

Bolt down the top and replace the front and screws.

I did move the machine and clean the inlet screens, just to make sure. It did improve the hot water flow.
Was this helpful?
Thank you for voting!
Leaking water rear left side
8 of 11 people found this instruction helpful.
  • Forrest from San Diego, CA
  • Easy
  • 15 - 30 mins
  • Screw drivers, Socket set
This happened once before and had I remembered how to get the front door off and lift the top it would have taken me less time. I actually spent more time assessing prior to ordering parts than in repairing once the parts came.

One odd thing - it only leaked when the hot water was entering (if the settings were on cold only no leak - no idea why that should be).

Anyway, this injector and the rubber housing it slides into get old and clogged or deteriorate. I ordered all the parts and replace them - but probably only needed to replace the plastic injector nozzel and the rubber sleeve it fits into.

All good now - no more leaks (until the next time!)
Was this helpful?
Thank you for voting!
washer not rotating
23 of 176 people found this instruction helpful.
  • kaine from butler, PA
  • A Bit Difficult
  • 30 - 60 mins
  • Nutdriver, Pliers, Screw drivers, Wrench set
Washer not rotating, removed the control head and back cover. Then removed body housing around tube to get to the bottom. had to replace coupling on motor then removed the agitator tower and replaced the Parts for the tower agitator. unit is 16 years young and still looks and runs new, put a total of 55 dollars into repair and it should be good for a long time. This is with a family of five. Washing 2 loads everyday.
Was this helpful?
Thank you for voting!
Water wouldn't stop
18 of 21 people found this instruction helpful.
  • Steven from Westfield, MA
  • Easy
  • 15 - 30 mins
  • Nutdriver, Screw drivers
Unplugged washer then took back off control panel. Removed clamp and tube from pressure switch. Pushed in tabs with a screwdriver and lifted top. Removed clamp and broken tube. Put new tube in place and tighten clamp with nutdriver. Closed top and put other end of tube on pressure switch with clamp. Put back on control panel and plugged in. Clamps are to big for application but do work. So far so good!
Was this helpful?
Thank you for voting!
Upper and Lower Fill Injector snapped off and water was leaking out of the back of the machine
5 of 9 people found this instruction helpful.
  • Daryl from Newton, NJ
  • Easy
  • 15 - 30 mins
  • Screw drivers, Socket set
I looked at the machine diagram on the website and removed the screw on the bottom and lifted up the from panel which allowed me to have easier access to the fill injector. Then I removed the back panel off of the control panel on the top of the machine and removed the screw that held the fill injector in place, attached the new fill injector using the hose clamp I ordered with the part ( you need a new hose clamp because the other one is useless after you remove the old injector). Tightend up the screw to hold the injector in place and replaced the back panel and front panel. It was an easy repair and only cost $28.00 with shipping. I easily saved $150.
Was this helpful?
Thank you for voting!
  • 1
  • 2

DIY Questions and Expert Answers

4 questions answered by our Repair Experts.

Ask our experts a question about this part and we'll get back to you as soon as possible!

Sort by:
  • 1
Sorry, we couldn't find any existing answers that matched.Try using some different or simpler keywords, or submit your new question by using the "Ask a Question" button above!
Cathie - For model number MDC4809AWB0
February 19, 2020
Dishwasher has runs water in floor soon as I hook it up. And with the door open looking inside on the left side there's a hole where the water runs into the washer, well this don't stop running when the door is open. I had noticed water was all over the floor after about 10 minutes of being turned on, that's when i had noticed that with the door open it did not shut water off as before .. help
Chris Boyle Profile
Hello Cathie, Thank you for the question. We suggest testing the Water Valve. The valve can be tested with a multi meter and should be reading between 500 - 1500 ohms of resistance. You can also test the Float Switch to see if it is closed. We hope this helps.
$56.33
In Stock
Water Inlet Valve
$50.56
In Stock
Dishwasher Float Switch
3 people found this instruction helpful.
Was this helpful?
Thank you for voting!
Marcelo - For model number Wfw5620hw3
April 8, 2022
New machine doesn’t turno water on and not working
Chris Boyle Profile
Hello Marcelo, Thank you for your inquiry. We have researched the model you have provided and we would recommend checking the following parts to fix your issue: the door latch, the single water inlet valve, the dual water inlet valve, and the water level pressure switch. You can test the parts with a multimeter. If you are unfamiliar with how a multimeter functions, we have videos available to assist you. We hope this helps and if you need help placing an order, customer service is open 7 days a week. Please feel free to give us a call. We look forward to hearing from you!
$80.90
In Stock
Water-Level Pressure Switch
$45.29
In Stock
LATCH
$74.08
In Stock
VALVE
$74.08
In Stock
VALVE
1 person found this instruction helpful.
Was this helpful?
Thank you for voting!
William - For model number 66516462300
September 17, 2019
How does a clamp fix dishwasher filling with water after cycle is finished
Chris Boyle Profile
Hello William, thank you for your question. The Hose Clamp could be bent in such a way that it is preventing the water from travelling through the hose. I hope this helps!
Was this helpful?
Thank you for voting!
Frank - For model number NFW7200 W
January 25, 2023
My front loading Amana door seal was replaced in November 2022, it still leaks.
Chris Boyle Profile
Hello Frank, thank you for contacting us. The issue is most probably related to a damaged wire diaphragm, part number PS11741554. It holds the door boot in place and helps in preventing leaks. If that is not the case, please check the hose clamp, part number PS11740613, and the door boot seal, part number PS11741579, for damage. Please reach out to customer service if you need help placing an order. Glad to be of help!
$9.62
In Stock
Hose Clamp
No Longer Available
Wire Diaphragm
$164.69
In Stock
Door Boot Seal
Was this helpful?
Thank you for voting!
  • 1

This Part Also Fits These Models

Don't see your model? Use our Fit Checker to confirm!

Check Part Fit
Part #WP596669
Brand
Model Number
Description
Kenmore
10060753
Polisher Buffer - Floor Polisher
Kenmore
101906620
Range - Kenmore Range/Stove/Oven Model 101.906620 (101906620, 101 906620) Parts
Kenmore
106625480
Freezer
Kenmore
106625481
Freezer
Kenmore
106625482
Freezer
Kenmore
106625490
Freezer
Kenmore
106625491
Freezer
Kenmore
106626480
Freezer
Kenmore
106626490
Freezer
Kenmore
106627481
Freezer
Kenmore
106627483
Freezer
Kenmore
106627484
Freezer
Kenmore
106627491
Freezer
Kenmore
106627493
Freezer
Kenmore
106627494
Freezer
Kenmore
106628480
Freezer
Kenmore
106628481
Freezer
Kenmore
106628490
Freezer
Kenmore
106628491
Freezer
Kenmore
106628530
Freezer
Kenmore
106628531
Freezer
Kenmore
106629480
Freezer
Kenmore
106629490
Freezer
Kenmore
106629590
Freezer
Kenmore
106635170
Dehumidifier
Kenmore
106635171
Dehumidifier
Kenmore
106638170
Dehumidifier
Kenmore
106638200
Dehumidifier
Kenmore
106639200
Dehumidifier
Kenmore
106639201
Dehumidifier