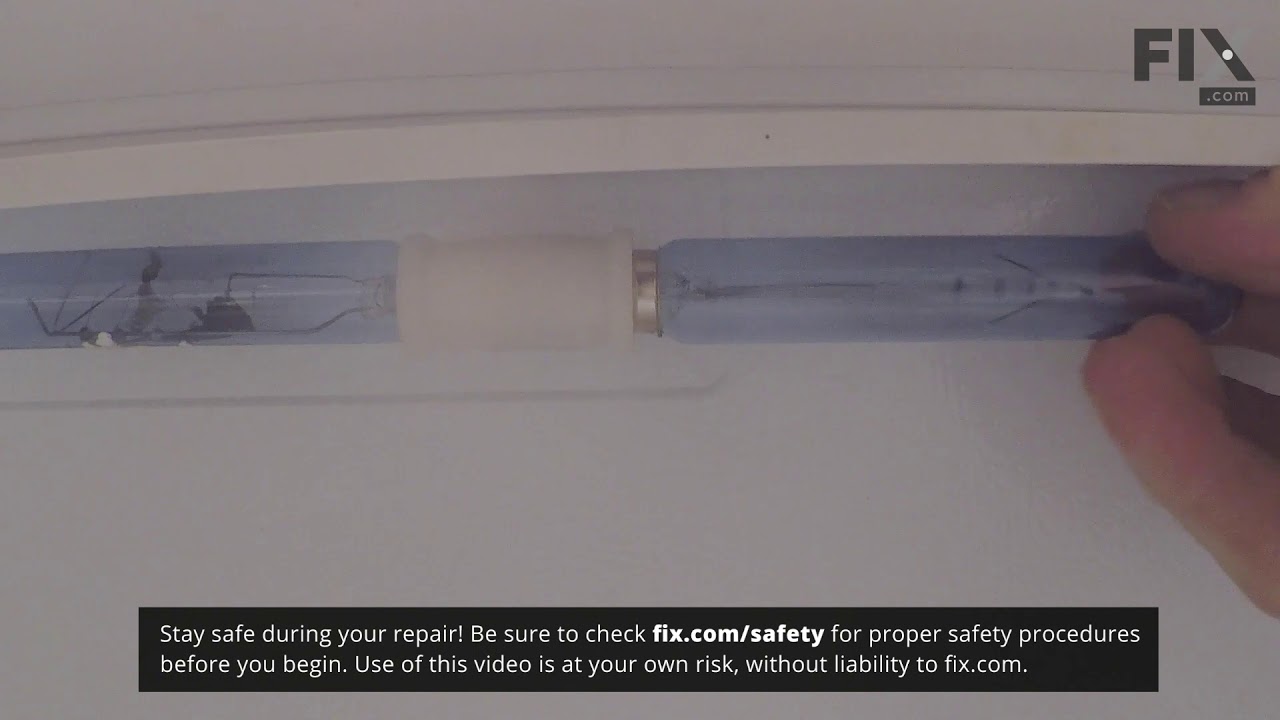
This refrigerator defrost thermostat is a genuine OEM part and is sourced directly from the manufacturer. Located on the back wall of the freezer section in the refrigerator, the defrost thermostat is used to regulate the appliances temperature to keep the refrigerator cold and constant. The part is made of plastic, and has a 4 inch termi...Read morenal on the white lead and a 6 inch terminal on the red lead. A refrigerator defrost thermostat may need to be replaced if the appliance is experiencing temperature related issues such as: too cold, too warm, frost buildup, not running, or running too long.
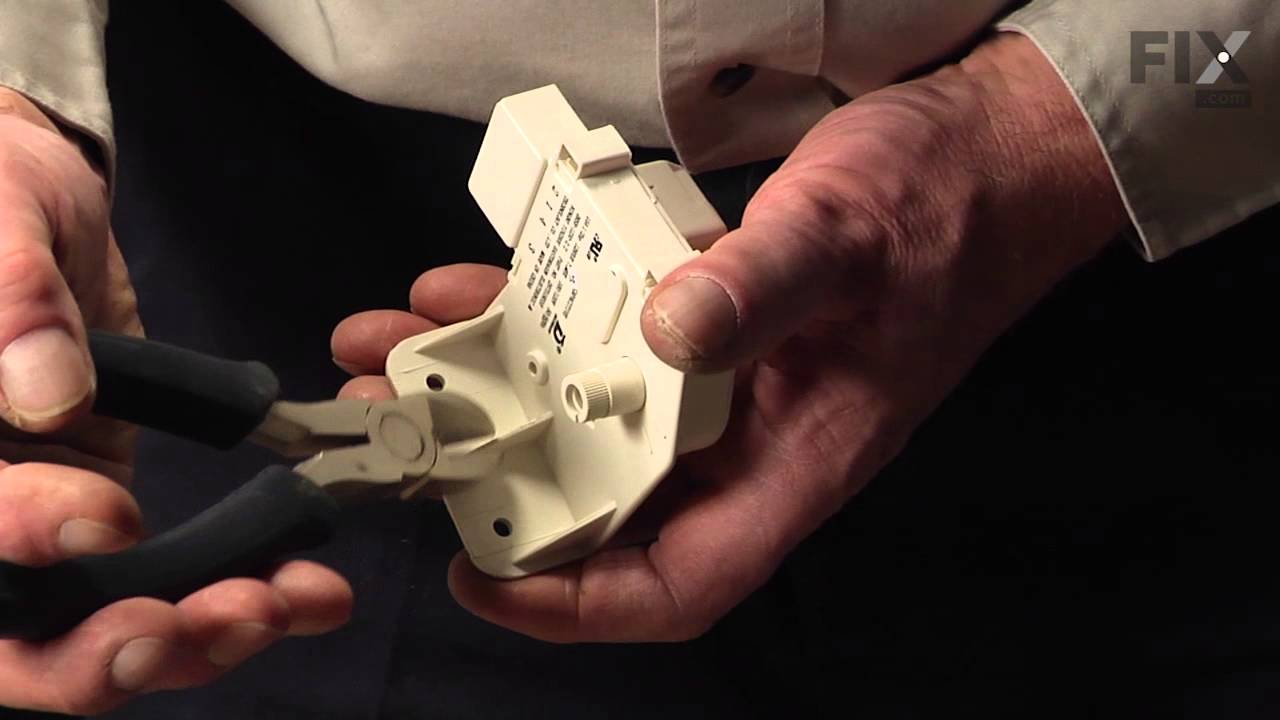
This is a 120 volt defrost timer manufactured for refrigerators. The defrost timer manages the automatic defrost systemin the unit. It acts like a clock by switching between activating the cooling cycle and the defrost heater to maintain the set thermostat temperature, preventing the unit from being too warm or cold. The defrost timer may...Read more need to be replaced if the fridge will not maintain its temperature or has frost buildup. Depending on the model, it could be located on the rear panel or ceiling of the fresh food compartment. Be sure to disconnect power to the refrigerator before replacing this part.
This part helps maintain a constant temperature within the appliance. The temperature control thermostat regulates the temperature inside the refrigerator. It turns on and shuts off the compressor as needed to maintain the set temperature.
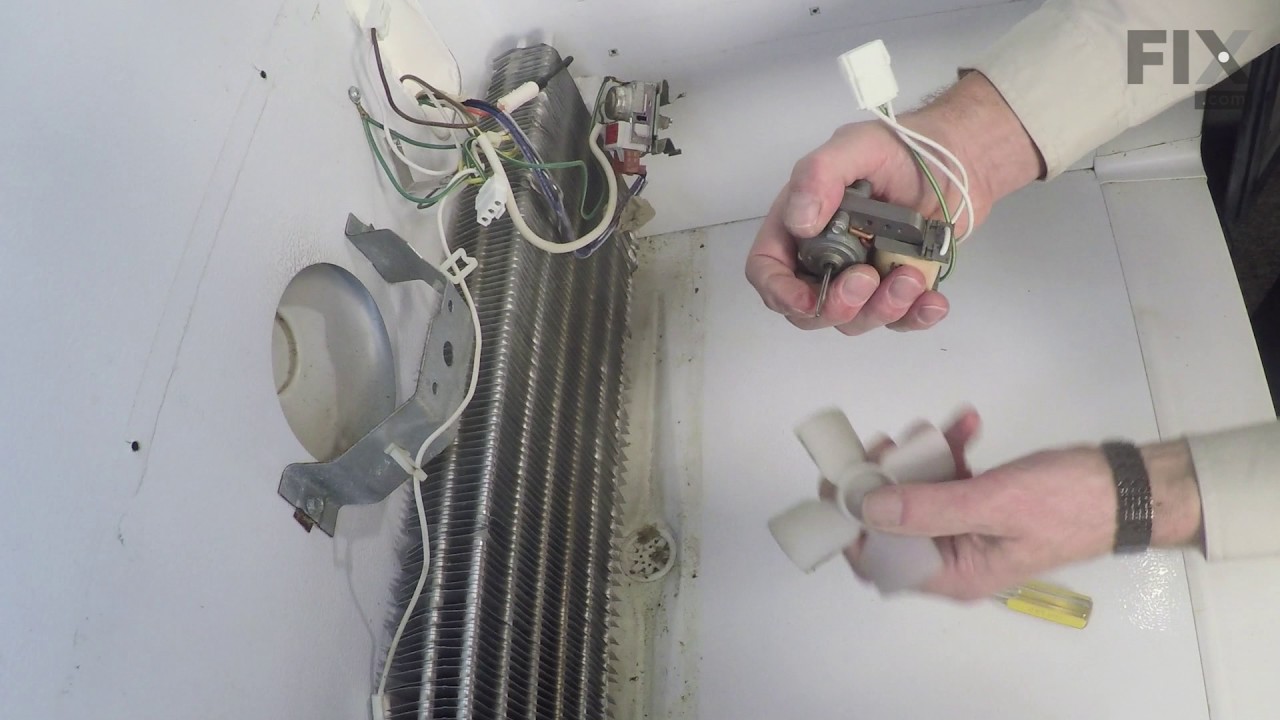
This evaporator fan blade is a genuine OEM part that is sourced directly from the manufacturer. The evaporator fan blade circulates air through the refrigerator to control the amount of cold air goes that goes to internal compartments of the unit. It may need to be replaced if the fridge is noisy or not cold enough. This part is made of p...Read morelastic and is sold individually. It will be necessary to disconnect power to the refrigerator and empty the freezer compartment of the refrigerator. The tools needed to complete this repair are a 1/4 inch nut driver and a pair of needle nose pliers.
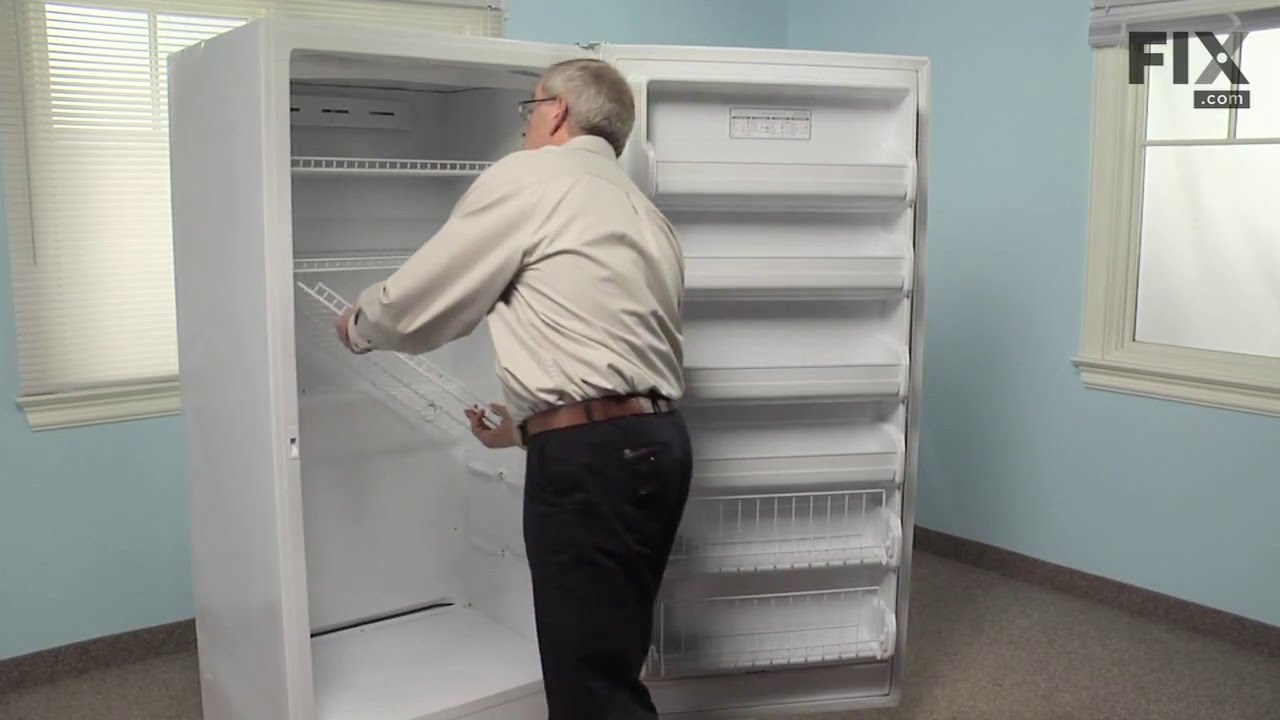
This evaporator fan motor is 115V. If you notice that your freezer is noisy or is too warm, you may need to replace the evaporator fan motor. This package comes with the evaporator fan motor itself, as well as a wire harness. The evaporator fan motor is in the back of the freezer, so you will need to remove your freezer shelves and the ba...Read moreck panel before you can access it. The function of the evaporator fan motor is to circulate air over the coils. The coils convert the heat into cool air, which is then circulated. Be sure to remove the power source from the freezer before you begin this repair.
Sold individually.
This is a genuine part. The handle mounting shoulder screw (no.10 ab) is made for use with many refrigerators. The metal screw helps to fasten the handle assembly to the outer door panel. The handle mounting shoulder screw is sold individually. For the repair, you will need a pair of pliers.
This is an LED light for a variety of refrigerator models. This 3.8W LED light is used to shine and adequately light the contents of your refrigerator when you open its door. If your current light is significantly dimmer than normal, or simply not working anymore, it will need to be replaced. To replace this bulb, unplug your fridge momen...Read moretarily, and then simply unthread the old one and screw in the new one. This bulb is sold individually and does not come with any other parts.
This gasket retainer clip kit is for freezers. There are 24 pieces in this kit. The clips are what secure the gasket and liner to the freezer lid. The clips are white in color and made of plastic. If you notice frost build up in your freezer or that is it is not maintaining its temperature, this might be because the retainer clips have br...Read moreoken, and this has caused the gasket to become loose. This is a genuine OEM part that is obtained right from the manufacturer, ensuring a quality repair.
This part could be found underneath a fridge, dryer, or freezer. The original foot may be cracked, broken, or perhaps missing altogether. If you notice the appliance is uneven to the floor or wobbling, it may indicate that the levelling foot needs to be replaced. You will need pliers and a block of wood to perform this task. There will be...Read more one adjustable foot found in the package. Lift the dryer and place the wood to keep it propped up. You may need to use the pliers to remove the old foot. Screw the new foot into place using your hand. Once the new leveling foot is in place, lift the appliance and remove the block. Test the machine out to ensure it is now sitting level.
This replacement door gasket is a genuine OEM component designed to maintain a secure seal around the perimeter of your refrigerator or freezer door. Made from durable black rubber, it helps regulate internal temperature by preventing warm air from entering and cold air from escaping. A compromised gasket can lead to inconsistent cooling,...Read more increased energy consumption, or unusual noise. This part is sold individually and is compatible with select refrigerator models. Installation is straightforward—simply remove the old gasket and press the new one into place along the door frame. For optimal performance, inspect the seal regularly and replace it if torn, warped, or moldy.
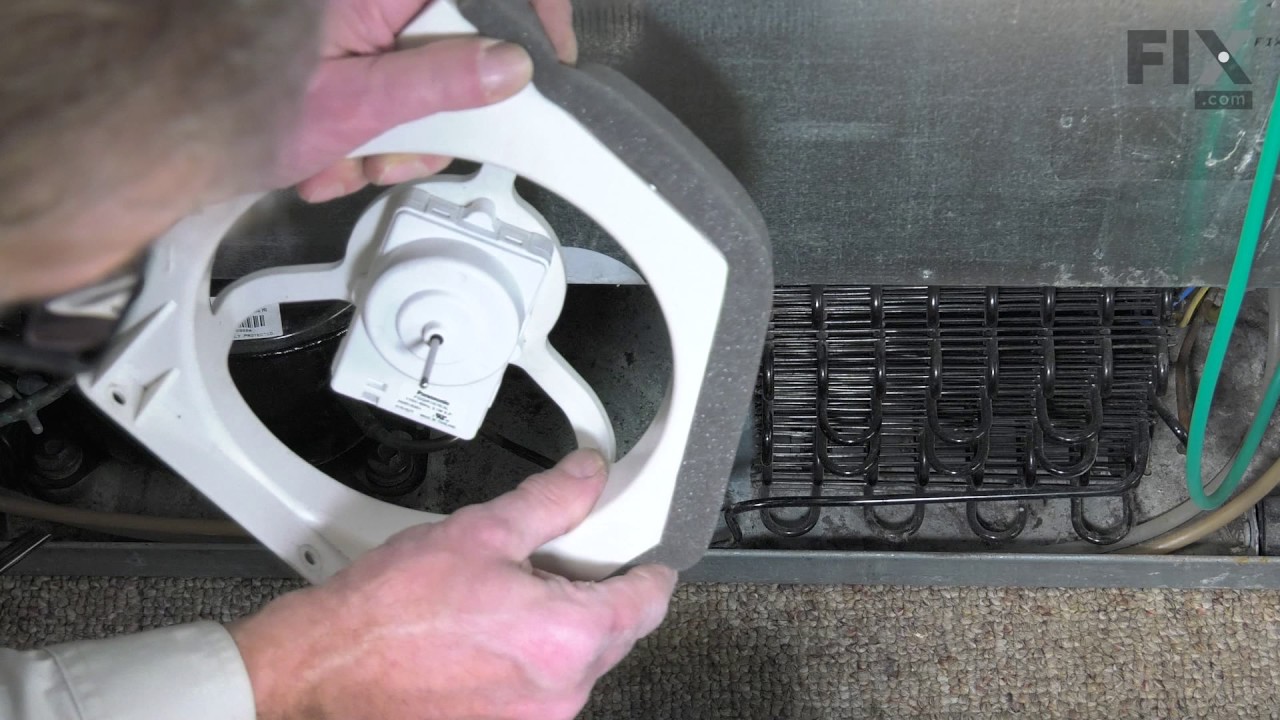
This is a replacement condenser fan motor kit for your refrigerator. This six-piece kit contains foam tape, 2 screws, the fan blade, the new motor mounting bracket, and the condenser fan motor. The condenser fan motor is found in the back of the refrigerator, and it moves air across the compressor and the condenser to keep them cool. If t...Read morehe motor has failed, the condenser and the compressor will run hot, and this can cause the refrigerator not to cool. This is an OEM part from the manufacturer.
Ask our experts a question about this model and we'll get back to you as soon as possible!
We may have answered a similar question already! Search questions and answers left by others using simple keywords like "fit", "broken", "easy", or "quality" to find questions that match.
Search filter:
Clear Filter
Your search term must have 3 or more characters.
Sort by:
Prev
1
2
Next
Sorry, we couldn't find any existing answers that matched.Try using some different or simpler keywords, or submit your new question by using the "Ask a Question" button above!
Linda - For model number PLFU1778ES2
October 8, 2025
The fan on the bottom of the unit is making noise. What part?
Hi Linda, thank you for your inquiry. The noise from the bottom unit is likely coming from the condenser fan motor or its fan blade. Check if the fan blade is hitting anything. Look for cracks or other damage on the blade. If the fan seems loose or the motor makes a rattling or grinding sound, the motor bearings may be worn. Part number for the condenser fan is part number PS11766772. Glad to be of help!
I have received the condenser fan motor kit, but the video does not match the placement of the parts on my model (Frigidaire # PLFU1778ES2). The fan seems to be at the back, not in between the compressor at the front.
I think I need a different installation video for my freezer
Hello Wes, thank you for reaching out. We have attached a link to the installation video of the condenser fan motor. In this video the condenser fan motor is mounted at the rear of the freezer behind the lower rear access panel. We hope this information is useful!
Was this helpful?
Thank you for voting!
Monty - For model number PLFU1778ES2
June 18, 2024
what type adapter do i need from threaded nipple to quick connect hose to add r135a refrigerant to unit will r12-r134a high lo service charging port fit adapter work
Hello Monty, thank you for the question. Your model compressor has r134a refrigerant. You should use r134a service charging port adapters. We hope this helps.
Was this helpful?
Thank you for voting!
John - For model number PLFU1778ES2
September 13, 2021
My icemaker only makes 1 tray of cubes in 24 hours. I replaced the unit and still have the same issue. Could it be the defrost timer. I had to replace that part 5 or 6 years ago?
Hello John, Thank you for the question. Poor water flow will affect how your ice maker produces ice. If the Water flow is slow then it will make less ice. We suggest checking the water lines first to make sure there is no ice or frost build up inside preventing the water from getting to the Ice Maker. If the Water Lines are good, we suggest replacing the Water Valve. We hope this helps!
My plfu1778es2 cycles on and off as is should. It is "on" for about 27 minutes then "off" for about 17 minutes it continues to cycles like this. Is this a normal cycle time?
Hello Kevin, thank you for writing. No, it is not. We have researched the model you have provided, and we would suggest the Defrost Timer part PS12585793. If you need help placing an order, our customer service is open 7 days a week. Please feel free to give us a call. We look forward to hearing from you!
Was this helpful?
Thank you for voting!
Prev
1
2
Next
✖
Ask a Question
Ask our experts a question on this model and we'll respond as soon as we can.
See how others fixed this model. Time, tools, difficulty, and steps that lead to victory!View More
Search repair tips from other customers using simple keywords like "replace", "fit", "remove", "inspect". DIY doesn't mean you have to do it alone!
Search filter:
Clear Filter
Your search term must have 3 or more characters.
Broke a blade off of the fan
79 of 88 peoplefound this instruction helpful.
Milton from Camp Hill, PA
Really Easy
15 - 30 mins
Wrench (Adjustable)
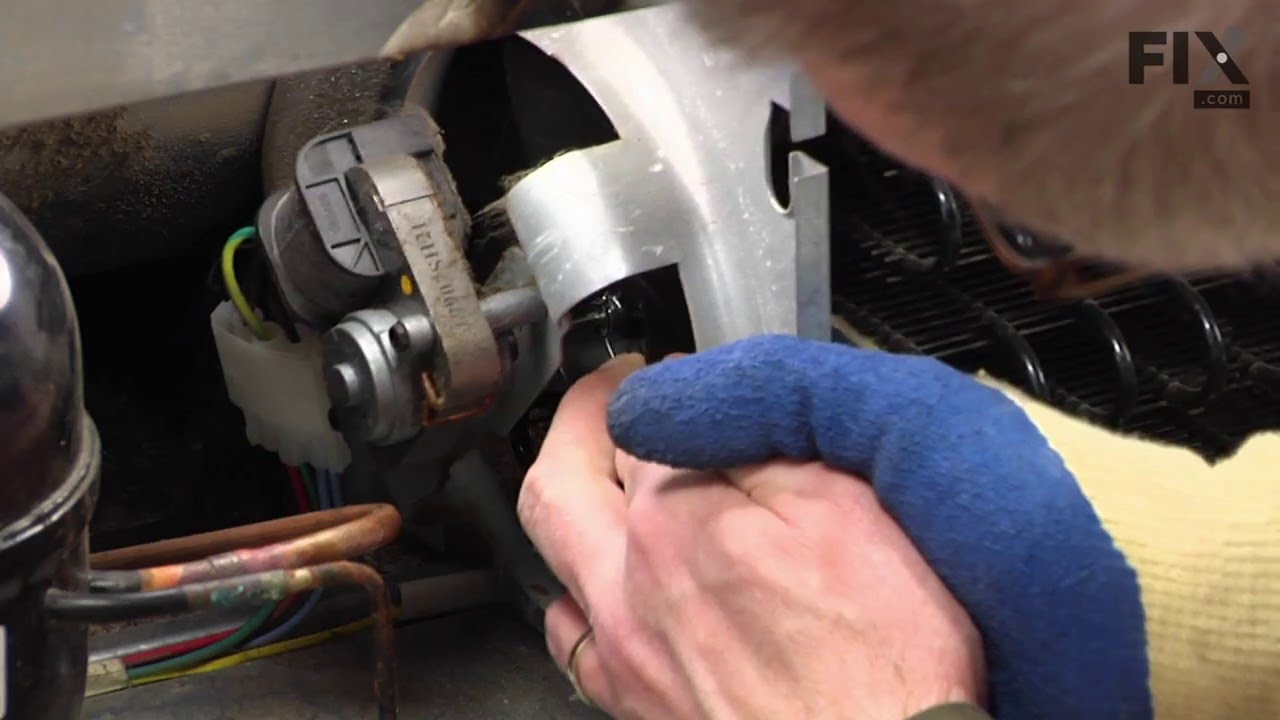
When cleaning the coils on your refrigerator always remember rule number 1, unplug it first. I was cleaning the coils and hit the fan blade while it was moving with a brush, thus breaking off one of the fan blades. I ordered a new fan and installed it in about 15 minutes. Very easy repair.
Was this helpful?
Thank you for voting!
freezer would run then thaw then freeze. tap on the control knob, it would start running again
48 of 59 peoplefound this instruction helpful.
WILLIAM from URBANA, OH
Easy
15 - 30 mins
Screw drivers
Easy fix. I unplugged the freezer, unload items in freezer. took out shelves and baskets, Pulled off the control knob then removed all screws. removed inside panel, replaced part exactly as I took out old part. Put the panel back on, put everything back in place. Plugged freezer back in and turned the knob to 3. Let freezer run for a day
... Read more to see if I ordered the correct part. Problem is fixed. Thank you, PartSelect for making it so easy to find, order the correct part and for all the customers input to make the repair easy.
Read less
Was this helpful?
Thank you for voting!
Temp alarm sounding and food on top shelves partially thawed
43 of 52 peoplefound this instruction helpful.
Wayne from Forest Hill, MD
Easy
Less than 15 mins
Screw drivers
After silencing the alarm, it seemed to be running as normal without any unusual noises, but food was starting to thaw from the top shelf on down and condensation was dripping from the roof. We were able to place most of the food in 2 large ice chests and then the rest in the freezer compartments of 2 fridges we have in the house. I the
... Read moren turned down the temp dial to the coldest setting and let it run for an hour or so; no change.
After researching on the internet, it sounded like our symptoms could be pointing to a defrost timer issue. I pulled the freezer away from the wall, located the timer and used a large screwdriver to slowly advance it. While doing this, at one point I could hear the compressor kick in. I pushed the quick freeze button and let it run for a while. When I checked it in a few hours, the alarm light had gone out and water that I had placed inside was frozen. We took a chance and put the food we placed in the ice chests back in the freezer. Everything was fine several hours later.
I ordered a new defrost timer, it arrived in a couple of days, and replaced the old one with it in a matter of minutes by disconnecting the wire harness from the old timer, removing the 2 screws holding it onto the bracket, screwing the new timer to the bracket, reconnecting the wires harness, and done. It's been a week or so and no problems.




 My Orders