


 My Orders




MWX2 Washer - Overview
Models starting with MWX2
Click on the best match to narrow your results.
- MWX2057SW119 General Electric Washer
- MWX223RED0 Frigidaire Washer
- MWX223RED1 Frigidaire Washer
- MWX223RED2 Frigidaire Washer
- MWX223REW0 Frigidaire Washer
- MWX223REW1 Frigidaire Washer
- MWX223REW2 Frigidaire Washer
- MWX223REW3 Frigidaire Washer (Residential)
- MWX233MBD0 Frigidaire Washer (27")
- MWX233MBD2 Frigidaire Washer
- MWX233MBD3 Frigidaire Washer
- MWX233MBW0 Tappan Washer (27")
- MWX233MBW1 Frigidaire Washer (27")
- MWX233MBW2 Frigidaire Washer
- MWX233MBW3 Frigidaire Washer
- MWX233MBWD0 Kelvinator Washer (27")
- MWX233MBWW0 Frigidaire Washer (27")
- MWX233RBD0 Frigidaire Washer (27")
- MWX233RBD2 Frigidaire Washer
- MWX233RBD3 Frigidaire Washer
- MWX233RBW1 Frigidaire Washer (27")
- MWX233RBW2 Frigidaire Washer
- MWX233RBW3 Frigidaire Washer
- MWX233RBWD0 Gibson Washer (27")
- MWX233RBWW0 Gibson Washer (27")
- MWX233RED0 Frigidaire Washer
- MWX233RED1 Frigidaire Washer
- MWX233RED2 Frigidaire Washer
- MWX233RED3 Frigidaire Washer
- MWX233RES0 Frigidaire Washer
- MWX233RES1 Frigidaire Washer
- MWX233RES2 Frigidaire Washer
- MWX233RES3 Gibson Washer
- MWX233RES4 Frigidaire Washer
- MWX233RES5 Frigidaire Washer (Residential)
- MWX233REW0 Frigidaire Washer
- MWX233REW1 Frigidaire Washer
- MWX233REW2 Frigidaire Washer
- MWX233REW3 Frigidaire Washer
Enter a part description. DIY Heroes keep it simple, eg. "belt" or "pump".
Search filter:
Clear Filter
Your search term must have 3 or more characters.

$16.05
In Stock
Timer Knob Clip
Part #WH1X2117
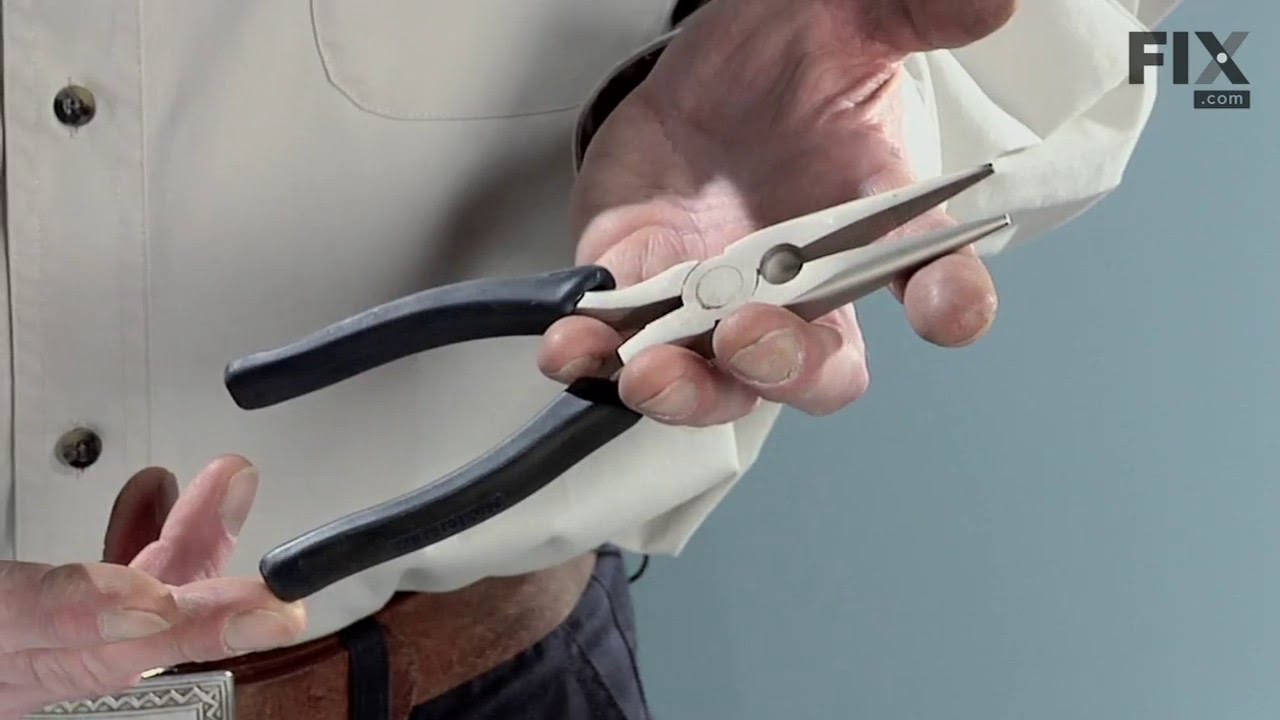
The timer knob clip on your washing machine connects the timer knob to the control panel. If your timer knob is damaged or will not stay in place, you may need to replace the clip. If the timer does not advance or the washing machine will not start, this may also be a symptom of a damaged timer knob clip. This part is clear plastic and is...Read more about 1 inch in size. Many of our customers have rated this repair as easy, and the only tools you may require are a set of needle-nose pliers. This is an OEM part sourced directly from the manufacturer.
Read less

$24.41
In Stock
Drive V-Belt
Part #134511600
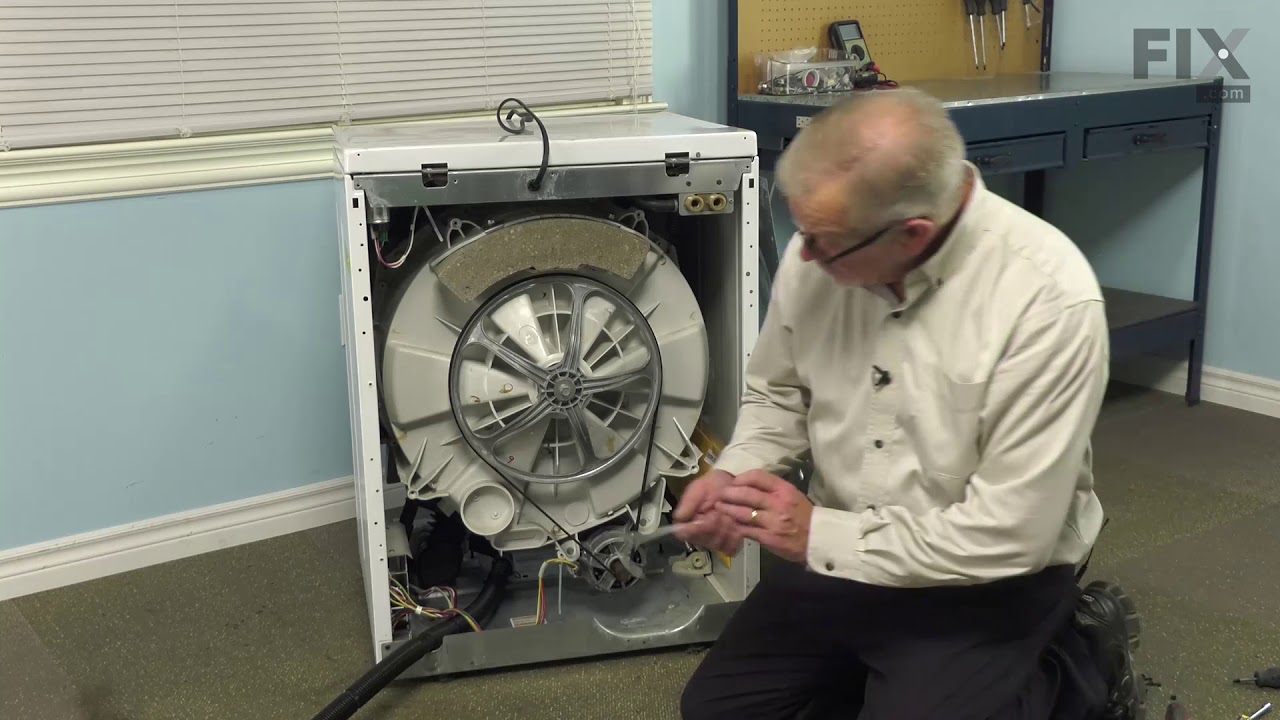
This rubber V-style drive belt slips on the motor pulley to bring the basket to the required speed. If you notice a burning rubber smell or grinding noises coming from your washer, your washer does not start, drain, spin properly (will not spin/spins slowly/will not agitate properly), or if your washer shakes or moves during the cycle; ch...Read moreeck your drive belt for signs of wear and tear. Replace the drive belt if you notice that the belt looks damaged. This OEM part is approximately 35 inches in length, and sold individually.
Read less

$15.00
In Stock
V-Style Drive Belt
Part #WH1X2026
This V-shaped drive belt is 29 1/2 inches long x 1/2-inch-wide, and fits both front-load and top-load washing machines. When belts are worn or frayed, they are known to make noise. If you have a top-load washer, a drive belt may be connecting the transmission to the drive motor. It would generally be a rubber V-belt covered in fabric to a...Read morellow free movement. Or it could be a rubber belt aided by a tensioning device like an idler pulley, to stop the motor from causing too much friction to the belt. For front-loaders, the drive belt goes between the drive motor and the wash basket. If your drive belt is worn or frayed, it should be replaced straight away. After replacing the drive belt, run a wash cycle to ensure the belt is correctly fitted.
Read less

$158.22
In Stock
Drain Pump - 120V 60 Hz.
Part #137221600
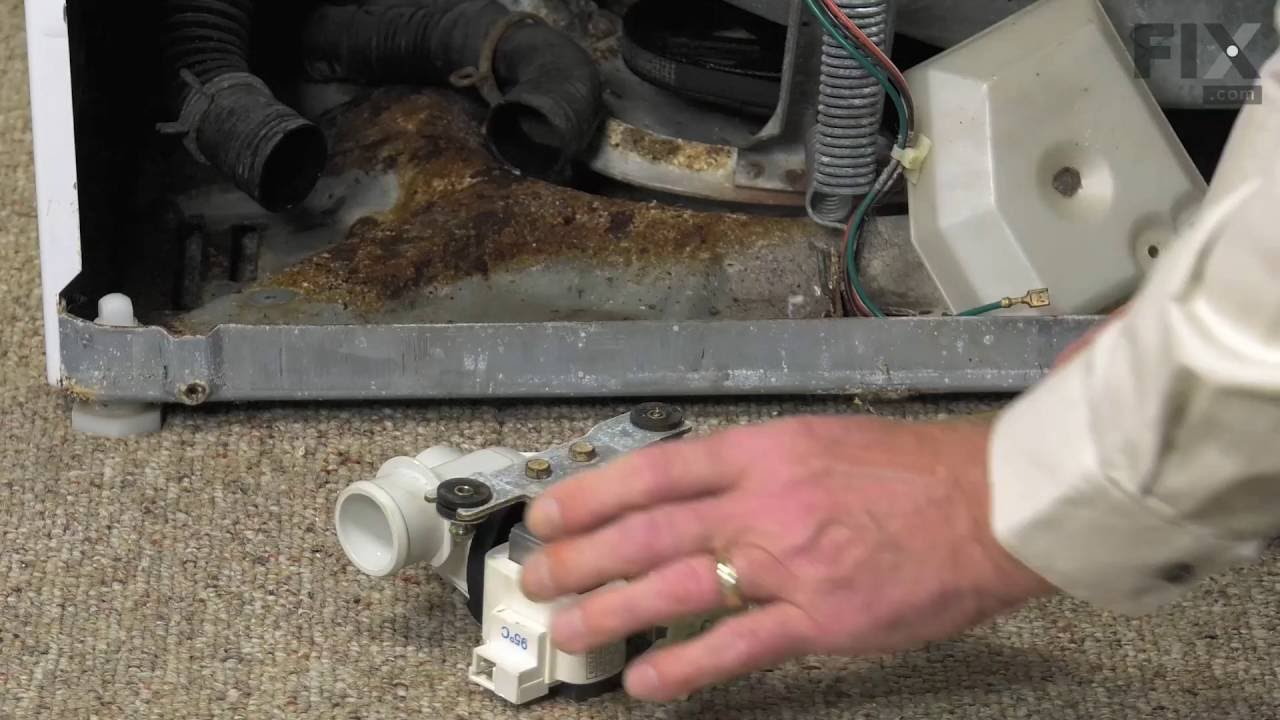
This is a 120 volt, 60 hertz drain pump that is manufactured to remove water from the tub of your washer once your clothes are washed. This part is the pump and motor assembly, which includes a red flapper to prevent drain backflow. You will need to remove the front panel of your washer to access the drain pump. The tools you will need fo...Read morer the repair are a Phillips screw driver, a putty knife, a pair of slip joint pliers, and a 5/16 nut driver. Be sure to disconnect the water supply from your washer before doing the repair. The metal edges on the appliance are sharp, so use work gloves to safely complete the repair.
Read less

$117.66
In Stock
Water Inlet Valve
Part #134190200
The water inlet valve has two ports for water to enter and controls the flow of water into a washing machine. Hot, cold, and warm water can easily enter the washer this way. If the water inlet valve is in any way damaged or defective, it may be slow to fill or even leak. Before beginning this replacement, make sure to unplug the washer fr...Read moreom the power range or shut off the house circuit breaker. Remember to wear gloves for safety. Refer to the installation instructions and the diagram provided by the manufacturer for best results and accuracy.
Read less

$26.35
Special Order
Screw-In Plastic Leveling Leg
Part #134548800
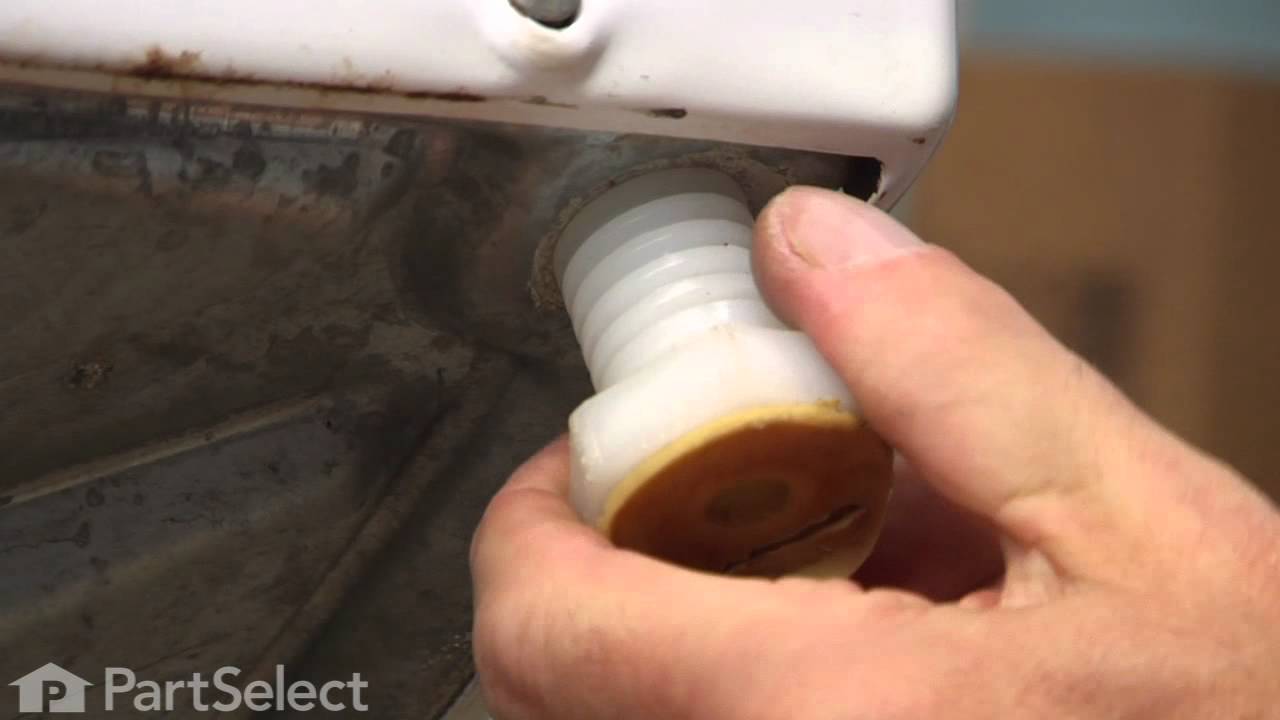
This is a screw in leveling leg for your washing machine. It supports the appliance by screwing in place to create a stable and flat surface. Take note that you are able to adjust the height of your appliance to make it leveled. This model is made entirely of plastic and is white in color. It is just under 2.5 inches long, 1.5 inches wide, and the head has a diameter of roughly 1.5 inches.

$70.95
In Stock
Water Inlet Valve with Outlet Insert
Part #WH13X81
This washing machine water inlet valve has two ports for water to enter.

No Longer Available
Timer Knob with Clip
Part #WH1X2757
This part is the replacement timer knob for your washer. It is made of white plastic and is about 1 ¼ inches in diameter. The timer knob sits on the timer shaft and allows you to choose the wash cycle that is suitable for you. If your timer knob is stripped or broken, you will need to replace it. To replace the timer knob, carefully remov...Read moree it from the shaft, and slide the new timer on. This part is sold individually and is an authentic OEM part sourced directly from the manufacturer.
Read less

No Longer Available
Tub Seal Assembly
Part #5303279394
If you have a leaky washer, then your tub seal may be the culprit. The tub seal assembly may also be known as the washer tub seal, and is a part for your washer. The function of this piece is to make sure water does not lead from between the outer tub and the spin basket from around your basket drive shaft within your washer. To replace y...Read moreour old part with this one you will need a flathead screwdriver, Phillips head screwdriver, pliers, putty knife, 7/16 socket, spanner wrench, and a hammer.
Read less

No Longer Available

$200.22
In Stock
Remote Style Pump with Motor
Part #131268401
Use this with either a top load or front load washer. This pump has an horizontal mount.

No Longer Available
Drain Hose
Part #131461200
This drain hose is designed for use in your washer. The function of this part is to carry water from the drain pump to the house drain. If your washer is leaking or will not drain, you may need to replace the drain hose. This part is black in color and is made of plastic. This drain hose comes with a 90-degree elbow attachment. Before you...Read more begin this repair, be sure to disconnect the power supply, as well as the water supply to the washer. This part is sold individually. This is an OEM part sourced directly from the manufacturer.
Read less
Common Symptoms of models starting with MWX2
How this model fails, and the parts that fix it.
Leaking
Fixed by
these parts
these parts


Show All
Will not drain
Fixed by
these parts
these parts


Show All
Will not agitate
Fixed by
these parts
these parts


Show All
Burning smell
Fixed by
these parts
these parts

Show All
No hot or cold water
Fixed by
these parts
these parts


Show All
Will Not Start
Fixed by
these parts
these parts


Show All
Spins slowly
Fixed by
these parts
these parts
Show All
Noisy
Fixed by
these parts
these parts

Show All
Spinning Issues
Fixed by
these parts
these parts
Show All
Draining Issues
Fixed by
these parts
these parts
Show All
Not draining
Fixed by
these parts
these parts
Show All
Touchpad does not respond
Fixed by
these parts
these parts
Show All
Watch our pros, then fix it yourself.
See how others fixed this model. Time, tools, difficulty, and steps that lead to victory!
View More
Search repair tips from other customers using simple keywords like "replace", "fit", "remove", "inspect". DIY doesn't mean you have to do it alone!
Search filter:
Clear Filter
Your search term must have 3 or more characters.
The primary problem was that the tub seal assembly was leaking.
254 of 319 people
found this instruction helpful.
1. I began by removing the two screws that hold the front panel in place. I then lifted the top free of the front panel and tilted it back to get it out of the way.
2. Using my fingers, I released the tabs that connect the tub cover to the tub. It took some effort to remove the cap("Mechanism") over the bolt connecting the ag ... Read more itator to the agitator drive block because I didn't want to break the tab. Once removed, I removed the bolt and the agitator. I then removed the two bolts that clamp the Trunnion to the agitator shaft.
3. It took a little more effort to remove the tub because of corrosion, however, by rocking the tub back and forth I was able to work it free and remove it. I then removed the bolts connecting the Trunnion to the tub. It took a hammer to remove the Trunnion from the tub, once again because of corrosion.
4. After removing the tub, the seal assembly was next and it was easy to remove. I cleaned the agitator shaft with steel wool before beginning the reassembly to remove the corrosion. Before installing the new seal, I lubricated the agitator shaft and the inside of the seal with a silicone grease that is normally used for water faucets. The seal installed easily although care was required to insure that the seal did not twist out of place when sliding it down the agitator shaft.
5. The rest of the reassembly went easily. Since my old filter on the bottom of the tub was clogged, I replaced it with a new one. It took a little time to get every tab on the filter aligned properly so that it could be rotated into place, but it went easily. Everything else reassembled with no problems.
6. It took considerable time to figure out how to replace the drive belt idler arm assembly because I could not figure out how to remove the pin that the idler arm pivots on. I finally reviewed the parts list on-line again and determined that there is a small C-clip that holds it together. Once I knew that. I was able to see the clip and remove it. From that point on, it was very easy to remove the old assembly and reinstall the new one. If I had to do it over again, I would have changed the sleeve at the same time that I changed the idler assembly because the assembly still wobbles on the pin more than I would like. However, it works fine so I won't worry about it until other repairs are needed.
The parts that I ordered from Parts Select were exact matches for the parts that I removed. They were in stock and were shipped the next business day. I would rate the repair as very easy.
2. Using my fingers, I released the tabs that connect the tub cover to the tub. It took some effort to remove the cap("Mechanism") over the bolt connecting the ag ... Read more itator to the agitator drive block because I didn't want to break the tab. Once removed, I removed the bolt and the agitator. I then removed the two bolts that clamp the Trunnion to the agitator shaft.
3. It took a little more effort to remove the tub because of corrosion, however, by rocking the tub back and forth I was able to work it free and remove it. I then removed the bolts connecting the Trunnion to the tub. It took a hammer to remove the Trunnion from the tub, once again because of corrosion.
4. After removing the tub, the seal assembly was next and it was easy to remove. I cleaned the agitator shaft with steel wool before beginning the reassembly to remove the corrosion. Before installing the new seal, I lubricated the agitator shaft and the inside of the seal with a silicone grease that is normally used for water faucets. The seal installed easily although care was required to insure that the seal did not twist out of place when sliding it down the agitator shaft.
5. The rest of the reassembly went easily. Since my old filter on the bottom of the tub was clogged, I replaced it with a new one. It took a little time to get every tab on the filter aligned properly so that it could be rotated into place, but it went easily. Everything else reassembled with no problems.
6. It took considerable time to figure out how to replace the drive belt idler arm assembly because I could not figure out how to remove the pin that the idler arm pivots on. I finally reviewed the parts list on-line again and determined that there is a small C-clip that holds it together. Once I knew that. I was able to see the clip and remove it. From that point on, it was very easy to remove the old assembly and reinstall the new one. If I had to do it over again, I would have changed the sleeve at the same time that I changed the idler assembly because the assembly still wobbles on the pin more than I would like. However, it works fine so I won't worry about it until other repairs are needed.
The parts that I ordered from Parts Select were exact matches for the parts that I removed. They were in stock and were shipped the next business day. I would rate the repair as very easy.
Read less
Other Parts Used:


Was this helpful?
Thank you for voting!