


 My Orders




MWX233REW1 Frigidaire Washer - Overview
Diagrams for MWX233REW1
See every part. Know exactly what you need.


Enter a part description. DIY Heroes keep it simple, eg. "belt" or "pump".
Search filter:
Clear Filter
Your search term must have 3 or more characters.

$24.41
In Stock
Drive V-Belt
Part #134511600
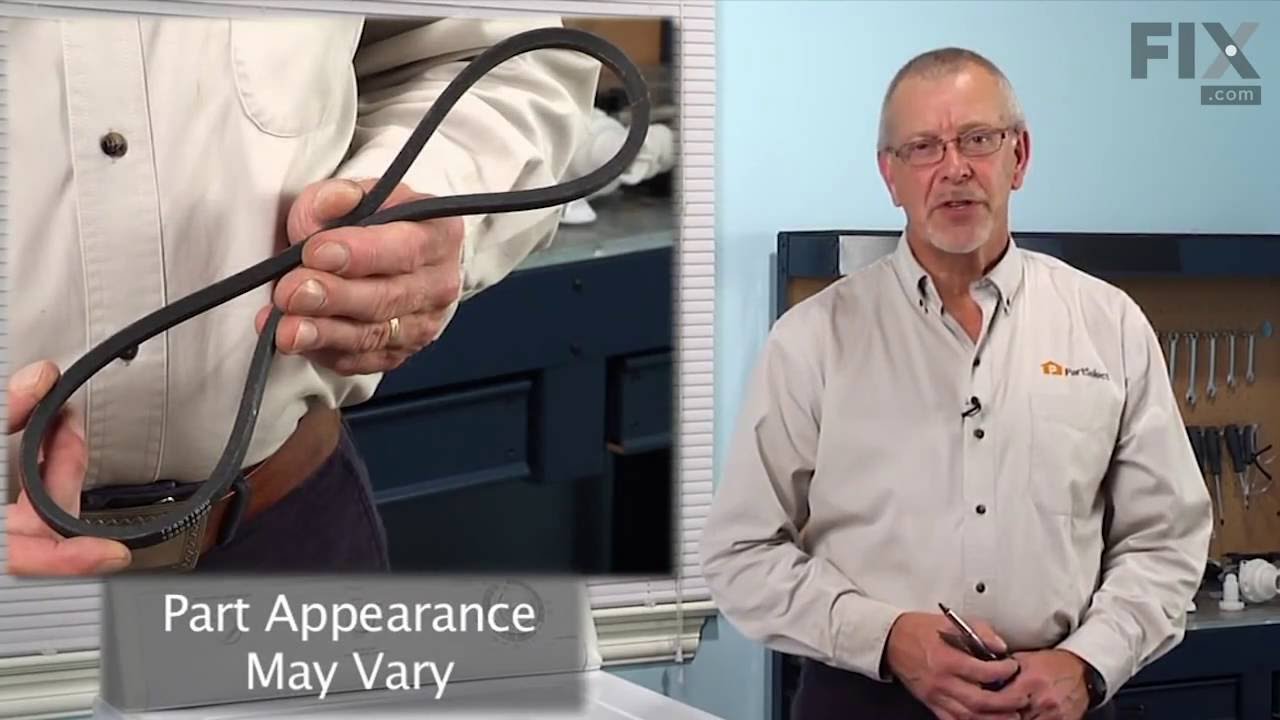
This rubber V-style drive belt slips on the motor pulley to bring the basket to the required speed. If you notice a burning rubber smell or grinding noises coming from your washer, your washer does not start, drain, spin properly (will not spin/spins slowly/will not agitate properly), or if your washer shakes or moves during the cycle; ch...Read moreeck your drive belt for signs of wear and tear. Replace the drive belt if you notice that the belt looks damaged. This OEM part is approximately 35 inches in length, and sold individually.
Read less

$117.66
In Stock
Water Inlet Valve
Part #134190200
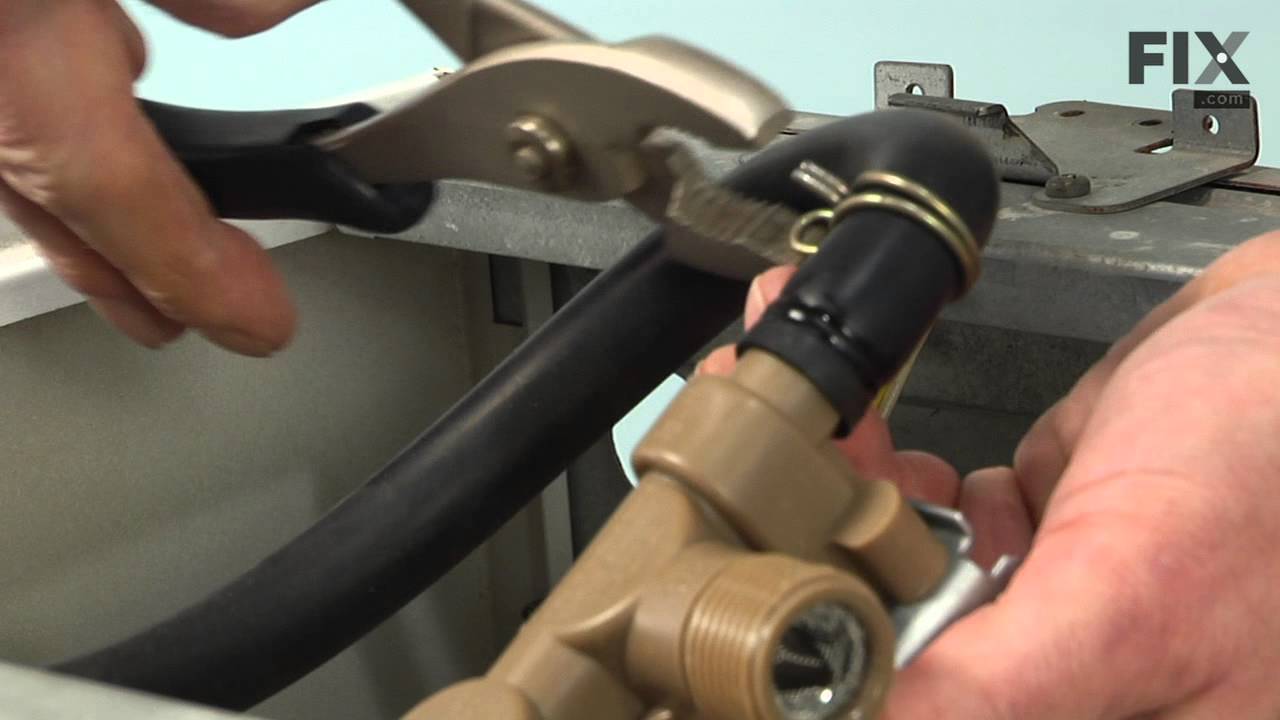
The water inlet valve has two ports for water to enter and controls the flow of water into a washing machine. Hot, cold, and warm water can easily enter the washer this way. If the water inlet valve is in any way damaged or defective, it may be slow to fill or even leak. Before beginning this replacement, make sure to unplug the washer fr...Read moreom the power range or shut off the house circuit breaker. Remember to wear gloves for safety. Refer to the installation instructions and the diagram provided by the manufacturer for best results and accuracy.
Read less

$26.35
Special Order
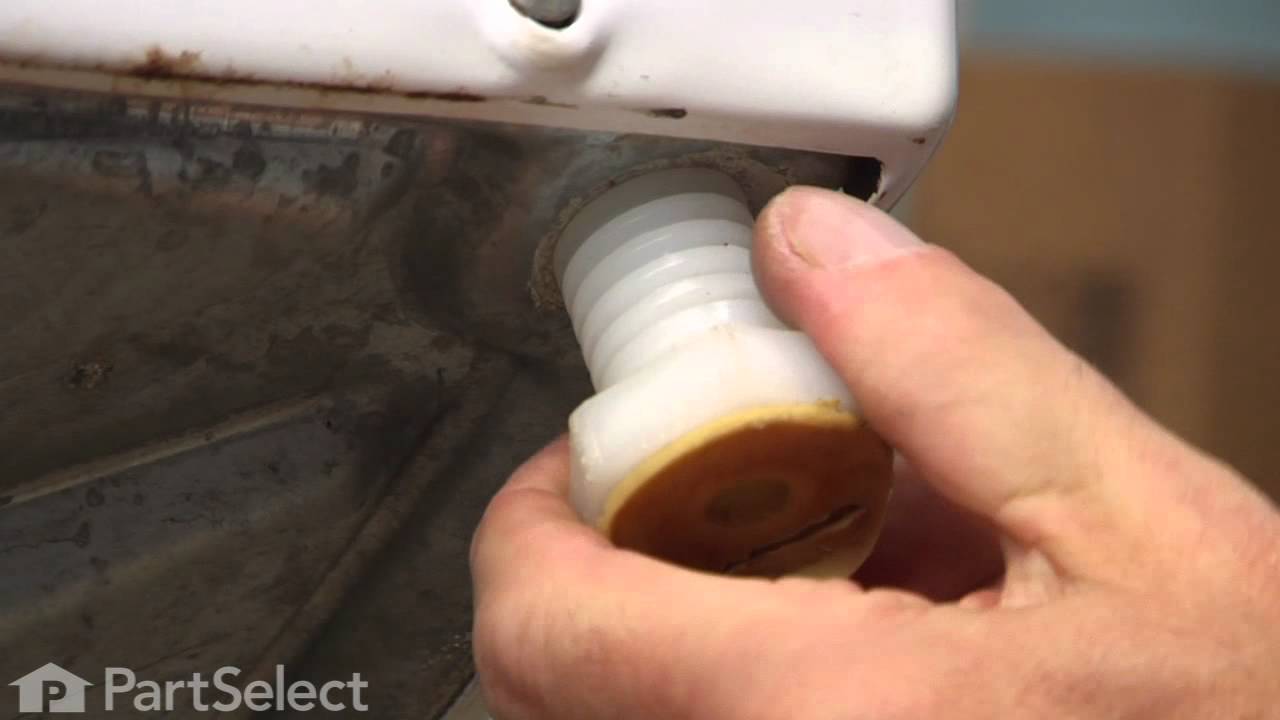
Screw-In Plastic Leveling Leg
Part #134548800
This is a screw in leveling leg for your washing machine. It supports the appliance by screwing in place to create a stable and flat surface. Take note that you are able to adjust the height of your appliance to make it leveled. This model is made entirely of plastic and is white in color. It is just under 2.5 inches long, 1.5 inches wide, and the head has a diameter of roughly 1.5 inches.

No Longer Available
Tub Seal Assembly
Part #5303279394
If you have a leaky washer, then your tub seal may be the culprit. The tub seal assembly may also be known as the washer tub seal, and is a part for your washer. The function of this piece is to make sure water does not lead from between the outer tub and the spin basket from around your basket drive shaft within your washer. To replace y...Read moreour old part with this one you will need a flathead screwdriver, Phillips head screwdriver, pliers, putty knife, 7/16 socket, spanner wrench, and a hammer.
Read less

$200.22
In Stock
Remote Style Pump with Motor
Part #131268401
Use this with either a top load or front load washer. This pump has an horizontal mount.

No Longer Available
Drain Hose
Part #131461200
This drain hose is designed for use in your washer. The function of this part is to carry water from the drain pump to the house drain. If your washer is leaking or will not drain, you may need to replace the drain hose. This part is black in color and is made of plastic. This drain hose comes with a 90-degree elbow attachment. Before you...Read more begin this repair, be sure to disconnect the power supply, as well as the water supply to the washer. This part is sold individually. This is an OEM part sourced directly from the manufacturer.
Read less

No Longer Available
Tension Idler Pulley
Part #131862900
The idler pulley on your washing machine allows the drive belt to operate smoothly. If your washer is not spinning or agitating, makes too much noise, or you notice a burning smell when it is operating, you might need to replace the tension idler pulley. The tension idler pulley works in conjunction with the drive belt, so you might need ...Read moreto replace the belt as well as the pulley. Once the old pulley has been removed from the washer, you will need to transfer the spring and bushing from the old pulley to the new one before re-attaching it to the washer.
Read less

$25.25
In Stock
Screw
Part #131302800
This is a replacement screw for your washer or dryer. The screw is approximately half an inch in length and is a Phillips-head screw. It screws in from the outside of the drum, into the vane/baffle. The main reason you would replace this screw is if the old screw is missing or damaged. This part is sold individually and is an OEM part sourced directly from the manufacturer.

$26.35
In Stock

No Longer Available
Washer Lid Lock with External Safety Switch
Part #134101800
Mounting bracket on this part replaces old style ( You may need to drill off old bracket before mounting new lock).

No Longer Available
Agitator
Part #3204401
This is an agitator that is compatible within various makes and models of washer, and is used to move, or agitate, the clothes and soap/water mixture around within the tub of the washer. This agitator is made of a high-quality white plastic and is installed down the center of the main washer tub. This agitator requires a cap and seal on i...Read morets top to fasten and secure it within the washer, but is sold as an individual agitator. If you notice your clothes are not being cleaned or are covered in soap residue, it is likely that the agitator base is stripped or broken, leading to the agitator being unable to rotate and move properly. It is recommended that when you remove the agitator, you inspect the directional cogs, also known as dogs, or whatever hardware is attached to the base of the agitator, like the trunnion, for any damage or wear, since those parts are commonly replaced when agitators stop working properly. Replacing this agitator is as simple as removing its cap and seal, which will allow you to remove the agitator and replace it.
Read less

No Longer Available
Agitator Drive Block
Part #134418700
The agitator drive block rotates the agitator assembly in your washer. If the drive block breaks down due to wear and tear the agitator will stop working. If you notice that your washer is making loud noises while washing, this may indicate an issue with the agitator block. You will find this part underneath the dispenser cover and cup. Y...Read moreou will need a 1/2-inch socket to remove the agitator bolt and then simply lift off the agitator (this may require some effort to lift off). Use a flat-head screwdriver to remove the old drive block, push the new one into place with firmness. This part is made of metal and measures about 2 inches long and 1 inch wide.
Read less
Common Symptoms of the MWX233REW1
How this model fails, and the parts that fix it.
Leaking
Fixed by
these parts
these parts


Show All
Will not agitate
Fixed by
these parts
these parts


Show All
Burning smell
Fixed by
these parts
these parts


Show All
Will not drain
Fixed by
these parts
these parts
Show All
No hot or cold water
Fixed by
these parts
these parts

Show All
Spins slowly
Fixed by
these parts
these parts
Show All
Noisy
Fixed by
these parts
these parts

Show All
Will Not Start
Fixed by
these parts
these parts


Show All
Spinning Issues
Fixed by
these parts
these parts
Show All
Watch our pros, then fix it yourself.

See how others fixed this model. Time, tools, difficulty, and steps that lead to victory!
View More
Search repair tips from other customers using simple keywords like "replace", "fit", "remove", "inspect". DIY doesn't mean you have to do it alone!
Search filter:
Clear Filter
Your search term must have 3 or more characters.
Noisy spin cycle
139 of 165 people
found this instruction helpful.
1) Unplugged washer and disconnected the hot and cold hoses.
2) removed the 2 phillips screws at the bottom of the front panel then removed front panel, you need enough clearance by the floor, this is tricky because you have to lean washer back and push down on the front panel.
3) removed the agitator from the washer
4) lif ... Read more ted top of washer and leaned back against the wall and removed the splash tub cover one clip at a time with a flat screw driver.
5) removed the trunion, this is difficult and will take some time due to the corrosion from many years of use use a hammer (3Lb short handle) and tap one side then the other. You will need to rock it back and forth awhile.
6) lift the basket out of splash tub
7) I removed the hose for water level and removed the 3 bolts that hold the splash tub to the three base mounts (support arms).
8) remove the splash tub
9)change the plastic washer that is between the splash tub and the transmission in the bottom of the splash tub
10) change the bearing(metal sleeve) on the bottom of splash tub and lightly grease w/ a thin film of teflon grease
11) install splash tub and install the 3 bolts along w/ the water level tube
12) install the larger seal (w/ spring in it) and push into the splash tub firmly
13) use some tub and faucet silicone grease on the smaller seal because you don't want to damage this main seal, install the main seal (sits on top of the larger one that's in the tub already) be careful when getting to flat part of the shaft when installing ( spin around the shaft as you pass this point) it will keep the seal from coming out.
14) install trunion (sits down on top of the seal) you will feel the tension of the spring when bolting the trunion back into place.
15) install basket and bolt it to the trunion (I installed a new filter on the bottom of the basket and required some special glue, ask for "3M" GMGA600 adhesive.
16) installed splash tub cover, agitator and front cover.
Washer works great and is quieter than it was new.
2) removed the 2 phillips screws at the bottom of the front panel then removed front panel, you need enough clearance by the floor, this is tricky because you have to lean washer back and push down on the front panel.
3) removed the agitator from the washer
4) lif ... Read more ted top of washer and leaned back against the wall and removed the splash tub cover one clip at a time with a flat screw driver.
5) removed the trunion, this is difficult and will take some time due to the corrosion from many years of use use a hammer (3Lb short handle) and tap one side then the other. You will need to rock it back and forth awhile.
6) lift the basket out of splash tub
7) I removed the hose for water level and removed the 3 bolts that hold the splash tub to the three base mounts (support arms).
8) remove the splash tub
9)change the plastic washer that is between the splash tub and the transmission in the bottom of the splash tub
10) change the bearing(metal sleeve) on the bottom of splash tub and lightly grease w/ a thin film of teflon grease
11) install splash tub and install the 3 bolts along w/ the water level tube
12) install the larger seal (w/ spring in it) and push into the splash tub firmly
13) use some tub and faucet silicone grease on the smaller seal because you don't want to damage this main seal, install the main seal (sits on top of the larger one that's in the tub already) be careful when getting to flat part of the shaft when installing ( spin around the shaft as you pass this point) it will keep the seal from coming out.
14) install trunion (sits down on top of the seal) you will feel the tension of the spring when bolting the trunion back into place.
15) install basket and bolt it to the trunion (I installed a new filter on the bottom of the basket and required some special glue, ask for "3M" GMGA600 adhesive.
16) installed splash tub cover, agitator and front cover.
Washer works great and is quieter than it was new.
Read less
Other Parts Used:


Was this helpful?
Thank you for voting!