This OEM 40 watt appliance light bulb is used for some ranges, refrigerators, freezers, and microwaves. Simply locate the existing bulb, unscrew it from its socket, and replace with new light bulb. If the existing bulb is broken in the socket, disconnect the power to the refrigerator and use a pair of needle nose pliers to grip the intern...Read moreal fragments of the bulb to unscrew. Replace with the new bulb and reconnect the power to the refrigerator. These bulbs are sold individually and are a commonly replaced part; consider ordering a spare.
This is an oven igniter for various ranges. This part is used to ignite the burner within gas ovens. If your oven is not heating properly this igniter has likely failed and is in need of replacement. To replace this igniter, you will need pliers, a screwdriver, and a wrench. This igniter is an OEM part and does not come with any other accompanying parts or accessories.
Oven racks can become rusted or damaged from constant use, and need to be properly maintained and cleaned to keep them working properly. If you notice that your oven rack has been damaged or rusted, the rack should be replaced. This oven rack has two anchor points on either side to keep it stable and secure within the oven. This ensures t...Read morehat your food stays in place when baking, and allows you to remove pots and pans without the threat of the entire rack falling out in the process. This metal oven rack measures 16 inches long x 23 inches wide, and is sold individually.
This part is a replacement electronic clock/timer for your oven. The clock timer will display the time, and can be used to set a timer. If the clock will not start, will not allow you to program the time or timer, or if the touchpad does not respond at all, you may need to replace the clock. As you will be working around electricity for t...Read morehis repair, be sure to disconnect power from the oven before you begin. This part is sold individually.
This tempered glass is supplied by the original manufacturer and measures 20 inches by 13 inches. It is an inner door glass, designed for use in ranges/ovens and has several purposes which include providing heat insulation, acting as protective barrier, and providing an opening to monitor the cooking/heating process. Over time the glass c...Read morean break or break from impact, thermal shock, or improper installation. If the glass is defective, it needs to be replaced promptly to avoid leaking, loss of insulation and potential harm to the user. Remove any fasteners or clips that secure the glass and carefully dispose of it. Position the new glass in the same position and secure it appropriately.
This part is a replacement clock overlay for your range. It is black in color and approximately 7 inches by 3 inches. The clock overlay is found on the control panel, and it covers and labels the selection buttons of the oven control board. If the touchpad will not respond, or the oven will not start, you may need to replace the clock ove...Read morerlay. Be sure to disconnect the range from the power source before you begin this repair. This part is sold individually and is an authentic OEM part.
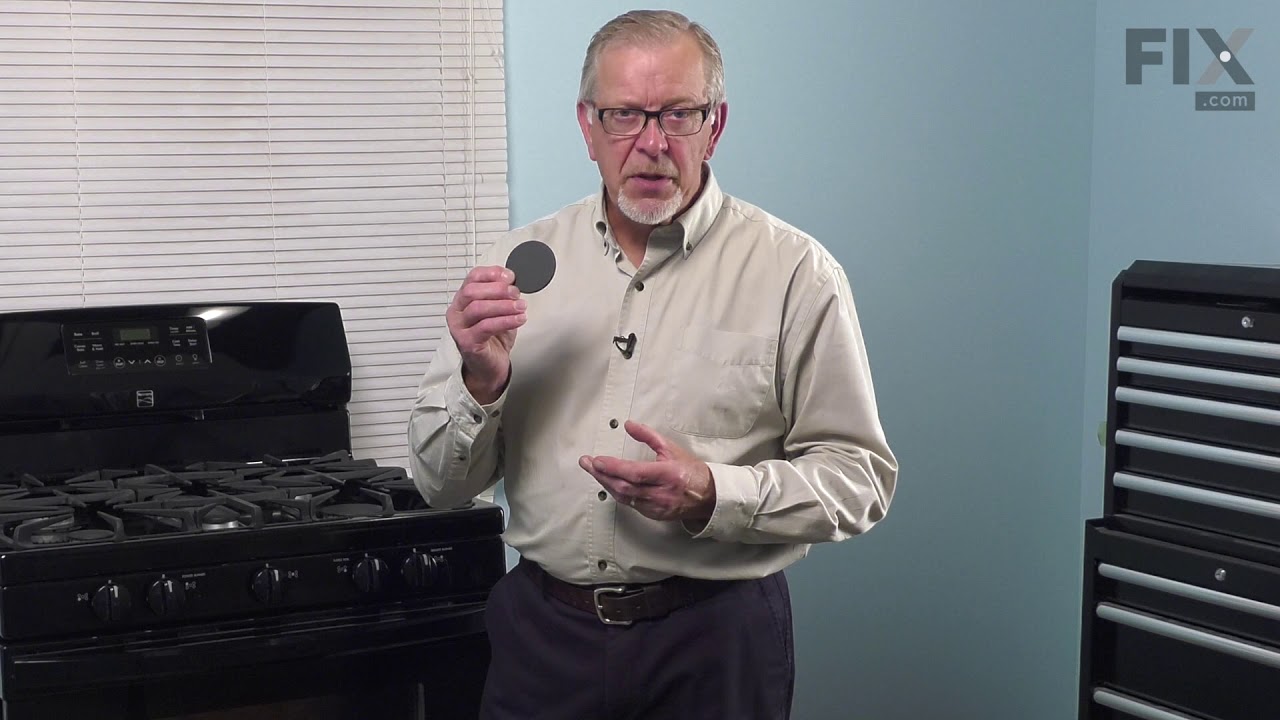
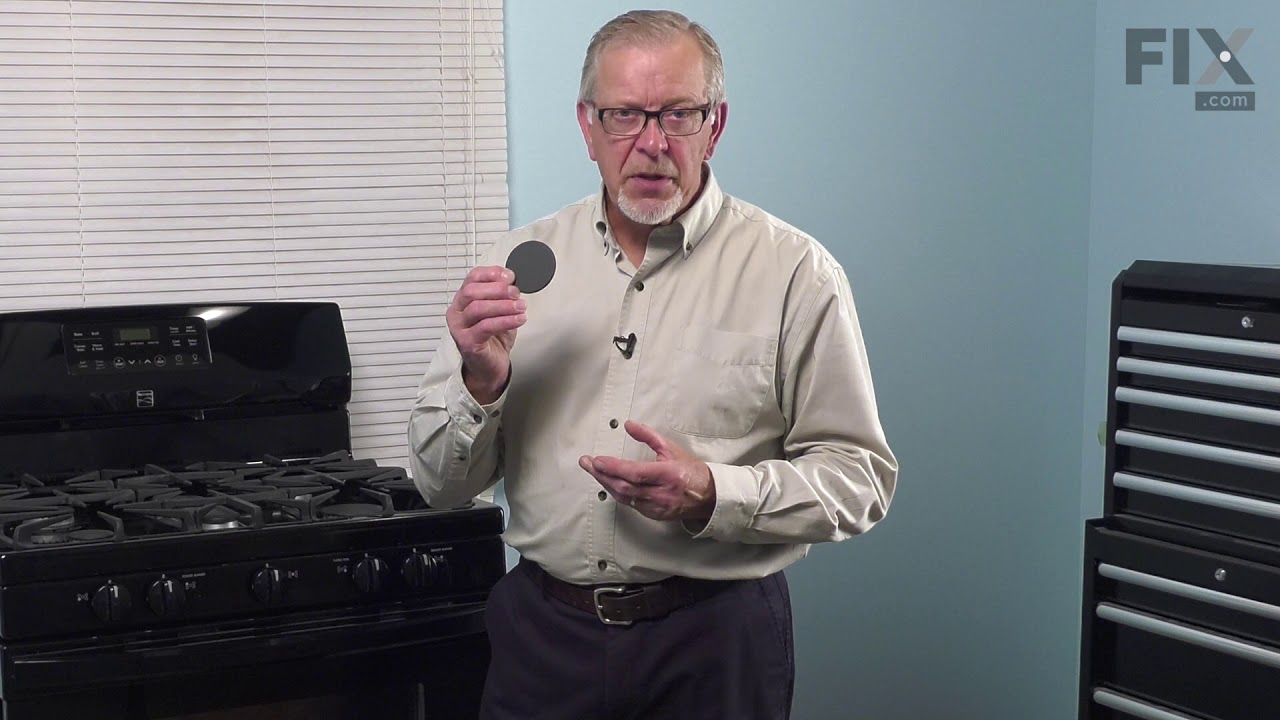
The surface Meduim 9.5K burner cap is located on the top of the burner head and is used in ranges and ovens. The burner cap helps spread out the burner flame for even heating, and protects the burner head from cooking spills. Without the cap you can have a burning gas torch. If your cap is missing or is discolored, replacing this part ca...Read moren solve the issue. This part comes in the color black. Remember to unplug your range from the power source and allow surface to cool before installing this part. Refer to the manual provided by the manufacturer for further installation instructions.
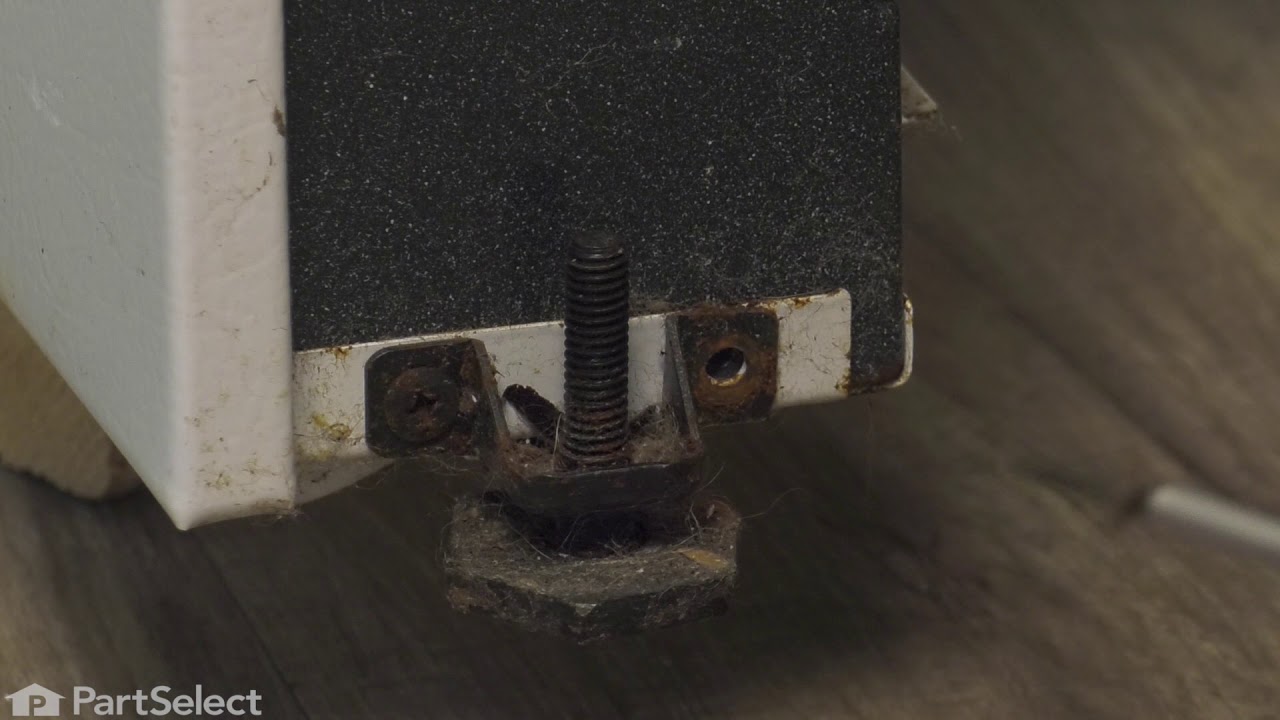
The anti-tip bracket kit comes with one metal bracket and two installation screws, and is sourced directly from the genuine manufacturer. It prevents the freestanding oven, range, or stove from tipping when force or weight is applied to an open oven door. The bracket is secured to the floor and wall and fits over the rear leveling leg in ...Read morethe back of the appliance, in a cutout specifically designed for the anti-tip bracket. This part is very essential to the safe operation of the appliance. Failure to install the bracket properly can result in the oven tipping or falling and causing injuries.
Ask our experts a question about this model and we'll get back to you as soon as possible!
We may have answered a similar question already! Search questions and answers left by others using simple keywords like "fit", "broken", "easy", or "quality" to find questions that match.
Search filter:
Clear Filter
Your search term must have 3 or more characters.
Sort by:
Prev
1
Next
Sorry, we couldn't find any existing answers that matched.Try using some different or simpler keywords, or submit your new question by using the "Ask a Question" button above!
Hilton - For model number FFGF3047LSF
June 15, 2021
I need new replacements burner caps for each burner (4). Each burner is a different size.Are they sold as a package or individually, if yes? the part #, if no?. individual part # for
each cap. price quote. thanks
Hi Hilton, thank you for your question. The burner caps for your range are sold individually. The part number for the front-right burner cap is PS2581742. The current cost for the cap is $34.12. The part number for the right-rear burner cap is PS2581737. The current cost for the cap is $28.71. The part number for both the left front and rear burner caps is PS2581740. The current cost for the cap is $31.47 each. To place an order for the burner caps, you may order them either online or by calling our customer service line and anyone will be happy to assist you. We hope this helps! If you have any questions, please let us know.
Propane stove doesn't heat above 320. Replaced the temperature sensor and ignitor.
Hi Tim, thank you for the question. We would recommend checking the oven safety valve, part number PS446204. It controls the gas flow to the bake and broil burners in the oven. You may need to replace it to fix the issue. We hope that helps!
The stove works perfectly. I can turn the oven on but it does not heat up. Is this something that can be fixed or just bug a new stove.
Hello Chantay, thank you for reaching out. Based on our understanding of the issue, we would suggest checking the temperature sensor, part number PS11731754, to solve the problem. We hope this helps!
See how others fixed this model. Time, tools, difficulty, and steps that lead to victory!View More
Search repair tips from other customers using simple keywords like "replace", "fit", "remove", "inspect". DIY doesn't mean you have to do it alone!
Search filter:
Clear Filter
Your search term must have 3 or more characters.
Safety valve would not open
126 of 159 peoplefound this instruction helpful.
Ed from Darby, PA
Easy
15 - 30 mins
Nutdriver, Screw drivers, Wrench set
I am an HVAC tech by trade so it wasn't difficult to diagnose problem with safety valve. The hard part was being without an oven for a week. Repair was simple and effective--oven works good as new. Shut off gas and unplugged oven. Removed floor of oven between broiler and bake section, used wrenches to disconnect gas line from saf
... Read moreety valve in back of oven, used philipps head screwdriver to remove burner assembly and gas valve, reversed process to replace. Checked out operation--OK.
Read less
Was this helpful?
Thank you for voting!
We had a transformer go out in our block and made a surge which blew out the electronic oven control
89 of 102 peoplefound this instruction helpful.
Alberto from Houston, TX
Really Easy
15 - 30 mins
Nutdriver
The repair of the oven was really easy . I removed a total of 7 screws with a 1/4 inch nut driver to remove the back cover of the instrument panel. I then unplugged the wires from the from the oven control and with a phillups screw driver I removed 4 screws that hold the oven control,the face plate with the words on it has to be taken of
... Read moref the old control and put on the new one . I then installed the new oven control by putting the 4 screws back on and plugging back the wires. I then replaced the back cover with the 7 screws and plugged the power back in the outlet, The clock has to be adjusted and your done.
Read less
Was this helpful?
Thank you for voting!
Range would not come on
107 of 192 peoplefound this instruction helpful.
MaryLou from Monroe, NC
Easy
30 - 60 mins
Pliers, Screw drivers
Turned off power, took back off stove removed old probe. I had to splice wires since new probe ends did not match up. the instructions were to splice the wires. I had the breaker off for about 3 hours. this is not in the instructions, but being a widow, I had to ask a few people why it would not come on after I connected the wir
... Read morees. After waiting, I turned the breaker on and my range came back on.



 My Orders