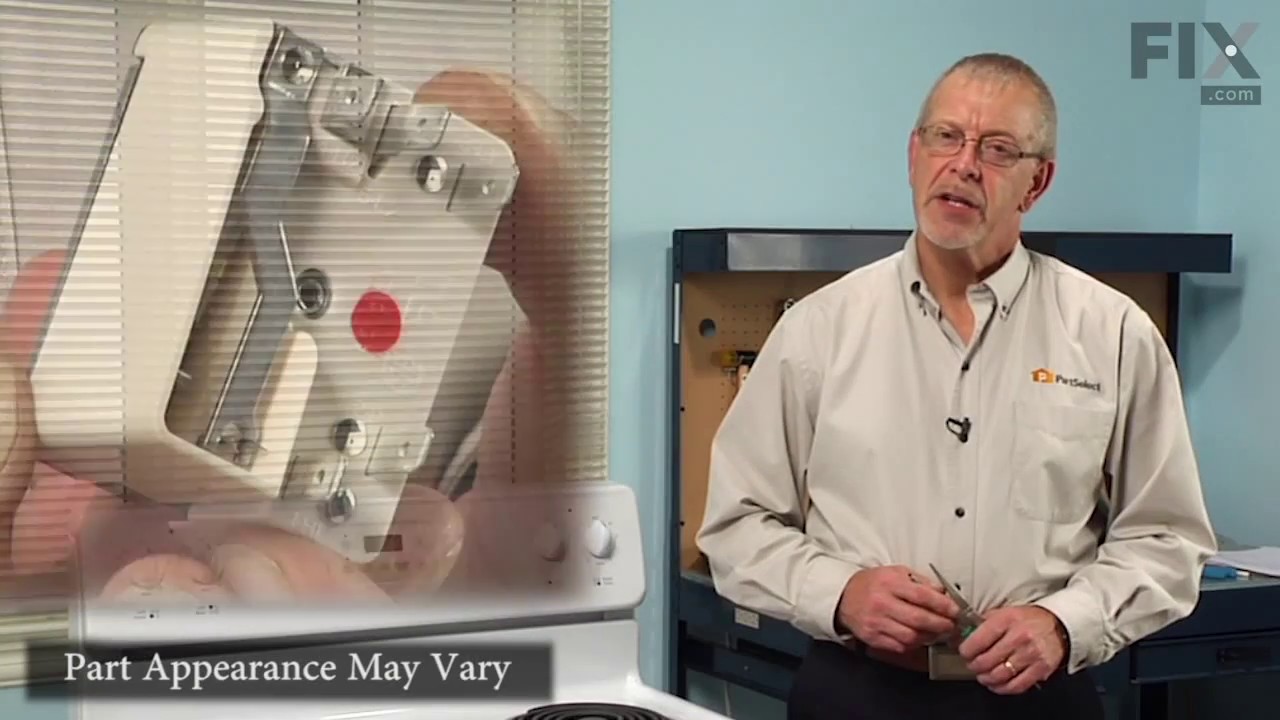
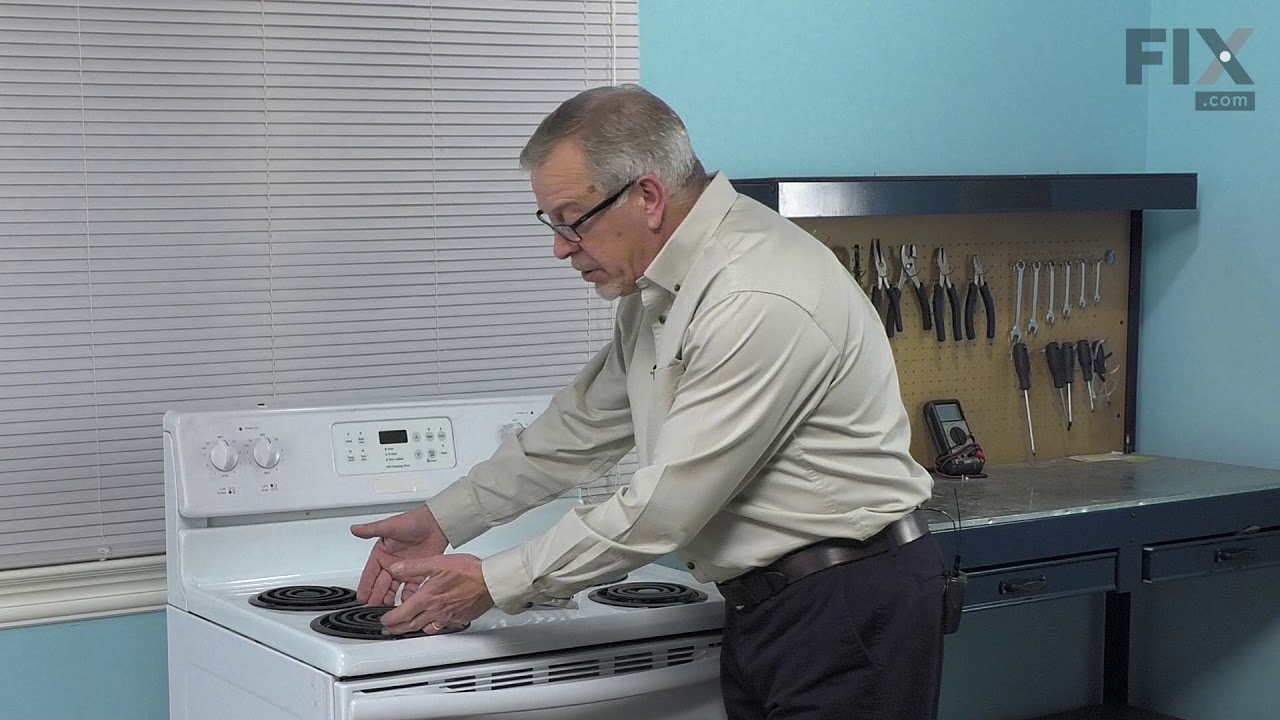
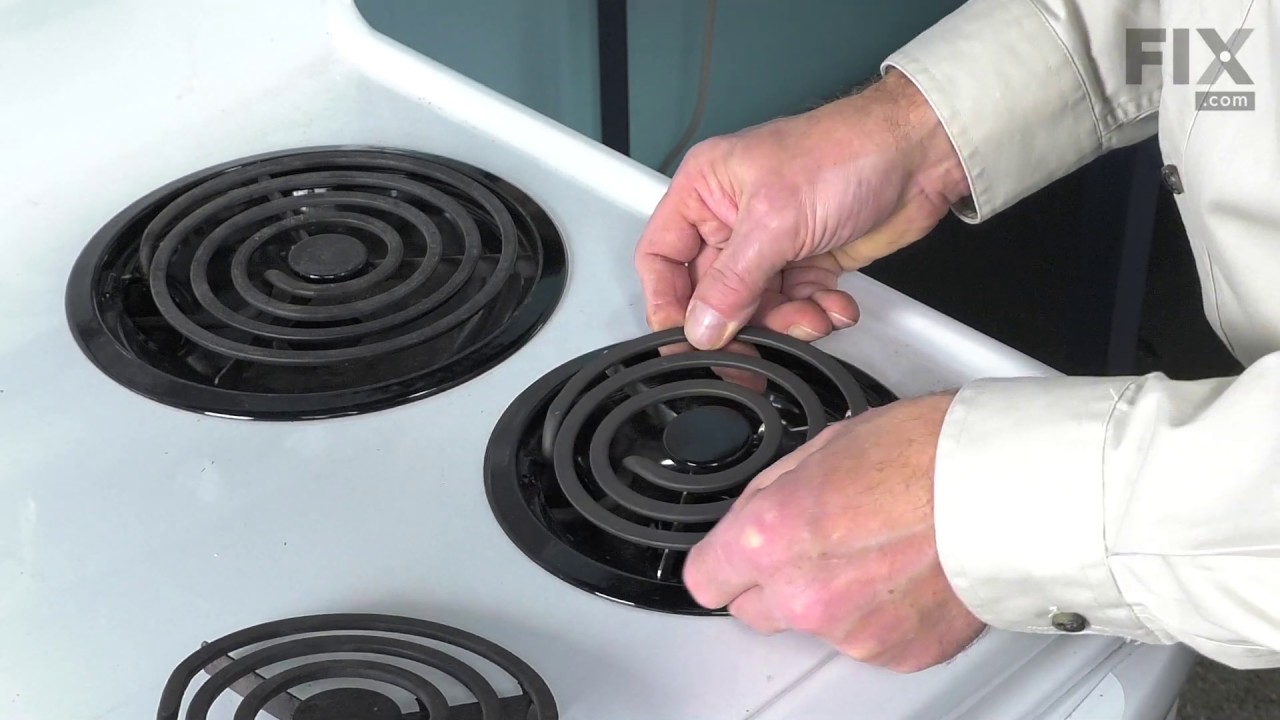
This chrome drip bowl is designed for use with electric cooktops and ranges. This drip bowl is sold individually. At the widest point this part has a diameter of approximately 10 inches. It sits beneath the surface burner element. It catches any drips or spills coming from the cookware on your burner. Because the cooktop is a high-traffic...Read more area of the kitchen, these bowls often get damaged, or get so dirty they can no longer be adequately cleaned. When replacing this part you need to remove the burner element. While you have it out we recommend inspecting the terminals and the element for any corrosion, arcing, or discoloration. Any of those things could be a sign of a bigger problem, and it indicates that the element and terminal block should be replaced.
The drip bowl catches grease and spills that come from cooking on your stove top. They are located under the heating elements. Drip bowls are often neglected and can become rusted and cracked. If your drip bowl is damaged, it could allow grease, food, or other spills to drip inside your range. This could become a fire hazard. This 6 inch ...Read morechrome drip bowl fits most electric ranges. Before you replace your damaged drip bowl, make sure the element is turned off and cool to the touch. To replace the drip bowl, remove the element, replace the current drip bowl, and reattach the element. This part is sold individually.
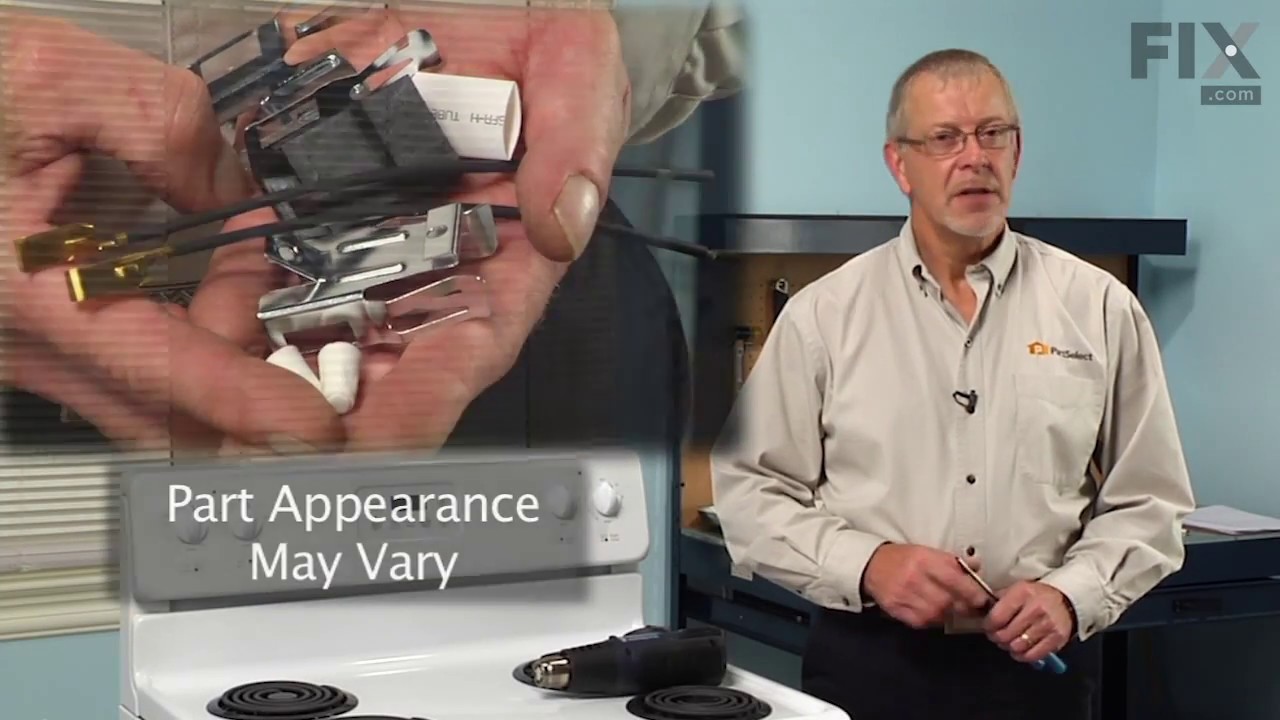
This part connects the wire harness to the surface element and is used for ranges. The kit includes interchangeable mounting brackets, ceramic wire nuts, heat shrink protective tubing, and wires. If your range/oven is having symptoms such as burner not heating, heating elements not working, burning smell, or if the oven is making a buzzin...Read moreg noise then this could be the solution. The tools needed to replace the kit are wire strippers, a heat gun or hair dryer, and #1 square heard screw driver. Refer to the installation/instructional video for further guidance to accurately replace the element.
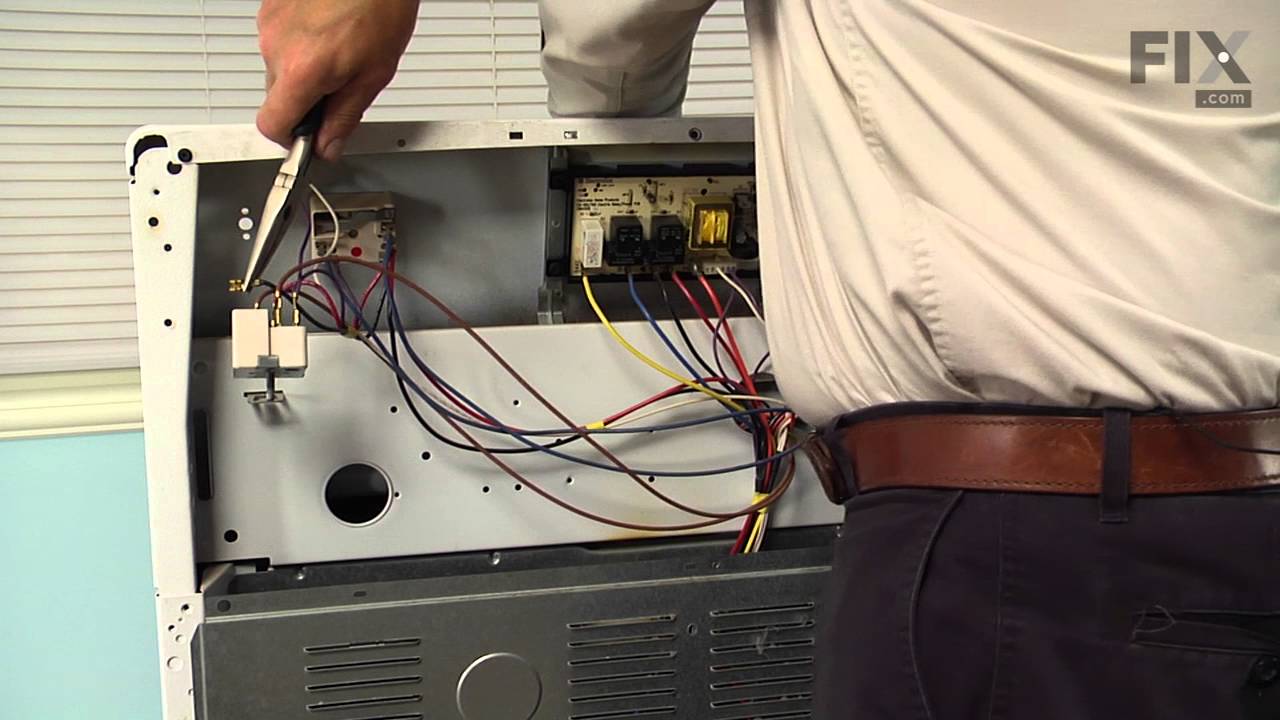
The infinite burner switch controls the stove top eight-inch surface burner, which is the large surface element. If your surface element is not warming up, the element can be tested to determine whether or not it is defective. If your element is not defective, then it is more than likely that the infinite burner switch is the issue. Befor...Read moree you install the infinite burner switch you will need to unplug your range from the power supply, or shut off the home circuit breaker. The tools you will need to do this repair include a number one square head screwdriver and a pair of needle nose pliers.
If the burner element on your range will not heat up, or is damaged, it may need to be replaced. This part is 8 inches in diameter, and should not be confused with the smaller 6-inch model. The part is 220 Volts and 4 Turn. The burner element connects to the terminal block inside the range. To do this repair, simply remove the old surface...Read more element and replace it with the new part. This product is sold individually. As the surface element is hot when it is on, be sure to unplug the range from the power source before completing this repair.
This OEM 40 watt appliance light bulb is used for some ranges, refrigerators, freezers, and microwaves. Simply locate the existing bulb, unscrew it from its socket, and replace with new light bulb. If the existing bulb is broken in the socket, disconnect the power to the refrigerator and use a pair of needle nose pliers to grip the intern...Read moreal fragments of the bulb to unscrew. Replace with the new bulb and reconnect the power to the refrigerator. These bulbs are sold individually and are a commonly replaced part; consider ordering a spare.
This part is sold individually. This is a part for your stove top. The surface element is what your cookware sits on. The element supplies heat at varying temperatures. This may need to be replaced if the coil has shorted out or the terminal block shorted, and this caused the connectors at the end to burn out. The element is set in place ...Read moreby springs. You will need to push the springs in to release the old element. Make sure the drip bowl is lined up with the terminal block and press the new element into place.
This is the electronic clock timer mechanism only. The overlay or touch pad is NOT included. To get the overlay, please use the model# of your appliance to search.
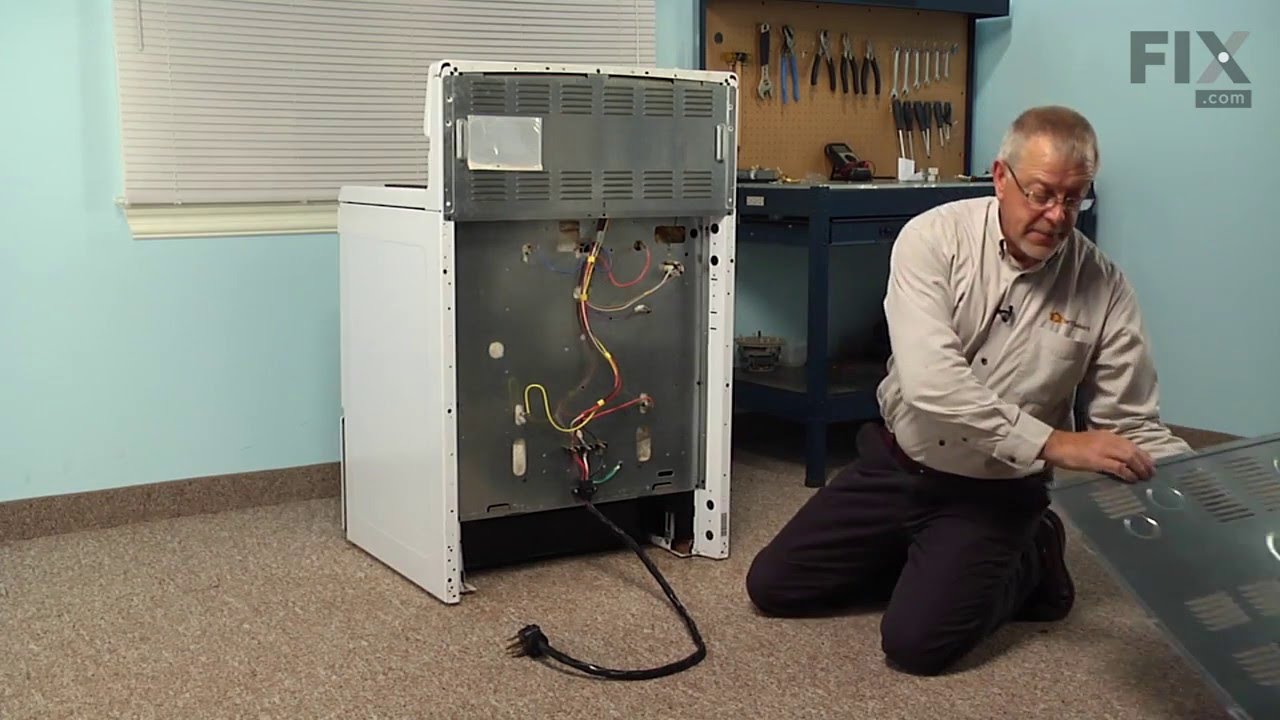
This is a part for your range. This switch controls the stovetop surface burner. If you notice that your stove top is not turning on or is not adjusting to the corresponding desired heat, it is mostly likely due to the burner switch needing to be replaced. You will need a #1 square-head screwdriver and needle-nose pliers. Disconnect the p...Read moreower from the range. You will need to move the range out from the wall to remove the upper back panel to access to this part. This is an OEM genuine part.
Oven racks can become rusted or damaged from constant use, and need to be properly maintained and cleaned to keep them working properly. If you notice that your oven rack has been damaged or rusted, the rack should be replaced. This oven rack has two anchor points on either side to keep it stable and secure within the oven. This ensures t...Read morehat your food stays in place when baking, and allows you to remove pots and pans without the threat of the entire rack falling out in the process. This metal oven rack measures 16 inches long x 23 inches wide, and is sold individually.
This oven broil element is a high-performance heating component designed to deliver intense, direct heat from the top of the oven cavity. Measuring approximately 12 ½ inches by 18 ½ inches, it operates at 3000 watts and 240 volts, making it suitable for broiling and contributing to certain baking functions. Positioned at the top interior ...Read moreof the oven, it ensures even heat distribution for optimal cooking results. This element is commonly used as a replacement in electric ranges experiencing reduced or no heat during broil or bake cycles. Installation typically involves disconnecting power, removing the old element, and securing the new one using existing mounting brackets and electrical connectors. It is compatible with a variety of household ranges and is engineered for durability and consistent performance.
Ask our experts a question about this model and we'll get back to you as soon as possible!
We may have answered a similar question already! Search questions and answers left by others using simple keywords like "fit", "broken", "easy", or "quality" to find questions that match.
Search filter:
Clear Filter
Your search term must have 3 or more characters.
Sort by:
Prev
1
2
Next
Sorry, we couldn't find any existing answers that matched.Try using some different or simpler keywords, or submit your new question by using the "Ask a Question" button above!
Tom - For model number FFEF3011LWD
July 23, 2021
Top stove burners work fine. Bake and broil elements won't work, but test okay. I assume something is wrong in the control panel. Which part would this be to replace the controls and electronics for the oven part? Thank you.
Hello Tom, Thank you for your inquiry. The control board is part# PS12728848. You could also have an issue with the temperature sensor or the wiring harness. Good luck with your repair.
Clock adjust very slowly. Oven and broil wont turn and when they do temp adjustments are very slow. Which part needs to be changed?
Hello William, Thank you for the question. We suggest testing the Temperature Sensor, PartSelect Number PS12724046. Testing the temperature sensor probe on your oven is easy. With the sensor at room temperature, measure the resistance between the two prongs at the end of the sensor connector. The resistance of the sensor should read approximately 1080 – 1090 ohms at room temperature. We hope this helps.
The oven door this gasket at the ends came off it appears the clips are very loose to hold even a new one, please advise how can I replace the gasket to the door and also what holds it
Hello Lisa, thank you for reaching out to us. The gasket, part number PS440011, does come with the retaining clips. The clips are not available as separate parts. The clips are already positioned on the gasket, you generally just need to align them with the holes in your oven door and press them in until they lock. We hope this information helps!
The clock works but can not operate oven no response when pressing it on dial pad
Hello Stan,
Thank you for your question. Our sources suggest replacing the clock timer under part PS1528267 for your model to fix the dial pad issues for the range. We hope this helps.
In the last week larger rear burner keeps getting hotter than expected. For example on the 3 setting it is red hot and burning food.
Hello Ac, thank you for reaching out. We would recommend checking the infinite burner switch, part number PS1145040, to fix the issue. We hope this helps!
See how others fixed this model. Time, tools, difficulty, and steps that lead to victory!View More
Search repair tips from other customers using simple keywords like "replace", "fit", "remove", "inspect". DIY doesn't mean you have to do it alone!
Search filter:
Clear Filter
Your search term must have 3 or more characters.
Back Burner didn't function
136 of 152 peoplefound this instruction helpful.
William from Burke, VA
Easy
15 - 30 mins
Screw drivers
We moved into our townhouse about 6 yrs ago. During the home inspection we checked the range and saw the Red light come on when we turned on each burner. After moving in we realized the large back burner did not work. The light came on but the element never got hot. I of course replaced the element but that did not work. Several years
... Read more passed and we just ignored the issue. We just got by with 3 burners. Lately we realized how much easier it would be to have all four burners working. Knowing that we will be selling our townhome soon we figured we should either fix the problem or replace the range.
I didn't want to call a repair man because I didn't want to be charged a $150 to have him come out and they to pay extra for parts (and of course a 2nd visit). So I went to www.Partselect.com and typed in the model of my range. Found the diagrams for my range and saw that from the switch ran a pair of wires to a Universal Receptacle (aka Terminal Block Kit). I figured since the Red light turns on when I turn the switch on it has to be the Terminal Block.
I ordered the part from www.Partselect.com ($14.00 including shipping) and replaced the part. The burner still would not get hot. I decided to test the switch. I removed the Control Panel cover (which is secure by 2 screws just below the digital clock). Once the cover was off, I saw the Blue wires going from the switch to the Terminal Block. To test the switch, I disconnected the two Blue Wires from connectors H1 and H2 and temporarily connected them to H1 and H2 of another switch. Sure enough, when I turned the other switch the element got hot.
So I placed another order from www.Partselect.com for a replacement switch ($50 including shipping). When that part came, I flipped the electrical circuit going to the range. I then removed the Control Panel cover again. With the new switch in hand (holding it near the old switch still attached to the Control Panel, I used the pliers to pull out each wire from it's connector and place it to it's corresponding connector on the new switch. Once all the wires were connected to the new switch, I pulled the knob of the switch off then used a phillips screwdriver to remove the two screws holding the switch to the control panel. I replaced the old switch with the new one put the screws back in, replaced the knob. Turned the circuit back on and tested to make sure that the element got hot. When it did, then I replaced the Control Panel cover and enjoyed a nice dinner that was cooked in less time than we're accustomed to because of the new burner. So I spent a total of $64.00 to fix our range. Less than half the amount I would've spent if I called for a technican. And far less then buying a new range.
Partselect is a great resource for information. They have diagrams and schematics available to view and/or download. And when ordering it's a snap because there's an "Add to Cart" button next to each part it lists. So there's no confusion. I've already recommended Partselect.com to about 5 people. And will continue to do so!!
Read less
Was this helpful?
Thank you for voting!
Oven elements would not heat
119 of 133 peoplefound this instruction helpful.
earl from seattle, WA
Really Easy
Less than 15 mins
Nutdriver, Pliers, Screw drivers
Initially, I tested the temperature sensor and it was OK. I pulled out the range and shut off the circuit breaker to it. I removed the upper back sheet metal panel to expose the clock timer. I removed the 4 screws to it, unplugged the wires to it and plugged them into the new clock timer. I carefully removed the plastic facing stuck t
... Read moreo the face of the old clock timer and stuck it on the new clock timer. No new adhesive was necessary. I placed the newly connected clock timer in position and secured it with the 4 screws that secured the old clock timer. I pushed the range back into position and reset the circuit breaker. I turned the oven on and the problem was resolved.
Read less
Was this helpful?
Thank you for voting!
Range would not come on
107 of 192 peoplefound this instruction helpful.
MaryLou from Monroe, NC
Easy
30 - 60 mins
Pliers, Screw drivers
Turned off power, took back off stove removed old probe. I had to splice wires since new probe ends did not match up. the instructions were to splice the wires. I had the breaker off for about 3 hours. this is not in the instructions, but being a widow, I had to ask a few people why it would not come on after I connected the wir
... Read morees. After waiting, I turned the breaker on and my range came back on.



 My Orders