This rear drum bearing kit is designed for use with dryers. It supports the rear of the drum in your appliance as it tumbles your clothes during the drying cycle. If your drum will not tumble, or if it is making a lot of noise, it could be an issue with this part. This is a ball-and-socket style bearing. You will need to replace this if t...Read morehe bushing has worn out, or if the ball support is damaged. This kit includes one bearing, one ball shaft, one ball bearing, one ball bearing retainer, a small tube of high temperature lubricant and installation screws. Unplug your dryer before you begin this repair.
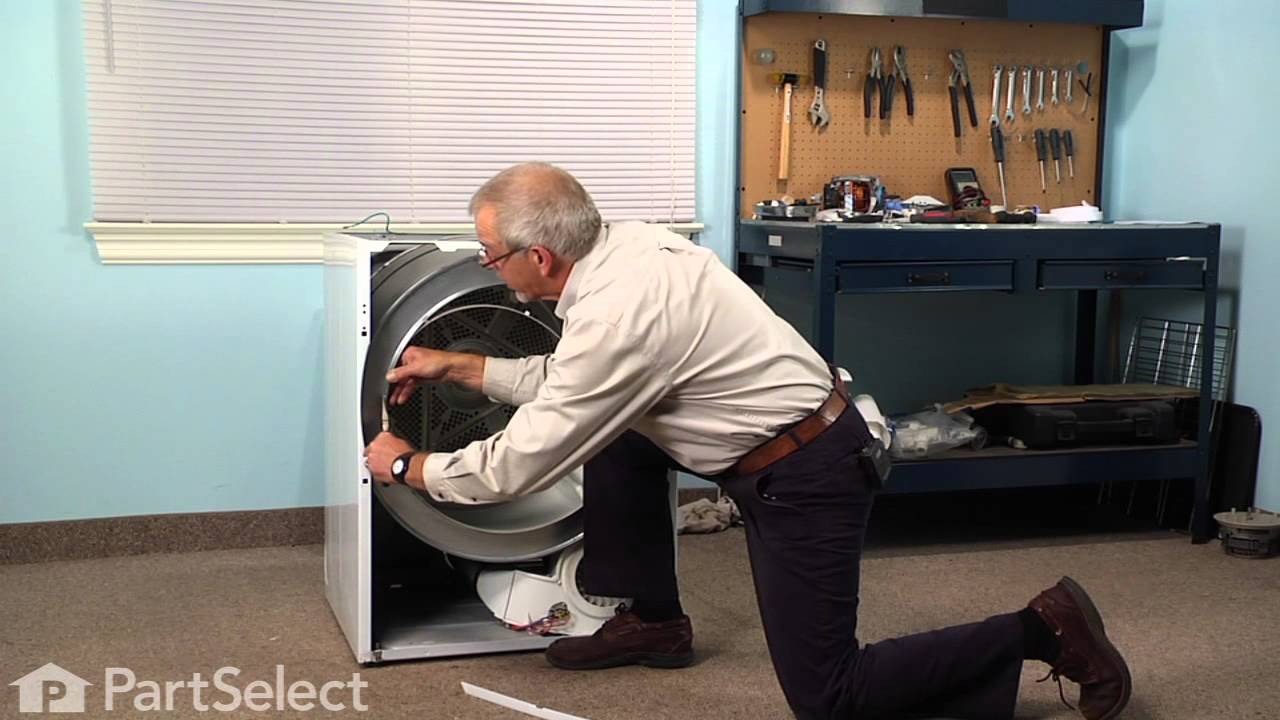
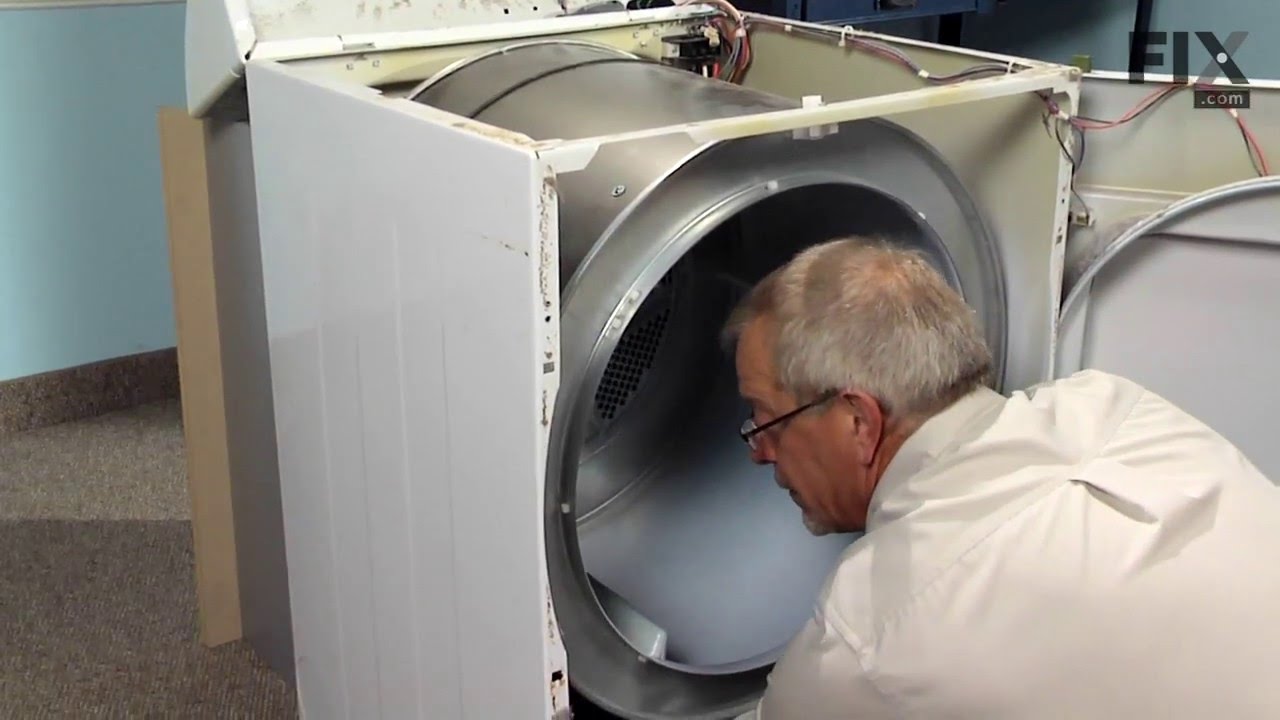
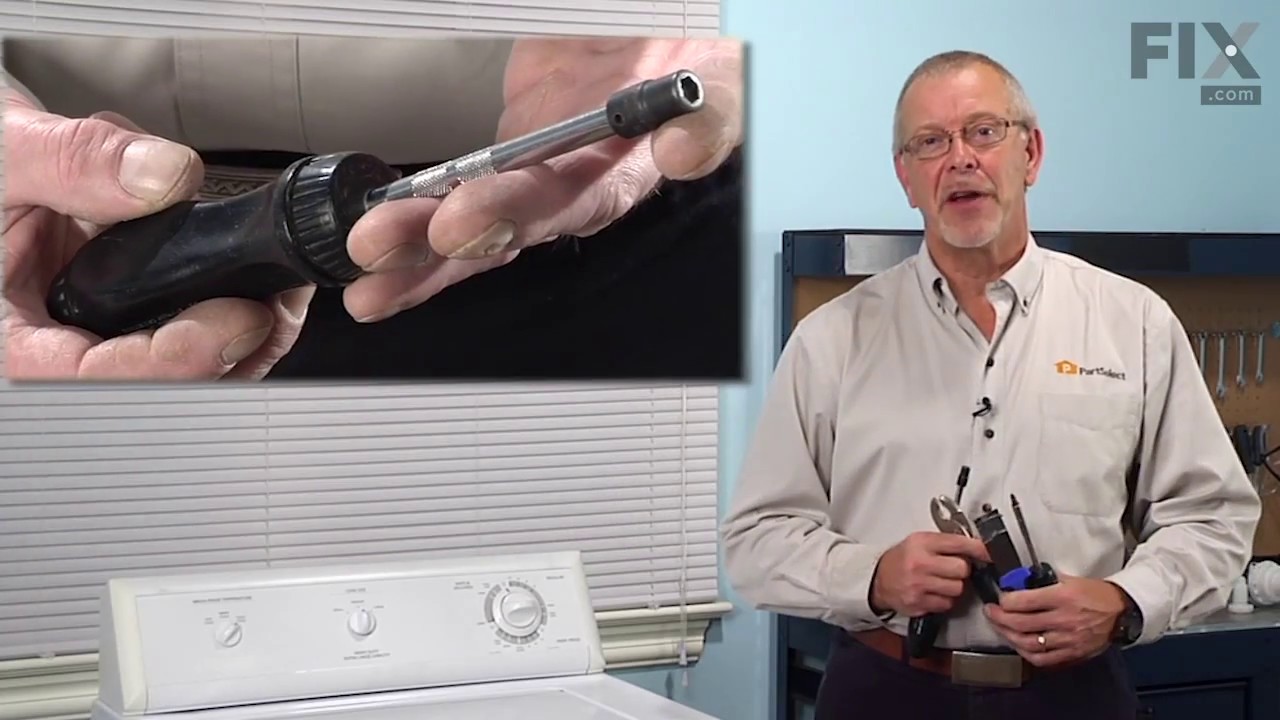
If your dryer does not tumble, will not start, is noisy, or is leaving marks on your clothing, you may need to replace the drum support bearing. The drum is supported at the rear by a bearing, which attaches onto the inside of the rear panel of the cabinet. You will need to remove the dryer drum before completing this repair. Although rep...Read morelacing the drum support bearing is a fairly easy job, you will need tools to complete it. For this repair, you will need a putty knife, a Phillips screw driver, a 5/16 nut driver and maybe a small flat blade screw driver.
This white drum glide is used in a clothes dryer to ensure the front of the dryer drum is supported as it does rotations. *Please note: these are sold individually, however there are two of these in your appliance. We recommend that these be replaced at the same time, this allows for optimal performance and ensures they wear evenly. Each ...Read moredrum glide is approximately 33 inches in length. If the following symptoms occur, consider replacing the drum guide as a solution: dryer is noisy, will not tumble, or leaves marks on clothes. Remember to unplug the power source to the dryer before installing this part. Refer to the diagram provided by the manufacturer for further instructions and guidance.
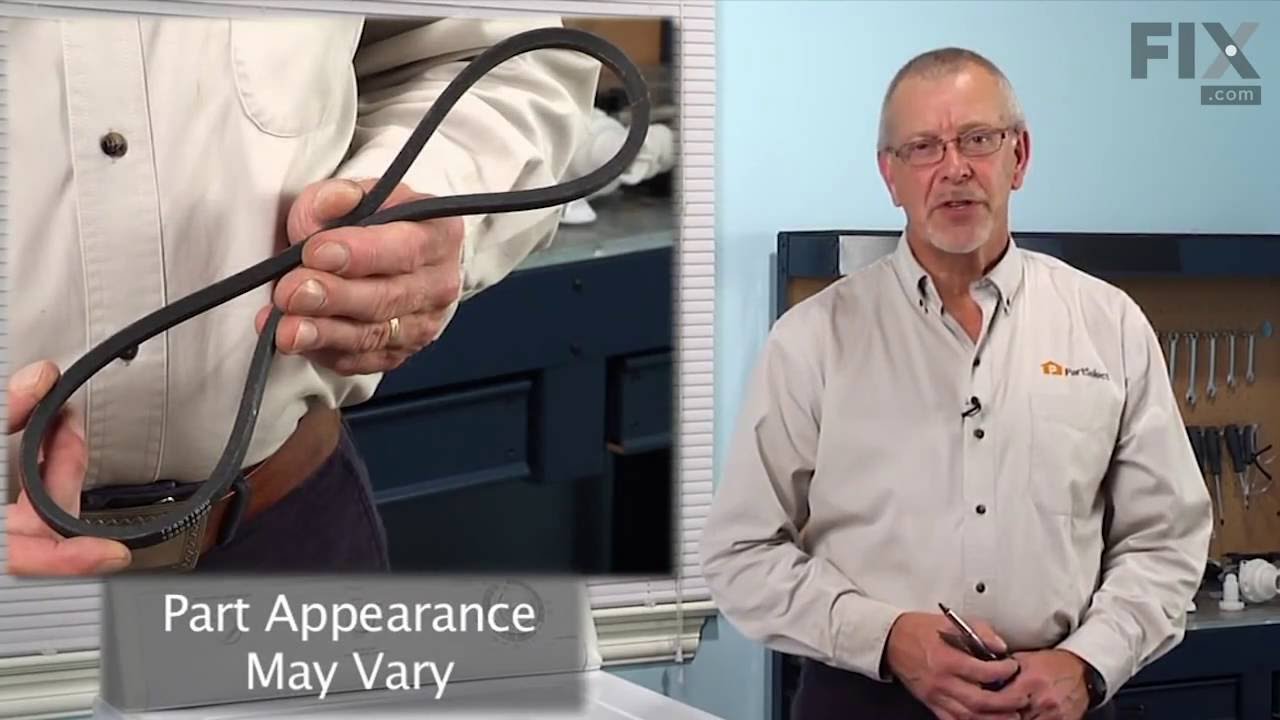
This rubber V-style drive belt slips on the motor pulley to bring the basket to the required speed. If you notice a burning rubber smell or grinding noises coming from your washer, your washer does not start, drain, spin properly (will not spin/spins slowly/will not agitate properly), or if your washer shakes or moves during the cycle; ch...Read moreeck your drive belt for signs of wear and tear. Replace the drive belt if you notice that the belt looks damaged. This OEM part is approximately 35 inches in length, and sold individually.
The door catch on your dryer is an important part as it keeps your dryer door closed, in order to ensure no air or clothes can escape. This part works by holding the door strike, which allows the door to stay secure. Before you begin this repair make sure to disconnect the power supply to the dryer. The tools you will need for this instal...Read morelation include a Phillips screwdriver and a small flat blade screwdriver. A pair of pliers may also come in handy. Users ranked this repair as easy, and say that it will take fifteen minutes or less to complete.
This dryer lint screen is for laundry centers.
Dryer lint screen captures lint and debris from the exhaust air flowing from the dryer.
Follow the instructions in the owner's manual when installing this part.
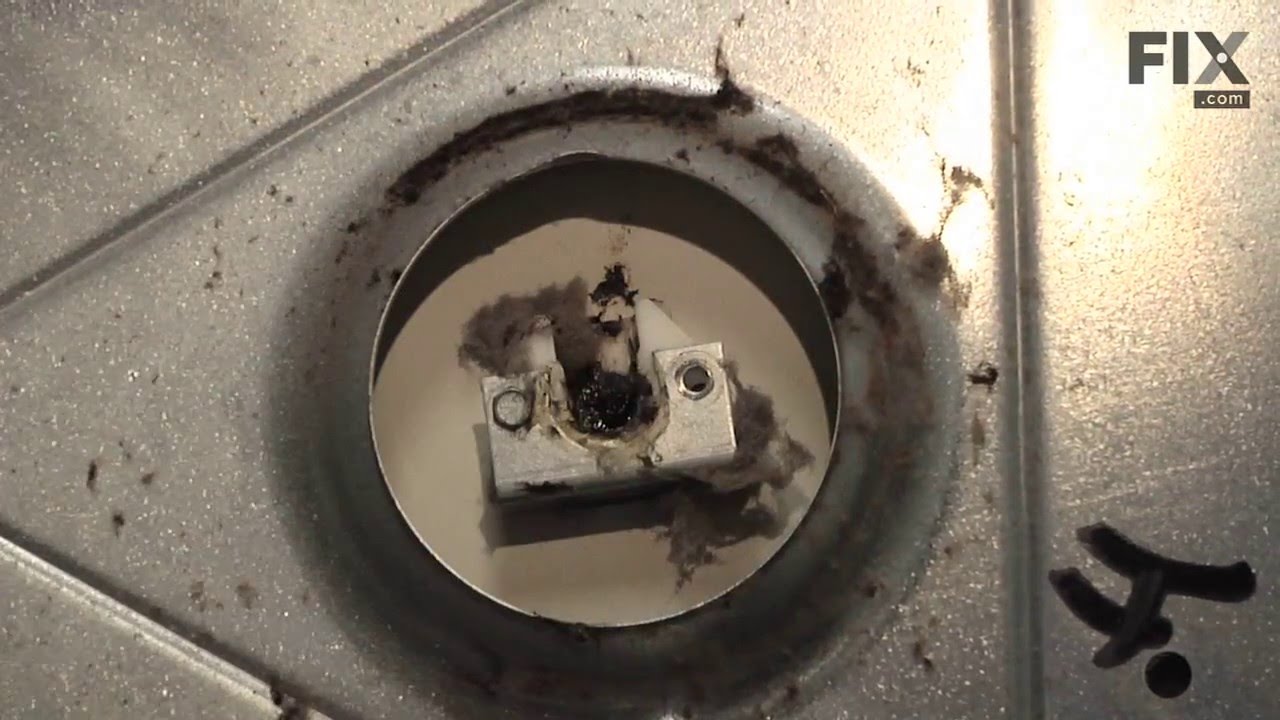
The dryer thermal limiter, also known as a thermal fuse, blows the fuse to cut off power to the dryer when the dryer begins to overheat. Once the dryer reached 220 degrees Fahrenheit, the heat cuts out. If the thermal fuse is defective, damaged, or blown up then the dryer wont start, especially since it cannot be reset. It must be replace...Read mored if the following symptoms occur: the dryer overheats, takes too long to dry clothes, or there is not enough heat in the dryer. The tools needed for this repair are, a screwdriver, putty knife and needle-nose pliers. This part is manufactured for both gas and electric dryers.
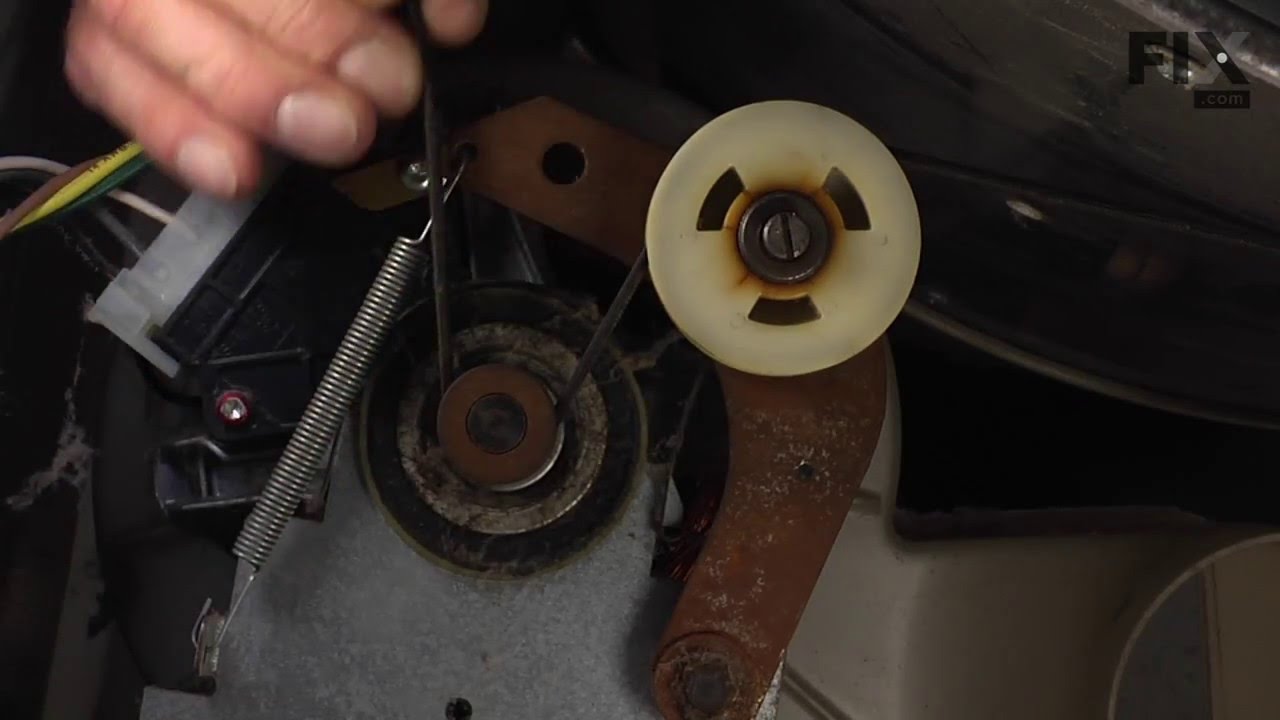
The multi-rib drum belt is also known as a drive belt and is a part for your dryer. The function of the drum belt is to attach to the motor pulley. It will then spin the drum as the motor rotates. Over time this part will naturally dry out. If your drum belt begins to crack or break, the dryer will not be able to continue to turn. If your...Read more dryer is running but your belt will not rotate, that likely means that it has been damaged and needs replacing. The tools you will need for this repair are a putty knife and a screwdriver set.
The lower front felt seal with adhesive, also known as a drum felt seal, is used in dyers and allows the drum to easily glide on the front panel. For this repair project, you will need the following tools: #2 Phillips screw driver, #2 square head screw driver, putty knife, and wire bush. If your dryer will not tumble, or makes a squeaking...Read more noise when running, replacing this part could solve the problem. Remember to unplug your appliance from the power source for safety before you begin this installation project. Refer to the manual provided by the manufacturer for further installation instructions.
This is a 120 volt, 60 hertz drain pump that is manufactured to remove water from the tub of your washer once your clothes are washed. This part is the pump and motor assembly, which includes a red flapper to prevent drain backflow. You will need to remove the front panel of your washer to access the drain pump. The tools you will need fo...Read morer the repair are a Phillips screw driver, a putty knife, a pair of slip joint pliers, and a 5/16 nut driver. Be sure to disconnect the water supply from your washer before doing the repair. The metal edges on the appliance are sharp, so use work gloves to safely complete the repair.
Ask our experts a question about this model and we'll get back to you as soon as possible!
We may have answered a similar question already! Search questions and answers left by others using simple keywords like "fit", "broken", "easy", or "quality" to find questions that match.
Search filter:
Clear Filter
Your search term must have 3 or more characters.
Sort by:
Prev
1
2
Next
Sorry, we couldn't find any existing answers that matched.Try using some different or simpler keywords, or submit your new question by using the "Ask a Question" button above!
Tammy - For model number FEX831FS2
February 24, 2020
Dryer starts to heat then stop within a few min
Hello Tammy, Thank you for the question. Normally this is caused by a clogged exhaust vent may have caused the dryer to overheat and trip the thermal fuse. We hope this helps.
5 peoplefound this instruction helpful.
Was this helpful?
Thank you for voting!
Rylee - For model number FEX831FS2
June 22, 2023
My dryer squeaks every time you turn it on to dry a load of laundry
Hello Rylee, thank you for contacting us. There are several possible causes of a squealing dryer, including an unlevel installation. The most common part responsible for causing this issue is the belt, part number PS1146950. The drive belt wraps around the outside of the dryer drum and can cause squeaking if it is frayed, loose, or cracked. Glad to be of assistance!
The washer portion of the laundry center goes straight into agitation/spin without running any water. There isn’t even a pause before the agitation begins. Is this likely to be an inlet valve/level switch or a full control board problem?
Hi William, thank you for your inquiry. If the washer agitates but does not fill, it is most likely a water level pressure switch, part number PS1146954, is not working. Try resetting the water level switch and try to fill the machine again. The motor cannot turn in the agitate direction without the pressure switch circuit being closed. The most likely cause is a faulty pressure switch, so you will need to remove the front cover to follow the pressure switch hose to the switch, which is located under the main console and replace it. Good luck with your repair!
Dryer won’t start when I push the button. It just makes a buzz sound and that’s it.
Hi Chris, thank you for the great question. We would recommend checking the drive motor, part number PS12584805, to fix the issue. We hope this solves your problem!
Dryer makes loud thumping. Gets hot, but does not dry clothes. Vent has been cleaned from unit to outside vent.
Hi Sarah, thank you for reaching out. We would suggest checking that the dryer is not overloaded and the drum is balanced. If the issue persists, you may need to replace the blower wheel, part number PS417911. It attaches to the drive motor shaft and blows air through the drum and out through the exhaust vent. We hope this solves your problem!
See how others fixed this model. Time, tools, difficulty, and steps that lead to victory!View More
Search repair tips from other customers using simple keywords like "replace", "fit", "remove", "inspect". DIY doesn't mean you have to do it alone!
Search filter:
Clear Filter
Your search term must have 3 or more characters.
squeeking like crazy
135 of 161 peoplefound this instruction helpful.
Steve from Wheelersburg, OH
Really Easy
30 - 60 mins
Screw drivers, Wrench set
well, i started at the top and worked my way down. by taking the top off, it gave me more room to get the dryer tub out. took the two screw`s out of the vented plate on the back of the machine to undo the belt. this is a stackable washer-dryer combo, so next i took off the white plate on front between washer & dryer. took off the control
... Read morepanel, unpluged it, then took dryer door front off. then removed the two screw`s that hold that bracket on ,in the back of dryer, pulled the drum out & replaced the belt, but before replacing anything i took the shopvac to it , there was alot of lint in there.when replacing the Grounding Ball Clip & Grounding Ball, i took a one inch by two inch magnet and used it to hold the Grounding Ball & Clip in place so i could get the two screws started in the Drum Support Bearing & Bearing Bracket. after installing that i put the shaft in place & lined the dryer tub up with the 3 screw hole`s ,and boom, bang, pow...nothing to it. it`s easy...parts came very fast....Thx PartsSelect.com...i`ve told all my friend`s about PartsSelect
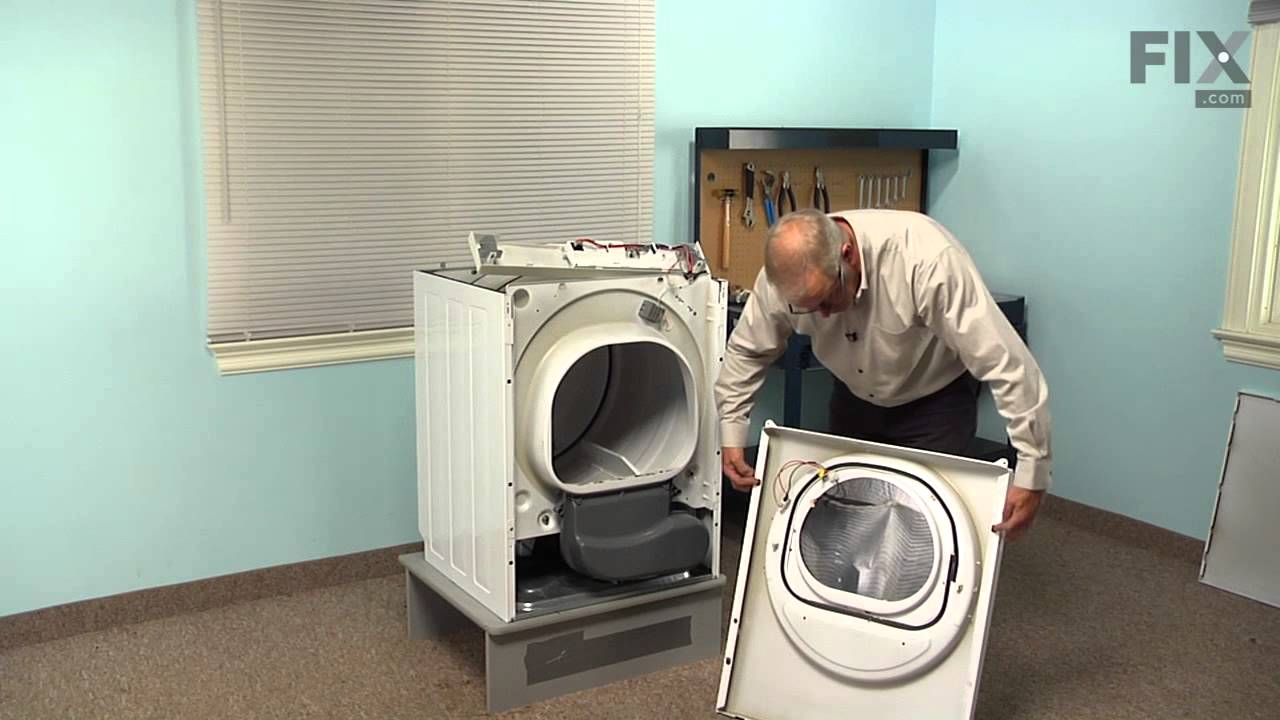
1. Unplug dryer from outlet 2. Using Lg. flat screwdriver, pry under the front edge of the top and release two spring tabs 3. Lift up top and tilt back out of your way 4. Unscrew two phillips scews on inside of front panel 5. Lift up and out the front panel. Two spring clips at bottom. 6. Rlease tension on drum be
... Read morelt at the motor. Access panel at rear of dryer. 7.Unscrew 3 screws from inside, center rear of drum. 8. Remove drum through the front of the dryer. You may have to spread the sides apart a little bit for it to fit 9. Lift up on the rear drum bearing to remove it from the bearing retainer. ( U shaped plastic socket) 10. unsrew 2 screws and remove the bearing retainer, ground ball. Ball retainer is on outside of dryer. 11. Vacuum everything--duct, blower, lint trap, ect. 12. Intall new bearing retainer and grounding ball, an assistant is helpful at this time, one to hold ball retainer on rear of dryer, one to screw it in from the inside 13. reassemble remainder of parts in reverse order.
Read less
Was this helpful?
Thank you for voting!
replace broken drive belt
285 of 320 peoplefound this instruction helpful.
rodney from fairfield bay, AR
Really Easy
15 - 30 mins
Screw drivers
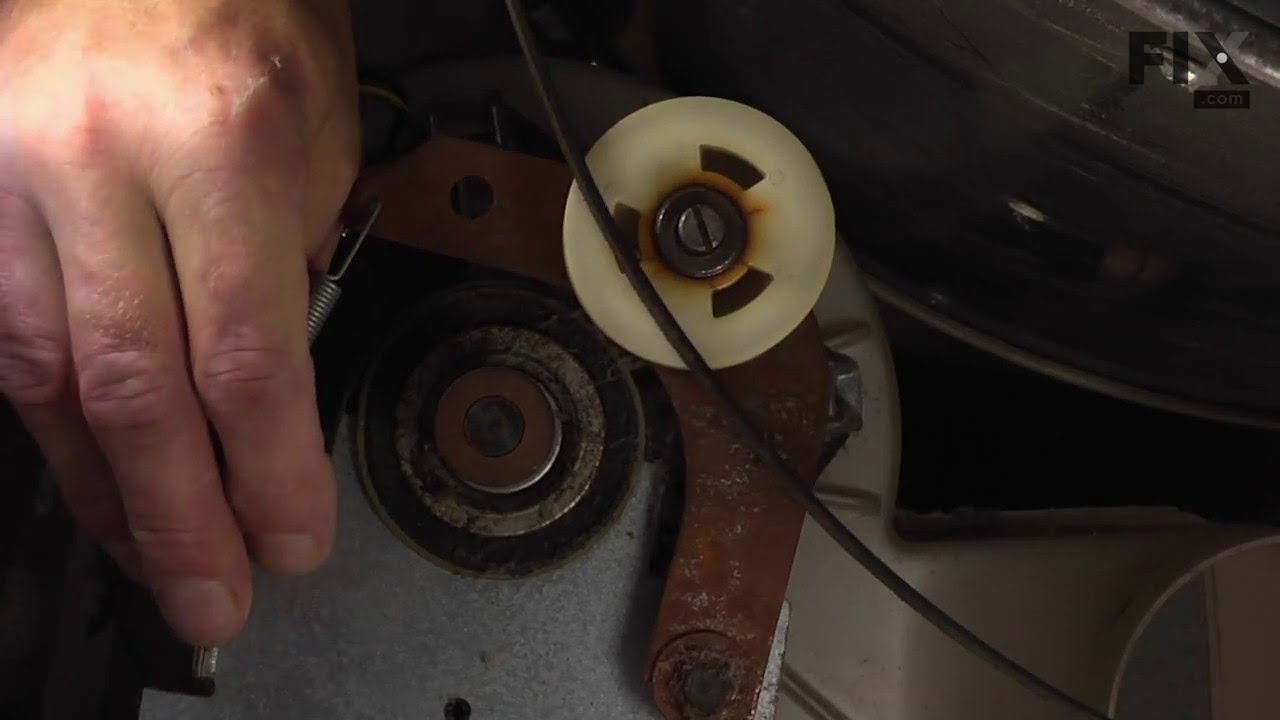
carefully pry up on front washer top to release plastic keeper pins,remove 2 phillips screws from beneath lower front washer panel,slightly lift upward on panel to release.remove old broken belt,push new belt beneath large tub pulley,put belt on small motor pulley,push back belt tension /idler arm,start belt on large tub pulley,turn tub p
... Read moreulley by hand to run belt on,release tension on idler arm.replace front panel and lower top.WALAAH!!!! you are done.




 My Orders