Your coupon for will be reflected when you check out!
✖
Your coupon for
✖
Hello!
You're visiting the PartSelect site in U.S.
Would you like to shop on the Canadian site?
Stay on this site
Go to Canadian site
✖
Model Number Locations
1Select Category Type
Select Category Type
2Select Product Type
Select Product Type
3Select {MODEL} Type
Select {MODEL} Type
Sample Model Number Tags
Model numbers can be made up of numbers (1005400, for example) or a combination of letters and numbers (LAT1000AAE). The model number will most likely appear on either a paper sticker or a metal plate. Your appliance's model number tag may look similar to the sample model number tags shown here (model number highlighted in yellow):
Model has been saved to My Models. If you're not signed in, your lists are available on this device and will expire within 30 days.
Model has been saved to My Models.
This kit is used for replacing the agitator directional cogs (Agitator Dogs, Agitator Repair Kit, Washer Agitator Dogs, Agitator Dog Ears). The agitator is what creates the thrusting motion in your wa...
This direct drive motor coupling (Direct Drive Washer Motor Coupling, Motor Coupling, Washer Motor Coupling, Coupling Kit) provides a cushioned connection between the transmission and the motor shaft....
The suspension spring supports the outer tub and keeps the tub steady during loads that could cause an unbalance. If this part breaks, is worn down or has stretched out and lost its spring, it could c...
A clutch assembly (Clutch, Washer Clutch) is found in your washing machine and is responsible for spinning the basket during the spin cycle. The clutch lining can wear over time. If the clutch lining ...
This part is found in your washer. The pin on the lid pushes on the lever of the lid switch to tell the machine that the lid is closed. This part includes the green grounding wire. If your machine is ...
This is a genuine OEM thrust spacer for your washer, and is also commonly known as a retainer ring. The spacer is about 2.5 inches in diameter, is made of plastic, and is white in color. It is used in...
This agitator repair kit comes with a long cam, a thrust spacer and four dogs ears (agitator cogs). This repair kit is used to move the upper agitator and it connects the base of the agitator with th...
This part may also be referred to as a main outer tub seal. This part prevents leaking from the bottom of the tub. The gasket is approximately 2 inches in diameter to the outer edge, black in color, a...
Ask our experts a question about this model and we'll get back to you as soon as possible!
6 questions answered by our experts.
Sort by:
< Prev
1
2
Next >
Search filter:
Clear Filter
Your search term must have 3 or more characters.
Keep searches simple. Use keywords, e.g. "leaking", "pump", "broken" or "fit".
Sorry, we couldn't find any existing answers that matched.Try using some different or simpler keywords, or submit your new question by using the "Ask a Question" button above!
Crystal
June 25, 2022
I have thos washer and it is so loud when it does the spin rinse cycle, my husband took apart to check and found the springs to be stretched out especially one of them. But he did not take a picture of them so i dont know which ones i need to buy. I need help because i absolutely love my washer and definitely do not want a new one because this one works so well. Thanks for your help.
For model number ETW4400XQ0
Hello Chrystal, thank you for writing. We are surmising the springs he took out to remedy a noise issue, were the Counter Balance Springs PS733376. They come in a set of three and we have an installation video. If you need help placing an order, customer service is open 7 days a week. Please feel free to give us a call. We look forward to hearing from you.
Cold water will not work. Hot water works. Cleaned screens @ inlet.
For model number ETW4400XQ0
Hi Bruce,
Thank you for your question. If the cold water is not working, there are some parts that you will need to check to see which one is causing the issue. You will need to check the water inlet valve with thermistor and the temperature switch. Both of these parts can be be tested with a multi-meter. For the water inlet valve, ensure that you have disconnected your washer from both the power and water source. In order to remove the valve for testing, you will need to remove all or part of your washer’s cabinet. The valve should be found directly behind the hose connections. Looking for signs of damage, cracking, or wear, visually inspect your washer’s valve. The valve has screens inside it that may have built up dirt or debris, if so, it should be carefully cleaned as if these screens become damaged, you will need to replace the entire valve. The resistance of a properly functioning valve varies from model to model, refer to your owner’s manual to determine what the reading of your test should be. To test for continuity, place the probes onto the valve’s terminals with your multi-meter set to Rx1. If you do not receive a reading that indicates continuity, you will need a replacement water inlet valve. For the temperature switch, also ensure that you unplug your washer before starting.
Remove the selector switch from your appliance in order to test it, you will need to disassemble all or part of your washer’s cabinet to access it. In most models, it is attached to the frame of the washing machine. You will be testing the buttons on the switch one at a time. Begin by placing the probes on the terminals for one button, your reading should be infinity at this point, press in on the button, this should change your reading to zero, press in on another button, this should change the reading back to infinity. If the readings you receive are different than those described above, you will need a replacement selector switch. We hope this helps. Thank you and have a great day.
2 people found this helpful.
Did this question help you?
Thank you for voting!
Susan Gold
3 days ago
Is there a lint trap I am supposed to to clean? There seems to be some white residue left on my clothing and I'm thinking it might be lint. Thank you
For model number ETW4400XQ0
Hello Susan, thank you for getting in touch. Your washer does not have a removable lint filter, lint is automatically flushed down the drain during the pump cycle. The white residue on your clothing is undissolved detergent or mineral buildup rather than lint. Powdered detergent frequently fails to dissolve completely in cold water or when the load is packed too tightly. Switching to liquid detergent for cold washes or dissolving the powder in warm water before adding it to the load will usually resolve this. Over time excess detergent and fabric softener can also combine with hard water minerals to form a chalky residue inside the tub that transfers onto clothing. Running an empty tub cleaning cycle with one cup of white vinegar or chlorine bleach on a hot normal wash cycle will strip away any internal buildup. Also check all pockets before washing, tissues or paper items break apart during agitation into fine white flakes that look very similar to lint residue on dark clothing. We hope this helps.
2 people found this helpful.
Did this question help you?
Thank you for voting!
Mabel
December 23, 2022
Trying to see whether I should call repairman or if you can tell me what to do to fix my problem. Was trying to start a large wash. Water started coming in and then stopped
. This happened about three times. Machine had been working very well until this time. Is this something I can fix or, if not, can you please tell me the name of a good local repairman ?
For model number ETW4400XQ0
Hello Mabel, thank you for asking. Our research shows that you may need to check the following parts to fix the issue: lid switch, part number PS11745957, motor coupling, part number PS1485646, motor, part number PS11743427, and inlet valve, part number PS11749042. We have attached related videos for your assistance. If you require assistance to place an order, please contact customer service. We hope that helps!
Hi David, thank you for your question! The part you are looking for is the basket balance ring, part number PS11741965. Fits around the top of the basket and is filled with fluid. The balance ring acts as a counterweight to keep the spin basket balanced as it agitates and spins. Glad to be of help!
The job looked intimidating but turned out to be very easy. First take off the water pump by removing the two clips that hold it in place. Place a shallow pan under the pump to catch the water that is in the pump and hoses. Open the hose clamps with a pair of pliers or channel locks (better) and slide the hoses off of the water pum
... Read morep. The motor comes off next. Unplug the electrical connector from the motor and two wires from the capacitor. Remove the two screws holding the clamps in place and then pop off the two clamps. You will need to hold up the motor with one hand while you remove the clamps or it will fall to the floor once the clamps are removed. One piece of the coupling assemble will be attached to the motor and the other will be attached to the gearcase drive shaft. If you want to clean up the mess created by the shredded rubber center piece of the coupling assembly you will have to take off the motor mounting plate. It is held on by two bolts and removing it makes installing the coupling easier but probably not necessary. Push the back half of the coupling on to the gearcase drive shaft until the shaft is flush with the face of the coupling. Install the new rubber center piece on to the coupling then re-install the motor mounting plate. Install the other half of the coupling on to the motor shaft and lift the motor up to the coupling. You have to rotate the motor shaft by spinning the fan blades until the coupling lines up so you can slide it into the other half of the coupling. Then just reattach the motor, connectors and water pump in the reverse order of disassembly.
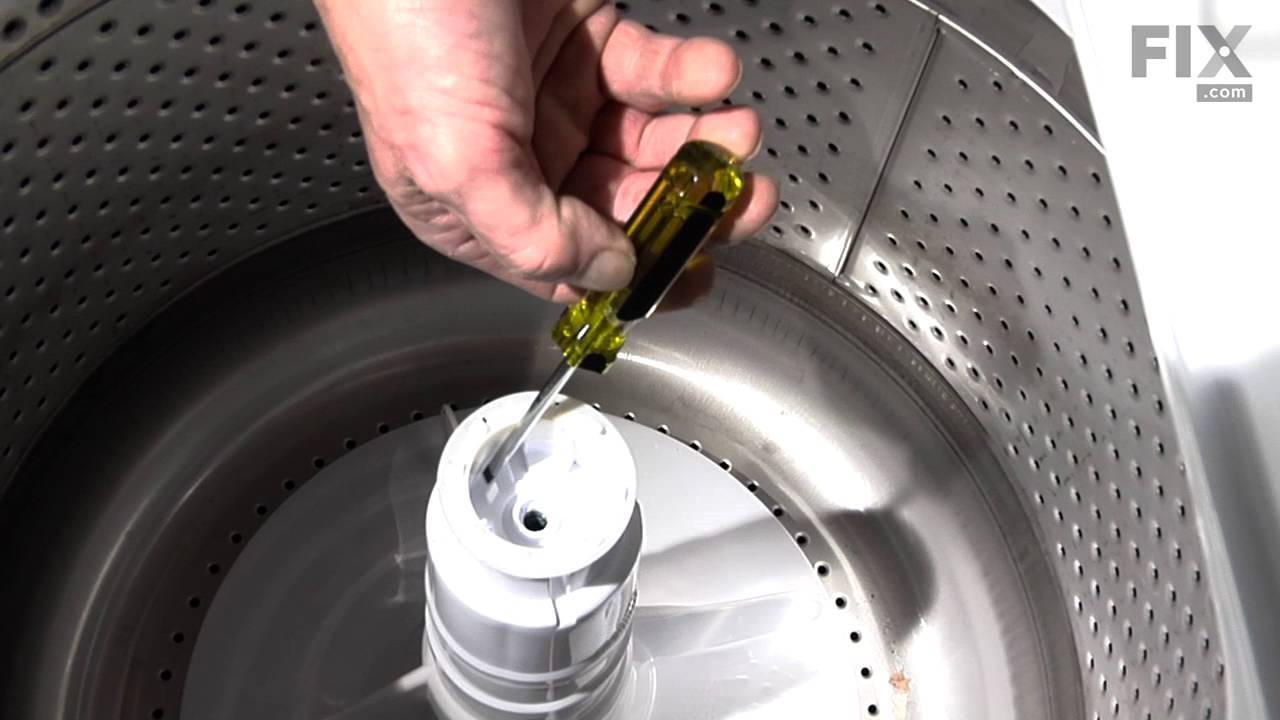
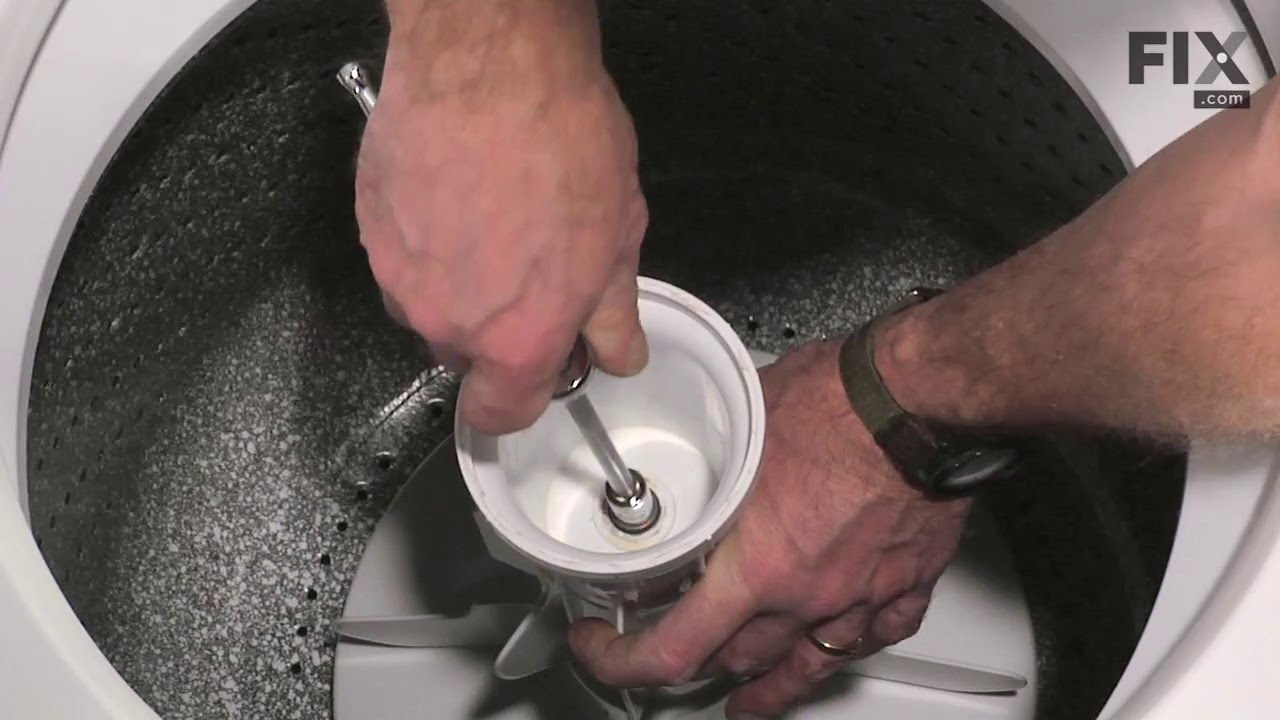
First pry off the cap of the agitator. Then using a socket remove the bolt that holds the plastic cup in place. Remove this cup by prying it loose from the two tabs that hold it in place. Once this cup is removed you can get to the broken cogs. Slip the new cogs into the underside of the cup, and slide the cup back down in the a
... Read moregitator housing using the slots on the side for a guide. (You may want to remove the entire agitator and assemble everything upside down, then flip it all back over to mount, so the cogs don't fall out). Tighten the bolt, snap the cap back in place on top of the agitator and your'e done. Easy repair.
On top of the agitator is a flat cap that is held in place by the friction of an o-ring, there are no fasteners. I would imagine one could get under the lip with a small screwdriver or butter knife to pop it off but I chose simply using my fingernails so as to not disfigure the cap. Under the cap you will find the head of the only bolt
... Read morethat holds the assembly together it is a 7/16 head and because it is in a 4" deep well your will need a 6" extension for your ratchet. Once the bolt is out the top of the agitator, the assembly with the cogs removes by hand. Set the assembly upside down on the counter, slide the black plastic ring off, pull the cogs out with your fingertips, install the new cogs put a new black ring on and set the assembly back in the agitator. Reinstall bolt. As the bolt is down in a tube, you cannot set it in place with your fingers and it will fall out of the socket. To hold the bolt in the socket during positioning you can either put a gob of Vaseline on the bolt head to hold it in the socket or form a small piece of paper over the bolt head and set it into the socket, the friction of the paper will hold the bolt into the socket. Took me less then 10 minutes, good luck