


 My Orders




BCS42ELE General Electric Refrigerator - Overview

Enter a part description. DIY Heroes keep it simple, eg. "belt" or "pump".
Search filter:
Clear Filter
Your search term must have 3 or more characters.

$57.38
In Stock
Dual Inlet Water Valve
Part #WR57X10051
This valve comes with 1/4" compression inlet.
NOTE: This part comes with new quick connections. To install - cut retaining nuts off of existing plastic water lines and gently push them into new valve. To remove - depress ring that the tube slides into.

$61.39
In Stock
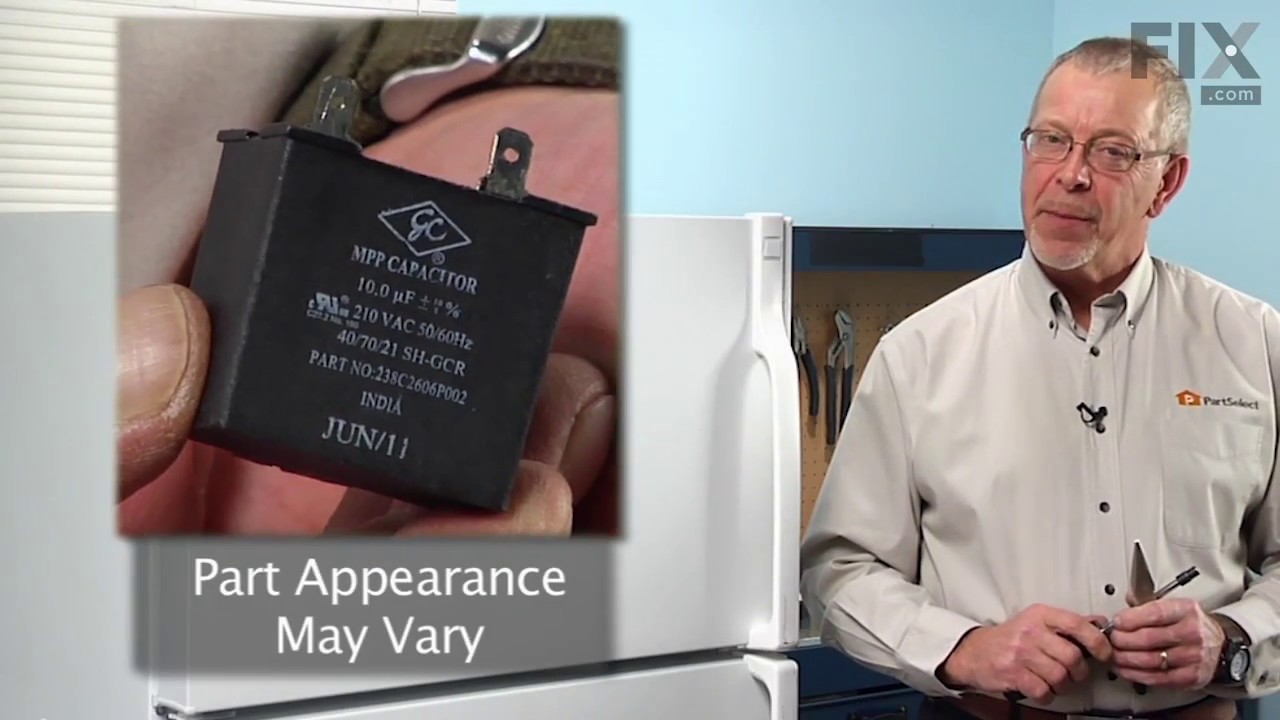
Run Capacitor
Part #WR55X24064
This part helps the compressor kick on and off while maintaining a constant temperature to keep things frozen in your freezer. This part has been updated by the manufacturer and may appear different than the original, but should function the same.

$16.05
Special Order

No Longer Available
EVAPORATOR FAN MOTOR KIT
Part #WR60X30349
This evaporator fan motor operates in a counter clockwise fashion. This motor's shaft is 3/8 of an inch and the motor has two right side terminals. NOTE: Harness wires NO longer come with the part.

$252.05
In Stock
Condenser Fan Motor - 115V
Part #WR60X187
This part comes with 3 round pin connection terminals.
This fan motor circulates the air through the refrigerator grille and cools the compressor and condenser coils. It also helps to evaporate extra water in the drain pan.

$41.70
In Stock
Refrigerator Defrost Timer
Part #WR9X483
This refrigerator defrost timer will cycle for thirty minutes after every ten hours of run time.

No Longer Available
Drawer Slide Rail - Right Side
Part #WR72X214

$57.26
Special Order
Power Cord
Part #WR23X10300
This heavy-duty cord has a three-pronged plug (2 electrical, 1 grounding). The power cord supplies power to your refrigerator, allowing it to keep the contents inside cool. There could be an issue with your cord if you notice that the refrigerator will not turn on, or intermittently turns on and off. Check the cord for fraying, or other v...Read moreisible damage. If the power cord shows any signs of damage, replace the cord immediately as it could become an electrical or fire hazard. Before you begin this repair, ensure that the power is disconnected from the unit, and that all food that could ruin is stored away while the power is off.
Read less

No Longer Available
Mounting Grommet
Part #WR2X7238
The mounting grommet is black in color, made of plastic, measures 1 inch in diameter, and is sold individually. It is collared around the edge to keep it in place. This part is used to help hold the compressor in place and prevent vibration. This part is generally found in refrigerators, washers, freezers, and dehumidifiers. This is a genuine OEM part that comes right from the manufacturer.

No Longer Available
Relay PTCR - 2 Wire
Part #WR07X10011
The start relay briefly boosts the compressor, and then shuts off as soon as the motor gets up to speed.

No Longer Available
Defrost Thermostat Kit
Part #WR50X45
This defrost thermostat kit comes with the installation with wires, mounting brackets, and wire connectors. L45-20.

$398.30
In Stock
De-Icing Kit
Part #WR49X10021
This part should be installed by an appliance repair person as it could be dangerous. This part may be used to help prevent your evaporator fan from becoming blocked with ice. This part also insulates the evaporator coil area so you don't get a buildup of ice in the damper area.
Common Symptoms of the BCS42ELE
How this model fails, and the parts that fix it.
Leaking
Fixed by
these parts
these parts


Show All
Ice maker not making ice
Fixed by
these parts
these parts
Show All
Will Not Start
Fixed by
these parts
these parts


Show All
Fridge too warm
Fixed by
these parts
these parts


Show All
Not dispensing water
Fixed by
these parts
these parts
Show All
Freezer section too warm
Fixed by
these parts
these parts

Show All
Noisy
Fixed by
these parts
these parts
Show All
Fridge and Freezer are too warm
Fixed by
these parts
these parts
Show All
Clicking sound
Fixed by
these parts
these parts
Show All
Ice maker won’t dispense ice
Fixed by
these parts
these parts
Show All
Too warm
Fixed by
these parts
these parts
Show All
Fridge runs too long
Fixed by
these parts
these parts
Show All
Freezer not defrosting
Fixed by
these parts
these parts
Show All
Won’t start
Fixed by
these parts
these parts
Show All
Watch our pros, then fix it yourself.


See how others fixed this model. Time, tools, difficulty, and steps that lead to victory!
View More