


 My Orders




ALW2 - Overview
Models starting with ALW2
Click on the best match to narrow your results.
- ALW20 ( Orange F 034 091 F06 ) Bosch Tool Stand & Cart (.)
- ALW20 ( Black F 034 091 F04 ) Bosch Tool Stand & Cart (.)
- ALW210RAW (PALW210RAW) Amana Washer (Residential)
- ALW210RAW Amana Washer (Residential)
- ALW210RAW-PALW210RAW Amana Washer (Amana Washing Machine Model ALW210RAW-PALW210RAW (ALW210RAWPALW210RAW, ALW210RAW PALW210RAW) Parts)
- ALW210RMC (PALW210RMC1) Amana Washer (Residential)
- ALW210RMC Amana Washer (Residential)
- ALW210RMC (PALW210RMC0) Amana Washer (Residential)
- ALW210RMC-PALW210RMC Amana Washer (AUTOMATIC WASHERS)
- ALW210RMW (PALW210RMW0) Amana Washer (Top Loading)
- ALW210RMW (PALW210RMW1) Amana Washer
- ALW210RMW-PALW210RMW Amana Washer (AUTOMATIC WASHERS)
- ALW221RJW Amana Washer (Residential)
Enter a part description. DIY Heroes keep it simple, eg. "belt" or "pump".
Search filter:
Clear Filter
Your search term must have 3 or more characters.

$7.47
In Stock
Suspension Spring
Part #WP21001598
This suspension spring is 7 inches in length, and is sold individually. It is a good idea to replace all six springs at once to maintain the same tension level. To complete this repair you will need a putty knife, 5/16ths nut driver, and a pair of pliers. The springs are located underneath the washer bin, to replace them you will need to remove the main top and front panel of the washing machine.

$13.92
In Stock
Lid Hinge
Part #WP35-2044
The lid hinge on your washer is connected to the lid and allows it to open and close. If you find you cannot open or close the lid to your washing machine properly, you may need to replace the lid hinge. This lid hinge is an inch and a half long, all white in color, and it is made entirely of plastic. To complete this repair, you will nee...Read mored a Phillips screwdriver and a putty knife to remove the top of the washer, in order to access the screws that hold the lid hinge in place. Be sure to disconnect the power to the washing machine before beginning this repair.
Read less

$19.30
In Stock
Lid Hinge Pin
Part #WP35-2045
This lid hinge pin allows a washing machine lid to pivot open and closed properly. The hinge pin may need to be replaced if the lid will not open or will not close. The part is white and made of plastic. This lid hinge pin is just over an inch long, is sold individually, and does not include the mounting screw (consider ordering mounting ...Read morescrew if it rusted or stripped). It is recommended to check the opposite lid hinge pin before ordering because hinges may wear at the same rate. Be sure to not tighten the mounting screw to pin too tightly to avoid breaking the new part.
Read less

$10.70
In Stock
Snubber Ring
Part #WP21002026
The snubber ring is a piece that is specific to your washing machine. The function of the snubber ring is to reduce noise and vibrations within your washer. It fits in between the leg and the dome assembly. If during your spin cycle you notice your washer jumping and making loud whirring noises, you may need to replace your snubber ring. ...Read moreThe tools you will need for this repair include: a putty knife, a 5/16 nut driver, a 1/4 inch nut driver, a 3/8 socket and a ratchet, a small flat blade screwdriver, a pair of locking pliers, and a pair of slip joint pliers.
Read less

$94.66
In Stock
Washer Drain Pump
Part #WP35-6780
This pump helps expel water from the washing machine and is activated after the spin speed is maintained for a specific period of time. If your machine is not draining properly or if it is noisy and shakes during operation, you may need to replace the drain pump. This is a redesigned part. The pump now mounts on to the base of the washer....Read more This product is made of white plastic and has a metal center. Before you can replace the drain pump, you will have to disengage the drive belt under the machine. To reach the drain pump you will need to remove the access panel on the backside of the washing machine.
Read less

$12.85
In Stock
Retaining Ring
Part #WP23748
The metal retaining ring, which is under an inch long, holds the rear wheels on the axels of the dryer. The main reason why it would need to replaced is if the retaining ring has sprung out of place or is damaged. Some the symptoms could be that your dryer does not tumble, it makes a loud buzzing noise, or if it pumps, but will not spin. ...Read moreThe tools needed for this project are a putty knife, 5/16 nut driver, and snap ring pliers. Refer to the installation video and diagram for further instructions and guidance. Customers ranked this replacement project as easy.
Read less

$7.47
In Stock

$45.29
In Stock
Transmission Pulley and Bearing Kit
Part #12002213
This transmission pulley and bearing kit, also known as thrust bearing kit or washer pulley and bearing kit, includes the pulley, washer, thrust bearing, two upper race washers, and one lower race washer. These genuine Whirlpool parts are plastic and are not sold individually. The kit is used to help the washer drain, and may need to be r...Read moreeplaced if the washer is experiencing slow or no spin, will not drain, or has no agitation. The washer will need to be tilted on its back or side to access the bottom. The tools needed to complete this repair are a small flat blade screw driver and a pair of slip joint pliers.
Read less

$7.47
In Stock

$49.50
In Stock
Spin Belt
Part #WP27001007
This v-shaped spin belt helps transfer power from the motor to the transmission to help pump the water in and out of the washer. It also helps runs the spin cycle in the washer.

$7.47
In Stock
Washer Hose Clamp
Part #WP596669
This hose clamp is used in a wide variety of household appliances. Most often it is found in washers, dishwashers, refrigerators, freezers, dehumidifiers, garbage disposals, or air conditioners. This clamp is used to securely attach a hose to another part of your appliance, which helps prevent leaks from those connections. Depending on th...Read moree appliance, it can attach hoses to drain pumps, water inlet valves, pressure switches, and injector nozzles. We recommend you refer to model-specific diagrams for appropriate uses and exact placement. This hose clamp is made of metal, and is sold individually. To access and replace this part you will need a nut driver, pliers, and screwdrivers. Before you begin any repair work, make sure you have unplugged your appliance, and shut off the water supply if applicable.
Read less

$180.94
In Stock
Common Symptoms of models starting with ALW2
How this model fails, and the parts that fix it.
Leaking
Fixed by
these parts
these parts


Show All
Noisy
Fixed by
these parts
these parts


Show All
Burning smell
Fixed by
these parts
these parts


Show All
Will not agitate
Fixed by
these parts
these parts


Show All
Will not drain
Fixed by
these parts
these parts
Show All
Lid or door won’t close
Fixed by
these parts
these parts


Show All
Spins slowly
Fixed by
these parts
these parts


Show All
Will Not Start
Fixed by
these parts
these parts
Show All
No hot or cold water
Fixed by
these parts
these parts


Show All
Shaking and Moving
Fixed by
these parts
these parts


Show All
Spinning Issues
Fixed by
these parts
these parts
Show All
Noisy
Fixed by
these parts
these parts
Show All
Watch our pros, then fix it yourself.
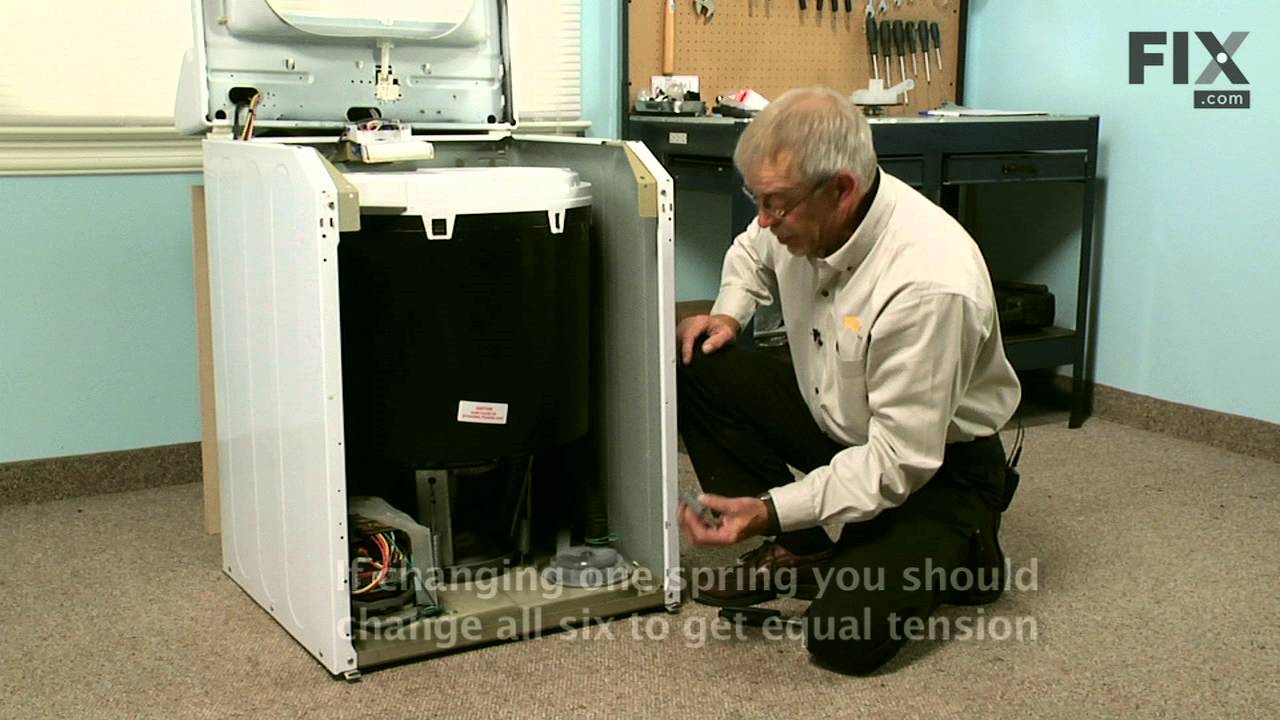
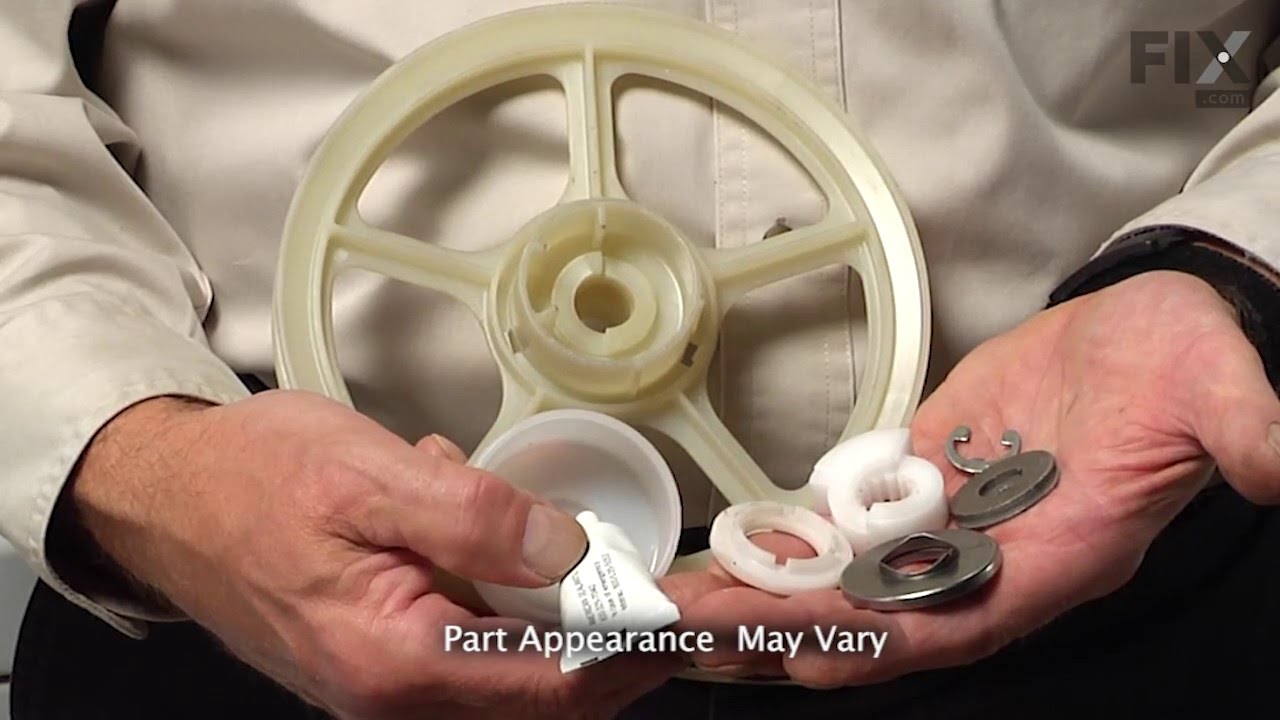
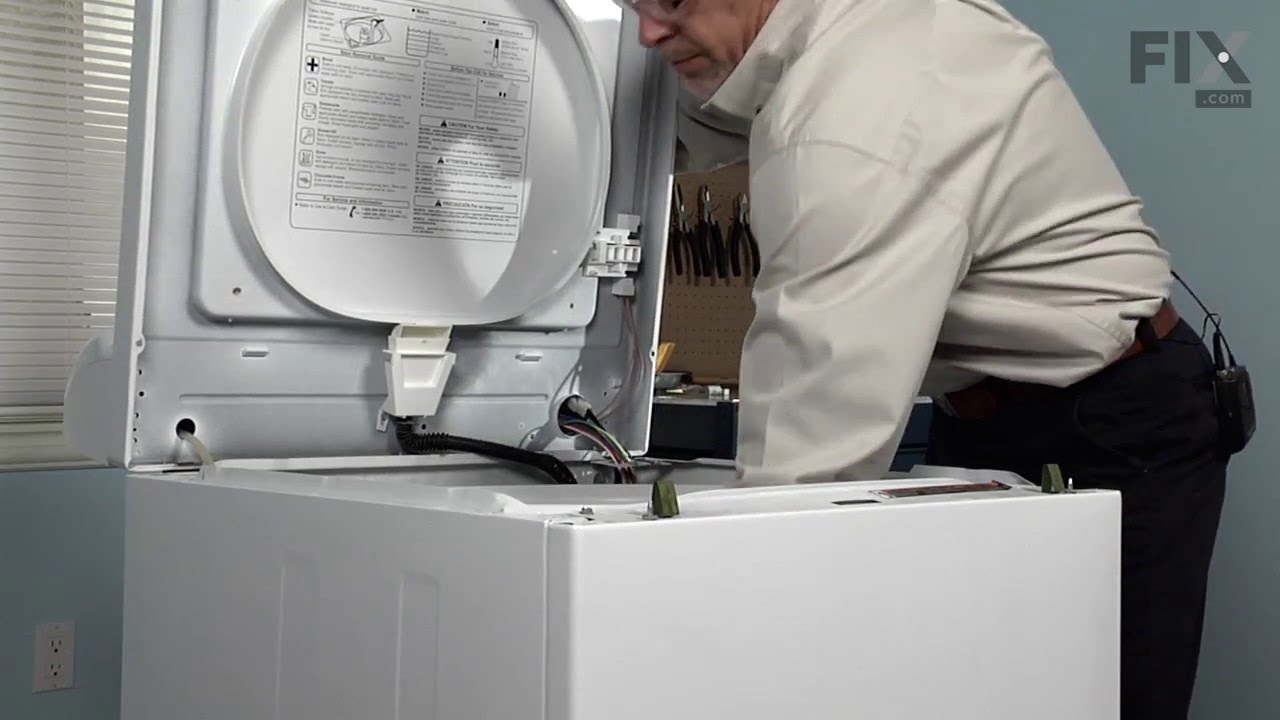
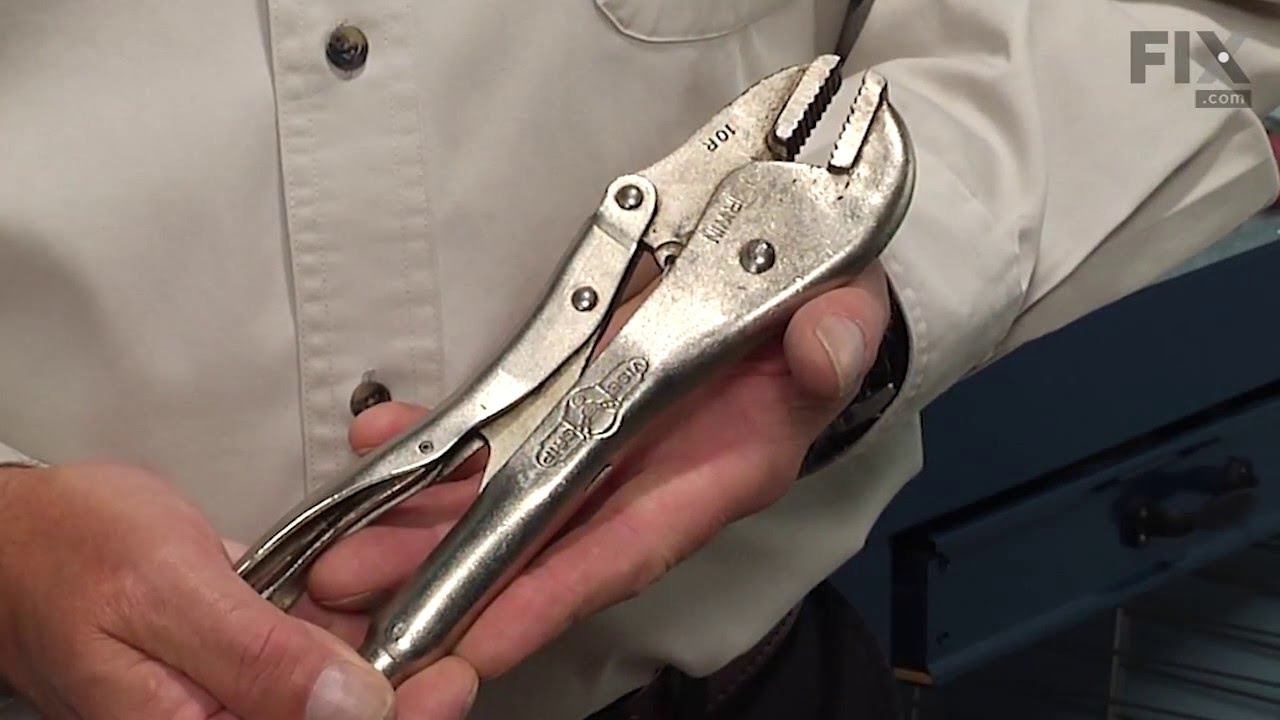


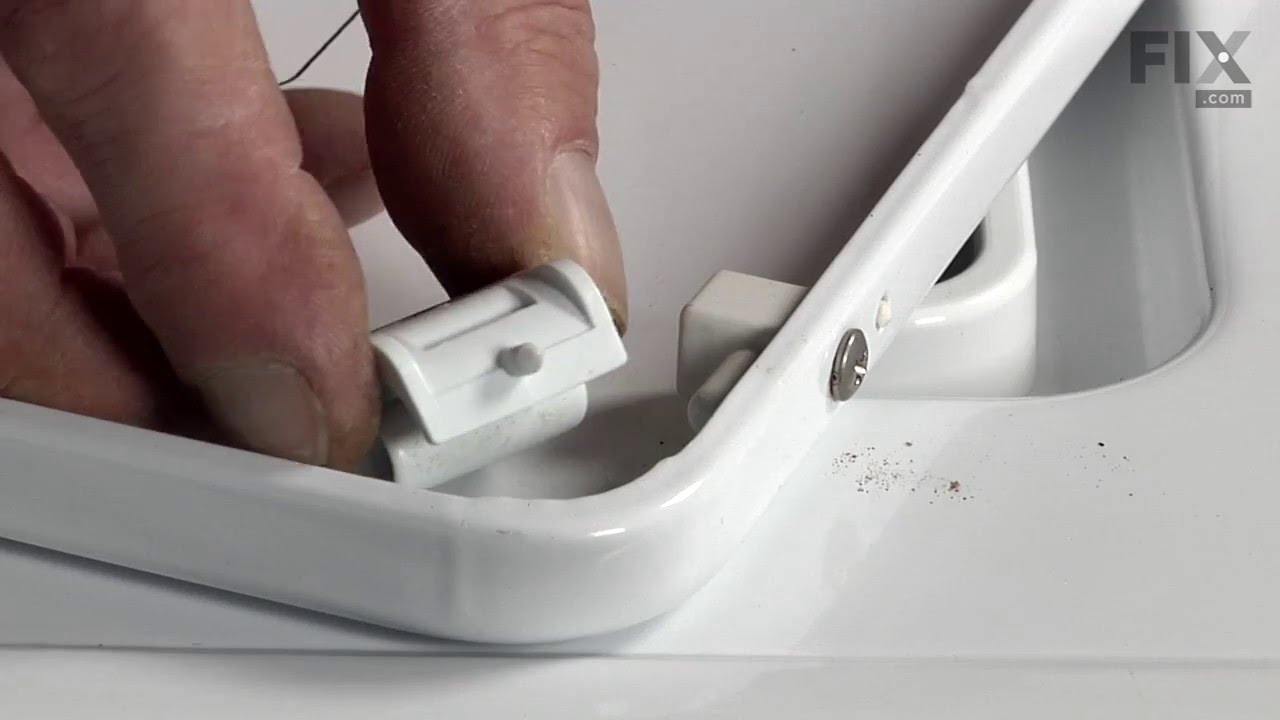
See how others fixed this model. Time, tools, difficulty, and steps that lead to victory!
View More
Search repair tips from other customers using simple keywords like "replace", "fit", "remove", "inspect". DIY doesn't mean you have to do it alone!
Search filter:
Clear Filter
Your search term must have 3 or more characters.
One of the plastic hinge pins brroke
518 of 524 people
found this instruction helpful.
I used a flat screw driver to push in on the releases so I could raise the top of the machine. I then used a torx tool to remove both parts of the hinge, and then used a #2 phillips screw driver, on the new screws I'd also ordered, to re-attach both of the hinge parts. Every thing went just as anticipated.
Other Parts Used:

Was this helpful?
Thank you for voting!
Washer jumping in spin cycle (white flakes under the washer)
291 of 305 people
found this instruction helpful.
Unlug the AC cord,open the top from the front it snaps open with a little force and hinges on the back, remove the 2 screws on the front cover and take it off, tip the washer and remove the belt, take off the pump hose from the back (I removed the back cover also) and the little hose going to the basket. Remove the 6 springs and lift the
... Read more
complete drum out of the waser and turn it upside down. You can see the plastic snubber ring that is worn, loosen the 6 screws just enough to get the old ring out and the new one in. WARNING (DO NOT TAKE THE SCREWS ALL THE WAY OUT OR THE BRAKE ASSEMBLY WILL RELEASE AND A SPECIAL TOOL IS NEEDED TO PUT IT BACK) Install the new ring, tighten the screws and put the tub back in connecting everything back up and use the 6 new springs. It really isn't that hard to do.
Read less
Other Parts Used:
Was this helpful?
Thank you for voting!
Belt wore out
192 of 221 people
found this instruction helpful.
Had to remove pump-not easy. Nothing wrong with pump, but had to trash it to get it off the motor shaft, so I had to replace it, too.
Pop up top of cabinet and remove front panel. (I leaned unit back against a wall to facilitate internal access once panel was removed.)
Remove motor assy - 4 screws & connector ... Read more .
Remove 3 pump screws (torx) and 2 hoses. Pry pump off motor shaft (not easy). I used a heat gun to help expand the plastic fitting on the motor shaft.
Remove old belt, put on new belt. (Do not use automotive belt-this belt is designed to slip because it also spins the tub. The tub will not spin when it's full of water, and the pump will not pump the water if the tub is bogging down the pump. Plus, you will probably overheat the motor.)
Press new pump back on motor shaft (advise not to re-use old pump as seals were probably damaged by removal process.)
Caution: Pressing pump onto motor shaft may cause pump rotor to bind in housing. Try to press it on a little too far so you back off slightly.
Replace pump screws.
Replace motor, giving attention to belt alignment.
Replace motor screws and connector.
Re-attach hoses on pump.
Button up cabinet.
Done.
The hardest part was removing the pump. If not for that, it would have been a 15-min, $20 repair.
Because I felt it wise to replace the pump also, it was a $70 repair.
Pop up top of cabinet and remove front panel. (I leaned unit back against a wall to facilitate internal access once panel was removed.)
Remove motor assy - 4 screws & connector ... Read more .
Remove 3 pump screws (torx) and 2 hoses. Pry pump off motor shaft (not easy). I used a heat gun to help expand the plastic fitting on the motor shaft.
Remove old belt, put on new belt. (Do not use automotive belt-this belt is designed to slip because it also spins the tub. The tub will not spin when it's full of water, and the pump will not pump the water if the tub is bogging down the pump. Plus, you will probably overheat the motor.)
Press new pump back on motor shaft (advise not to re-use old pump as seals were probably damaged by removal process.)
Caution: Pressing pump onto motor shaft may cause pump rotor to bind in housing. Try to press it on a little too far so you back off slightly.
Replace pump screws.
Replace motor, giving attention to belt alignment.
Replace motor screws and connector.
Re-attach hoses on pump.
Button up cabinet.
Done.
The hardest part was removing the pump. If not for that, it would have been a 15-min, $20 repair.
Because I felt it wise to replace the pump also, it was a $70 repair.
Read less
Other Parts Used:

Was this helpful?
Thank you for voting!