


 My Orders




ALW210RAW-PALW210RAW Amana Washer - Overview

Enter a part description. DIY Heroes keep it simple, eg. "belt" or "pump".
Search filter:
Clear Filter
Your search term must have 3 or more characters.

$12.85
In Stock
Retaining Ring
Part #WP23748
The metal retaining ring, which is under an inch long, holds the rear wheels on the axels of the dryer. The main reason why it would need to replaced is if the retaining ring has sprung out of place or is damaged. Some the symptoms could be that your dryer does not tumble, it makes a loud buzzing noise, or if it pumps, but will not spin. ...Read moreThe tools needed for this project are a putty knife, 5/16 nut driver, and snap ring pliers. Refer to the installation video and diagram for further instructions and guidance. Customers ranked this replacement project as easy.
Read less

$7.47
In Stock

$7.47
In Stock

$49.50
In Stock
Spin Belt
Part #WP27001007
This v-shaped spin belt helps transfer power from the motor to the transmission to help pump the water in and out of the washer. It also helps runs the spin cycle in the washer.

$7.47
In Stock
Washer Hose Clamp
Part #WP596669
This hose clamp is used in a wide variety of household appliances. Most often it is found in washers, dishwashers, refrigerators, freezers, dehumidifiers, garbage disposals, or air conditioners. This clamp is used to securely attach a hose to another part of your appliance, which helps prevent leaks from those connections. Depending on th...Read moree appliance, it can attach hoses to drain pumps, water inlet valves, pressure switches, and injector nozzles. We recommend you refer to model-specific diagrams for appropriate uses and exact placement. This hose clamp is made of metal, and is sold individually. To access and replace this part you will need a nut driver, pliers, and screwdrivers. Before you begin any repair work, make sure you have unplugged your appliance, and shut off the water supply if applicable.
Read less

$17.15
In Stock
Adjustable Leveling Leg
Part #22003428
If your washer shakes or vibrates loudly when it reaches its max speed, make sure the 4 levelling legs are even. Adjust the legs so that the machine is level, and tighten the locking nuts on the legs that are threaded. Your washer should be kept as close to the floor as possible. Your model might have rear legs that level themselves, or i...Read moret might have threaded legs all around. Make sure the rubber feet have not worn out. Replace any missing or damaged legs and feet. This genuine OEM replacement part is sold individually, so be sure to order the amount you need.
Read less

$74.08
Special Order
Idler Pulley Shaft
Part #WP56461
This shaft is made to fit the center of the idler pulley wheel of many clothes dryers. It is less than two inches long, and is made of metal.

$53.20
In Stock
Idler Pulley Wheel
Part #WP40045001
This wheel has a center metallic bearing. A dryer's idler pulley wheel serves to help the belt to rotate the drum.

$9.62
On Order
Spring Retaining Clip
Part #WP22001650
This spring retaining clip is just under 1 inch long. The clip is made entirely of metal and is attached to the back wall of the washer, under the console. If your washer is vibrating and louder than usual during the wash cycle, your spring retaining clip could be faulty or damaged. Check the clip for visible damage, wear, and rust. If yo...Read moreu notice any signs of damage, the part should be replaced. Remember to disconnect the power from your washing machine before starting this repair.
Read less

$43.18
In Stock
V-Style Spin and Agitate Belt - 28-3/4 inches long
Part #WP27001006
This v-style spin and agitate belt is 28-3/4 inches long and half of an inch wide. It is all black in color and made entirely of rubber.

$9.62
In Stock
Hose Clamp
Part #WP285655
The hose clamp is used to hold the water hose in place which will prevent the hose from leaking water. Sometimes the clamp may lose its ability to latch on, causing a leaking washer. For the installation, you will need a flat head screw driver to replace the clamp and a drill to access the screws to remove the front of the washer. Be care...Read moreful if you do not have specific clamp pliers as the clamp could fly off. Once the front of the washer has been removed, take a quick look for water damage or any obvious signs of where the leak is coming from. If it is not obvious, run water to test.
Read less

$20.36
Special Order
Affresh Washing Machine Cleaner - 3 pack
Part #W10135699
This washing machine cleaner includes three time-release tablets designed to remove odor-causing residues, grime, and buildup from high-efficiency and top-load washing machines. The tablets work by cleaning the tub, pump, and internal components, helping to eliminate unpleasant smells and maintain optimal performance. Safe for use with se...Read moreptic systems, this cleaner is intended for monthly use?simply place one tablet in an empty washer and run a Normal Cycle with hot water or a Clean Washer Cycle. Regular use can help extend the life of the appliance and ensure fresh, clean laundry results. Always follow the instructions provided for best results.
Read less
Common Symptoms of the ALW210RAW-PALW210RAW
How this model fails, and the parts that fix it.
Noisy
Fixed by
these parts
these parts


Show All
Leaking
Fixed by
these parts
these parts


Show All
Burning smell
Fixed by
these parts
these parts


Show All
Will not agitate
Fixed by
these parts
these parts
Show All
No hot or cold water
Fixed by
these parts
these parts

Show All
Spins slowly
Fixed by
these parts
these parts
Show All
Will not drain
Fixed by
these parts
these parts
Show All
Watch our pros, then fix it yourself.



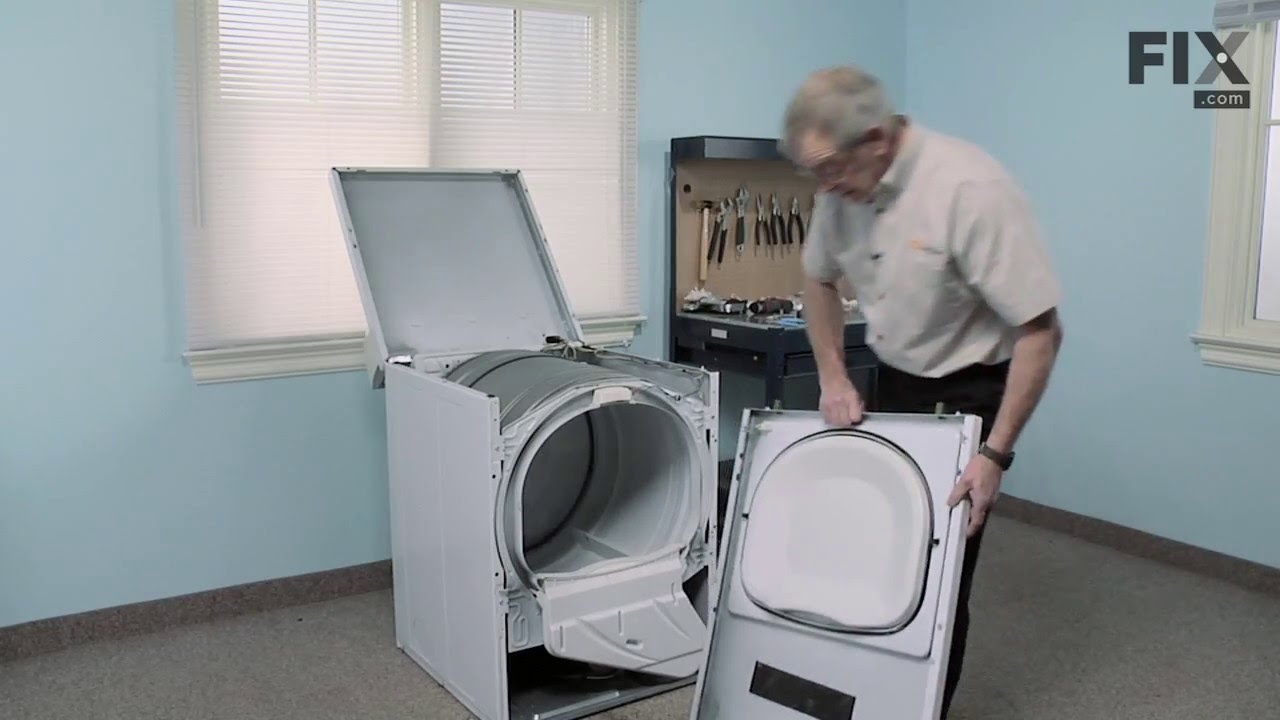
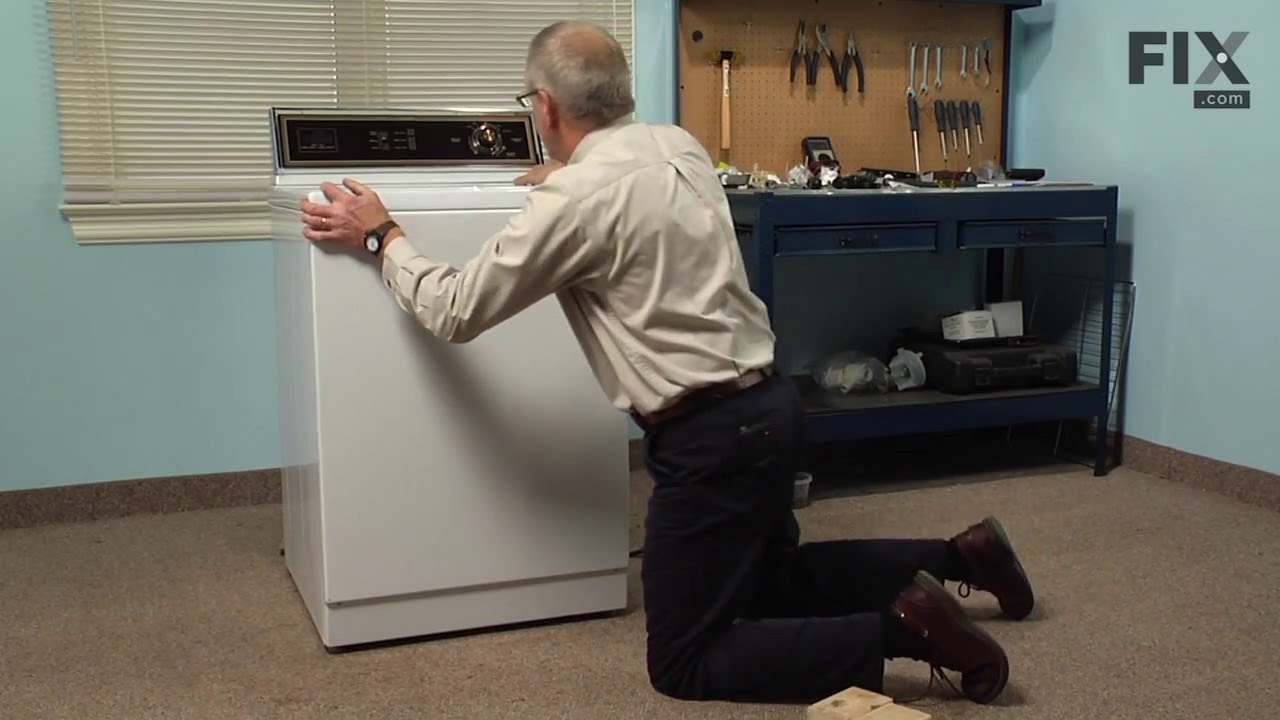
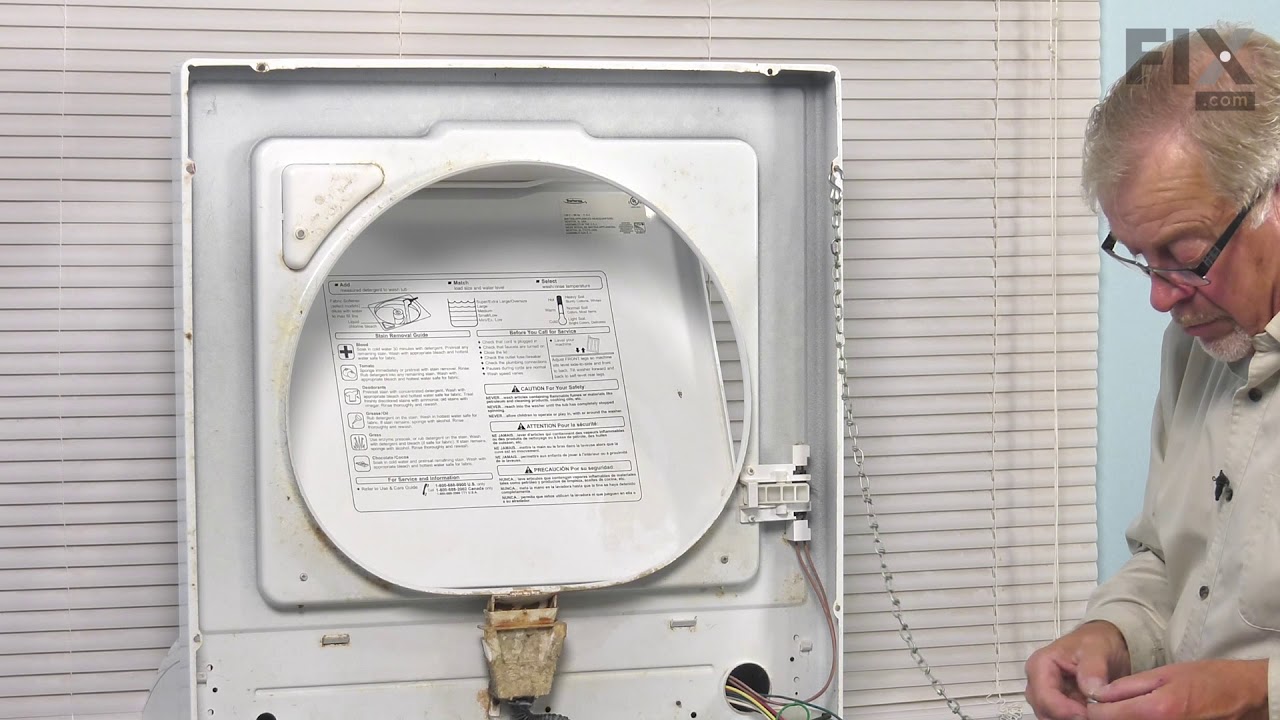
See how others fixed this model. Time, tools, difficulty, and steps that lead to victory!
View More
Search repair tips from other customers using simple keywords like "replace", "fit", "remove", "inspect". DIY doesn't mean you have to do it alone!
Search filter:
Clear Filter
Your search term must have 3 or more characters.
Bad shaking During Spin Cycle
35 of 53 people
found this instruction helpful.
firsted layed washer back On A Angle For Easy Acess To Motor Removed Both Hoses And Four bolts pulled Motor Assembly out replced belt @ idler Pulley Reinstalled Motor.
Other Parts Used:
Was this helpful?
Thank you for voting!