


 My Orders




3704 - Overview
Models starting with 3704
Click on the best match to narrow your results.
- 37041 Murray Lawn Mower (Gas Walk-Behind Mower)
- 37044A MTD Lawn Mower (Gas Walk-Behind Mower)
- 37045A MTD Lawn Mower (MTD Lawn Mower Model 37045A Parts)
- 3704602 (DD24L411) Greenworks Drill
- 37046A MTD Lawn Mower (MTD Lawn Mower Model 37046A Parts)
- 3704702 Greenworks Drill
- 37047A MTD Lawn Mower (Gas Walk-Behind Mower)
- 37048 Murray Lawn Mower (Gas Walk-Behind Mower)
- 37049A MTD Lawn Mower (Gas Walk-Behind Mower)
Enter a part description. DIY Heroes keep it simple, eg. "belt" or "pump".
Search filter:
Clear Filter
Your search term must have 3 or more characters.

$16.99
In Stock
Spring Lever: Front Wheel
Part #94832
The Lever and Knob Assembly (or Front Wheel Height Adjuster) is used to adjust the front height of the mower, and attaches on the front wheels. It can be installed using a socket set and wrench set, and is rated as "easy" to install by our customers. If broken or damaged (likely due to general wear over time) you will no longer be able to...Read more move it to make adjustments, and the part should be replaced. This black, plastic part is sold individually. Refer to your make, model and diagrams to ensure this part fits your machine.
Read less

$6.40
In Stock
Screw, 3/8-24 x 1.50 (w/25mm Blade Adapter)
Part #710-1044
The hex bolt attaches to the washer and the square key. This part is an OEM from Craftsman for use in snowblowers and lawn mowers. It is available as an individual replacement part and is made of metal. If this item becomes broken or stripped it will need to be replaced and may require a socket set during the installation.

$8.98
In Stock
Lawn Mower Pinion
Part #532403849
It is a genuine OEM supplied item which is made for walk-behind lawn mowers. This is a high-quality replacement for a missing or a damaged pinion gear that helps to drive the mower's wheel. Unfortunately, over time due to friction, the teeth on the gear may wear out. If this happens it will no longer engage the wheel and the mower will no...Read moret move. To ensure the exact location and the correct installation of the new part, refer to the diagrams of your specific model. Note, one durable metal pinion is included. You will need a wrench set and pliers to remove the old pinion and secure the new one.
Read less

$26.35
In Stock
Blade Adapter
Part #581547901
This is an OEM replacement part for various models of lawn mowers. This part connects the blade to the shaft, is made of metal, is silver, is not part of a kit or assembly, and is sold individually. It will be found on the shaft of the mower, where the blade attaches.
If your blade can no longer be supported and held on the machine, you ...Read moreshould inspect the Blade Adapter for signs of wear or damage, replacing it if you find any. You will need a socket set and wrench set to complete this repair.
Customers rate this repair as Easy.
Read less

$6.40
In Stock
Hinge Pine
Part #747-0710A
This hinge pin is an OEM part that is designed to hold the chute to the bracket of your lawn mower, allowing the shute to move upward and downward. It is silver, made of metal, and it is around 5 inches in length. Over time, the hinge pin may break, and it will no longer be able to support the chute or allow it to move.
If this occurs, ...Read moreyou will need a pair of needle nose pliers to complete this simple repair, which most of our customers told us was easy. Look for the hinge pin on the chute door and the mounting bracket of your mower deck.
Read less

$48.32
In Stock
Lawn Mower Lower Handle
Part #749-0928A-0637
This is the lower handle for various models of walk-behind lawn mowers. This handle is made of durable black metal and attaches directly to the rear of the lawn mower. This handle is an OEM part that is sold by itself and does not come with any hardware or other parts. If your current lower lawn mower handle is corroded or damaged, it nee...Read moreds to be replaced immediately so you can properly and safely handle your lawn mower. This handle measures approximately 24.5-inches long and 17-inches wide and connects the rear of the lawn mower with the upper and main handle that the user holds when operating the lawn mower. Replacing this handle will not require any tools but must start with turning off the lawn mower. Loosen and remove the knobs around the handle, including the ones connecting the lower handle to the mower and those securing the upper and lower handles. Once each knob is removed, replace the old lower handle with the new one, and resecure • all the knobs onto the handle(s).
Read less

$9.83
In Stock
Nut, Cntr Lck, 3/8-16
Part #703893
This centerlock nut, or lock nut, is sold individually and locks itself in place when inserted, to prevent it from backing out due to vibration. Over time, due to its strenueous job, it may become loose or break due to wear and tear, and will need to be replaced. This lock nut is made of metal and is silver in color. When it will no longe...Read morer lock, you will need to complete this easy repair, which requires a wrench or socket and torque wrench.
Ensure you torque the lock nut to your manufacturer specifications; this nut can have a range of different applications for a variety of equipment, so please check your model number or owners manual to be sure it is the right fit for your model.
Read less

$7.39
In Stock
Lawn Mower Selector Knob Deluxe
Part #532701037
This is a genuine Craftsman selector knob that is specifically made for use with a walk behind lawn mower. This selector knob attaches to the adjustment lever giving the user a comfortable grip when adjusting the mower deck to the desired cutting height. This part is made of a durable plastic and is sold individually.

$7.35
In Stock
Snow Blower Hex Locknut
Part #703251
This hex locknut has a special locking feature to prevent it from loosening due to vibrations or movement. It has a 1/4 inch diameter and a 20 threads-per-inch pitch. You will find it securing various parts of your lawn equipment, such as blade assemblies, engine mounts, or handles. A broken locknut cannot fasten components together tight...Read morely. Replace any damaged locknuts to keep your machine securely assembled and functioning properly. Loosen a locknut from your machine by turning it with a wrench or a socket. This durable metal locknut is an OEM hardware. It is sold individually, so read your user manual to determine how many you will need. Consider getting extras if you are replacing one, as these locknuts tend to wear out together.
Read less

$6.55
In Stock
Shoulder Bolt
Part #710-0703
Used in a variety of models of lawn and garden equipment, this Carriage Bolt is around 1 inch long, made of metal, gold in color, is not part of a kit or assembly, and is sold individually. The purpose of this part is to hold parts in place and is used in a variety of locations.
This part can become loose through regular use and should b...Read moree regularly inspected for fatigue and wear. If the threads become stripped, it will need to be replaced. You will need a wrench or socket set and a torque wrench to complete this repair. Refer to your owner's manual to determine how tight it should be.
Customers rated this repair as Easy.
Read less

$6.74
In Stock
Screw-hex
Part #710-0654A
This is a genuine replacement part manufactured for use with outdoor power equipment. The screw includes a lock washer and is commonly used to secure the motor to the frame. This screw has various applications based on the model of the machine it is used with. The screw is sold as an individual replacement part, please see model diagram for part location and usage.

$6.40
In Stock
Use 710-0726
Part #710-0726
It is an authentic OEM part which is made for use with lawn and garden equipment. This is the special self-tap screw that helps to secure components together. If the hardware is missing or is damaged, this will provide an identical replacement for the original hardware that was installed on a new unit. This high-quality screw is made of d...Read moreurable metal and is sold as an individual item. Refer to the owners manual and the appropriate diagrams for your model to ensure the proper replacement procedure. A wrench will be needed to secure and remove this hex washer head self-tap screw.
Read less
Exact Part matches for your search term

$13.39
Special Order
Watch our pros, then fix it yourself.
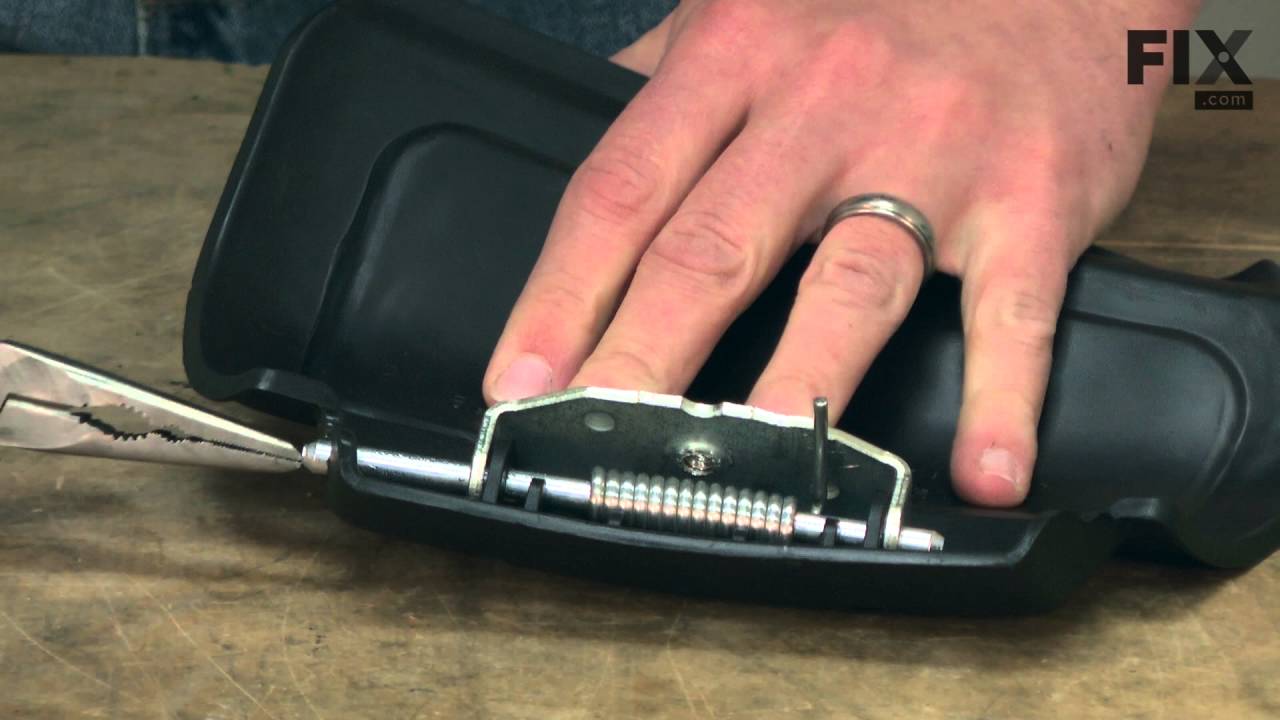
See how others fixed this model. Time, tools, difficulty, and steps that lead to victory!
View More