


 My Orders




37049A MTD Lawn Mower - Overview

Enter a part description. DIY Heroes keep it simple, eg. "belt" or "pump".
Search filter:
Clear Filter
Your search term must have 3 or more characters.

$6.40
In Stock
Hinge Pine
Part #747-0710A
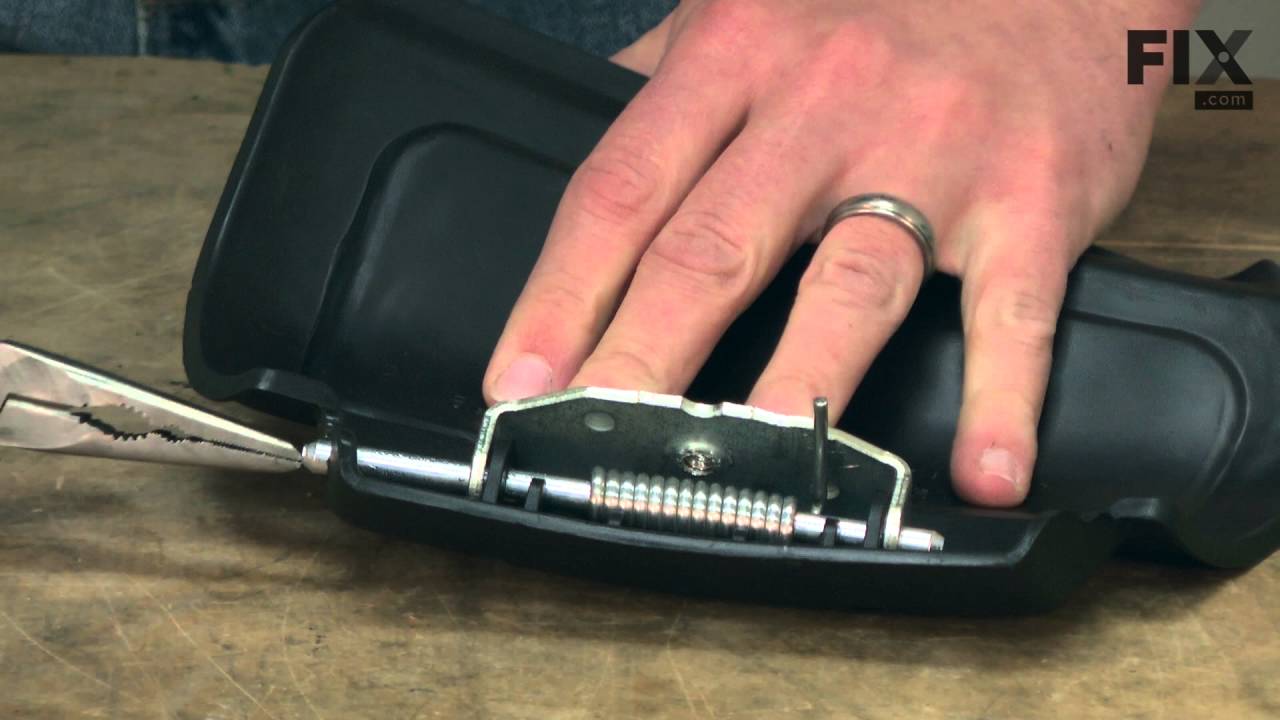
This hinge pin is an OEM part that is designed to hold the chute to the bracket of your lawn mower, allowing the shute to move upward and downward. It is silver, made of metal, and it is around 5 inches in length. Over time, the hinge pin may break, and it will no longer be able to support the chute or allow it to move.
If this occurs, ...Read moreyou will need a pair of needle nose pliers to complete this simple repair, which most of our customers told us was easy. Look for the hinge pin on the chute door and the mounting bracket of your mower deck.
Read less

$48.32
In Stock
Lawn Mower Lower Handle
Part #749-0928A-0637
This is the lower handle for various models of walk-behind lawn mowers. This handle is made of durable black metal and attaches directly to the rear of the lawn mower. This handle is an OEM part that is sold by itself and does not come with any hardware or other parts. If your current lower lawn mower handle is corroded or damaged, it nee...Read moreds to be replaced immediately so you can properly and safely handle your lawn mower. This handle measures approximately 24.5-inches long and 17-inches wide and connects the rear of the lawn mower with the upper and main handle that the user holds when operating the lawn mower. Replacing this handle will not require any tools but must start with turning off the lawn mower. Loosen and remove the knobs around the handle, including the ones connecting the lower handle to the mower and those securing the upper and lower handles. Once each knob is removed, replace the old lower handle with the new one, and resecure • all the knobs onto the handle(s).
Read less

$6.74
In Stock
Screw-hex
Part #710-0654A
This is a genuine replacement part manufactured for use with outdoor power equipment. The screw includes a lock washer and is commonly used to secure the motor to the frame. This screw has various applications based on the model of the machine it is used with. The screw is sold as an individual replacement part, please see model diagram for part location and usage.

$6.40
In Stock
Use 710-0726
Part #710-0726
It is an authentic OEM part which is made for use with lawn and garden equipment. This is the special self-tap screw that helps to secure components together. If the hardware is missing or is damaged, this will provide an identical replacement for the original hardware that was installed on a new unit. This high-quality screw is made of d...Read moreurable metal and is sold as an individual item. Refer to the owners manual and the appropriate diagrams for your model to ensure the proper replacement procedure. A wrench will be needed to secure and remove this hex washer head self-tap screw.
Read less

No Longer Available
Deflector Asm-chut
Part #931-1034B
This discharge chute is a genuine OEM sourced replacement part that is specially made for walk-behind lawn mowers. It is mounted to the side of the mower deck to direct the grass clippings away from the unit. This item includes the durable plastic chute with the metal hinge bracket assembly which is used to secure it to the deck. Please n...Read moreote that the hardware to attached this discharge chute is not included, it is sold separately.
Read less

$65.07
In Stock
Lawn Mower Wheel Kit
Part #753-08093
This item is priced as an individual replacement part. The wheel is made out of plastic. A wrench may be helpful when replacing this item. It may become broken and will need to be replaced. This is an OEM part directly sourced from the manufacturer for use in lawn mowers made by MTD, Yard Machines, Troy-Bilt, Bolens, and Yard Man.

$10.54
Special Order
Ball Bearing
Part #941-0484

$7.68
Special Order
Lawn Mower Flange Lock Nut
Part #912-0431

$31.64
In Stock
Cable-control
Part #946-0553
It is an authentic OEM sourced replacement part which is specially designed for use with walk-behind lawn mowers. This cable is connected to the control handle that is pressed down while running the lawnmower, over time it may wear out or get damaged eventually requiring a replacement. Keep in mind this high-quality rubber insulated compo...Read morenent which is sold individually. Make sure to refer to the appropriate diagrams of your specific model for the correct location and application of this item.
Read less

No Longer Available
Lawn Mower Adapter Plate
Part #17032A

$6.40
In Stock
Lawn Mower Cable Tie
Part #725-0157

$6.98
In Stock
Spring Washer
Part #736-0182
The wave washer goes between the flat washer and the rear wheel. This is an authentic OEM part for trimmers and mowers made by Ryobi, MTD, Yard Machines, Troy-Bilt, Bolens, Yard Man, and Cub Cadet. This item is sold individually and is made of metal. It may require a set of pliers during installation. It may become bent or broken and will need to be replaced.
Watch our pros, then fix it yourself.
See how others fixed this model. Time, tools, difficulty, and steps that lead to victory!
View More