


 My Orders




365S - Overview
Models starting with 365S
Click on the best match to narrow your results.
- 365SP (20134700001-20163899999) Husqvarna Chainsaw (Chainsaw)
- 365SP (20163900001-20172199999) Husqvarna Chainsaw (Chainsaw)
- 365SP (20172200001-20173899999) Husqvarna Chainsaw (Chainsaw)
- 365SP (20173900001-20174299999) Husqvarna Chainsaw (Chainsaw)
- 365SP (20174300001-20180299999) Husqvarna Chainsaw (Chainsaw)
- 365SP (20180300001-20181399999) Husqvarna Chainsaw (Chainsaw)
- 365SP (20181400001-20184799999) Husqvarna Chainsaw (Chainsaw)
- 365SP (20184800001-20193899999) Husqvarna Chainsaw (Chainsaw)
- 365SP (20193900001-current) Husqvarna Chainsaw (Chainsaw)
- 365SPECIAL (19994500001-20020100000) Husqvarna Chainsaw (Chainsaw)
- 365SPECIAL (20020100001-20034400000) Husqvarna Chainsaw (Chainsaw)
- 365SPECIAL (20034400001-20051800000) Husqvarna Chainsaw (Chainsaw)
- 365SPECIAL (20051800001-20070900000) Husqvarna Chainsaw (Chainsaw)
- 365SPECIAL (20070900001-20101800000) Husqvarna Chainsaw (Chainsaw)
- 365SPECIAL (20101800001-20111800000) Husqvarna Chainsaw (Chainsaw)
- 365SPECIAL (20111900001-20135199999) Husqvarna Chainsaw (Chainsaw)
- 365SPECIAL (2005-05) Husqvarna Chainsaw (Husqvarna Chainsaw Model 365SPECIAL/2005-05 (365SPECIAL/200505, 365SPECIAL/2005 05) Parts)
- 365SPECIAL (2003-11) Husqvarna Chainsaw (Husqvarna Chainsaw Model 365SPECIAL/2003-11 (365SPECIAL/200311, 365SPECIAL/2003 11) Parts)
- 365SPECIAL (1999-11) Husqvarna Chainsaw (Husqvarna Chainsaw Model 365SPECIAL/1999-11 (365SPECIAL/199911, 365SPECIAL/1999 11) Parts)
- 365SPECIALEPA (1999-11) Husqvarna Chainsaw (Husqvarna Chainsaw Model 365SPECIALEPA/1999-11 (365SPECIALEPA/199911, 365SPECIALEPA/1999 11) Parts)
- 365SPECIALEPA (2002-01) Husqvarna Chainsaw (Husqvarna Chainsaw Model 365SPECIALEPA/2002-01 (365SPECIALEPA/200201, 365SPECIALEPA/2002 01) Parts)
- 365SPECIALEPA (2007-03) Husqvarna Chainsaw (Husqvarna Chainsaw Model 365SPECIALEPA/2007-03 (365SPECIALEPA/200703, 365SPECIALEPA/2007 03) Parts)
- 365SPECIALEPA (2003-11) Husqvarna Chainsaw (Husqvarna Chainsaw Model 365SPECIALEPA/2003-11 (365SPECIALEPA/200311, 365SPECIALEPA/2003 11) Parts)
- 365SPECIALEPA (2005-05) Husqvarna Chainsaw (Husqvarna Chainsaw Model 365SPECIALEPA/2005-05 (365SPECIALEPA/200505, 365SPECIALEPA/2005 05) Parts)
- 365SPECIALEPA (20034400001-20051800000) Husqvarna Chainsaw (Chainsaw)
- 365SPECIALEPA (20051800001-20070900000) Husqvarna Chainsaw (Chainsaw)
- 365SPECIALEPA (20070900001-20101800000) Husqvarna Chainsaw (Chainsaw)
- 365SPECIALEPA (20101800001-Current) Husqvarna Chainsaw (Chainsaw)
- 365SSR (803081943-903092100) Ryobi Trimmer (Trimmer)
- 365SSR (803081943-002051700) Ryobi Trimmer (Trimmer)
- 365SSR (201043445) Ryobi Trimmer (Trimmer)
- 365SSR (101052251-201043444) Ryobi Trimmer (Trimmer)
- 365SSR (002051701-101052250) Ryobi Trimmer (Trimmer)
Enter a part description. DIY Heroes keep it simple, eg. "belt" or "pump".
Search filter:
Clear Filter
Your search term must have 3 or more characters.

$26.13
In Stock
Petrol Line Assembly
Part #791-682039
This OEM fuel line and filter supply fuel from the tank of your engine to its carburetor. Made of clear plastic and sold individually, the fuel line may end up clogged or cracked, causing fuel to leak as a result of general wear and tear.
The filter may also end up damaged or clogged over time, and shold be replaced regularly as a part ...Read moreof proper engine maintenance. Luckily, this is an easy repair that requires no tools to carry out.
Read less

$35.70
In Stock
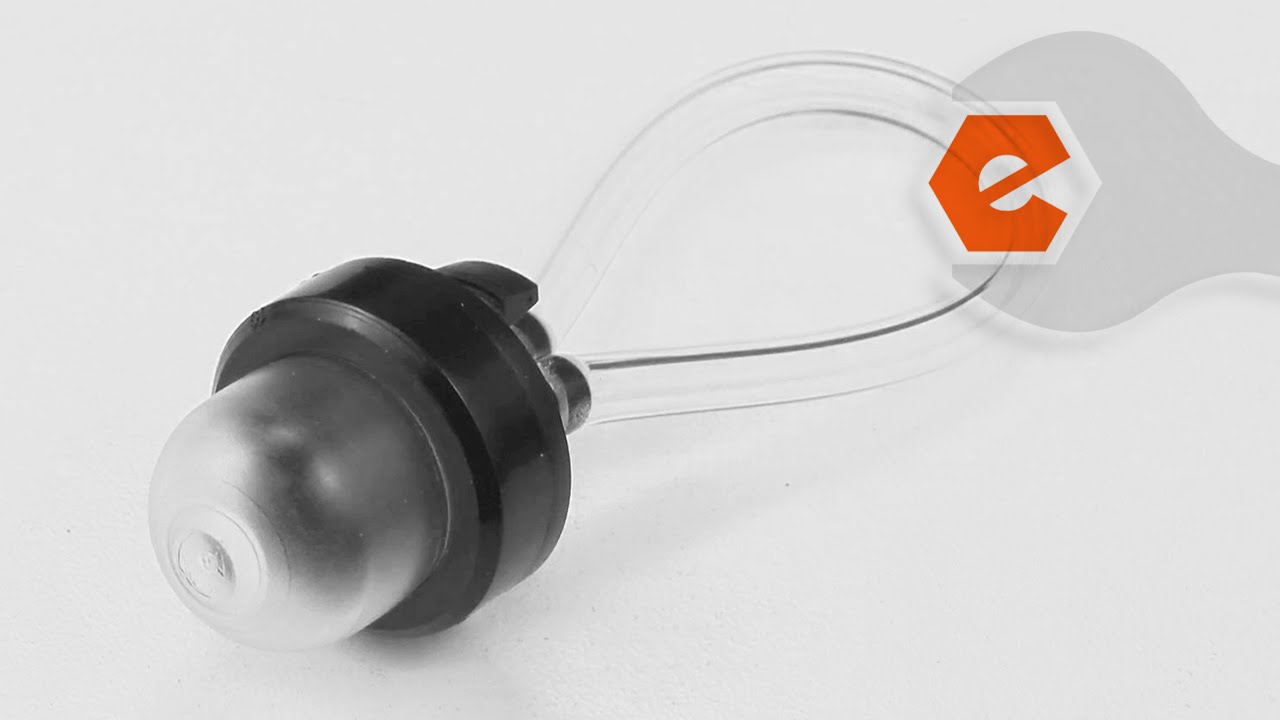
Primer and Hose Assembly
Part #791-683974B
This manufacturer-certified primer and hose assembly includes the primer bulb, the primer bulb housing, and the fuel line. Any or all of the clear plastic parts in this assembly may experience wear and tear over time that cause fuel to leak due to cracking or blockages.
If they are not functioning, these parts will fail in their functio...Read moren of supplying fuel from the tank to the carburetor.
This is an easy repair, which can be made by identifying the location of the parts, between the fuel tank and the carburetor, and reinstalling them with no special tools required. When installing, make sure the fuel lines are tight to prevent leaks and fire hazards.
Read less

$11.28
In Stock
Spark Plug
Part #503235111
Compatible with over 150 models of lawn equipment, this Spark Plug has been sourced directly from the original manufacturer. It is sold individually, made of metal and ceramic components, and is not part of a kit or assembly. The spark plug is used to ignite the air-fuel mixture inside the combustion chamber.
You may need to replace the...Read more Spark Plug if your 1 cylinder engine won't start, or if your more-than-1 cylinder engine runs rough. Spark Plugs will wear over time and should be inspected regularly.
Customers rate this repair as Easy.
Read less

$20.32
In Stock
Spark Plug
Part #791-610311B
This Spark Plug is inserted into the cylinder head and is rated as "Easy" to install. The spark plug ignites the air fuel mixture inside the combustion chamber. If the part doesn't work, or is missing then the engine will not start and the spark plug must be replaced. This part should also be replaced annually as a part of proper engine maintenance. Tip: Gap to manufacturer's specs before installing.

$16.96
In Stock
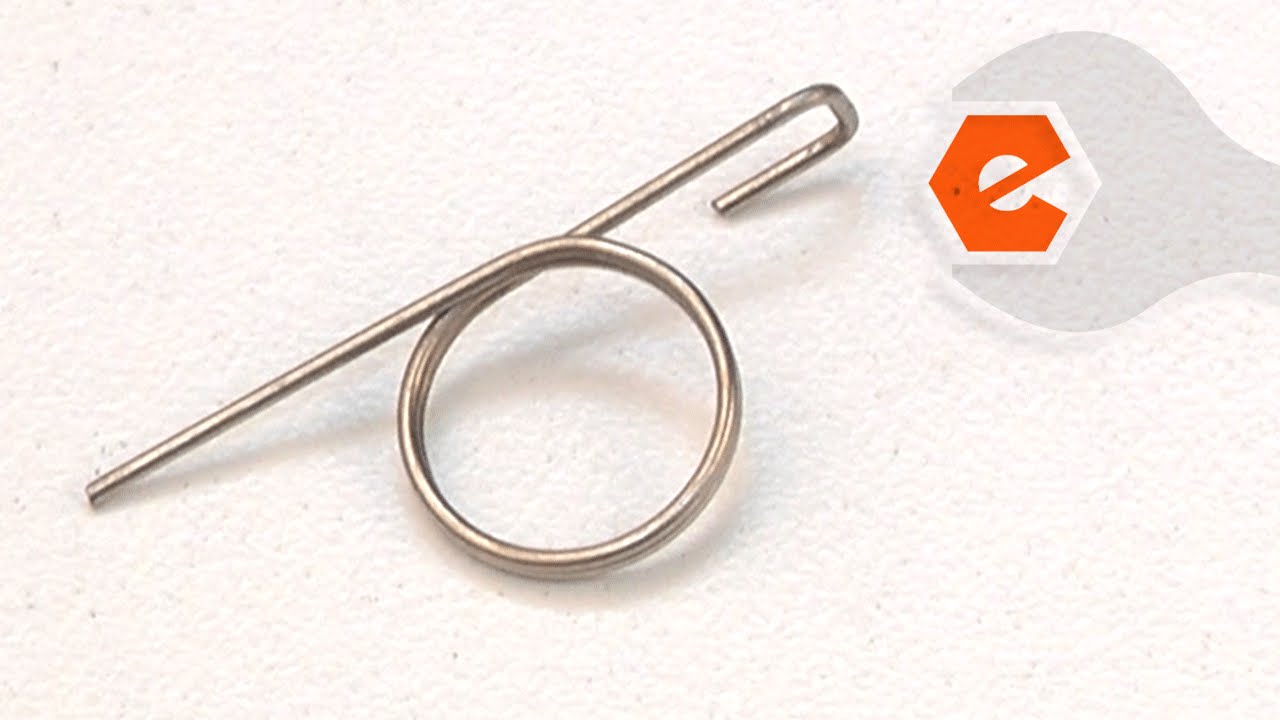
Spring-spool
Part #791-610317B
Genuine OEM replacement part, this item is sold individually. This spring is used on all of the trimmers listed below. It is installed between the inner reel and the outer spool assembly. Its purpose is to keep pressure on the Bump Head Knob Assembly.

$30.75
In Stock
Screw
Part #503203419
This is a genuine manufacturer approved replacement part designed for use with chainsaws. It is used to secure starter housing to the unit. This is a metal phillips head screw which is sold individually.

$7.68
In Stock
Retainer
Part #791-610660
This retainer clip is a metal piece used to secure components and provide stability inside trimmers. It is an authentic manufacturer replacement clip which is positioned on the trimmer hub and designed to hold the spool in position during use. If the retaining clip is worn down or broken, the trimmer head and outer spool will come loose a...Read morend may slip off the shaft, the trimmer line will tangle and jam, and the trimmer may experience reduced power. You will need a small screwdriver and set of pliers to remove the faulty clip, and a retainer ring tool to lock the new one in position. This part is sold individually.
Read less

$13.15
In Stock
Chainsaw Fuel Filter
Part #591375401
This is a genuine Husqvarna replacement part, it is sold individually. The Fuel Filter is inside of the fuel tank. Its purpose is to filter out dirt and other debris from contaminating the carburetor. It will at sometime become clogged and restrict the fuel getting to the carburetor,and will have to be replaced. We do have an article an...Read mored video on How to Replace the Fuel Filters in Your Outdoor Power Equipment.. You can see this by going to the front page of our site and clicking on Repair Center.
Read less

$6.72
In Stock
Trimmer Nut
Part #731231401
This is a genuine manufacturer-sourced replacement part which is specially designed for use with Husqvarna lawn and garden equipment. It is an identical replacement for a missing or damaged hexagon nut that was installed on a new unit. This is a standard hardware which has multiple applications, please make sure to refer to the appropriat...Read moree diagrams of your model for the correct location and application of this component. Keep in mind this high-quality nut is made of durable metal and is sold individually.
Read less
$24.16
In Stock
Gasket:crcase Cvr:ep
Part #753-1208
This is an original part from Craftsman for use with Trimmers and Cultivators. The carburetor mount gasket seals the space between the carburetor mount and the engine. The most common reasons for replacing the carburetor mount gasket is if there is oil leaking from the crankcase, the crankcase gasket is missing or damaged or any time the ...Read morecrankcase cover is removed. This part is sold individually. The tools that you will need to replace the carburetor mount gasket is a receptacle for draining fuel, Phillip's / Torx drivers, long-nosed pliers and a razor blade.
Read less

$7.65
In Stock
Trimmer Check Valve
Part #530026119
This check valve, also known as a one-way valve, is a genuine OEM part that regulates the flow of fuel/oil in the equipment engine to prevent it from flowing backwards. It is made of plastic and designed for use in a variety of lawn and garden power equipment. If the valve is jammed, worn down, or contaminated with dirt and debris, it wil...Read morel be unable to open and close properly, thus restricting the flow of fuel and compromising the engine combustion process. You will likely notice fuel leaks around the carburetor, engine stalling, hard starting, and overall lower performance from your equipment. To remove the faulty valve, carefully disconnect any hoses or fasteners connected to it. Place the new valve in position and secure it appropriately.
Read less

$12.05
In Stock
Rim Sprocket
Part #640200214
This authentic OEM rim sprocket in your chainsaw transfers power from the engine to the cutting chain. It is typically located at the center of the clutch drum, situated at the end of the engine crankshaft. By engaging with the chain drive links, it enables the chain to rotate and cut through materials as the engine turns. You will notice...Read more that if the rim sprocket is broken that the chain slips, does not engage, or rotates unevenly. It may also reveal signs of wear such as worn-out teeth. Failure to replace a broken rim sprocket can result in reduced cutting power, chain damage, and increased strain on the engine. To remove the rim sprocket, first, loosen the chain tension by adjusting the tensioning screw or knob. Then, remove the guide bar by loosening the nuts or clips on the side cover and sliding the guide bar off the saw. Use a screwdriver or appropriate tool to remove the screws or fasteners securing the clutch cover. With the clutch cover removed, you can access the clutch drum. Hold the drum in place and turn the retaining bolt counterclockwise to loosen it. Carefully slide off the clutch drum. This replacement part is sold individually.
Read less
Common Symptoms of models starting with 365S
How this model fails, and the parts that fix it.


Watch our pros, then fix it yourself.



See how others fixed this model. Time, tools, difficulty, and steps that lead to victory!
View More