


 My Orders




3420 - Overview
Models starting with 3420
Click on the best match to narrow your results.
- 3420 (E00000001-E99999999 - 1986) Lawn Boy Lawn Mower (Lawnmower)
- 3420-24 Husqvarna Lawn Mower (Husqvarna Lawn Mower Model 3420-24 (342024, 3420 24) Parts)
- 3420-24 (1992) Husqvarna Lawn Tractor (Tractor)
- 3420-34 (1993) Husqvarna Lawn Tractor (Tractor)
- 3420-34 Husqvarna Lawn Mower (Husqvarna Lawn Mower Model 3420-34 (342034, 3420 34) Parts)
- 3420-44 (1994) Husqvarna Lawn Tractor (Tractor)
- 3420-44 Husqvarna Lawn Mower (Husqvarna Lawn Mower Model 3420-44 (342044, 3420 44) Parts)
- 3420-54 (1995) Husqvarna Lawn Tractor (Tractor)
- 3420-54 Husqvarna Lawn Mower (Husqvarna Lawn Mower Model 3420-54 (342054, 3420 54) Parts)
- 3420-64 Husqvarna Lawn Mower (Husqvarna Lawn Mower Model 3420-64 (342064, 3420 64) Parts)
- 3420-64 (1996) Husqvarna Lawn Tractor (Tractor)
- 3420-74 (1997) Husqvarna Lawn Tractor (Tractor)
- 3420-74 Husqvarna Lawn Mower (Husqvarna Lawn Mower Model 3420-74 (342074, 3420 74) Parts)
- 3420-74A (1997) Husqvarna Lawn Tractor (Tractor)
- 3420-74A Husqvarna Lawn Mower (Husqvarna Lawn Mower Model 3420-74A (342074A, 3420 74A) Parts)
- 3420-74B Husqvarna Lawn Mower (Husqvarna Lawn Mower Model 3420-74B (342074B, 3420 74B) Parts)
- 3420-74B (1997) Husqvarna Lawn Tractor (Tractor)
- 3420-84 (1998) Husqvarna Lawn Tractor (Tractor)
- 3420-84 Husqvarna Lawn Mower (Husqvarna Lawn Mower Model 3420-84 (342084, 3420 84) Parts)
- 34200 General Electric Refrigerator
- 34201 General Electric Refrigerator
- 342054 (2006-03) Poulan Lawn Mower (Lawn Tractor)
- 342064 (2006-06) Poulan Lawn Mower (Lawn Tractor)
- 342074 (2006-10) Poulan Lawn Tractor (Lawn Tractor)
- 342074A (2006-10) Poulan Lawn Tractor (Lawn Tractor)
- 342074B (2006-10) Poulan Lawn Tractor (Lawn Tractor)
- 34208 General Electric Refrigerator
- 342084 (2007-01) Poulan Lawn Mower (Lawn Tractor)
- 34209 General Electric Refrigerator
Enter a part description. DIY Heroes keep it simple, eg. "belt" or "pump".
Search filter:
Clear Filter
Your search term must have 3 or more characters.

$21.95
In Stock
Light Bulb - 40W
Part #40A15
This 40-Watt light bulb is sold individually.
It is specially designed to withstand extreme temperatures, so this bulb is compatible with a variety of appliance types including refrigerators, ranges, microwaves, and dryers. It features a frosted glass bulb with a standard metal socket base, which allows you to easily unscrew the burnt-out light and twist the new bulb into place.

$61.39
In Stock
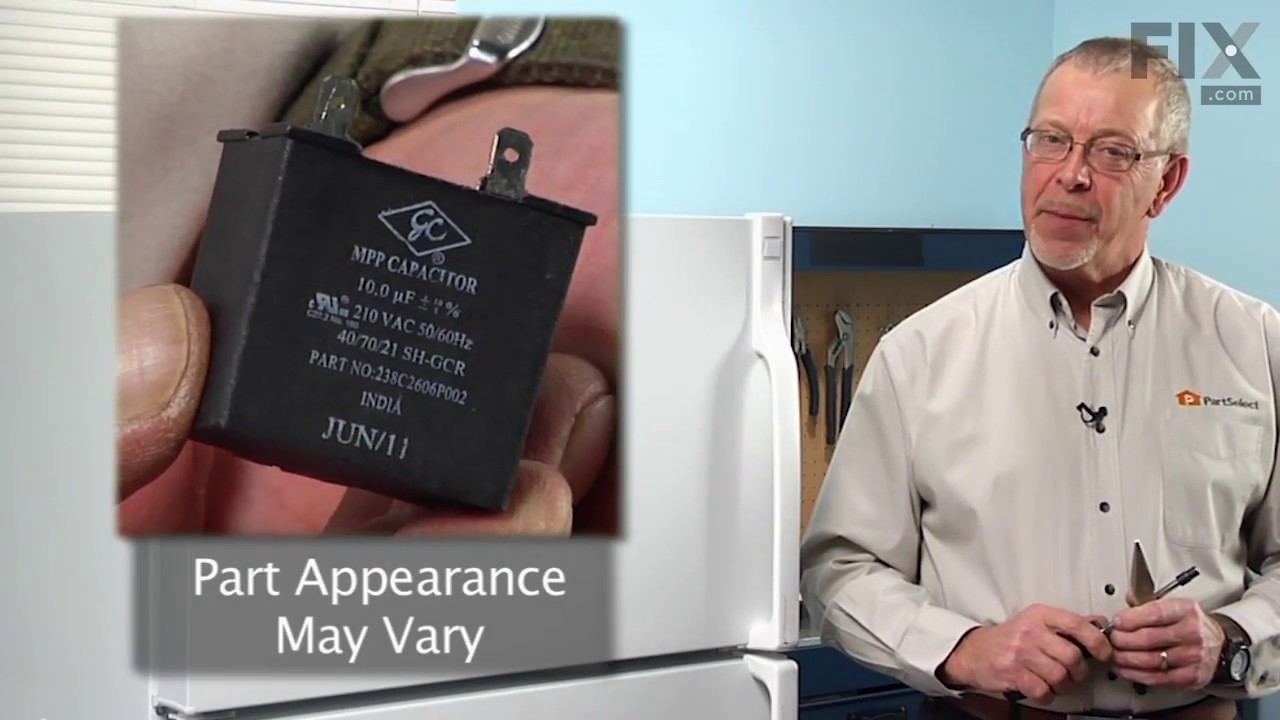
Run Capacitor
Part #WR55X24064
Support steady compressor operation with this refrigerator run capacitor. It provides the electrical phase shift needed for the compressor motor to run properly as the cooling system operates. A failing capacitor may contribute to humming, difficulty starting, interrupted compressor operation, or rising compartment temperatures. Visible s...Read morewelling, leaking, or burned terminals may also indicate damage. Unplug the refrigerator before accessing the component. Capacitors can retain an electrical charge after power is disconnected, so follow approved discharge procedures and avoid touching or shorting the terminals. Record the wire positions before replacement. This is an OEM part sourced directly from the manufacturer.
Read less

$23.16
In Stock
Light Socket
Part #WR2X9391
This part is a replacement light socket for your refrigerator. It connects to the power source, and holds the light bulb. If the light in your refrigerator is not working, you could have a faulty socket. It is important to determine if the light bulb is simply burned out, or if the socket is causing the issue. Be sure to disconnect your r...Read moreefrigerator from the power source before you begin this repair. This socket is black in color and is sold individually. This is an OEM part sourced directly from the manufacturer.
Read less

$11.85
In Stock
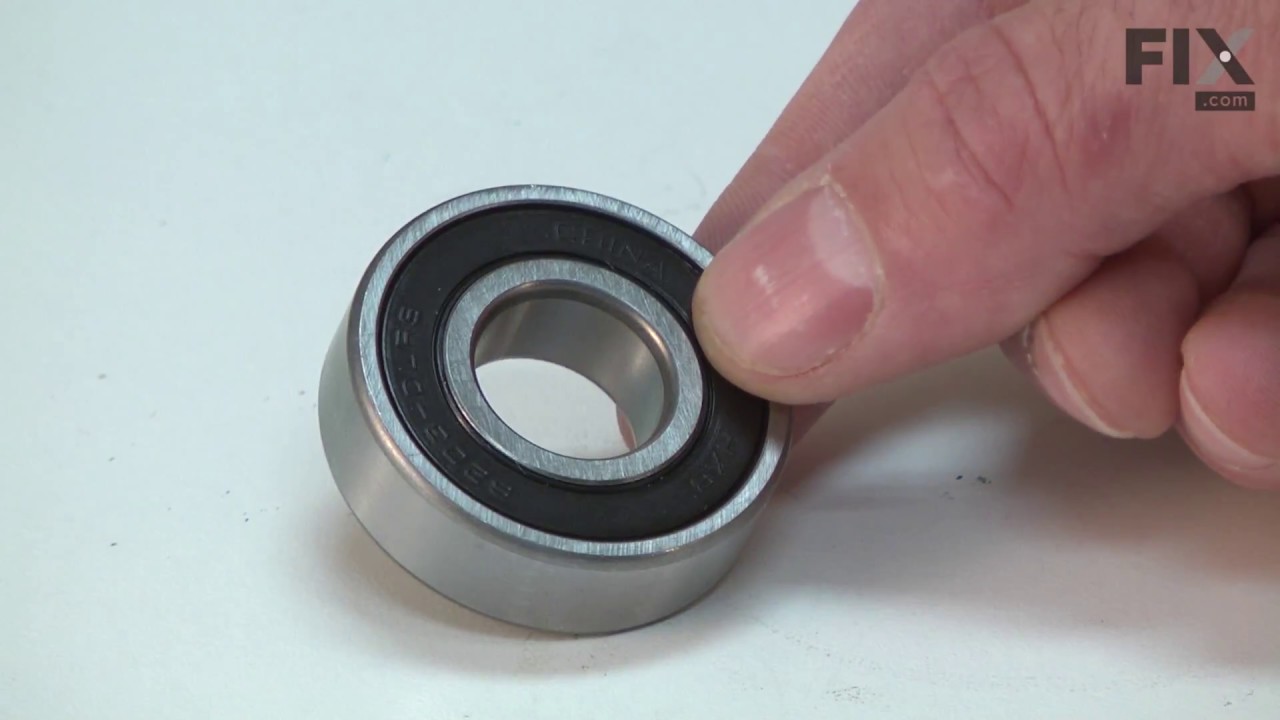
Lawn Mower Flange Wheel Bearing
Part #532009040
The OEM bearing, also known as the flange bearing, is silver, made of metal, and sold individually. It is used on riding mowers to secure the wheel in place and allow it to rotate freely on the shaft. Over time, the part may become worn and damaged, which you will notice if you experience a squealing or grinding sound from the wheel in qu...Read moreestion, or you notice the wheel is sloppy on the shaft.
You will need a hammer and punch to complete this repair, which most of our customers rated as easy. Make sure you tap the new bearing into place evenly inside the tire rim.
Read less

$6.72
In Stock
Lawn Mower Ring Clip
Part #812000029
The Ring Klip Number T5304-75, also known simply as a ring clip, is an OEM part designed to secure your mower wheel to its axle.
This part is black, made of metal, and around an inch in length. It is sold individually and may become damaged over time due to wear and fatigue.

$6.72
On Order
Lawn Mower Washer
Part #532121749
This OEM washer, also known as a flat washer, has dimensions of 25/32 x 1-1/4. Silver in color and metal, the washer is sold individually. Although this part can have a range of applications depending on the equipment, its general function is to spread the load under a bolt. Ensure you consult your owners manual or check your model number...Read more to confirm this is the washer you need for your equipment.
This part will need to be replaced when your existing one is worn or damaged. It is an easy repair according to our customers, and does not require any special tools.
Read less

$41.70
In Stock
Refrigerator Defrost Timer
Part #WR9X483
This refrigerator defrost timer will cycle for thirty minutes after every ten hours of run time.

$6.72
In Stock
Cap Axle Black 1 50 x 1 00
Part #532104757
This genuine black cap axle, also sometimes known as the dust cap, is around 2 inches in diamater and sold individually. Comprised of plastic, it is designed to keep debris out of the hub and axle of your lawn mower or garden tractor. Over time, your dust cap may become damaged or lost due to wear and tear. If this happens, dirt and debri...Read mores can freely enter the axle and hub, causing damage.
This is an easy repair to make and does not require any tools. Just look for the cap axle on the rim of the wheel to make your repair.
Read less

No Longer Available
Relay PTCR - 3 Wire
Part #WR07X10055
Also known as the Start Relay. The start relay briefly boosts the compressor, and then shuts off as soon as the motor gets up to speed.

$6.72
In Stock
Lawn Mower Hairpin Clip
Part #532003146
This hairpin clip, also known as a cotter pin, is a genuine OEM sourced part used to secure rotating components together in various outdoor power equipment. It is made of steel and is approximately 1.5 inches long. The clip acts as a fastener to prevent the moving parts from loosening and falling off during usage. The clip is vulnerable t...Read moreo corrosion and general wear over time. However, it can also fail prematurely due to overloading and excessive stress. A damaged hairpin clip will result in misalignment of parts, accidental disassembly, increased friction and wear, and potential harm to the user. Remove the faulty pin and align the new one with the insertion points. Ensure that the pin is securely fitted in its appropriate slot and compress the ends to prevent it from dislodging.
Read less

$18.65
In Stock
Mandrel Ball Bearing
Part #532110485
Genuine Husqvarna replacement part, this item is sold individually. This bearing is installed on top of the shaft which is encased in the mandrel assembly. The mandrel assembly is bolted to the mower deck. The shaft of the mandrel assembly is what the blade on all of the riding mowers listed below is attached to.

$72.30
In Stock
Lawn Mower Mandrel Assembly
Part #532130794
This is a genuine replacement part sourced directly from the original manufacturer. This assembly consists of metal parts and it is sold individually. This is the part that houses shaft that mower blade attaches to, it is mounted to the deck of the mower by three (3) bolts (sold separately). Please note that the mounting holes on mandrel...Read more housing are not threaded. Bolts that are used to secure the mandrel to the deck are self tapping. When doing this repair you would need a set of wrenches. • First remove the blade from the mandrel shaft • Remove the three (3) screws that are holding mandrel to the Deck • Then, you will need to remove the nut that is attached to the mandrel shaft, which is located above the mandrel pulley. The complete mandrel assembly should come right out now. • Attach the new mandrel assembly back to the deck • Attach and secure pulleys, belts and blades
Read less
Exact Part matches for your search term

No Longer Available
No Longer Available
Common Symptoms of models starting with 3420
How this model fails, and the parts that fix it.
Will Not Start
Fixed by
these parts
these parts


Show All
Light not working
Fixed by
these parts
these parts

Show All
Fridge too warm
Fixed by
these parts
these parts

Show All
Freezer section too warm
Fixed by
these parts
these parts
Show All
Fridge and Freezer are too warm
Fixed by
these parts
these parts
Show All
Clicking sound
Fixed by
these parts
these parts
Show All
Too warm
Fixed by
these parts
these parts
Show All
Noisy
Fixed by
these parts
these parts
Show All
Fridge runs too long
Fixed by
these parts
these parts
Show All
Freezer not defrosting
Fixed by
these parts
these parts
Show All
Drive system does not work
Fixed by
these parts
these parts

Show All
Watch our pros, then fix it yourself.
See how others fixed this model. Time, tools, difficulty, and steps that lead to victory!
View More
Search repair tips from other customers using simple keywords like "replace", "fit", "remove", "inspect". DIY doesn't mean you have to do it alone!
Search filter:
Clear Filter
Your search term must have 3 or more characters.
No power to the fan and compressor
222 of 302 people
found this instruction helpful.
I have a fridge in my garage. I have found that a glass of ice water or a cold drink outside is very important to me. When I discovered melting ice dripping onto the garage floor I was very upset. I spun the fridge and found that the compressor and fan weren't starting. I got out my multi-meter and discovered that power was not makin
... Read more
g it to these components. I did some research and found the wiring diagram online. There really isn't too much going on with a fridge and the most likely candidate seemed to be the run capacitor. I ordered the part, replaced it in a few minutes and the fridge began working again.
Read less
Other Parts Used:


Was this helpful?
Thank you for voting!