This ice maker (Ice Maker Assembly, Refrigerator Ice Maker) produces ice cubes that are ejected into the storage bucket. It is located in the freezer section of your appliance, mounted on the freezer wall. The ice maker can break from normal wear and accidental damage. If this happens, your refrigerator may no longer make ice cubes, or ma...Read morey not make enough cubes, and the part should be replaced. This model measures approximately 11 inches long and 5 inches wide. It’s constructed of plastic and metal, and comes in black/white/silver. This assembly includes the ice mold and the control device.
This is a center crisper rail for your refrigerator. This part acts as a support rail for the crisper drawer by holding the center of the crisper frame. You will need to replace this part is if your current drawer is not opening or closing properly. This crisper rail is white and it is made entirely of plastic. It is roughly 13.5 inches long, and 2.5 inches wide. This is an easy repair which requires no tools.
This capacitor (Refrigerator and Freezer Compressor Run Capacitor, Run Capacitor) provides the voltage or energy current required to start the compressor and keep it running. It allows the compressor in your appliance to easily cycle on and off. This capacitor mounts directly onto the compressor starting relay. If the capacitor is faulty ...Read morethe compressor may get unusually hot and draw excessive amperage. It the compressor overheats, it may fail to run until it cools down again. The compressor may also get noisy from overheating. If this part is totally electrically open, it is defective (often due to overheating) and needs to be replaced. The part measures 1 inch by 1-1/2 inches, and is constructed of plastic with two metal wire terminals. This item includes 1 capacitor, sold individually. This part comes in black.
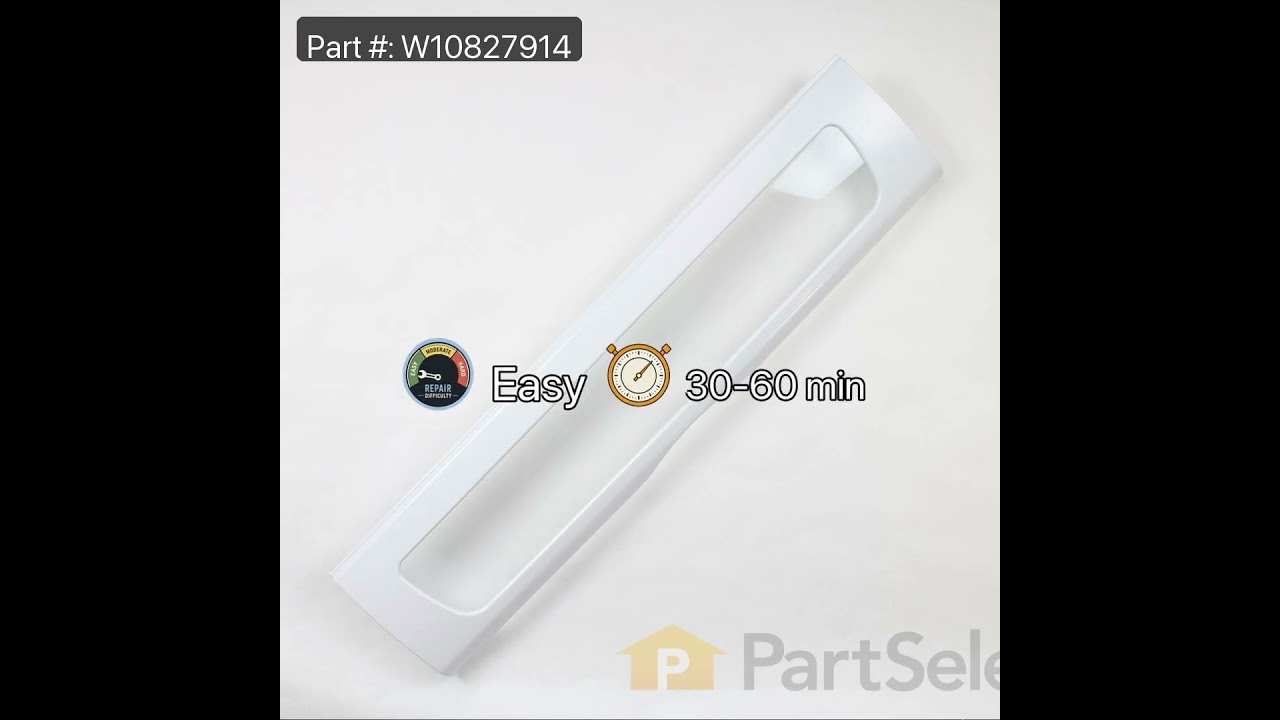
This is an OEM front cover for the pantry door of various refrigerator models. This cover is designed as a door that can cover the pantry compartment within your refrigerator and provide a transparent view of what is inside it. If this door is cracked, moldy, or missing, it needs to be replaced. This pantry door is made of durable white p...Read morelastic and features a transparent window in the middle. This measures approximately 28.5 inches wide and 6.75 inches deep, and can be replaced by simply dislodging its securing tabs on the left and right side, and then inserting the new one into those same tabs. This pantry drawer cover is sold individually.
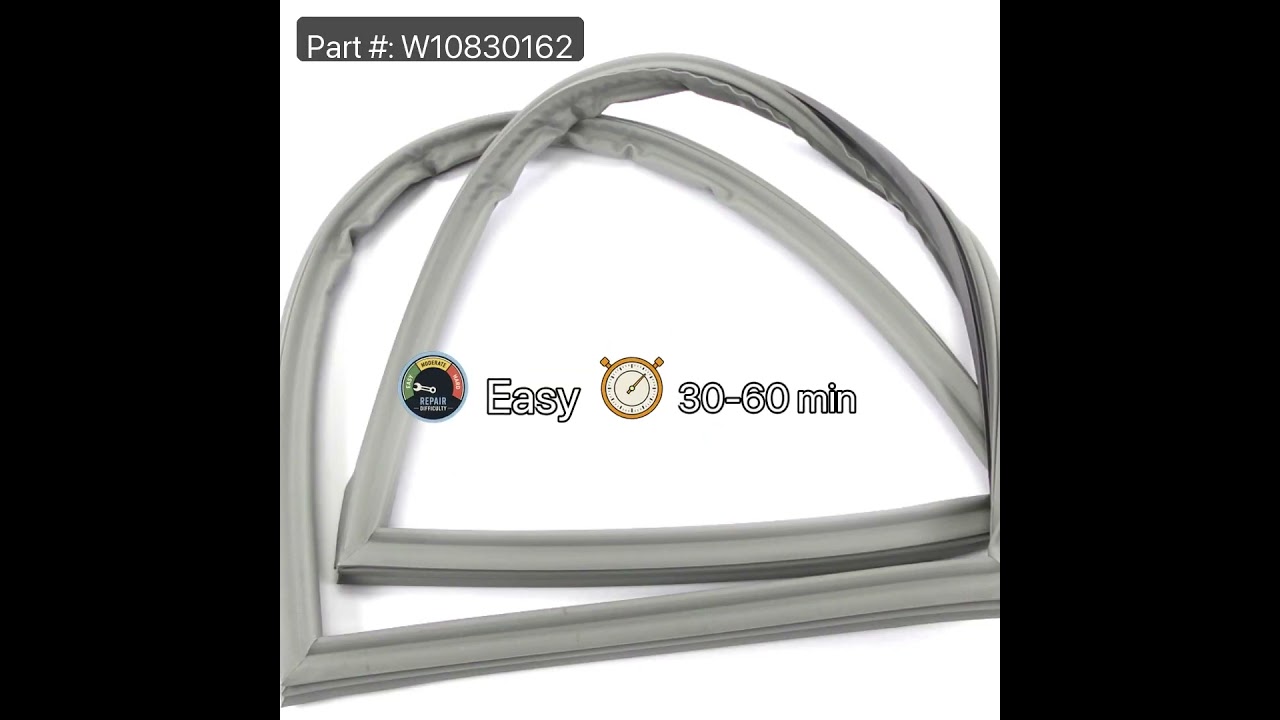
This refrigerator door gasket is designed to create an airtight seal when the door is closed, helping maintain consistent internal temperatures and energy efficiency. Constructed in gray and equipped with magnets along all sides, it ensures a secure closure that prevents warm air from entering and cold air from escaping. Over time, the ga...Read moresket may become cracked or lose its sealing ability, leading to symptoms such as condensation on the door or difficulty opening and closing. Replacement is recommended if these issues occur, and installation typically involves removing the old gasket and pressing the new one into the designated groove around the door frame. Proper sealing is essential for optimal appliance performance and food preservation.
The p-trap drain tube kit may also be known as the duck bill, or the drain pipe, and it is compatible with your refrigerator. The function of the p-trap drain kit is to carry the water that has formed during the defrost cycle to the bottom of the refrigerator, where your drain pan is located. The tools you will need for this repair includ...Read moree a 1/4-inch nut driver and a small flat-blade screwdriver. To do this repair you will need to pull the refrigerator forward in order to reach the lower access panel at the back. This kit includes the tube extension piece and spacer.
This touch-up paint can be used on a wide variety of household appliances. It is most often used on washers, dryer, refrigerators, dishwashers, ranges, freezers, trash compactors, or microwaves. It is an 18 ml, or.6 fluid ounces, bottle of touch-up paint. It also features a brush for easy application. This quick-drying, long-lasting paint...Read more is perfect for fixing any nicks, scratches, or chips on the exterior of your appliance. This paint is white in color, and provides a durable finish.
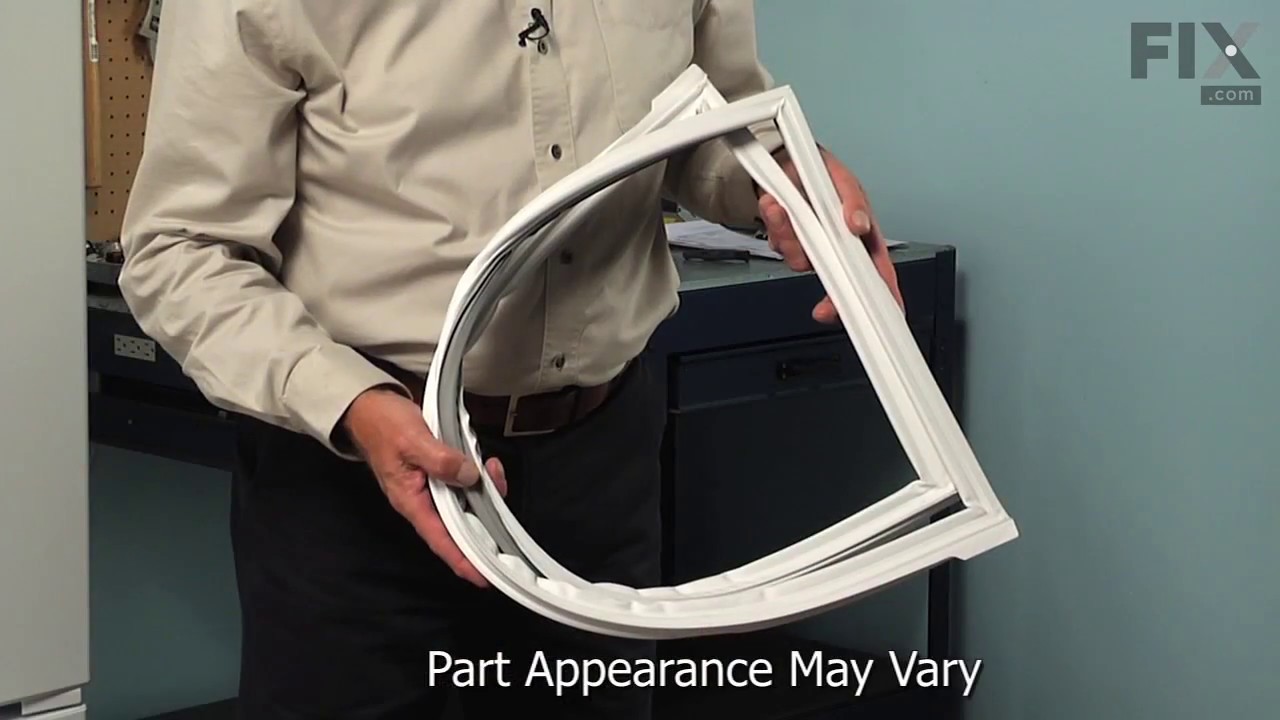
This refrigerator door gasket is a genuine OEM replacement part designed for the fresh food compartment of select Whirlpool, Maytag, KitchenAid, Amana, and other compatible models. Finished in white, it forms a tight, airtight seal between the door and the cabinet, preventing warm air from entering and helping maintain consistent internal...Read more temperatures. Made from high-quality rubber or flexible material, it supports energy efficiency and reduces strain on the cooling system. Installation is straightforward—simply press the gasket into the groove on the inner door panel. Replacing a worn or damaged seal can resolve issues such as temperature fluctuations, increased energy use, and water leaks. Compatibility should be confirmed using your refrigerator’s model number.
If your refrigerator or freezer is too warm, or making noises, you may need to replace the fan blade. The fan blade attaches to the evaporator motor, which is in the freezer section, to help circulate the cold air into the refrigerator and freezer sections. The fan blade is white in color and made from plastic. This is a genuine OEM part...Read more. Please be sure to disconnect the power to your refrigerator before starting your repair.
This is an ice maker mold and heater assembly for a refrigerator ice maker. It is used with modular style icemakers and is located in the freezer section of the refrigerator. This ice mold is flake resistant which prevents the coating on the mold from flaking into the ice cubes when the ice mold begins to wear. The ice mold forms the ice ...Read morecubes and the heater allows the ice cubes to fall from the ice mold to drop them into the ice bucket. You will need to remove the ice maker from the refrigerator to access the mold and heater assembly. This is a genuine replacement part.
Ask our experts a question about this model and we'll get back to you as soon as possible!
We may have answered a similar question already! Search questions and answers left by others using simple keywords like "fit", "broken", "easy", or "quality" to find questions that match.
Search filter:
Clear Filter
Your search term must have 3 or more characters.
Sort by:
Prev
1
Next
Sorry, we couldn't find any existing answers that matched.Try using some different or simpler keywords, or submit your new question by using the "Ask a Question" button above!
Issic - For model number 10672002010
September 21, 2022
Water leaking to ice storage
Hello Issic, Thank you for your inquiry. If water is leaking out of the ice maker into the ice bin, we would recommend checking the following parts to fix your issue: the ice maker, the cycling thermostat, and the water inlet valve. You can test the cycling thermostat and valve with a multimeter. We have included a link to our video on how to use a multimeter and also our video on how to test the ice maker and multimeter: https://www.youtube.com/watch?v=TXIAwE2uMVE We hope this helps and if you need assistance with placing an order, please give us a call. We look forward to hearing from you.
Push button control and the refrigerator will not work humidity control off refrigerator leaking everywhere. Can't find part number for push button control
Hello David, thank you for getting in touch. A blocked drain can cause water to leak and potentially freeze up the back of the refrigerator. Clear the defrost drain. If the door seals or gasket are damaged, it can allow warm, moist air to enter, leading to condensation and leaks. Check the water fill tubes and water lines. Leaks in the water lines or filter housing are possible. Make sure the refrigerator is not overcrowded and that air can circulate properly. We hope this helps.
See how others fixed this model. Time, tools, difficulty, and steps that lead to victory!View More
Search repair tips from other customers using simple keywords like "replace", "fit", "remove", "inspect". DIY doesn't mean you have to do it alone!
Search filter:
Clear Filter
Your search term must have 3 or more characters.
Icemaker producing few or no cubes and often leaving "kling-ons" on ice tray
816 of 915 peoplefound this instruction helpful.
Bernie from Diamond Bar, CA
Easy
30 - 60 mins
Nutdriver
Interior surface of ice tray felt rough & flaky (coating deteriorated) so cubes would not release. Unplug appliance. Remove timer cover by hand pressure @ edge. Remove single attachment screw & bracket at lower front of icemaker. Disconnect wiring harness from socket @ rear of compartment. Tricky part was determin
... Read moreing what type of connection held the other two attachment points along the long edge of the icemaker. I did not have repair manual or useful drawing but looked @ PartsDirect pic of side brackets & used a small mirror to confirm that mine were also some sort of "snap in" attachment. Remove icemaker unit by pushing upward and outward on the unit. I takes a good bit of pressure and will pop loose, but be careful not to break attachment bracket from freezer wall. Scavenge shut off bar and wiring harness from old icemaker once you have it out & attach to new one before installing it back in freezer. Again, you might find a mirror useful to align those pesky snap-in brackets with the new unit. Since you probably kept your freezer running while waiting for the part, the plastic snap-ins will be cold and brittle. I warmed them up first by applying a dampened cloth heated in the microwave to make them a little more pliable. A good push of the new unit towards the snap-ins along with some upward force will get it stable. Reattach the metal screw in bracket & connect the wiring harness to rear plug... and don't forget to plug the whole thing back in. It will take awhile for the first batch of cubes dump as the timer may need to cycle completely around to get to the fill cycle... be patient. Dump the first couple of batches of cubes just to make sure you're free of any residue.
Read less
Was this helpful?
Thank you for voting!
My refrigerator stopped cooling and the freezer section stopped freezing
441 of 556 peoplefound this instruction helpful.
garth from forest lake, MN
Really Easy
15 - 30 mins
Nutdriver, Screw drivers
I knew the chances of all the freon leaking out was unlikely so I looked at the wiring to the compressor and there was a capacitor and a starter/overload so i figured I would start there. I went on line and found the parts at this site and they were less than the minimum service call charge for a service tech so I figured what the heck le
... Read moret's give her a shot so I did give it a shot. I ordered the parts and they were there in less time than a service tech could come out and i installed the parts and guess what for 90.00 in parts and 15 minutes in time I repaired my refrigerator. Thanks guys, It took less time to order the parts than it did to make the repair so thanks, your website rocks and is very well designed so my hat is off to you guys!
Read less
Was this helpful?
Thank you for voting!
Water overflowed ice maker turnning ice bucket into solid mass of ice
280 of 383 peoplefound this instruction helpful.
Harry from Grand Ledge, MI
A Bit Difficult
30 - 60 mins
Pliers, Screw drivers
My ice maker has been shedding its non-stick coating for over a year. Within the last month of so, it started pouring water into the ice bucket below, turning it into a solid mass of ice. So I purchased a new ice maker assembly. I encountered two problems not mentioned in the 21 or so do-it-yourselfer repair stories that precede this on
... Read moree. First problem: one of the three screws that hold the ice maker to the refrigerator wall is hidden behind the large (black) end of the ice maker and is difficult to access. Before trying to replace the ice maker, make sure you have the physical dexterity to remove that screw. Second problem: it is not apparent how to remove the wire harness that plugs into the ice maker assembly. BEFORE you can remove the wire harness, you MUST remove the large white cap that covers the black end of the ice maker assembly and then push in a retaining tab to release the wire harness. If you don't do this, the wire harness will not release. Other than those two problems, it was relatively easy to remove three screws, unplug the wire harness, transfer three small, metal parts from the old ice maker to the new, plug in the new wire harness, mount the ice maker assembly so that the water tube is in the proper position, and then re-install the three screws. The ice maker works fine now. (P.S. I was told by an expert that the real problem might be a malfunctioning fill valve. I would have replaced the fill valve if replacing the ice maker assembly had not fixed the problem.)




 My Orders