


 My Orders




1026 - Overview
Models starting with 1026
Click on the best match to narrow your results.
- 1026 Turco Grill (BBQ)
- 1026 Frigidaire Dishwasher (DISHWASHER)
- 1026 ( 1697329-00 2020 ) Murray Snow Blower (9.5 Gross Hp 26-Inch Dual Stage Snowthrower)
- 10260 (9900001-9999999 - 1999) Lawn Boy Lawn Mower (Silver Series Lawnmower)
- 10260 (200000001-200999999 - 2000) Lawn Boy Lawn Mower (Silver Series Lawnmower)
- 10262 (9900001-9999999 - 1999) Lawn Boy Lawn Mower (Silver Series Lawnmower)
- 10265 Craftsman Workbench (Work Bench)
- 10266 Craftsman Workbench (Workbench)
- 10267 Craftsman Workbench (Workbench)
- 10268 Craftsman Workbench (Workbench)
- 10269 Craftsman Workbench (Workbench)
- 1026VSR (0601026734) Bosch Electric Drill (3/8" Drill)
Enter a part description. DIY Heroes keep it simple, eg. "belt" or "pump".
Search filter:
Clear Filter
Your search term must have 3 or more characters.

No Longer Available
Element Grommet
Part #5300806833
This grommet is used in a number of household appliances. Most often it is used in the dishwasher as part of the assembly that mounts and holds the heating element in place. This replacement part is made out of rubber, which helps create a seal between the element and the appliance. This grommet is sold individually. If you are replacing ...Read morethe heating element, or the brass nut that holds it in place, we recommend you replace the grommet at the same time. Before you begin any repair work on your dishwasher, make sure you have unplugged it and shut off the water supply.
Read less

$45.11
In Stock
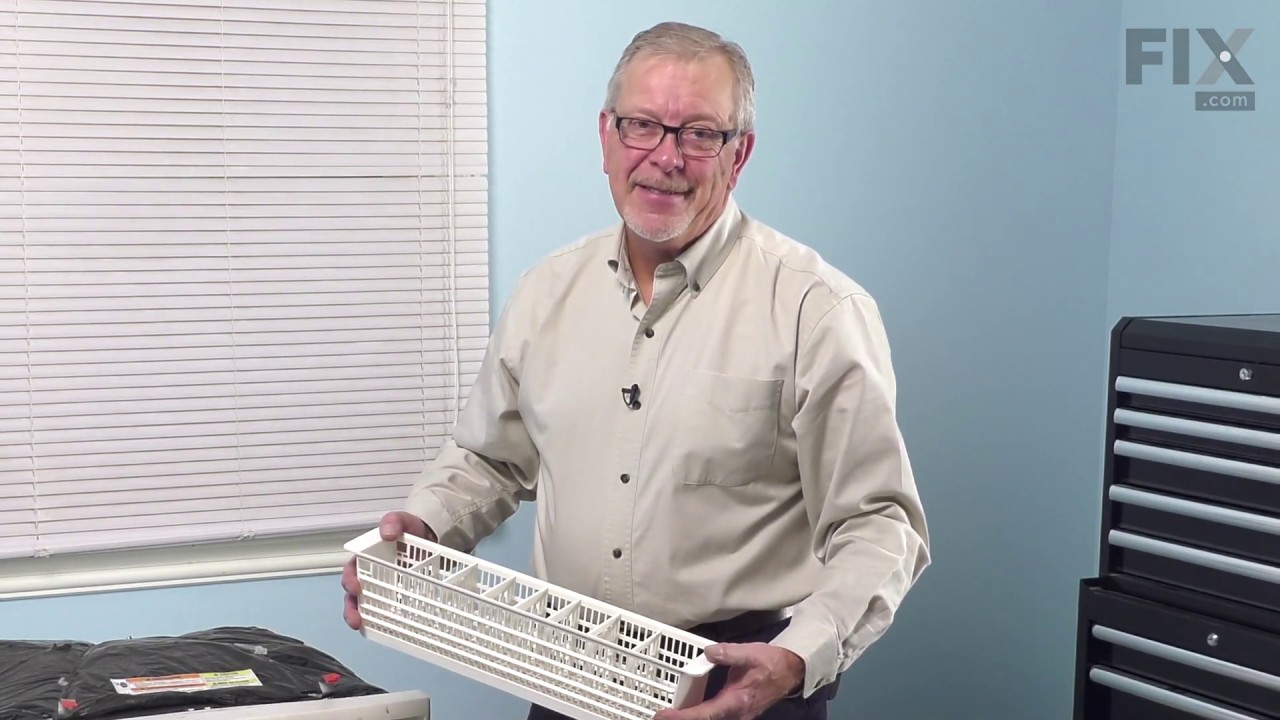
BASKET
Part #5304509753
This is a basket for your dishwasher. It sits in the lower dishrack and holds small utensils during a washing cycle. This basket has six smaller sections where you can separate your cutlery into specific groups. This silverware holder is made entirely of plastic with a crisscross pattern allowing water and small food particles to pass thr...Read moreough it during the cleaning process. This model is grey and roughly 14 inches long, about 6 inches high, and almost 4 inches thick.
Read less

$19.68
In Stock

No Longer Available

$6.40
In Stock
Screw-taptite
Part #95-1726
This is a high quality replacement hardware that is specially manufactured for use on Toro lawn and garden equipment. Two of these screws are generally used to secure the belt guide to the mower deck. Please note this durable metal hex head taptite screw is included per order.

$6.55
In Stock
Nut-lock, Ni
Part #3296-29
The Ni Lock Nut (Nylock Nut) is a Silver, 5/16x18, individually sold metal nut. It can be adjusted and replaced using a wrench or socket and torque wrench to the manufacturer specfications, and is used to secure the sheer pin in place on the augur. These nuts are a one time use part due to their locking mechanism. You'll know the nut has...Read more broken because the augur will not spin, and this is when the part should be replaced.
Customers found this to be an easy repair.
Read less

$6.40
In Stock
Washer
Part #40-1940
This OEM-sourced washer in your walk-behind lawnmower provides space and protects the rear wheel from rubbing against the pivot arm assembly, ensuring smooth wheel rotation. A damaged washer may appear worn or cracked, causing the rear wheel to feel misaligned or wobble excessively. If not replaced, it can lead to increased wear and expen...Read moresive repairs. To remove the existing washer, prop up the wheel with a two by four, use a wrench to remove the bolt securing the wheel, slide out the wheel, and then remove the bolt on the rear adjuster to take off the washer. Please note that this washer is sold individually, so make sure to check the quantity needed for your machine before making your purchase.
Read less

$15.64
In Stock
Kit, Shear Pin, Auger
Part #84003702
The Murray Kit Shear Pin, Auger, is an essential snowblower part designed for durability and efficiency. This kit is ideal for replacing old or damaged components in your outdoor power equipment. Manufactured under the renowned Murray brand, it guarantees reliable and consistent operation of your devices. The high-quality Shear Pin in thi...Read mores kit is designed to ensure optimal performance of your Auger, thus enhancing its functionality. With a focus on durability, each part in this kit is engineered to withstand heavy use while maintaining optimal efficiency. Invest in the Murray Kit Shear Pin, Auger, for a top-class repair solution.
Read less

$6.55
In Stock
Handle Knob
Part #98-7134
The Handle (or Knob Handle) is a black, plastic part which is rated as "Easy" to install by customers. It attaches onto the handle, so you can quickly release to fold down the handle bar. If the part is visibly broken (due to wear/fatigue), it should be replaced. Refer to your make, model and diagram to check if this is the right part for you.

$44.93
In Stock
Blade (21-inch)
Part #612543-03
The blade within a lawn mower is one of the most important components, since it is what cuts the grass itself. This OEM blade is a high-lift blade made of high-quality metal and measures 21-inches in length and features 3 holes in its middle to attach to the spindle. Since this blade is high-lift, it is designed to cut the grass cleaner a...Read morend leave fewer clumps of grass behind and helps to generate more airflow within the mower deck. This blade is compatible with several different makes and models of lawnmower but is sold as an individual part without any securing hardware. If you notice that your blade is damaged, dull or warped, it will need to be replaced immediately. To replace this blade, you will need tools such as a socket wrench and it is recommended that you use gloves to prevent cutting your hands when installing the new blade. Put your mower on its side to prevent oil or fuel leakage, and then using a socket wrench, disconnect and remove the old blade carefully before cleaning the area and installing the new blade.
Read less

$7.75
In Stock
Stop-pivot
Part #107-0757
This is an authentic Toro replacement part that has been sourced from the original manufacturer to be used with walk-behind lawnmowers. The plastic pivot stop attaches to the upper handle and is used prevent the control bail from pivoting too far and breaking the cable. This item is available as an individual replacement part.

No Longer Available
Clamp-blower
Part #309112101
Exact Part matches for your search term
No Longer Available
No Longer Available

$5.68
Special Order
No Longer Available
No Longer Available
No Longer Available
No Longer Available
No Longer Available
Common Symptoms of models starting with 1026
How this model fails, and the parts that fix it.


Watch our pros, then fix it yourself.
See how others fixed this model. Time, tools, difficulty, and steps that lead to victory!
View More