


 My Orders




Heating Element Connection Wire Kit 279457
Official part for Whirlpool, Kenmore, Maytag, KitchenAid




About This Part
What it does. Why it matters. Everything you need to know for an easy fix.
Heating Element Connection Wire Kit Specifications
This kit is used for electric clothes dryers, and it comes with a yellow wire nut.
Part #279457
Manufactured by
Whirlpool
for Whirlpool, Kenmore, Maytag, KitchenAid

You May Also Need
Because heroes deserve fewer surprise re-installs.

$58.42
In Stock

$17.15
In Stock

$59.47
In Stock

$33.69
In Stock

$20.36
Special Order

Affresh Dishwasher Cleaner Tablets - 6
Part #W10549851
$22.52
In Stock

Affresh Washing Machine Cleaner Tablets – 6 Count
Part #W10501250
$28.42
In Stock

$18.22
On Order

$27.36
In Stock

Refrigerator Deodorizer
Part #MCS62101805
$31.58
In Stock
Genuine OEM: Original Parts. Lasting Repairs.
Because quality isn't optional.
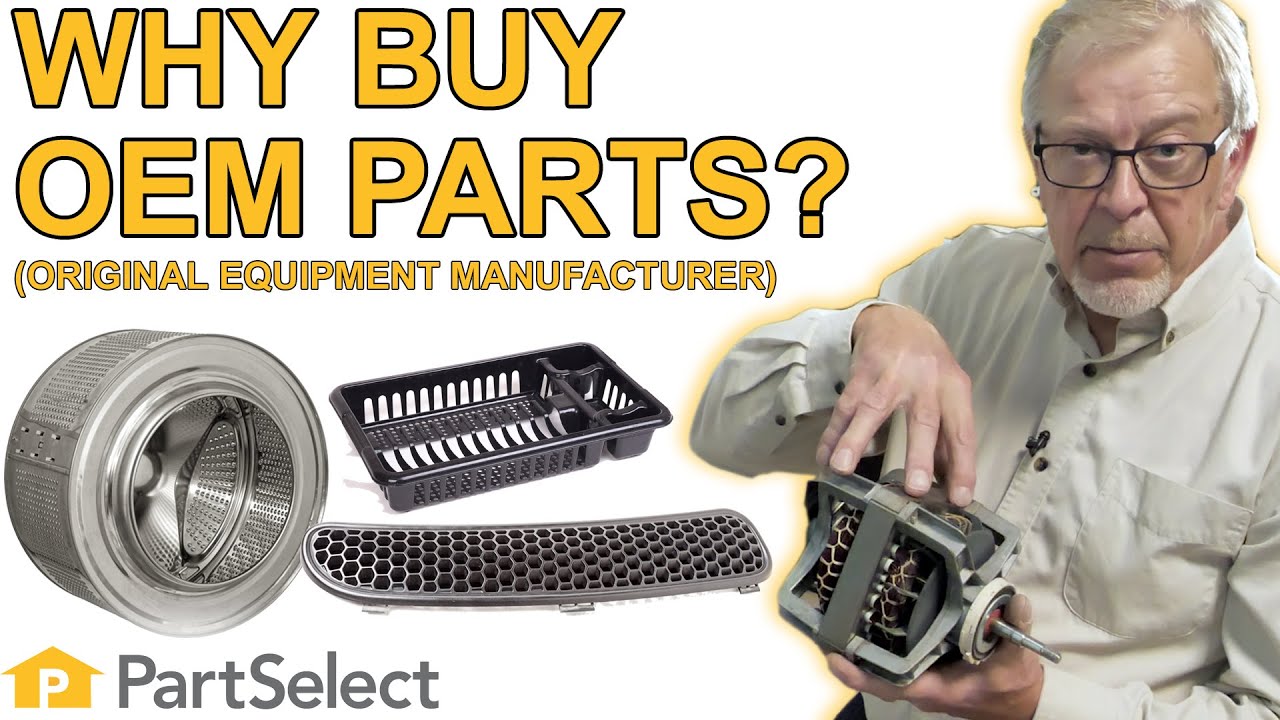
OEM stands for Original Equipment Manufacturer. This means that the company who made your appliance is also supplying the replacement part.
| Features | OEM | Generic |
|---|---|---|
| Genuine brand name | ||
| Guaranteed to fit | ||
| Superior Quality | ||
| Long term value |
Part Videos
Watch our pros, then fix it yourself.
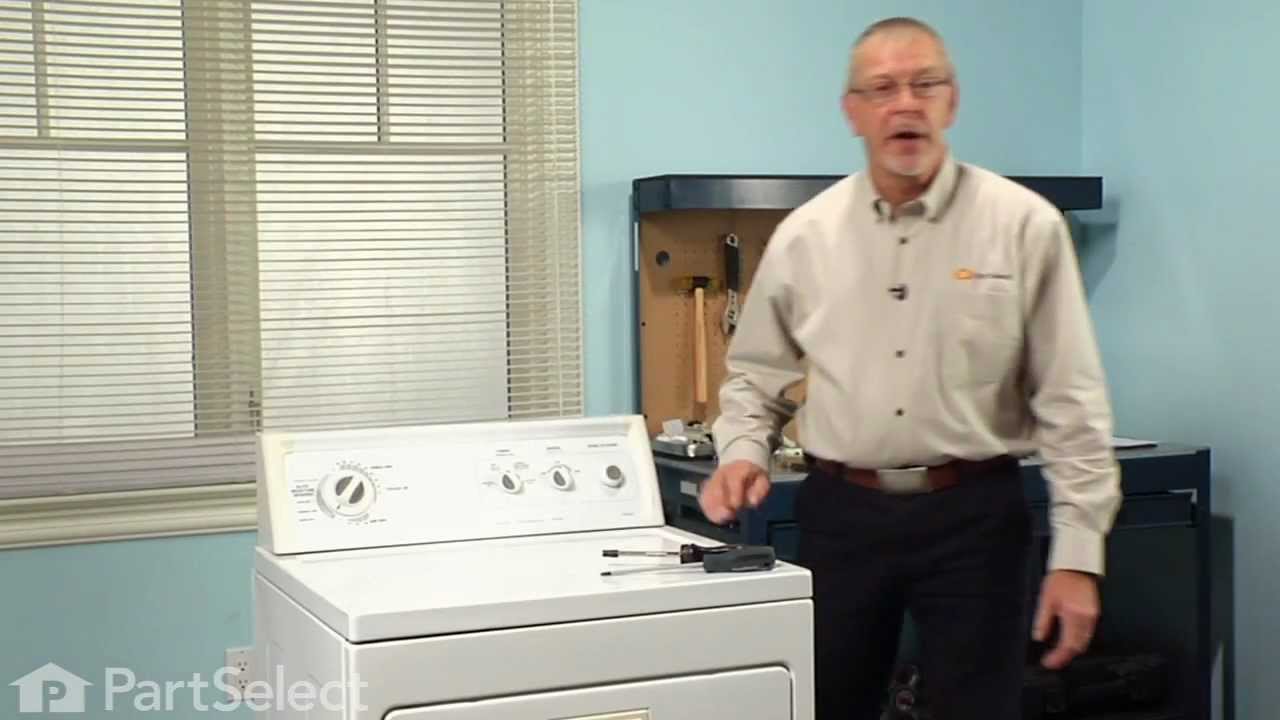
Replacing your Whirlpool Dryer Heating Element Connection Wire Kit
Repair Tips
See how others fixed this model. Time, tools, difficulty, and steps that lead to victory!
Sort by:
- Prev
- 1
- 2
- Next
Search repair tips from other customers using simple keywords like "replace", "fit", "remove", "inspect". DIY doesn't mean you have to do it alone!
Search filter:
Clear Filter
Your search term must have 3 or more characters.
Sorry, we couldn't find any existing installation instruction that matched.
Dryer wouldn't Heat up. Otherwise all else worked
2 of 2 people
found this instruction helpful.
Thought I could do it myself. Bought most parts recommended by this site
Took backoff thinking I could get to heating element. Noticed I would have to take out drum. Being in my 90's, decided to call repairman. He came and replaced the heating element I had purchased. He didn't have to come back
after he had purchased parts. ... Read more That saved about half my bill. Worked Great!
Took backoff thinking I could get to heating element. Noticed I would have to take out drum. Being in my 90's, decided to call repairman. He came and replaced the heating element I had purchased. He didn't have to come back
after he had purchased parts. ... Read more That saved about half my bill. Worked Great!
Read less
Other Parts Used:


Was this helpful?
Thank you for voting!
Dryer quit heating.
46 of 53 people
found this instruction helpful.
This dryer is 30 plus years old. I am a 71 year old female that has never taken on this type of repair. First I very carefully ordered all parts possibly associated with this problem. Watched all videos available for this model. Could not find one at Parts Select that addressed this particular dryer. Model number was correct. Finally
... Read more
found YouTube video that addressed an "Old Kenmore Wood Top". It showed the correct way to remove the Heating Element unit. Also Parts Select never mentions that fuses and sensors are not "polarized". Very important info for a novice. But Google helped me with that. Heating Element is "polarized", very important not to cross wires. I did order a couple Heating Element Connection Wire Kits that were not needed for this repair. Got all parts replaced, put dryer back together, crossed my fingers and turned it on, so far it has been working really well. I chose to replace all the parts I did because of the dryers age, plus I am not familiar with multimeters. Didn't want to risk one old part messing up a new part. Thank you Parts Select.
It is not a 2 hr. repair, but I worked slowly, didn't want to make any mistakes. It would be good if everyone is aware of some of the above information and the YouTube video done by an individual on this particular dryer.
It is not a 2 hr. repair, but I worked slowly, didn't want to make any mistakes. It would be good if everyone is aware of some of the above information and the YouTube video done by an individual on this particular dryer.
Read less
Other Parts Used:


Was this helpful?
Thank you for voting!
Dryer produced no heat. My lint trap was full of wet lint.
11 of 12 people
found this instruction helpful.
I saw some videos suggesting you remove the back panel.Then I saw a video where only the kick plate was removed and the element was removed that way.
I removed both the back panel and kick plate.At first I thought I was wasting my time however once I got started I was glad I removed both back and front.
There was a significant a ... Read more mount of lint in the bottom of the dryer which made it easier to remove.
It also made it easier to remove the heater element.
I hope this helps.
I removed both the back panel and kick plate.At first I thought I was wasting my time however once I got started I was glad I removed both back and front.
There was a significant a ... Read more mount of lint in the bottom of the dryer which made it easier to remove.
It also made it easier to remove the heater element.
I hope this helps.
Read less
Other Parts Used:
Was this helpful?
Thank you for voting!
Heating Element went bad, melting a wire
8 of 8 people
found this instruction helpful.
*as with all electrical repairs I unplugged dryer from the outlet*
I disconnected the wires to the heating element, removed the 2 nut screws holding the heating element in place and removed the defective heating element. It looked like the heating element had darkened on the lower end and the wire terminals definitely looked li ... Read more ke they had built some resistance that lead to the connection wire melting.
I slid the new heating element in and replaced the 2 screws. I cut the melted portion of the connection wire about 1/2" beyond the melted area and stripped the wire jacket exposing clean wire. I took the connection kit & clean wire lead, divided the wires into 2 groups on each end and braided them together and twisted them to a hand tight grouping. I then took the lead cap and twisted into onto the braided wire connection until it was also hand tight and snug.
I then reconnected the heating element connection wire back to the terminal end of the heating element and made sure all connections were snug.
I plugged the dryer back in, reset the dryer by turning the dial to a timed setting then back to off. I set the heat to low turned the dial to a time dry and turned on the dryer to ensure the element heated up and that the wired connection was secure. After 20 - 30 seconds, the element maintained heat and no issues were found with the fixed wire.
I replaced the dryer back and all screws and reconnected the vent hose. Dryer has worked great for the last few weeks with no issues. I was really surprised it was that easy to fix.
I disconnected the wires to the heating element, removed the 2 nut screws holding the heating element in place and removed the defective heating element. It looked like the heating element had darkened on the lower end and the wire terminals definitely looked li ... Read more ke they had built some resistance that lead to the connection wire melting.
I slid the new heating element in and replaced the 2 screws. I cut the melted portion of the connection wire about 1/2" beyond the melted area and stripped the wire jacket exposing clean wire. I took the connection kit & clean wire lead, divided the wires into 2 groups on each end and braided them together and twisted them to a hand tight grouping. I then took the lead cap and twisted into onto the braided wire connection until it was also hand tight and snug.
I then reconnected the heating element connection wire back to the terminal end of the heating element and made sure all connections were snug.
I plugged the dryer back in, reset the dryer by turning the dial to a timed setting then back to off. I set the heat to low turned the dial to a time dry and turned on the dryer to ensure the element heated up and that the wired connection was secure. After 20 - 30 seconds, the element maintained heat and no issues were found with the fixed wire.
I replaced the dryer back and all screws and reconnected the vent hose. Dryer has worked great for the last few weeks with no issues. I was really surprised it was that easy to fix.
Read less
Other Parts Used:
Was this helpful?
Thank you for voting!
Intermittent heat issues
4 of 4 people
found this instruction helpful.
The replacement parts are truly easy to exchange. Everything is located behind the rear panel. A few fasteners needed to be undone. What's really important is another video that explained what should be "checked" when a dryer malfunctions. VERY IMPORTANT viewing. I spent an afternoon going over the front inside and rear of my dryer. I'll
... Read more
probably get another ten years from my dryer thanks to this site data and videos.
Read less
Other Parts Used:

Was this helpful?
Thank you for voting!
Dryer air would not heat
7 of 8 people
found this instruction helpful.
Boyfriend stated it was simple, he removed the back and replaced the part using a few everyday tools.
Other Parts Used:
Was this helpful?
Thank you for voting!
My dryer stopped heating
5 of 7 people
found this instruction helpful.
The repair was really easy and I loved the DIY videos they were great, not many tools needed to do these repairs that was great. The only thing is this didn't solve my issue.
Other Parts Used:
Was this helpful?
Thank you for voting!
Clothes not drying, and dryer didn't get warm.
5 of 7 people
found this instruction helpful.
Good
Other Parts Used:
Was this helpful?
Thank you for voting!
- Prev
- 1
- 2
- Next
DIY Questions and Expert Answers
18 questions answered by our Repair Experts.
Ask our experts a question about this part and we'll get back to you as soon as possible!
We may have answered a similar question already! Search questions and answers left by others using simple keywords like "fit", "broken", "easy", or "quality" to find questions that match.
Search filter:
Clear Filter
Your search term must have 3 or more characters.
Sort by:
- Prev
- 1
- 2
- Next
Sorry, we couldn't find any existing answers that matched.Try using some different or simpler keywords, or submit your new question by using the "Ask a Question" button above!
Chad
- For model number WED9500TW2
February 9, 2018
Dryer getting to hot. Replaced thermal fuse and thermostat. Noticed that one of the wires that plug into the heating element is melted.

Hello Chad, thank you for your question. If the wires that plug into the heating element have melted, I would definitely replace this wire kit. You may want to test the element as well, just in case the excessive heat damaged the element as well as the wire. I hope this helps!
12 people
found this instruction helpful.
Was this helpful?
Thank you for voting!
Brad
- For model number MED6400TQ0
November 7, 2017
My dryer worked great before we moved then it seemed like it took too long to dry. I just thought it was the vent because it was three times as long and it was stopped up. I cleaned the vent the best I could and seemed like it was better. Well now it does not heat. I found the element burned in two. The limits on the top and bottom of the chute are closed. Should I replace those as well or are there other parts you recommend replacing with the element
Hi Brad, Thank you for the question. I suggest replacing the limits as well as the element. When the element burnt up it may have blew the limits. Good luck with the repair!
5 people
found this instruction helpful.
Was this helpful?
Thank you for voting!
James
- For model number 110.66642500
December 24, 2017
I have heater element #279838 which replaced #8565582. #279838 has 2 connections while the original #8565582 has 3 connections. So how do I connect the new part?
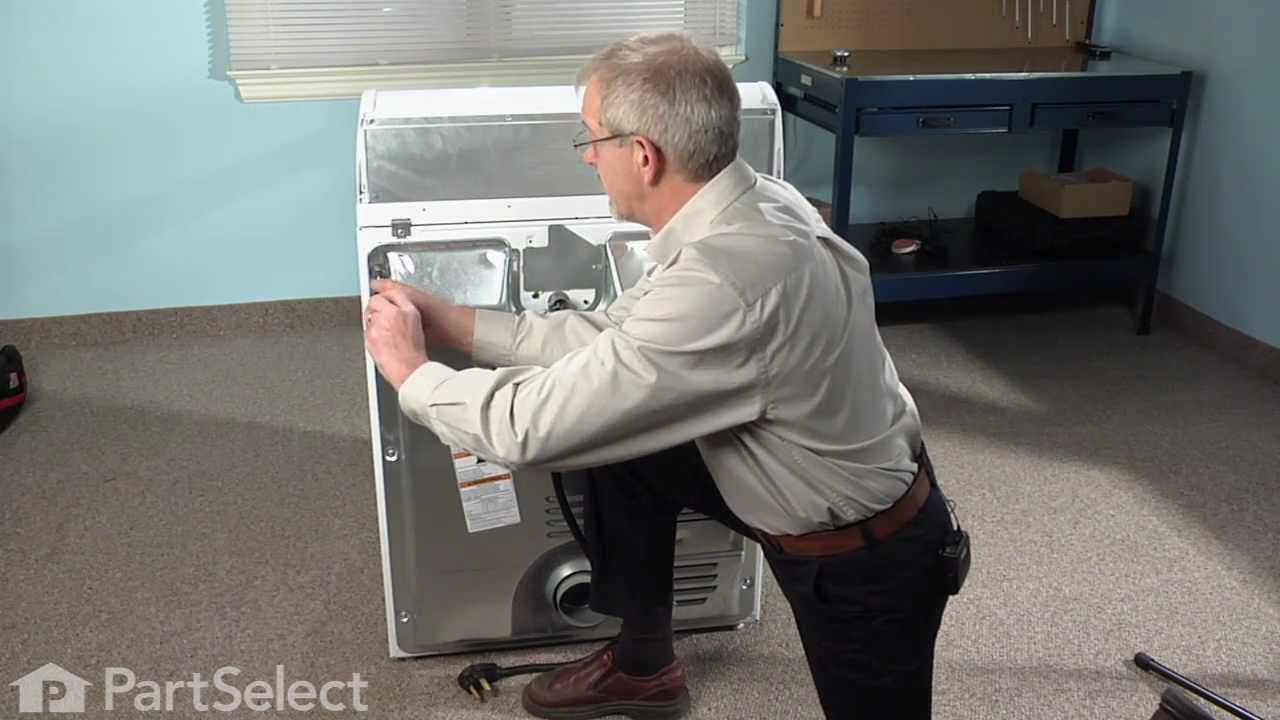
Hello James. Thank you for the question. Here is a link to the video on how to install the element. Hope this helps!
https://www.youtube.com/watch?v=GtSdiY8S-Q8
3 people
found this instruction helpful.
Was this helpful?
Thank you for voting!
Beth
- For model number WED9400SU0
August 7, 2018
I have a Whirlpool duet and the heating element wire has burned out 2x already. To give you a little background the machine occasionally makes a high pitched metal scratching sound. The last time it make this sound, the dryer no longer produced heat. It runs through the cycle and the lights work, but no heat. Before i pay for the repair, would you have any idea what is causing the wire to burn out?
Hi Beth,
Thank you for your question. The reason the wire burned is because of a loose connection between the wire element and the heating element connection. You will need to replace the heating element and the connection wire. I hope this helps. Thank you and have a great day!
3 people
found this instruction helpful.
Was this helpful?
Thank you for voting!
Jane
- For model number 110.60022010
December 30, 2019
My Kenmore dryer has stopped heating.
Hi Jane,
Thank you for your question. If your dryer has stopped heating, there are some parts that you will need to check to see which one is causing the issue. Here is a link from our website that you may reference on what parts to check, https://www.partselect.com/AdvancedModelSymptoms.aspx?ModelNum=11060022010&mfgModelNum=&fkMfgID=3&ModelMasterID=351757&PID=19. We hope this helps. Thank you and have a great day!
2 people
found this instruction helpful.
Was this helpful?
Thank you for voting!
Chris
- For model number WED9400SU0
February 6, 2020
Is this wire the same as the one that goes from the heating element to the thermal cutoff?
Hello Chris, Thank you for the question. This wire is just listed to connect the element. Sadly, the part you are requesting we do not have listed. We strongly recommend you contact the manufacturer, as they would have this information in their system. Ask them for the part number you require and contact back to see if it is something we carry. We hope this helps.
1 person
found this instruction helpful.
Was this helpful?
Thank you for voting!
Ralph
- For model number MEDC200XW1
February 20, 2023
Replaced heating core kit, dryer still not getting hot.
Hi Ralph, thank you for contacting us. There are several reasons why your dryer may not be heating correctly. Some situations that may cause your dryer to not heat properly include a lack of power, an issue with the size of the load, or its wetness. Otherwise, the following parts need to be checked to solve this issue: thermal cut-off kit, part number PS334299, drive motor, part number PS334304, and heating element connection wire kit, part number PS334206. We hope this sorts out your problem!

$47.40
In Stock

$97.46
In Stock
1 person
found this instruction helpful.
Was this helpful?
Thank you for voting!
Nell
November 7, 2018
What size spade connector is on part 279457? I ask bc i only need the connector not the wire. & dont want to remove it from wire to try to use where i need it. Ty
Hello Nell, thank you for your question. Unfortunately, we do not have the size of the spade connector. Its recommended to replace the wire and connector provided by the manufacturer for that unit. I hope this helps!
1 person
found this instruction helpful.
Was this helpful?
Thank you for voting!
Chad
- For model number WED9500TW2
February 10, 2018
My dryer is flashing the code F23 and the clothes are very hot. What does the code mean?
Hello Chad,
Thanks for your question. The F23 error code is due to an exhaust thermistor short. You will want to replace the internal-bias thermostat, part number PS11746740, to fix this issue.
I hope this helps.

$32.63
In Stock
1 person
found this instruction helpful.
Was this helpful?
Thank you for voting!
Terry
- For model number REX5634KQ1
August 7, 2018
The wire nut on the heating element connection wire kit, is it just plastic? Not a ceramic wire nut?
Hello Terry, thank you for your question. From the picture and description the wire nut is plastic not ceramic. This is what is recommended by the manufacturer directly. I hope this helps!
1 person
found this instruction helpful.
Was this helpful?
Thank you for voting!
- Prev
- 1
- 2
- Next
✖
Ask a Question
Ask our experts a question on this part and we'll respond as soon as we can.
Sorry, we couldn't find a match for "".
Here's a guide for finding your model number.
Something went wrong. Please try again later.
Your Question Has Been Submitted!
Our experts will send you an email as soon as your question has been answered.