This an authentic OEM 40-Watt replacement light bulb, used in a number of household appliances. It is specially designed to withstand extreme temperatures, which is why these replacement bulbs are most often used to light the inside of refrigerators and ranges. It features a standard socket base, which means you simply unscrew the burnt-o...Read moreut bulb and screw in the replacement. Depending on the appliance you may require a screwdriver or nut driver to access the light bulb. We recommend you wear work gloves while handling this replacement part. It is constructed of glass and metal and is sold individually. Depending on the appliance and location of the bulb within it, you may want to consider disconnecting power and using a flashlight for easier access to unscrewing and re-screwing in your bulb during this repair.
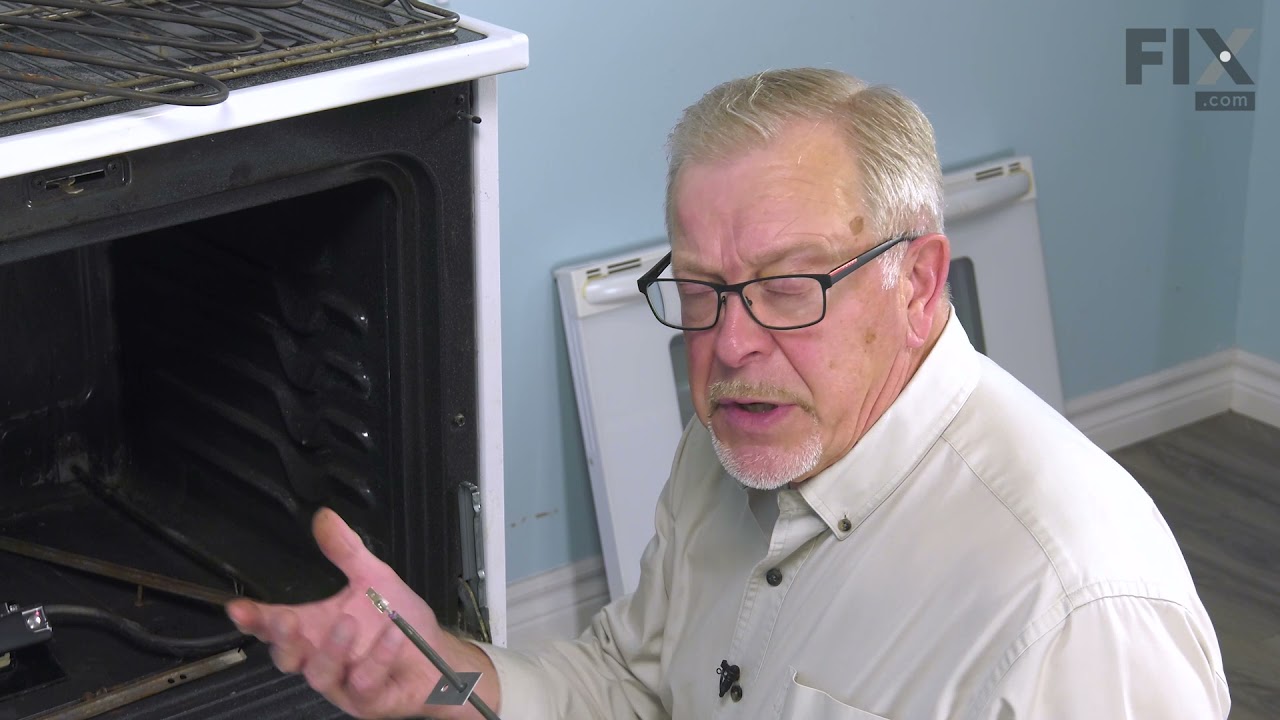
This long oven sensor is also commonly known as a temperature sensor. It is designed for use with ovens and ranges. It is similar to a thermostat; it measures and regulates the internal temperature of your oven cavity. There is an adapter at one end, a probe at the other, and they are connected by an insulated wire. The probe is approxima...Read moretely 7 inches long. You can test the sensor with a multi-meter for functionality. You need to check the model-specific manual to determine what the proper resistance is for your specific appliance. This oven sensor comes with two wire harness adapters and a set of instructions.
This is a replacement screw and washer for your oven/range. It is a Phillips-head screw approximately half an inch long, and the washer is approximately 1 inch in diameter. The screw attaches the oven door handle to the door. This part is sold individually and is an authentic OEM part sourced directly from the manufacturer.
This bake element is found on the bottom of the oven. his bake element is for ranges.
The bake element is at the bottom of the oven and supplies the heat for baking.
Unplug the range or shut off the house circuit breaker for the range before installing this part. Wear work gloves to protect your hands.
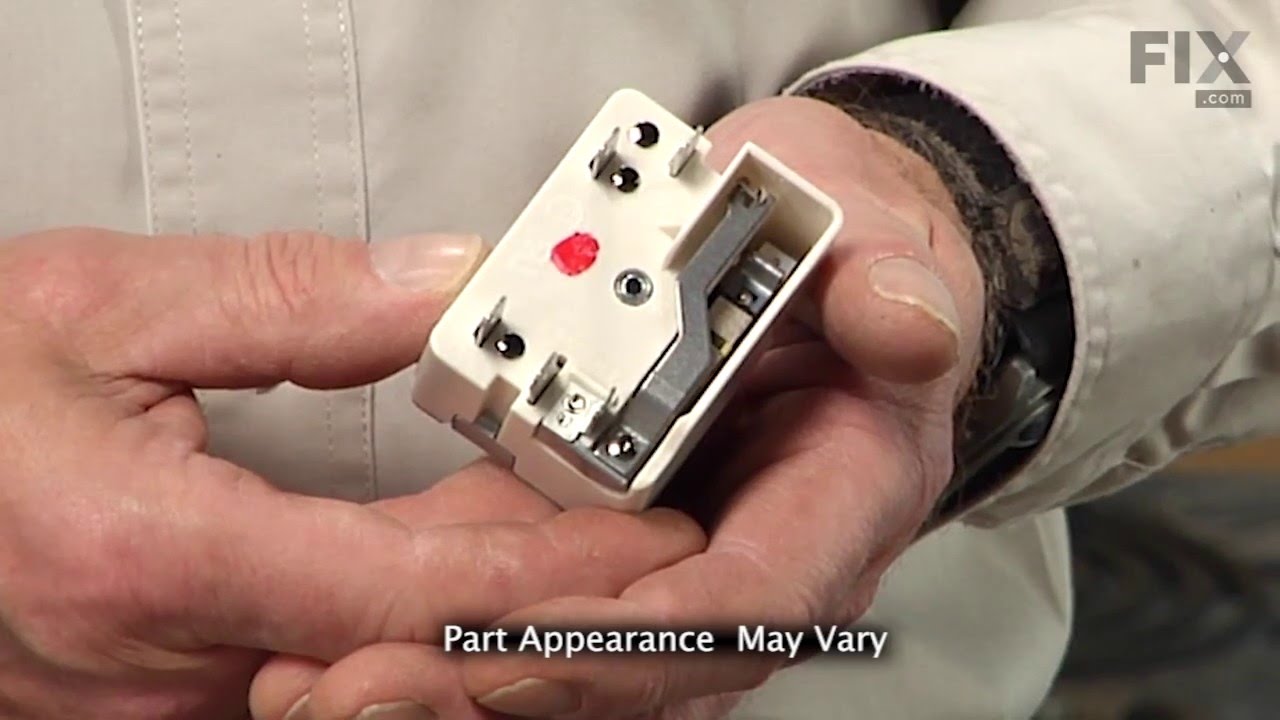
This infinite switch is for 8-inch range burners. When an element is unable to produce any heat on a modern oven, the problem may lie with the infinite switch. This switch is responsible for sending power to the surface elements. Check the element and terminal block to ensure they are working properly. If they are in working order, check ...Read morethe infinite switch at the control panel for any wires that have overheated, or broken terminals to or from the infinite switch. If the infinite switch is damaged or malfunctioning, it will need to be replaced. Remember to unplug your range before beginning this repair.
The oven door gasket on your range functions as a seal between the warm interior of your oven, and the outside. It prevents heat from fleeing your oven when the door is closed. Before making any repairs to your oven you should make sure to wear work gloves to protect your hands, and give your oven time to cool. The only tool you will need...Read more to make this repair is a pair of needle nose pliers. This oven door gasket comes with built in retaining clips; if any retaining clips from your old gasket are left in the oven make sure to remove them before installing your new gasket.
This touch-up paint can be used on a wide variety of household appliances. It is most often used on washers, dryer, refrigerators, dishwashers, ranges, freezers, trash compactors, or microwaves. It is an 18 ml, or.6 fluid ounces, bottle of touch-up paint. It also features a brush for easy application. This quick-drying, long-lasting paint...Read more is perfect for fixing any nicks, scratches, or chips on the exterior of your appliance. This paint is white in color, and provides a durable finish.
This bottle of non-abrasive cooktop cleaner breaks down and gets rid of the hardest baked-on stains and residue without causing any harm to your appliance. The bottle is 10 oz and does not require a large amount of product to do the job. This cleaner is perfectly safe to use on any glass, ceramic, stainless steel, chrome, or porcelain coo...Read morektop surface. The cleaner is creamy in texture and provides a protective coat of silicone on smooth surfaces. To apply, use a gentle scrub, sponge, or rag and gently press in a circular motion until the stains are removed.
Does your appliance need a quick fix? Our GE Controller Assembly is here to help. This genuine GE part is the heartbeat of your appliance, keeping everything running smoothly and efficiently. It's specifically designed to fit your GE appliances perfectly, meaning you won't have to worry about any compatibility issues. This precision-craft...Read moreed part doesn?t just improve appliance performance - it enhances its life and reliability too. The GE Controller Assembly is made with sustainability in mind, promising durability that makes for a lasting solution to your appliance woes. When you choose to repair your appliance with this GE part, you're choosing superior results and reliability. It's a simple, effective way to restore your appliance to its former glory. So why wait? Lay your worries to rest and boost your appliance's efficacy with the GE Controller Assembly.
This 2500-watt radiant surface element is a genuine OEM replacement designed for select Whirlpool electric ranges and compatible brands such as Maytag, KitchenAid, and Amana. Positioned beneath the cooktop, it delivers consistent heat to the cooking surface, supporting efficient and even temperature control. Common symptoms of a failing e...Read morelement include uneven heating or complete lack of heat. Featuring plug-in terminals for straightforward installation, this part can be replaced using basic hand tools. For safety, always unplug the appliance or shut off the circuit breaker before beginning the repair. Model verification is recommended to ensure compatibility.
Ask our experts a question about this model and we'll get back to you as soon as possible!
We may have answered a similar question already! Search questions and answers left by others using simple keywords like "fit", "broken", "easy", or "quality" to find questions that match.
Search filter:
Clear Filter
Your search term must have 3 or more characters.
Sort by:
Prev
1
Next
Sorry, we couldn't find any existing answers that matched.Try using some different or simpler keywords, or submit your new question by using the "Ask a Question" button above!
Mark - For model number YISE630WS01
February 8, 2020
Oven heating up higher than setting
Hi Mark. You will want to try checking and replacing either the heating element and temp sensor. Thank you for your question and good luck with your repair.
See how others fixed this model. Time, tools, difficulty, and steps that lead to victory!View More
Search repair tips from other customers using simple keywords like "replace", "fit", "remove", "inspect". DIY doesn't mean you have to do it alone!
Search filter:
Clear Filter
Your search term must have 3 or more characters.
Oven not holding 350 F, when cooling the coils did not reheat
163 of 215 peoplefound this instruction helpful.
David from Westford, MA
Really Easy
15 - 30 mins
Screw drivers
Removed the oven door by opening slightly, then pic door up to remove. Remove 2 screws holding oven sensor in place, gently pull on sensor to remove, had to remove about 8 inches to get at plastic connector. Unplug connector, had to use an adapter cable supplied with the PartSelect kit to install new sensor, push cable back into opening,
... Read morereinstall 2 screws. The oven works fine! Note that due to thermal lag the temperature overshoots to 370 degrees and undershoots to 340 degrees, this appears to be normal oven operation. Putting door back in place was easy.
Read less
Was this helpful?
Thank you for voting!
mice had made nests in the insulation wrap in the range
129 of 211 peoplefound this instruction helpful.
Wendy from Red Hook, NY
Easy
More than 2 hours
Screw drivers
I numbered every part. ex: 1 L., for first part removed left side. I used a magic marker to circle the holes and wrote the number of screws used on the part, set the srews in a separete place, so that I new where these screws went to. The cleanup was pretty time consuming, but I was able to keep my stove, when every repairman I called to
... Read more fix my stove told me I was better off buying a new stove. ($600.00 stove 2 years old)Please Note: The insulation blanket needed for the entire stove is two pieces, the sides and top are one part # and the bottom and back, are another part #. I did not know this. I just purchased the top and sides. I got lucky, the back and bottom were still in good shape. So I guess I should have read the description of the part more carefully to see what it covers, before I ordered it. It took two people two hours to do the work, it was really nice to have an extra set of eyes, to remember what direction pieces of metal from the stove went. I would do it all over in a heart beat instead of buying a new stove.
Read less
Was this helpful?
Thank you for voting!
F1-1 code
79 of 110 peoplefound this instruction helpful.
charles from marstons mills, MA
Really Easy
Less than 15 mins
Screw drivers
First I removed the two screws that hold the element in place. I then pulled the sensor out about 3 inches and disconnected the two wires. Next, I connected new sensor and screwed the new sensor back in place. One area for caution. Make sure that the electrical connection is pushed in past the insulation on the back side of the oven. Fa
... Read moreilure to do so will cause the plastic plug connector to melt from oven heat.


 My Orders