


 My Orders




YG209KW Magic Chef Dryer - Overview

Enter a part description. DIY Heroes keep it simple, eg. "belt" or "pump".
Search filter:
Clear Filter
Your search term must have 3 or more characters.

$70.35
In Stock
Lint Filter
Part #WP53-0918
This is an OEM lint filter for a dryer. This lint filter screen has two side guides on either of the screen. One measures 3/8 of an inch wide, while the other measures 5/8 of an inch wide. This part is white and is made of plastic. You may need to replace the filter if the plastic is broken or warped. Simply slide the lint filter out of t...Read morehe slot and slide the replacement filter in. The lint filter collects lint from drying clothes and prevents lint from building up in internal moving parts, specifically the heating coil. Neglecting to clean your lint filter is a fire hazard, be sure to clean it on a regular basis.
Read less

$25.75
In Stock
Dryer Door Catch Kit
Part #LA-1003
This door catch kit is designed for use in dryers. This is an authentic OEM replacement part. This catch assembly ensures the door of your appliance will close, and remain closed. It allows your appliance to both start and complete a full drying cycle. There are two pieces included in this kit, one catch, and one strike. You open and clos...Read moree the door on such a regular basis that this mechanism can wear out. It is a fairly common part to replace. You will need to remove the door of your dryer to install the replacement catch assembly.
Read less

$11.77
In Stock

$77.22
Special Order
Door Seal
Part #WP31001529
If this part appears to be too wide for your particular appliance, per the manufacturer, all you have to do is pull it apart.

$7.47
In Stock

No Longer Available

$118.52
On Order
Lint Duct Housing
Part #12001324
This genuine OEM lint duct housing is located inside your dryer, covering the lint filter. It secures and supports the lint screen within the exhaust system. If the housing is cracked or loose and cannot catch lint effectively, it needs replacement. A damaged housing reduces drying efficiency, resulting in longer drying times, increased e...Read morenergy consumption, and higher utility costs. To replace it, consult the included instruction sheet. Open the dryer door, pull out the lint filter, and remove the screws below the door opening. Close the door and take off the front panel, placing it face down on a padded surface. Remove the blower seal from the front panel. Carefully pry outward on the top corners of the collector duct to disconnect it from the front panel. Once the top is clear, pull out and lift to release the lower locking tab from the front panel slot. This will free the assembly. Note that this replacement part does not include the duct seal, the blower seal, or the lint screen itself, so consider this before purchasing.
Read less

No Longer Available
Door Switch
Part #WP53-0148
This dryer door switch contains three metal terminals. It is a simple on/off mechanism that prohibits the dryer from operating when the door is open.

$9.62
In Stock
Plate Nut
Part #WP3400029
This size 10 plate nut with 32 threads per inch is located in your household appliances. It securely fastens various parts together, such as panels, brackets, and accessories, to the frame. It features a built-in washer and is also known as a captured nut or a caged nut. If the secured components feel loose, wobbly, or are coming apart, i...Read moret may indicate that the nut has lost its grip or become stripped. To maintain stability and safety, it is crucial to replace a broken or faulty plate nut. Refer to your user guide to access the plate nut on your specific appliance model, which could be near the console, along the door, or on the tub support. Once located, loosen it using a wrench or pliers. Keep in mind that this OEM fastener is sold individually, so make sure to determine the quantity needed before making a purchase. It is also advisable to keep spare plate nuts on hand for future repairs.
Read less

No Longer Available

$29.47
Special Order
Front Cylinder Seal
Part #WP31001637
Helps keep your clothes from coming out of your dryer and getting torn.

$11.77
Special Order
Cabinet Top Clip
Part #WP25-7220
Common Symptoms of the YG209KW
How this model fails, and the parts that fix it.
Door won’t close
Fixed by
these parts
these parts

Show All
Noisy
Fixed by
these parts
these parts

Show All
Door Pops Open
Fixed by
these parts
these parts
Show All
Watch our pros, then fix it yourself.
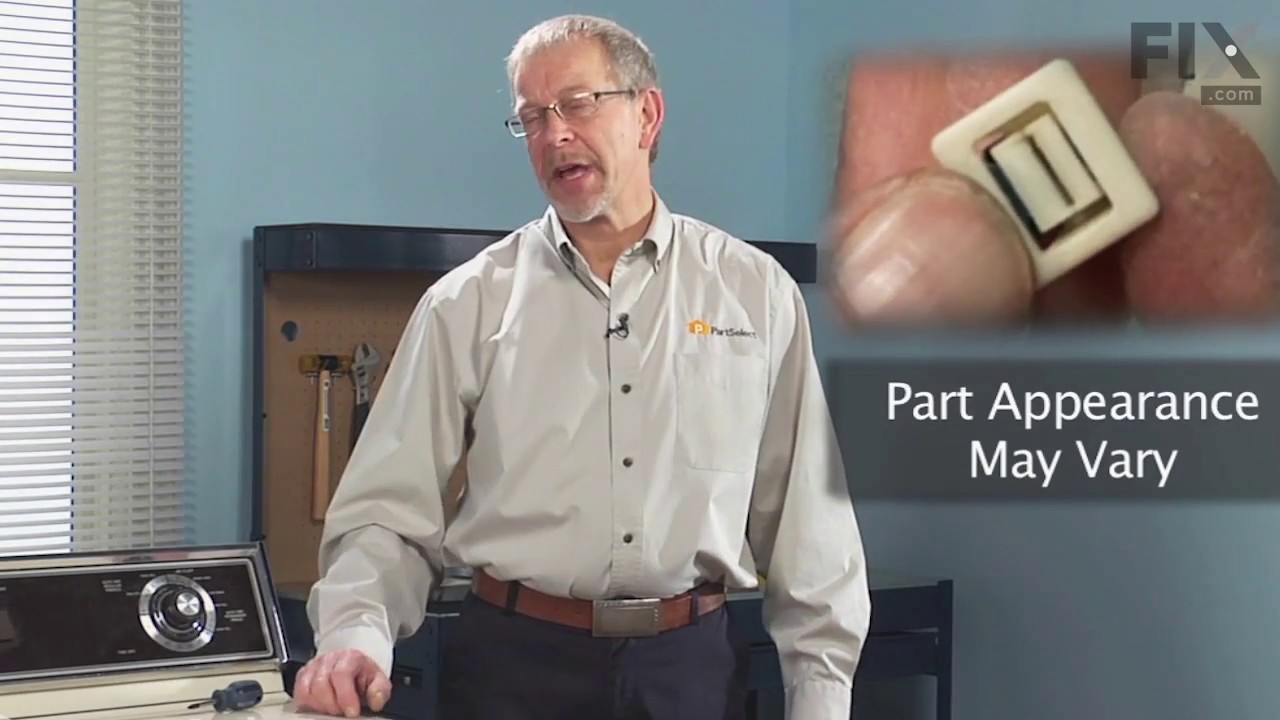
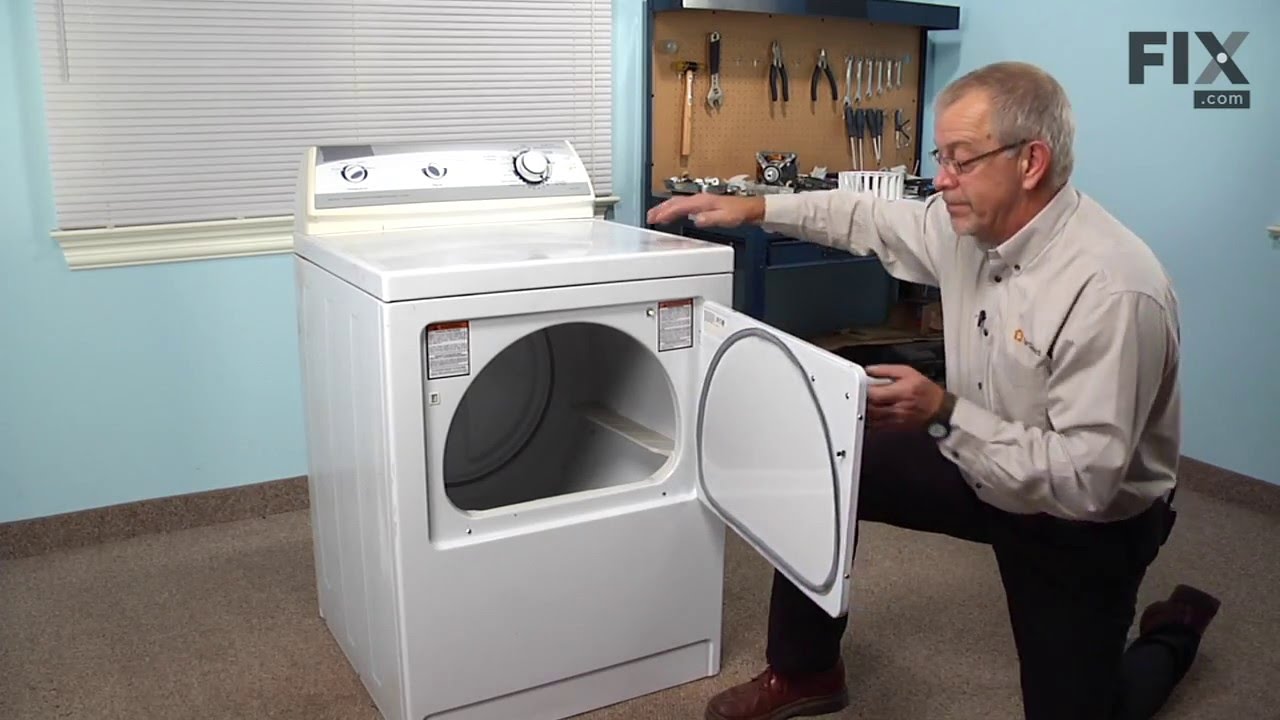
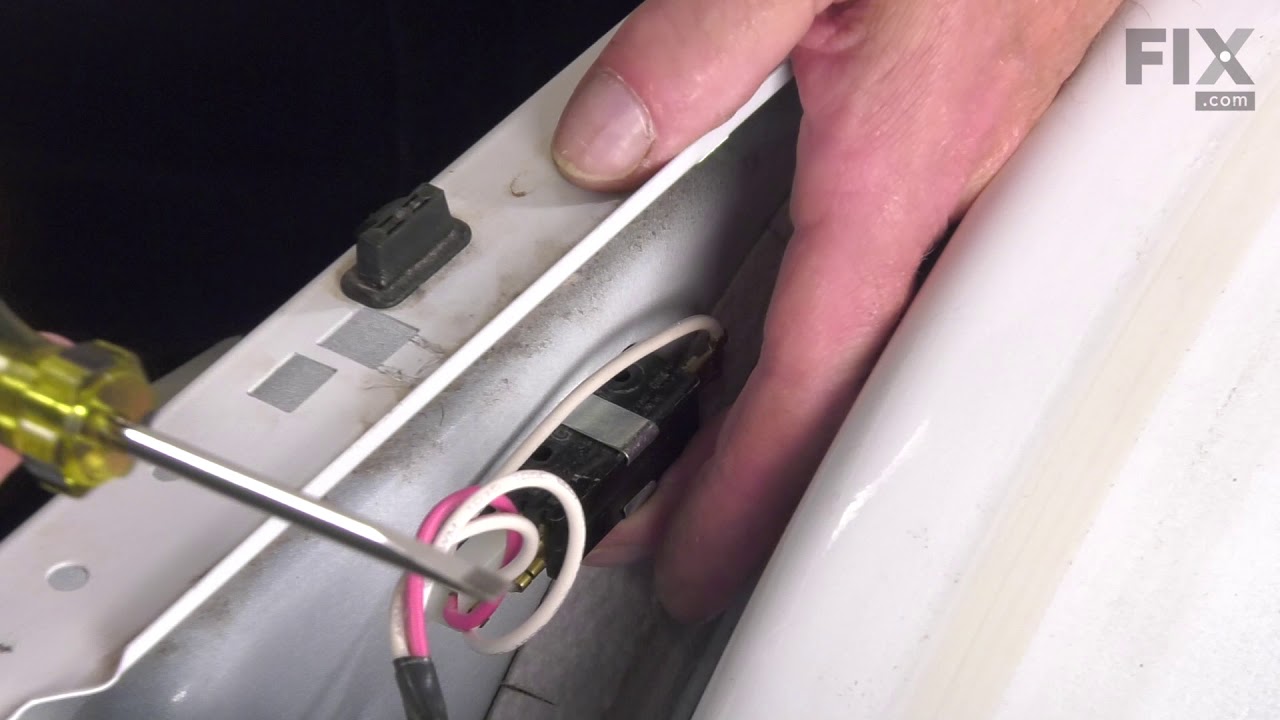
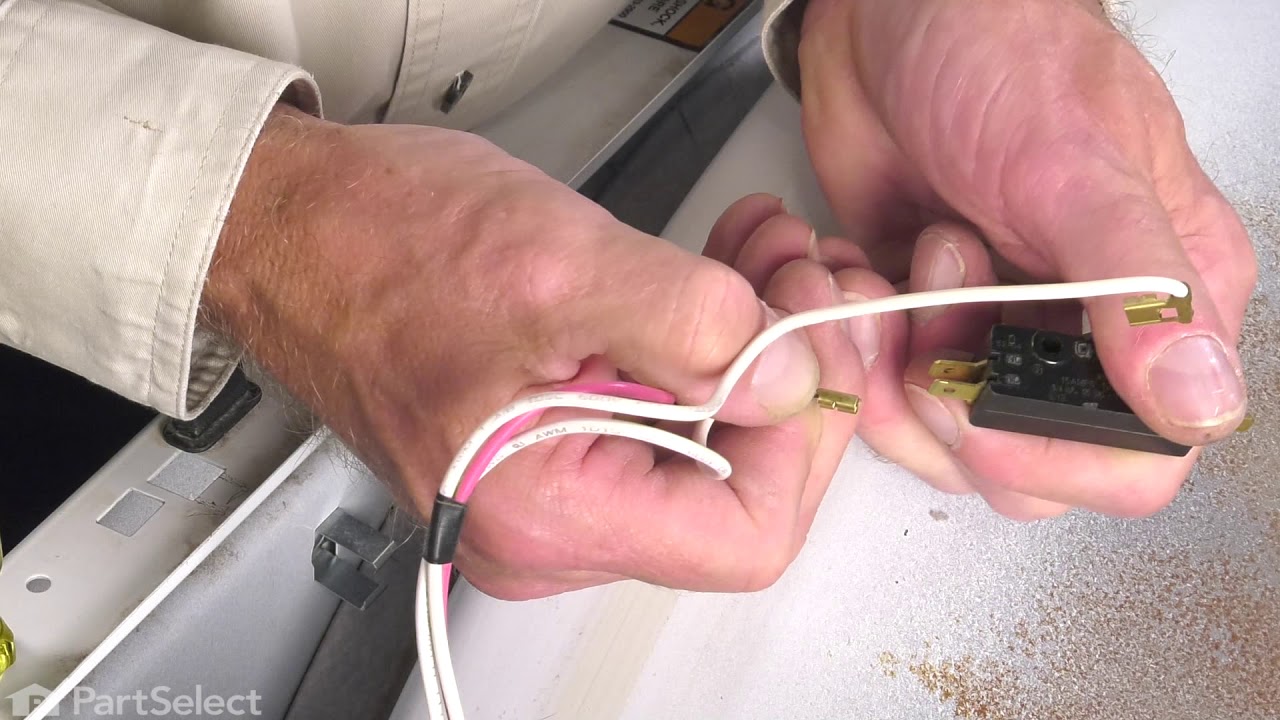
See how others fixed this model. Time, tools, difficulty, and steps that lead to victory!
View More