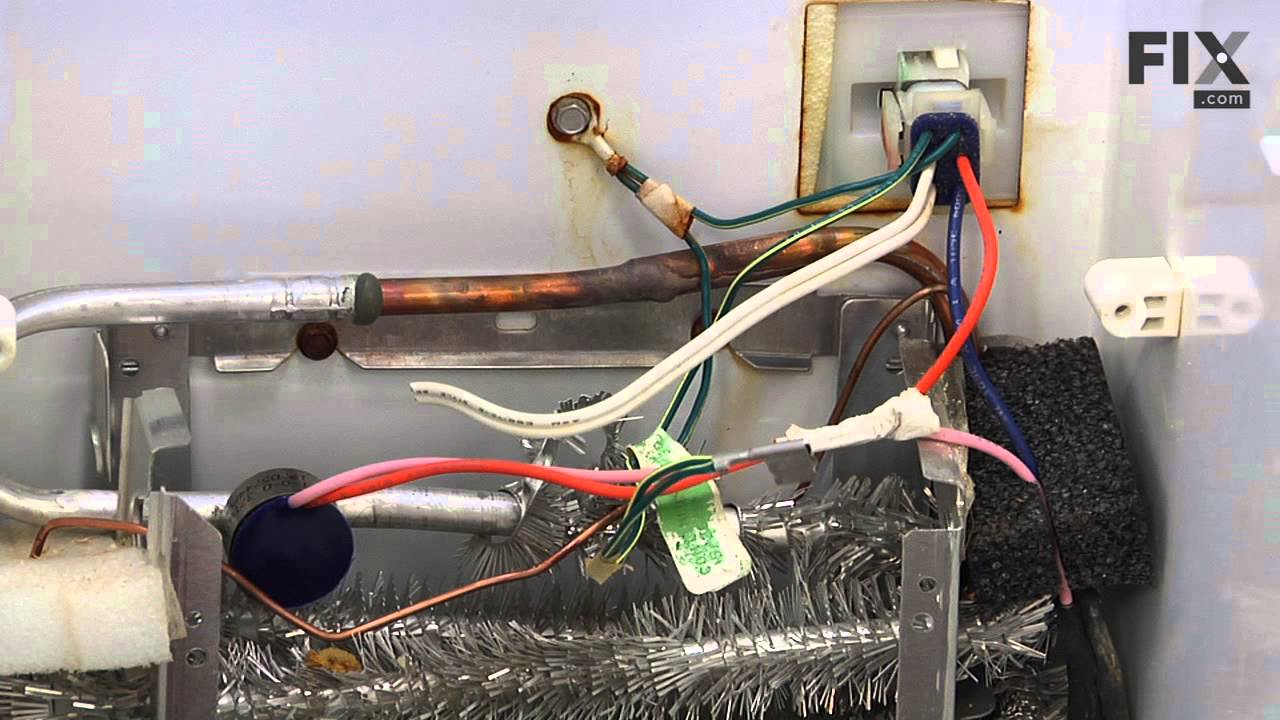
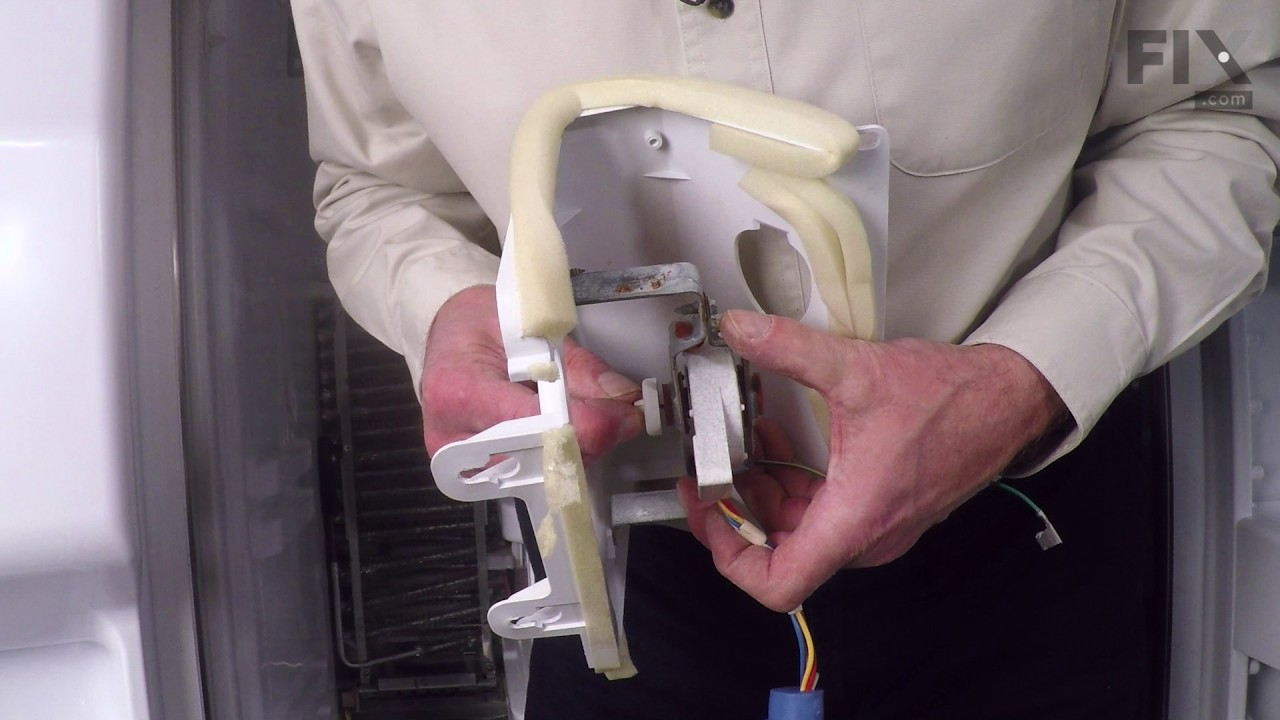
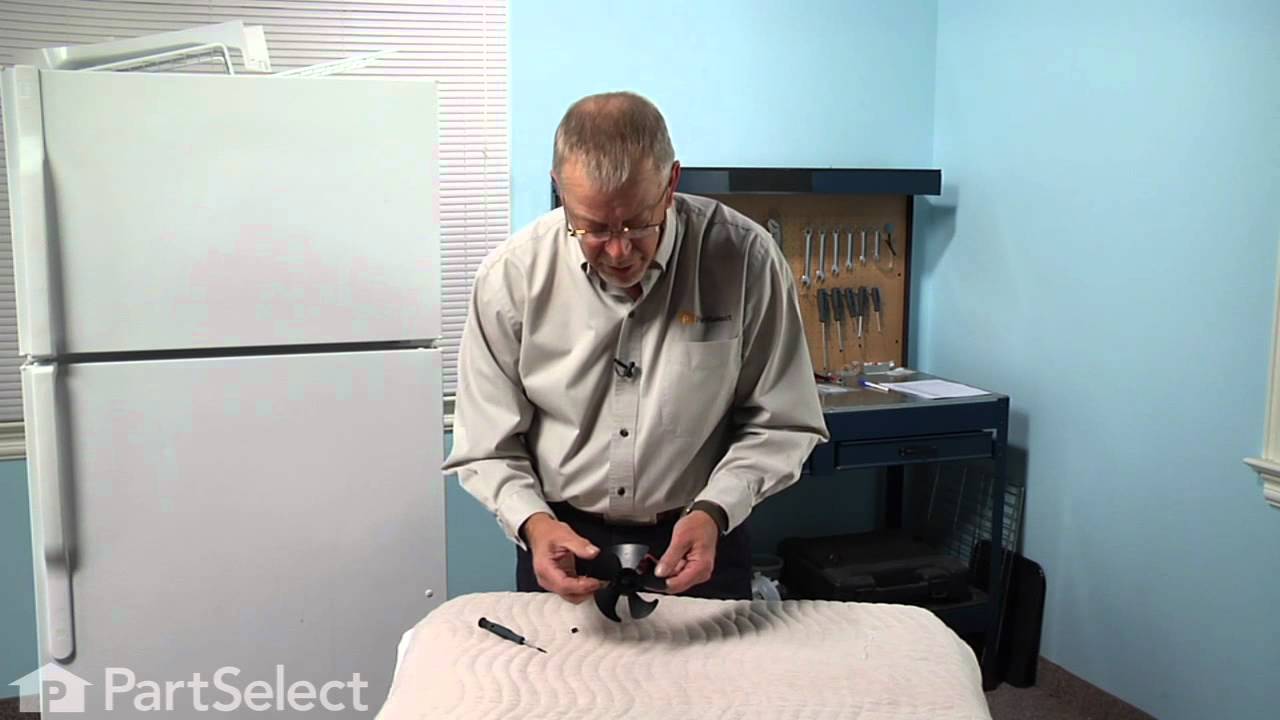
This sensor (Temperature Sensor, Thermistor, Refrigerator Temperature Sensor) sends the temperature reading of the compartment to the control board. If you notice your refrigerator is too warm, too cold, or not defrosting properly, then there may be a problem with your sensor. The temperature sensor can break from material fatigue or thro...Read moreugh normal use, and should be replaced. It is attached to the evaporator and control housing in your appliance. It measures approximately 1.25 inches long with 18 inch wire leads, and is constructed out of plastic. This part comes in white, beige. It includes the sensor, with wire leads.
This “Dispenser Door Assembly” (Door Recess Assembly, Ice Door Assembly, Dispenser Door, Refrigerator Dispenser Ice Chute Door Kit, Dispenser Door Flap, Ice Chute Door, Flapper) keeps the room air from infiltrating the freezer. Once the lever is pressed, the door flap opens and allows the ice to dispense into your container. If your door...Read more flapper is broken, it could allow outside air to enter the freezer and alter the inside temperature. You may notice frost buildup surrounding the dispenser area. The door flap can disconnect from the dispenser lever, or the tabs that hold it in place may break. Frequent use may distort the sealing face and cause air leaks and frost buildup. This part mounts in the ice dispenser, and measures approximately 3.25 inches in diameter. It is constructed of plastic and rubber, and comes in white/black. This part is sold individually.
This genuine OEM solenoid is designed for use with GE refrigerators and controls the opening and closing of the ice chute door. It serves as a direct replacement for a worn or faulty solenoid, helping to restore proper ice dispenser function. Constructed from durable metal, this part includes all necessary wiring for installation and is s...Read moreold individually.
Installation requires a Phillips screwdriver. Always refer to your appliance’s manual or diagram to ensure proper placement and compatibility before beginning the repair.
This is the light switch that goes in your refrigerator. If the light is not working or stays on, you may need to replace the switch. It is made of mainly white plastic, and is an OEM part, directly from the manufacturer. Be sure to disconnect the refrigerator from the power source before you begin this repair. To remove the switch, simpl...Read morey use a flathead screwdriver to pop the switch out from the refrigerator wall, then disconnect the wires. Reconnect the wires to the new switch, snap it into place, and the repair is complete.
This refrigerator water filter helps reduce chlorine taste, lead, and other listed impurities from drinking water and ice. It has a built-in chip that lets select refrigerators track filter use. Replace it about every six months or after 170 gallons, whichever comes first. Use the complete refrigerator model number to guarantee the proper...Read more fit. It can replace the older XWF filter in many models. No tools are usually needed. After installation, flush the filter with the amount of water listed in the owners manual.
This compression ring is meant to hold the evaporator fan motor in place in the freezer compartment of your refrigerator. This is is a genuine OEM part. The tools needed to complete this repair are a Phillips screw driver and small flat blade screw driver. Be sure to turn off your refrigerator before removing the evaporator fan cover so t...Read morehe fan does not turn on during repair. It is recommended to check the grommets, evaporator fan, and fan blades during repair in case they also need replacning. The compression ring may need replacing if the fan is noisy, or the refrigerator compartments are too warm. This part is sold individually.
The lid bumper or evaporator fan motor bumper in your refrigerator prevents the fan motor from scraping against the side bracket. If your refrigerator/freezer is noisy, the bumper could be worn down or missing, and the sound could be a result of the motor scraping the side bracket. You will find it between the fan motor and the side brack...Read moreet on the evaporator fan motor assembly. To access the bumper, you will need to remove the evaporator fan motor assembly from the freezer. This part is made of orange rubber and is less than half an inch in diameter. It has a rounded top and a slightly pointed bottom, and is sold individually.
This is a door handle fastener to secure the handle to your refrigerator drawer. It is also known and a mounting bolt or screw. It is approximately 1 inch in total length, and is made of metal.
This is the replacement micro switch, or dispenser switch for your refrigerator. It is gray in color and measures approximately 1 inch by half an inch. The dispenser switch is what tells your refrigerator that it is ok to dispense ice or water. If your refrigerator is not dispensing ice or water, you may have a faulty or damaged switch. B...Read moree sure to disconnect the power to your refrigerator before you begin this repair. This switch is sold individually and is a genuine OEM replacement part sourced directly from the manufacturer.
This is a replacement fill tube and grommet assembly for your refrigerator. This part acts your water line to your ice maker. If you’re noticing water in the back of the refrigerator or any kind of leak, or if your ice bucket isn’t filling up with as much ice, you may need to change out the fill tube and grommet assembly. When you purchas...Read moree this part, you get the water line, as well as the fill tube and grommet. This is an OEM part sourced directly from the manufacturer.
This DC fan motor moves air across the condenser coils and compressor to help remove heat. A failed motor may cause poor cooling, a hot compressor, or humming and squealing sounds. Before replacing it, clean the coils and check the fan blade, wiring, and air path for dirt or damage. Confirm fit with the full appliance model, 4-pin plug, a...Read morend 11.3- to 12-volt rating. Unplug the refrigerator before removing the rear panel. Keep hands away from the blade, protect the cooling lines, and reinstall the panel before testing the unit.
Ask our experts a question about this model and we'll get back to you as soon as possible!
We may have answered a similar question already! Search questions and answers left by others using simple keywords like "fit", "broken", "easy", or "quality" to find questions that match.
Search filter:
Clear Filter
Your search term must have 3 or more characters.
Sort by:
Prev
1
Next
Sorry, we couldn't find any existing answers that matched.Try using some different or simpler keywords, or submit your new question by using the "Ask a Question" button above!
Joy - For model number XSS23GGKNCWW
May 15, 2023
Where do I purchase a replacement drawer for the one that has been broken?
Hello Joy, thank you for contacting us. According to our research, your model comes with two drawers: a crisper drawer, part number PS16619591, and a meat pan assembly, part number PS16729799. We hope this helps!
See how others fixed this model. Time, tools, difficulty, and steps that lead to victory!View More
Search repair tips from other customers using simple keywords like "replace", "fit", "remove", "inspect". DIY doesn't mean you have to do it alone!
Search filter:
Clear Filter
Your search term must have 3 or more characters.
my refigerator was warm but the freezer was cold and working correcttly
305 of 404 peoplefound this instruction helpful.
michele from North Smithfield, RI
Really Easy
15 - 30 mins
Pliers
I went to a GE repair center to explain my problem, the service center reccomended that I have a techinician come out o look at it. $75.00 for the visit and what ever labor and materials wuld cost.
I went on line to see if there were others having this same problem and found that there were many with the same problem.
... Read more />After reading some of the ways that people found out what was wrong ...it became a matter of three components, the timer, heater or thermostat.
I tried the most common component and the less expensive one first , the thermostat switch I installed it very easily snipping two wires and attaching the news using wire nuts I used the diagram on this website to pinpoint the component and there has not been a problem since.
Read less
Was this helpful?
Thank you for voting!
refrigerator was getting too cold
149 of 218 peoplefound this instruction helpful.
Larry from Menomonie, WI
A Bit Difficult
15 - 30 mins
I removed the old temperature sensor by cutting the wires. I attached the wires of the new sensor with wire nuts and mounted it in the same bracket.
Was this helpful?
Thank you for voting!
Warm freezer and no ice
95 of 134 peoplefound this instruction helpful.
Paul from Suwanee, GA
Easy
30 - 60 mins
Nutdriver
This story starts with a GE side-by-side refrigerator that has always had wide temperature swings and a temperamental water dispenser. The ice maker was not making ice, and the built in digital thermometer showed it was running warm. I suspected that the heat exchanger was full of dust and so looked there. What I found was that the con
... Read moredenser tank was hot to the touch and the fan wasn’t running. As an experiment, I aimed a fan at the it for a while I saw that the freezer temperature dropped back to normal. .The fan is marked as 11.2 DC so I checked for voltage at the fan and found some. With three wires and no wiring diagram I wasn’t sure this answered all the questions, but hooking the fan to a 12 volt power supply didn’t get it to spin. I priced parts at a couple websites before using partselect.com . They also have a good diagram to look at (Sears diagrams are really poor). I ordered the part with 2-day shipping; it arrived on time, was correct and fixed the problem.




 My Orders