



 My Orders




WRX735SDHV07 Whirlpool Refrigerator - Overview

Enter a part description. DIY Heroes keep it simple, eg. "belt" or "pump".
Search filter:
Clear Filter
Your search term must have 3 or more characters.

$48.45
In Stock
Refrigerator Water Filter Bypass
Part #W11395888
This water filter bypass cap, also known as a water filter bypass plug, is an authentic OEM part that replaces the regular water filter cartridge in refrigerators. It allows water to flow freely through the dispensing system when the filter is not present. The bypass can fail if it becomes clogged, cracked, or falls out of alignment. A fa...Read moreulty filter bypass will result in leaking, poor ice production, and difficulties dispensing water. You can find the filter bypass inside the refrigerator, near the water filter housing. Disconnect the water supply lines and remove the faulty bypass. Insert the new bypass in its place and reconnect the water supply lines.
Read less

$20.37
In Stock
Drawer Gear Kit
Part #12002497
These parts will attach to your drawer rail and are used to help the drawer glide smoothly.

$56.33
In Stock
Water Tube
Part #W11415785
This water fill tube is a genuine OEM part that is compatible with various models of refrigerator. It is a small plastic tube that supplies water to the ice maker tray. It is typically located at the back of the refrigerator, where it runs from the water inlet valve to the ice maker assembly. When the ice maker needs to produce ice, water...Read more flows through this tube and fills the ice maker tray, where it freezes into ice cubes. The fill tube is an essential component of the ice maker system, ensuring a steady supply of water for ice production. If the fill tube becomes clogged or damaged, it can water leaks inside the refrigerator and also lead to difficulties producing ice when needed.
Read less

$54.24
In Stock
Bucket/Trim Assembly
Part #W11706640
This is a replacement door bin for your refrigerator. It is made of white plastic and is approximately 13 inches wide at its longest point and is 8 inches deep and 4 inches tall. The door bin holds items that are stored in the door in place. You will want to replace the door bin if the old one is cracked, damaged, or missing. To replace t...Read morehe door bin, simply snap the old bin out and snap the new one into place. This bin is sold individually and is an OEM part sourced directly from the manufacturer.
Read less

$151.47
In Stock
Led Module Service Kit, White - 9+3 Leds
Part #W11683243
The board fits behind the light lens and has LED lights that illuminate the interior of the refrigerator or freezer compartments.

$135.85
In Stock
Refrigerator Door Gasket - Black
Part #W10830277
The door gasket is on the inner door panel and creates a seal around the door to prevent warm air from entering the refrigerator.

$114.47
In Stock
Ice Door and Chute Module Kit
Part #WPW10353552
Introducing the innovative Ice Door and Chute Module Kit from the esteemed brand Whirlpool. This genuine OEM part, designed to fit seamlessly with various models, provides smooth and efficient operation of your refrigerator's ice dispensing system. The ice door and chute module opens to enable ice to pass through when dispensed into a gla...Read moress or container. This assembly comes complete with multiple parts as shown in your parts diagram. Before installing, ensure to unplug your refrigerator and safely store any perishable food. Remember to protect your hands by wearing work gloves during the installation process.
Read less

$19.30
In Stock

$27.36
Special Order

$9.62
In Stock
Screw
Part #WPW10141645

$116.49
In Stock
BIN-CNTLVR
Part #W11379148

$50.56
In Stock
Hinge Shim - Black - Right
Part #12999502
Common Symptoms of the WRX735SDHV07
How this model fails, and the parts that fix it.
Not dispensing water
Fixed by
these parts
these parts

Show All
Leaking
Fixed by
these parts
these parts

Show All
Ice maker not making ice
Fixed by
these parts
these parts
Show All
Light not working
Fixed by
these parts
these parts

Show All
Door won’t open or close
Fixed by
these parts
these parts

Show All
Noisy
Fixed by
these parts
these parts
Show All
Ice maker dispenses too little ice
Fixed by
these parts
these parts
Show All
Frost buildup
Fixed by
these parts
these parts
Show All
Watch our pros, then fix it yourself.
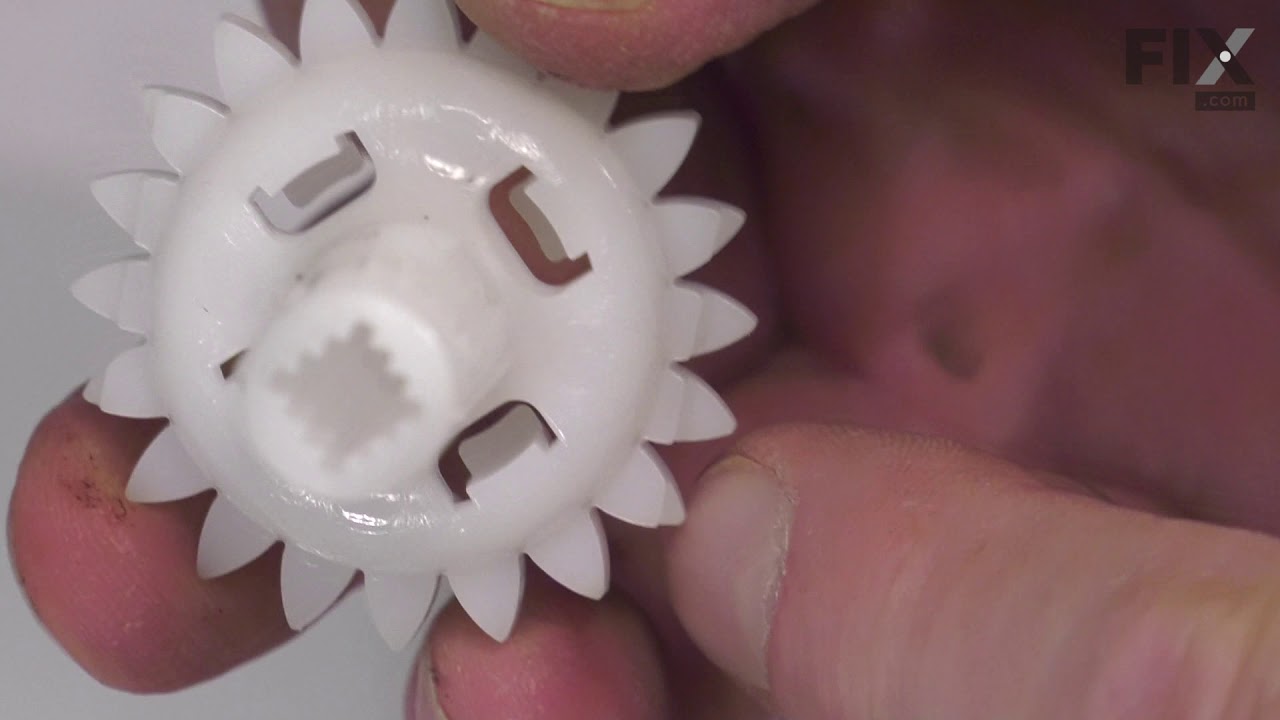
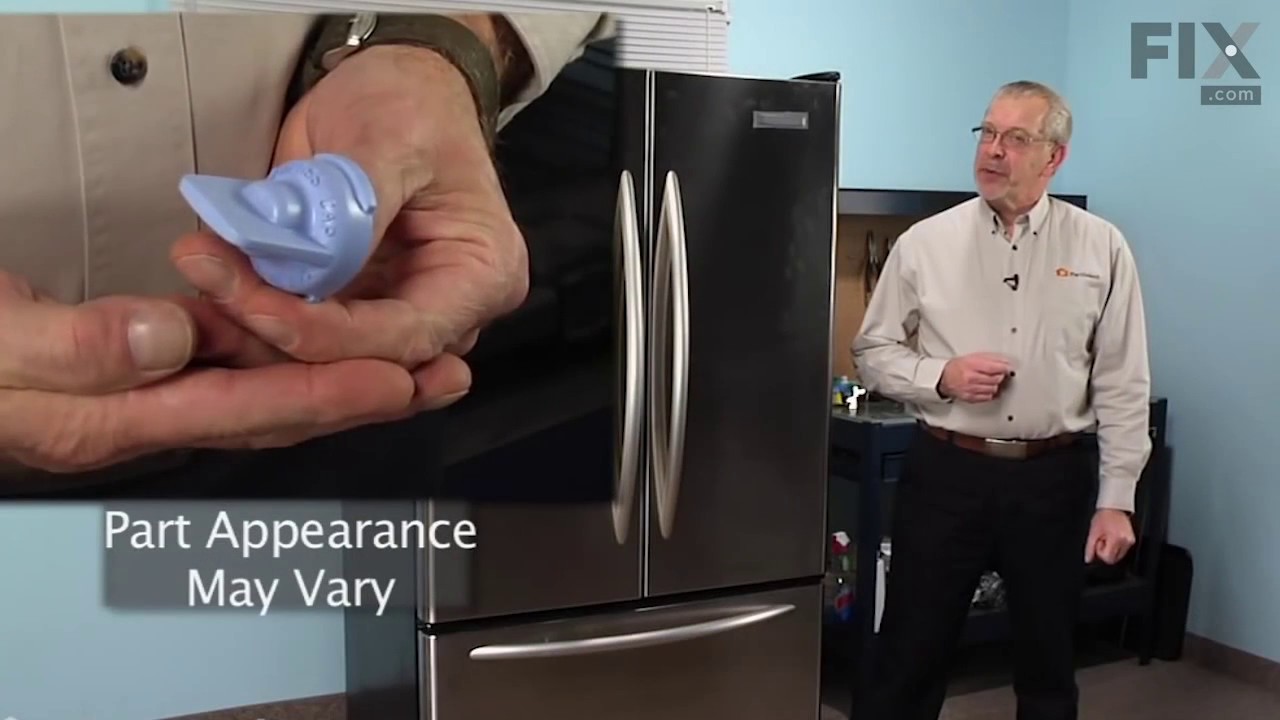
See how others fixed this model. Time, tools, difficulty, and steps that lead to victory!
View More