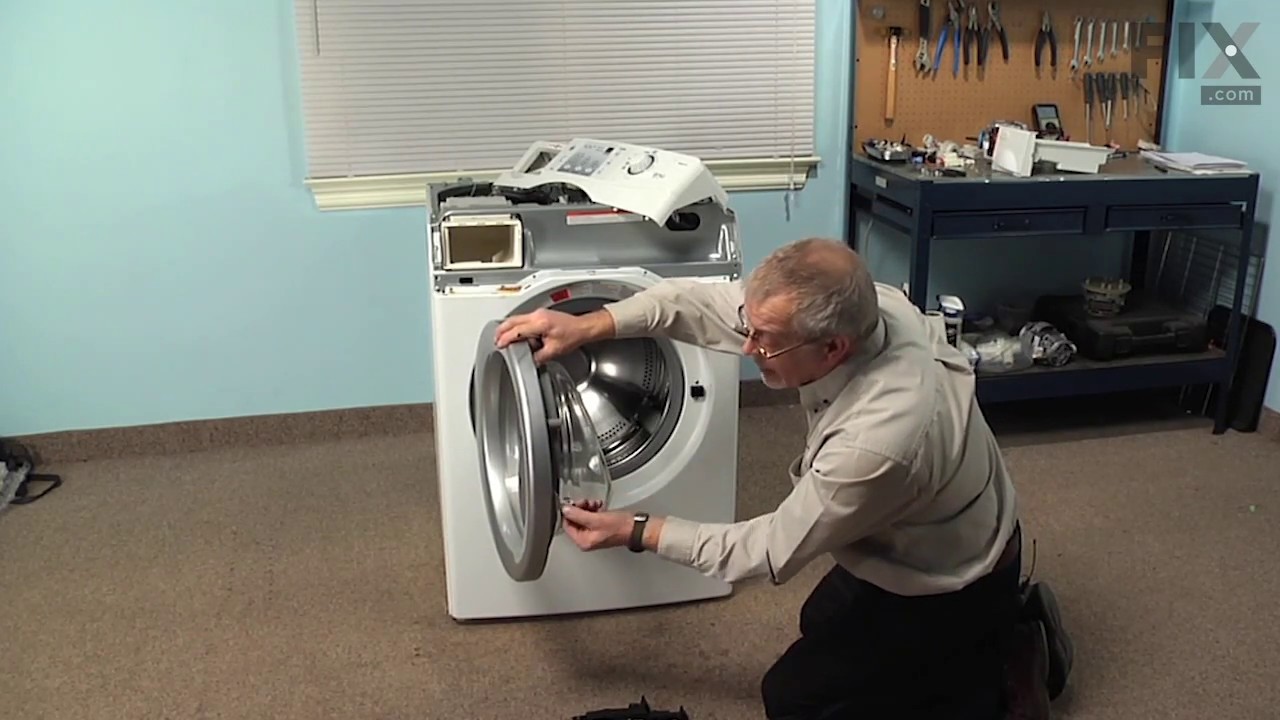
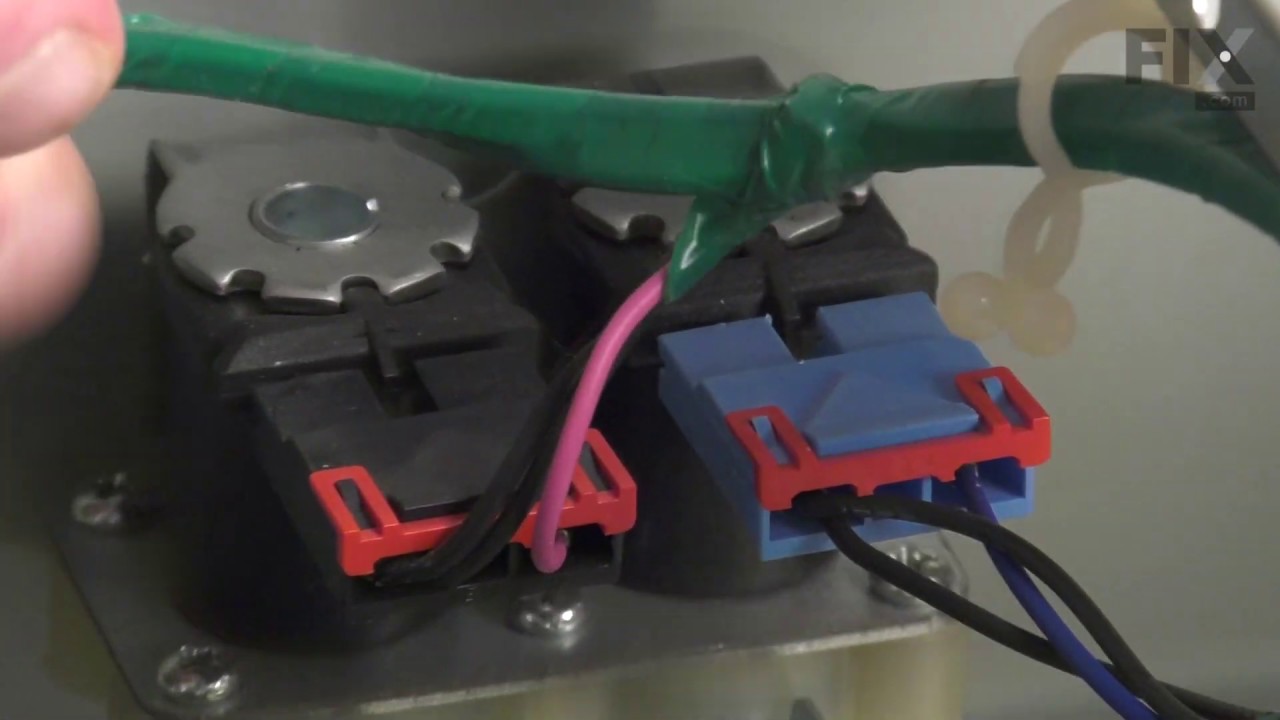
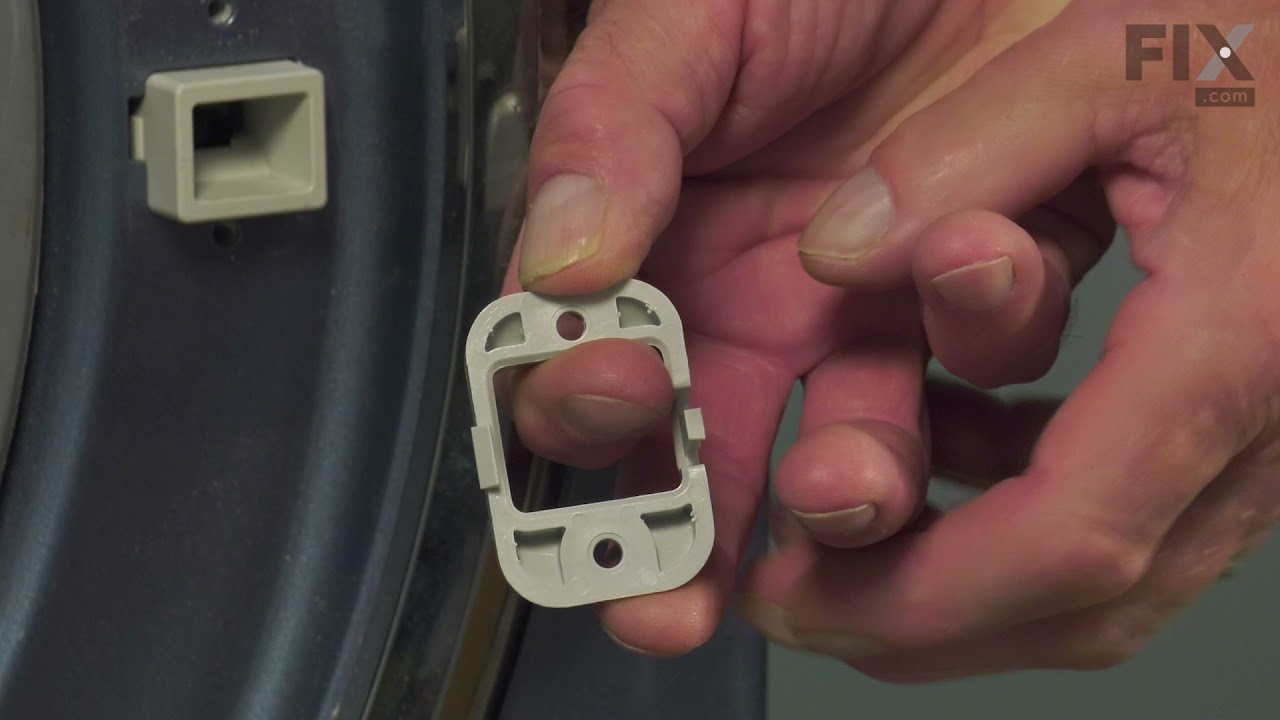
This washer door lock and switch assembly is a critical safety and control component for front-loading washing machines. It secures the door during wash and spin cycles, preventing accidental opening and ensuring the appliance operates only when properly latched. The integrated interlock switch communicates with the washer’s control syste...Read morem to verify door status, helping prevent cycle interruptions and operational errors. This model features a four-lead switch for precise functionality and is compatible with a wide range of front-load washers. Replacing this part can resolve issues such as a door that won’t close, won’t open, or won’t lock, as well as a washer that fails to start. Installation should be performed with the appliance unplugged and may require basic tools.
This part is used for the shaft on the rear of the tub and is sold individually. The head bolt is part of the spider arm assembly, and they are generally changed at the same time. If you are replacing the entire spider arm assembly, make sure you order as many hex bolts as you will need. The spider arm assembly contains 6 of these hex bol...Read morets. The hex bolt or spider arm assembly may need to be replaced if you notice that your inner tub is going out of balance. The hex bolt measures 1.5 by 0.5 inches.
A washer that walks across the floor or becomes unusually noisy may have a weak suspension damper. The rear shock absorbs tub movement during washing and spinning, helping the machine run more smoothly. These symptoms do not prove the damper has failed, so first check the floor, leveling feet, load size, and suspension springs. Match the ...Read morereplacement to the complete model because mounting ends and force ratings can differ. Disconnect power and water before opening the cabinet. Keep the tub supported, note each fasteners position, and avoid pinching hoses or wires during reassembly. Run an empty rinse and spin cycle to check for leaks, noise, and steady movement.
This is an individually sold front shock absorber designed for use with Samsung dryers. Shock absorbers are used to distribute the weight of the dryer drum evenly and ensure that the different bumps and bounces that occur during the drying cycle are smoothed and counter acted. A broken shock absorber is noticeable by the amount of noise y...Read moreour dryer will make during operation. Replacing this absorber and its rear counterpart may even be necessary to the lifespan of the other dryer parts, so be sure to inspect both absorbers before ordering. To install this OEM shock absorber in your dryer, you will need to disassemble the dryer, which requires a screwdriver and wrench.
This is an outer seal clamp for the washer door boot of your Samsung washing machine. This clamp tightly seals the boot of the drum within the door of the washer to prevent leaks. This clamp is made of metal and features a spring in the middle, but over time can be worn down or break, and result in water leaking out of the washing machine...Read more and into your home. Replacing this clamp will require a screwdriver, pliers, and safety gloves. This clamp is an OEM part that comes individually, without any other parts or accessories.
This is a door switch assembly designed for Samsung washing machines. This door switch assembly is used to latch and lock the door shut before the washing cycle commences and communicates with the control board when that is done. If your washer door is not locking or latching properly, the door switch is likely bad or broken and will need...Read more to be replaced. To replace this assembly, you will need a flat-head and Philips-head screwdriver. This part is a genuine OEM switch assembly and is sold individually, without any wire harnesses or securing screws.
This boot seal, also known as a tub diaphragm, creates a waterproof seal between the door and the drum in your front-loading washer, preventing water from leaking out during the wash cycle. You can find it around the door opening, and it is visible when the door is open. Please note that this seal is sourced directly from its original manufacturer and is sold separately from the outer seal clamp.
Shipping bolts are installed through the back of the washing machine, and hold the wash tub and basket in place while your washer is being transported. The tub suspension holds the tub correctly in place during the wash, rinse, and spin cycles. If this suspension is damaged during shipping, the tub can shake and move, tilt to one side, or...Read more spin incorrectly. This could lead to the suspension or motor failing. When moving your washer, it is suggested that you insert the shipping bolts back into place before moving the machine. This part is also called a washer transit bolt. Remember that this part is sold separately, and to check your model to see how many you require.
Ask our experts a question about this model and we'll get back to you as soon as possible!
We may have answered a similar question already! Search questions and answers left by others using simple keywords like "fit", "broken", "easy", or "quality" to find questions that match.
Search filter:
Clear Filter
Your search term must have 3 or more characters.
Sort by:
Prev
1
Next
Sorry, we couldn't find any existing answers that matched.Try using some different or simpler keywords, or submit your new question by using the "Ask a Question" button above!
Simon - For model number WF42H5000AWA2
August 28, 2025
The machine won't stop after it finishes one washing cycle and will restart again until you stop it manually
Hi Simon, thank you for contacting us. The issue seems to be with the main control board, part number PS9605965. It manages the washer's functions such as filling, washing, draining and spinning. You may need to replace it to fix the issue. We hope this sorts out your problem!
When the washer gets to the drain cycle it just repeatedly starts then pauses and drains again.
Hi Michael, thank you for reaching out. Ensure your drain hose is not pushed more than 6 inches into the standpipe. If it's too deep, it can create a vacuum that pulls water out too quickly or prevents proper air gaps, confusing the machine's sensors. If it is fine, check the water level pressure switch, part number PS4217083. You may need to replace it to fix the issue. We hope this sorts out your problem!
Was this helpful?
Thank you for voting!
Tonya - For model number WF42H5000AWA2
Yesterday
My model number is WF42H5000AW/A2 11
Is the 11 part of the model number.
Is this the same as WF42H5000AW/A2
I bought this same part with this model number from Amazon and it doesn't fit.
Hello Tonya, thank you for reaching out. Yes, the “-11” is part of the full model designation used for parts lookup, so WF42H5000AW/A2-11 and WF42H5000AW/A2 should not automatically be treated as identical for part compatibility. Parts databases specifically list WF42H5000AW/A2-11 as its own model variant, so if the part you purchased does not fit, it may have been listed for a different revision. We recommend matching the replacement part specifically to WF42H5000AW/A2-11 before ordering another one. We hope this information is useful!
Was this helpful?
Thank you for voting!
John - For model number WF42H5000AWA2
October 21, 2025
Machine will start a cycle and then after a few minute turns it's self off and will not continue the cycle.
Hi John, thank you for reaching out. We would suggest checking the main control board, part number PS9605965. You may need to replace it to fix the issue. We hope this solves your problem!
If I put on low spin it will spin on high. It changes to high spin by itself
Hello Bob, thank you for getting in touch. When a washing machine automatically changes from a low spin to a high spin, it is usually due to the washer's unbalance detection system attempting to correct an uneven load. Manually redistribute the laundry evenly in the drum. Avoid washing a single, bulky, or heavy item. Check the washer's balance by placing a carpenter's level on top of it. Adjust the leveling feet at the bottom until the machine sits flat and stable on the floor. We hope this helps.
Was this helpful?
Thank you for voting!
Prev
1
Next
✖
Ask a Question
Ask our experts a question on this model and we'll respond as soon as we can.
See how others fixed this model. Time, tools, difficulty, and steps that lead to victory!View More
Search repair tips from other customers using simple keywords like "replace", "fit", "remove", "inspect". DIY doesn't mean you have to do it alone!
Search filter:
Clear Filter
Your search term must have 3 or more characters.
front load washer latch replacement
198 of 242 peoplefound this instruction helpful.
James from Vilonia, AR
A Bit Difficult
Less than 15 mins
Nutdriver, Screw drivers
1. remove the three screws from the top backside of the top panel 2. push the top panel to the rear 1/8 to 1/4 inch 3. lift/rotate top panel from rear to front, set aside. 4. remove the three wire connectors from latch. 5. use #15 Torx to remove the three screws from the latch. 6. remove and replace part using to
... Read morep opening. 7. reverse order to finish.
Read less
Was this helpful?
Thank you for voting!
Door lock was in the locked position and door could not close
67 of 76 peoplefound this instruction helpful.
Suryakant from Cortlandt Manor, NY
Easy
15 - 30 mins
Screw drivers
I bought a new door lock for 132 dollars (item number PS2037196).
Ultimately you have to get to the inside of the machine where the door lock is located in order to see if you will need this door lock that I bought.
DISCONNECT POWER FROM MACHINE.
First take off the top by taking off the 2 screws on the bac
... Read morek of the machine.
Second take off the control panel, I believe there are about 5 or 6 screws for that. (there's also a screw when you open up the detergent compartment on the bottom left- also, a lever must be pushed in order for the compartment to come off- it MUST be taken off).
Third unscrew the top of the front white plate.. there should be a 5 or 6 screws for that. You don't need to take off the entire front plate.
Finally unscrew 3 screws that hold the door lock in place .. make sure your hands is in the machine- the back of door lock to catch the lock when you're on the last screw.
Gently take out the door lock from the side with the cables attached by holding the white metal door open (it bends).
Try to pull on the bottom of the door lock (its a manual release). If it doesn't release you need to buy a new door lock like I did... if it does release then you don't need a door lock and just reassemble. (Note: You can also try plugging in the machine and THEN pulling down on the manual release. When I tried this the door lock just vibrated and nothing happened so I bought a new door lock.)
If you have the new door lock continue here:
Take out all 3 cables on the old door lock by pressing on the corresponding clips.
Attach the new door lock with the correct cables. Assemble machine back together.
Thats it.
Read less
Was this helpful?
Thank you for voting!
The Washer became unbalanced and broke the latch on door
32 of 44 peoplefound this instruction helpful.
Glenn from Las Vegaas, NM
A Bit Difficult
1- 2 hours
Nutdriver, Screw drivers
Had to take the entire front of the washer off to replace the door latch.



 My Orders