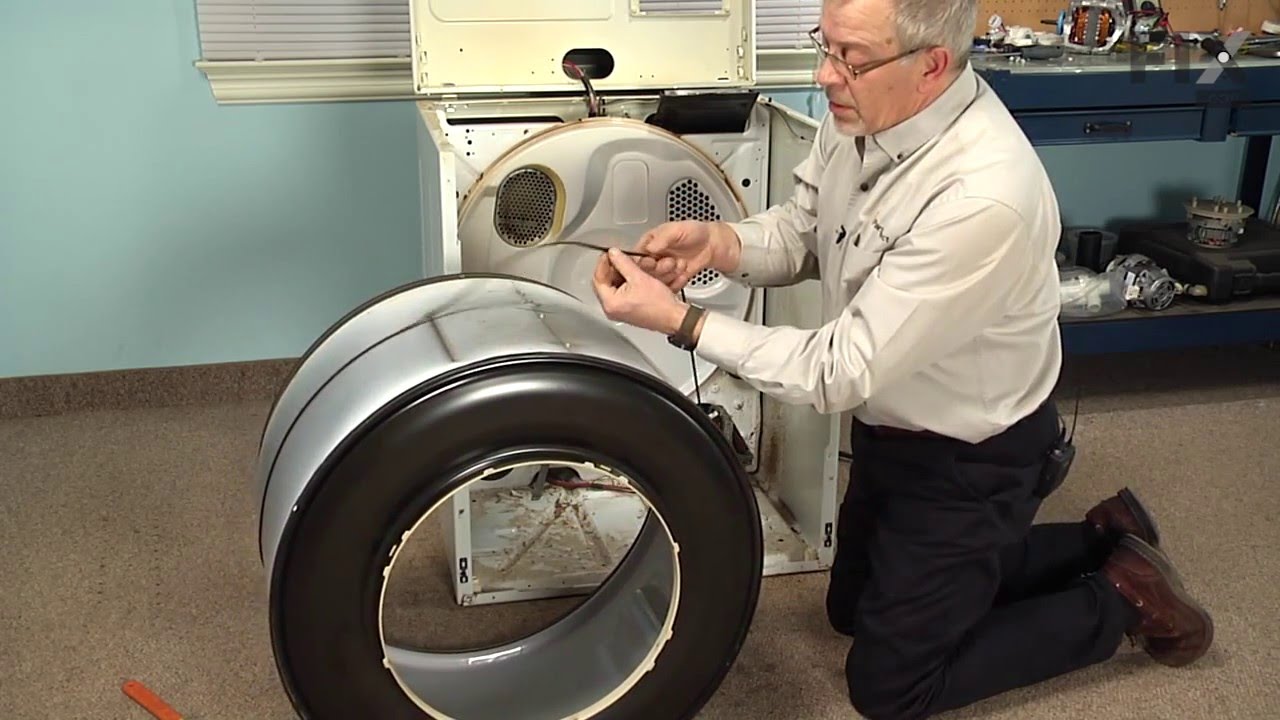
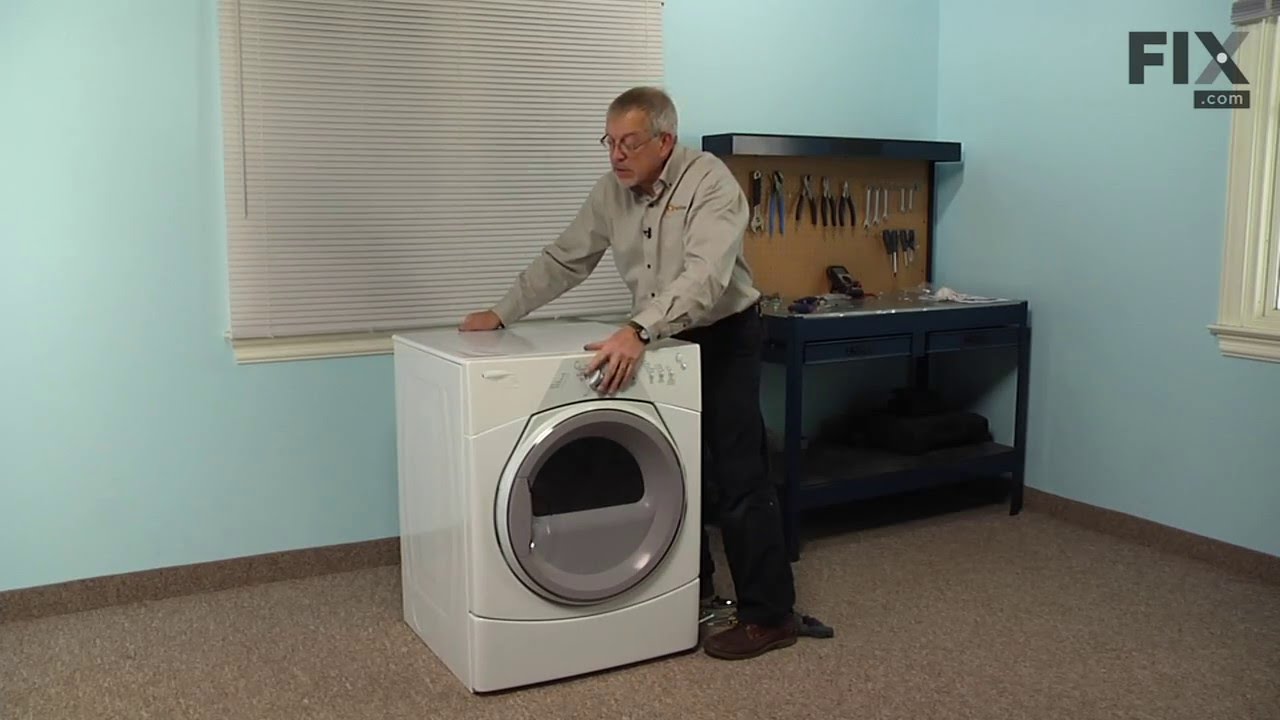
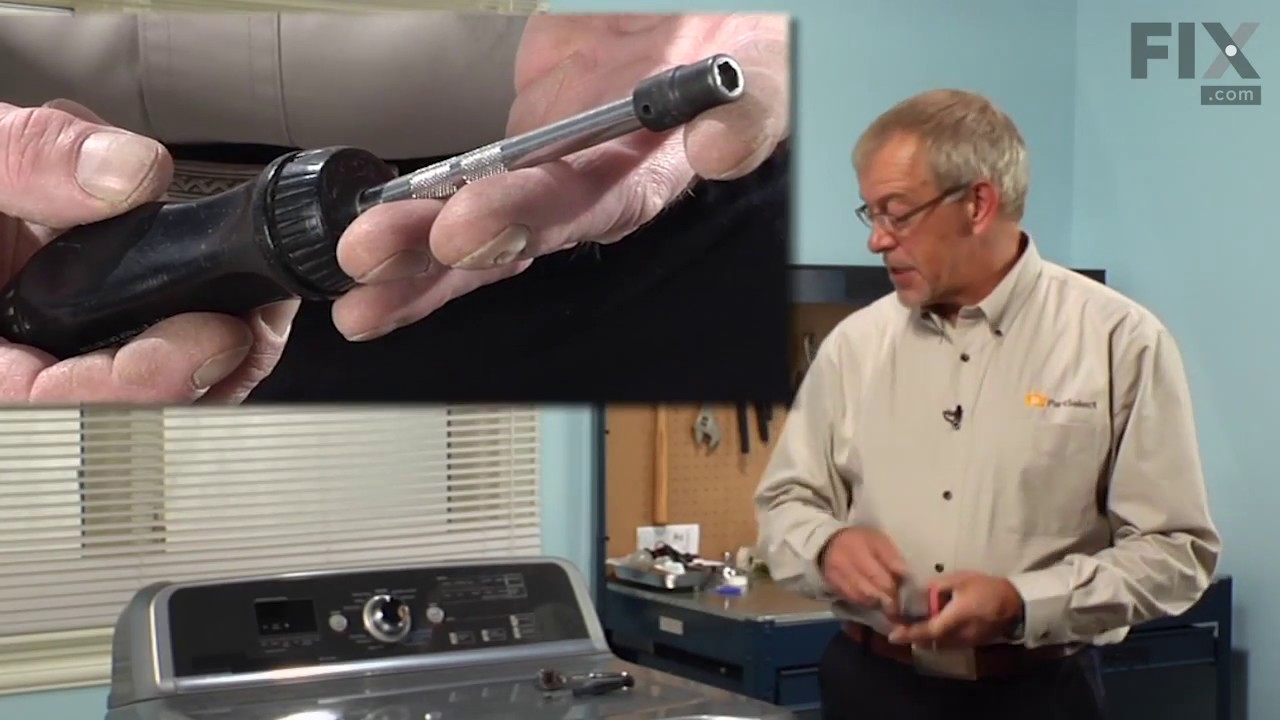
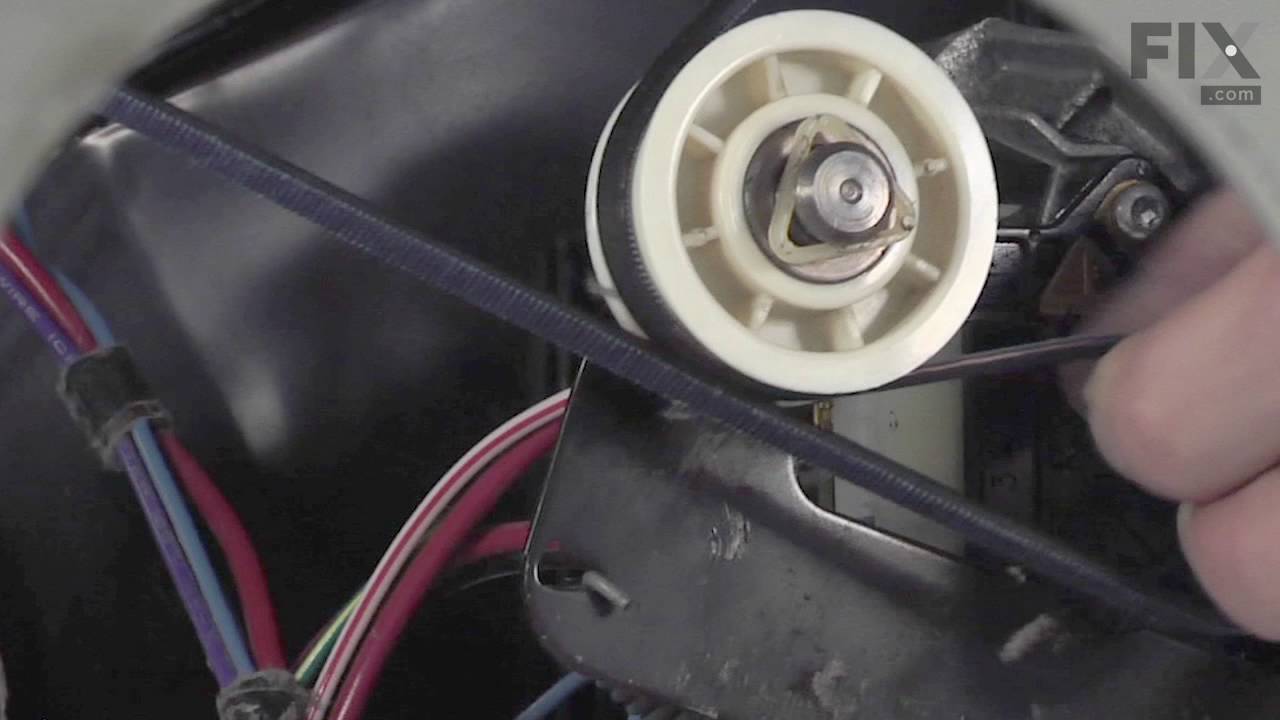
The drum support roller kit (Dryer Repair Kit) allows the dryer to tumble properly by supporting the drum cylinder. The idler pulley provides the tension required for a multi-ribbed belt. The belt attaches to the drum, idler pulley, and motor pulley. If your dryer is damaged, it may be making loud, squeaking, and/or squealing noises while...Read more the drum is turning. This is from normal wear and tear. The drum may eventually stop turning all together. This is a sign the part should be replaced. This is one complete maintenance kit. The kit includes the drum belt, drum support rollers, one idler pulley, four tri-rings, and one clip. The parts are constructed of plastic, metal, and rubber, and come in black/white/silver.
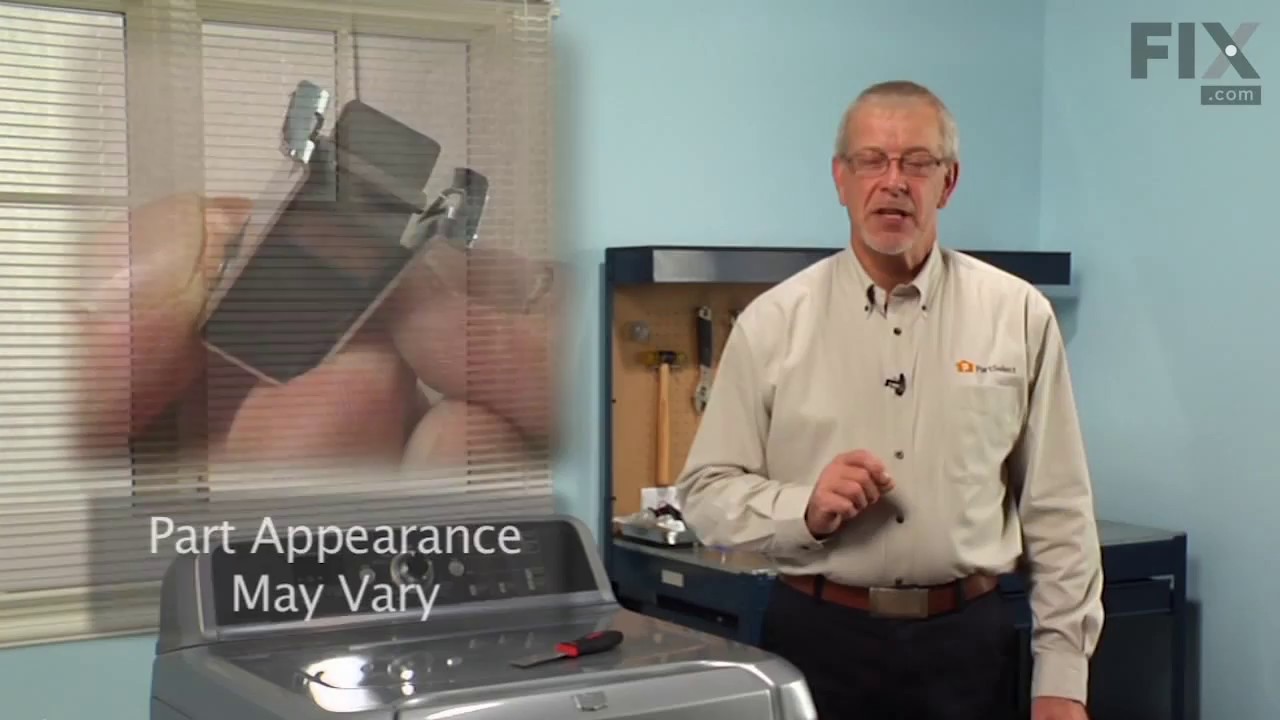
This replacement door catch is for your dryer door. If the catch is broken and the door will not stay shut, the dryer may not turn on. Use a putty knife to pop out the existing door catch by the locking tabs, and insert the new one. Make sure to unplug the dryer before beginning this repair.
This dryer thermistor is a genuine replacement component designed to monitor and regulate internal temperature in Whirlpool dryers. Mounted on the blower housing, it plays a critical role in controlling the heating element by adjusting resistance as temperatures rise, signaling the control board to maintain safe and efficient drying condi...Read moretions. A malfunctioning thermistor can result in symptoms such as no heat, overheating, premature cycle termination, or failure to start. It may also trigger fault codes like F-22, F-23, E1, or E2. Replacing the thermistor restores proper temperature regulation, protects the appliance from damage, and improves drying performance. Installation should be performed with the dryer unplugged and may require basic tools.
If you notice that your dryer is noisy or will not tumble, you may need to replace the tri ring. This part is triangular, and is less than an inch in size. Tri rings can be found both on the idler pulley shaft, or on the rear drum roller shaft. In either case, you will need to remove the front panel of the dryer and the drum to access the...Read more part for repair. Once you have accessed the damaged tri ring, you will simply need to slip it off and replace it with the new one. This part is sold individually. Be sure to disconnect the power source from the dryer before you begin this repair.
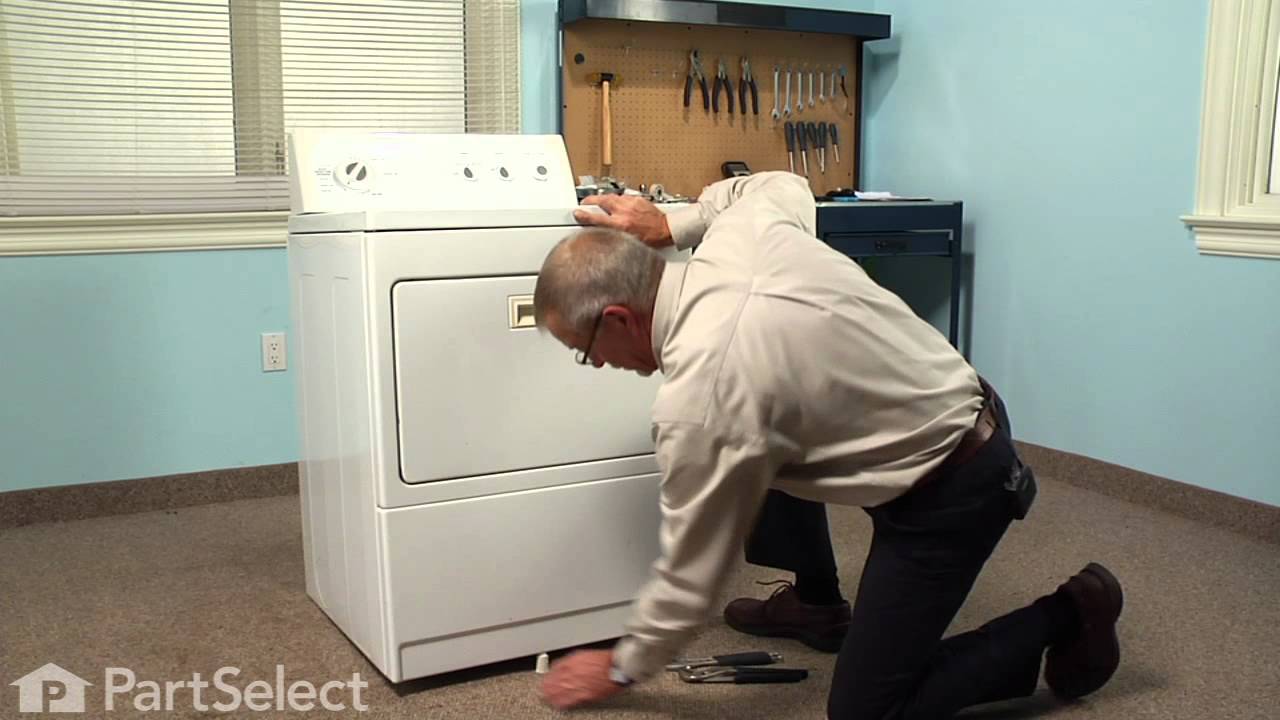
If your washer shakes or vibrates loudly when it reaches its max speed, check that the leveling legs are even. To ensure that the washer is firmly on the ground using all four legs, adjust the legs so that the machine is level, and tighten the locking nuts on the legs that are threaded. Keep the washer as close to the floor as possible. Y...Read moreour model might have rear legs that level themselves, or it might have threaded legs all around. Make sure the rubber feet have not worn out. Replace any missing or damaged legs and feet. This replacement part is sold individually.
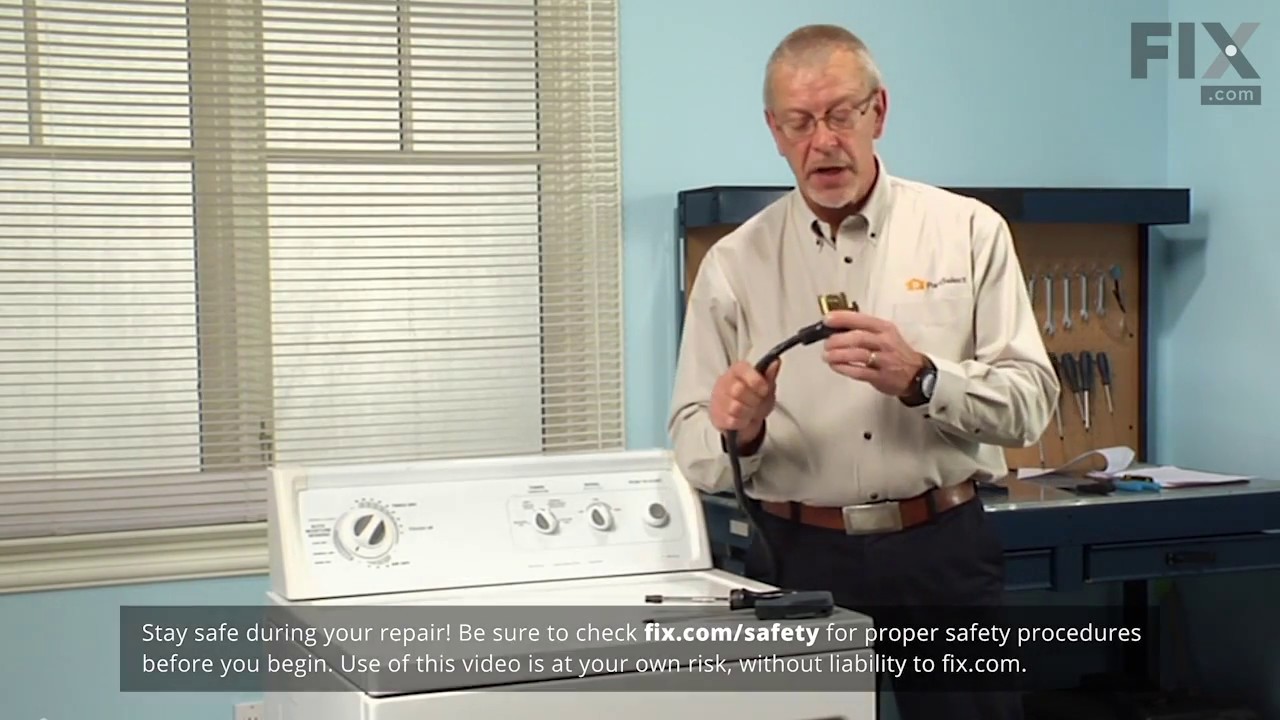
This 10-watt clear incandescent light bulb is designed to provide reliable interior illumination for household appliances such as dryers and refrigerators. Measuring approximately 2 inches in length, it fits securely into standard appliance sockets and activates when the appliance door is opened, offering clear visibility inside the drum ...Read moreor compartment. The bulb is suitable for use in a wide range of models across multiple appliance brands and is engineered to deliver consistent performance and durability. Installation is straightforward—simply screw the bulb into the designated socket within the appliance. Ensure the appliance is powered off before installation to maintain safety.
The blower wheel is a squirrel cage type wheel whose purpose is to move the air through the room or appliance. The blower wheel spins on the motor shaft to blow air through the dryer drum and out through the exhaust.
Ask our experts a question about this model and we'll get back to you as soon as possible!
We may have answered a similar question already! Search questions and answers left by others using simple keywords like "fit", "broken", "easy", or "quality" to find questions that match.
Search filter:
Clear Filter
Your search term must have 3 or more characters.
Sort by:
Prev
1
2
Next
Sorry, we couldn't find any existing answers that matched.Try using some different or simpler keywords, or submit your new question by using the "Ask a Question" button above!
Mauro - For model number WED6400SW1
February 13, 2020
Turn on everything. It also turns on the heat element but does not turn the drum
Hello Mauro, Thank you for the question. If everything is working as normal but the drum will not tumble, we suggest checking the Belt, PartSelect Number PS11746376. We hope this helps.
The sensing light comes on and pf shows up after unplugging it....
Hello Garry,
Thank you for your question. The "PF" error code means the dryer cycle was interrupted by a power failure, press and hold the START button to restart the dryer, and the error should go away. We hope this helps!
2 peoplefound this instruction helpful.
Was this helpful?
Thank you for voting!
Erik - For model number WED6400SW1
January 19, 2020
This model was making a scrapping sound, now it won't start a cycle?
Hello and thank you for writing.
Sounds very much like you have a faulty pulley or belt, there is a maintenance kit PS373087 available for this model. The kit includes the drum belt, drum support rollers, one idler pulley, four tri-rings, and one clip. We hope this helps. Please contact us anytime if you require further assistance.
Replaced thermostat and heat sensor still takes to Long to dry and can't adjust time for length of dry
Hello Ron, Thank you for the question. We suggest testing the HI-Limit Thermostat and the Heat Element with a multimeter to check for the continuity. We hope this information helps!
After my dryer run for a little while it starts to screech, it does this for about 10 minutes then stops. Have any suggestions on what is making it do this?
Hi Stacey, thank you for your inquiry. We would recommend checking the drum support roller, part number PS11752609, to get to the root of the problem. Good luck with this repair!
See how others fixed this model. Time, tools, difficulty, and steps that lead to victory!View More
Search repair tips from other customers using simple keywords like "replace", "fit", "remove", "inspect". DIY doesn't mean you have to do it alone!
Search filter:
Clear Filter
Your search term must have 3 or more characters.
Broken drive belt
287 of 316 peoplefound this instruction helpful.
DENNIS from ALTOONA, FL
A Bit Difficult
1- 2 hours
Nutdriver, Screw drivers
Grow a second set of hands. Always unplug any appliance. Remove lint screen. remove two screws (philips Head). I took a wooden shim lightly tapped w/hammer to pop front of dryer top free. Mine worked on hinges and just flipped back til it rested against the wall. Removed two 5/16 screws inside holding face on carefully raise face section
... Read moreoff the support clips at either side on the bottom. Pull drum out (I have the large style drum commercial size [approx.). Clean the inside free of all lint (known to be fire hazard). Sling new belt around drum. Get newly grown set of hands to hold drum in place. Pinch belt to fit between tensioner, lift tensioner and place belt around motor pulley. Spin drum couple times to make certain belt isn't twisted. Reverse dismantle proccess to put back together. Replace all parts that come with kit, you'll feel better knowing you got a new dryer, almost.
Read less
Was this helpful?
Thank you for voting!
Dryer door catch broken
153 of 160 peoplefound this instruction helpful.
Tammy from Clute, TX
Really Easy
Less than 15 mins
Pliers
After a few years of slamming the dryer door (at least that is what my husband says), the catch on the dryer door broke. Using pliers (I used needle nose) squeeze the outer edges of the catch together (vertically). With it compressed, it should slide out easily. My husband had jacked with ours prior to the repair, so the broken piece i
... Read moren the door was actually sideways and would not fit through the hole. Using a screwdriver, I pushed that piece into the door (it lives in the door somewhere now). I was then able to slide out the rest of the old catch. Compress the new catch and insert it into the hole in the door. Push it in until it clicks into place. DONE! Happy Drying!
Read less
Was this helpful?
Thank you for voting!
Bought motor, then bought blower wheel also
95 of 111 peoplefound this instruction helpful.
Daniel from Coatesville, PA
Easy
More than 2 hours
Nutdriver, Screw drivers, Wrench (Adjustable)
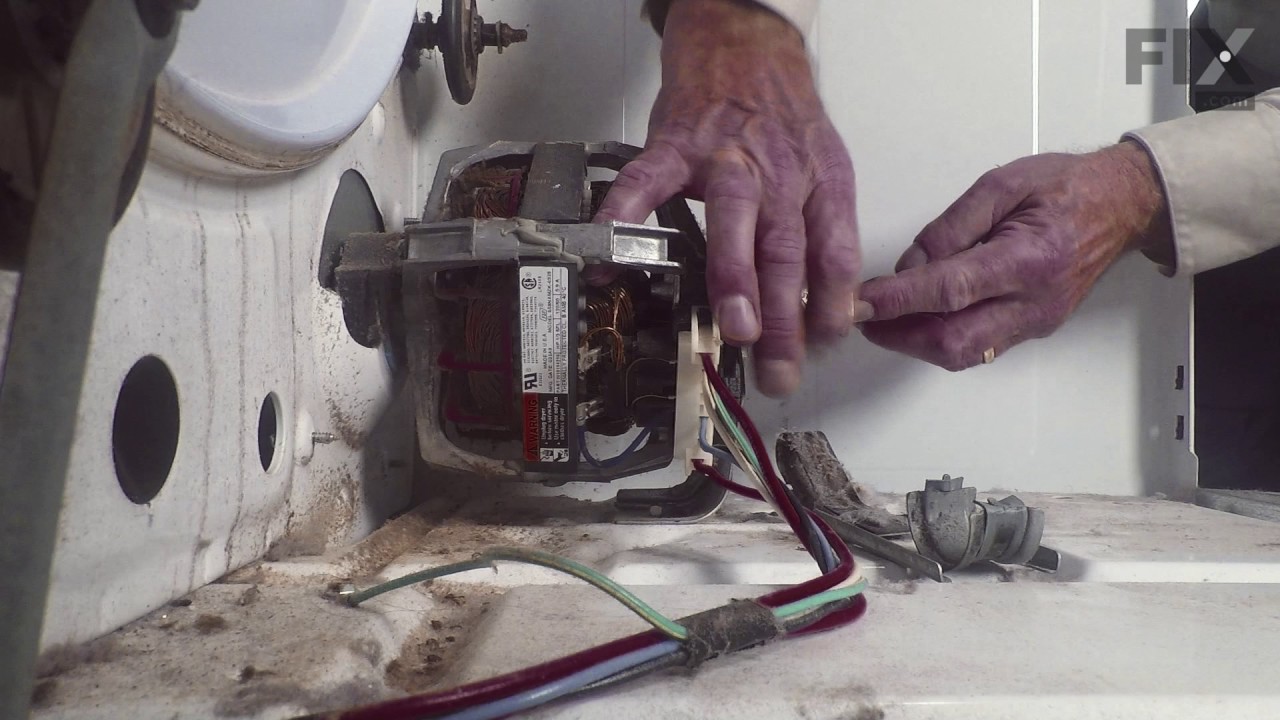
couldn't get blower wheel off of the motor. really tight. rounded off the wheel's square hub while trying to hold it still as I turned the motor shaft out. No, I wasn't turning it the wrong way :) I ended up going to the back of the dryer and using the multimax to quickly cut the wheel away from the hub. I love that oscillating saw!
... Read moreJust for fun, I put the motor in a bench vise and got the wheel hub off (in pieces). VERY tight! Ordered new wheel, and the job was smooth sailing from there on. I am guessing that experienced repair people automatically order the motor and blower wheel at the same time(?) BTW both parts were perfect matches for the originals. Not surprised; this has always been my experience with partselect.com!



 My Orders