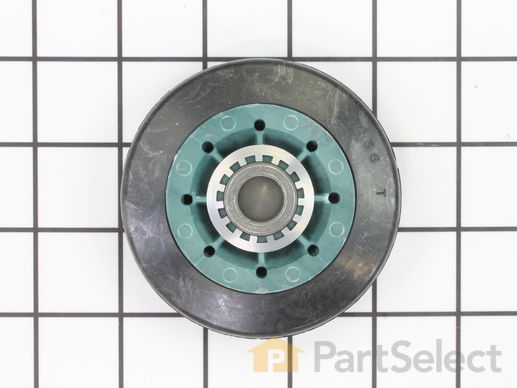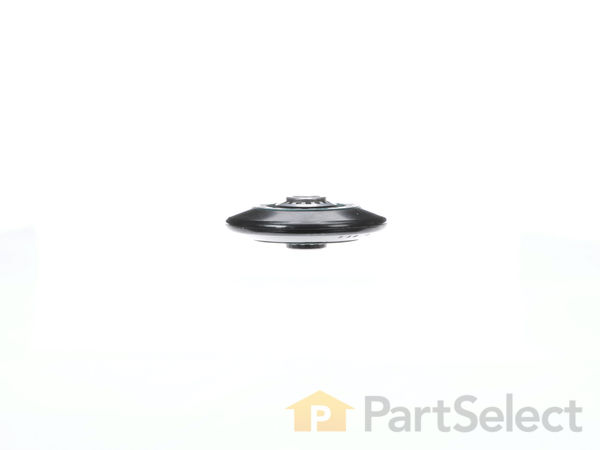
Dryer Drum Support Roller WPW10314173
Rated by 20 customers
Easy
1- 2 hours
Ratings submitted by customers like you who bought this part.
Get this part fast! Average delivery time for in-stock parts via standard shipping: 1.8 days.
Dryer Drum Support Roller Specifications

How Buying OEM Parts Can Save You Time and Money
Replacing your Whirlpool Dryer Dryer Drum Support Roller

-
5 Stars 30
-
4 Stars 5
-
3 Stars 1
-
2 Stars 0
-
1 Star 1
- < Prev
- 1
- 2
- 3
- Next >
- < Prev
- 1
- 2
- 3
- Next >
- < Prev
- 1
- 2
- Next >
-
Carl from MARION, KY
-
Difficulty Level:Really Easy
-
Total Repair Time:More than 2 hours
-
Tools:Nutdriver, Pliers, Screw drivers, Socket set
The only issue I experienced was being short two rollers, as the parts diagram did not clearly show that there were two rollers in the back ... Read more and two in the front.
A kit, with its own part number should be prepared that would show 4 rollers and belt as the recommended required parts.
It was an easy fix, I just did half the install a second time.
-
Doug from HARRODSBURG, KY
-
Difficulty Level:Easy
-
Total Repair Time:30 - 60 mins
-
Tools:Screw drivers, Socket set
I had to drive to a parts store to find them. On January 17, 2024, I tried to call you when the parts did not arrive and your recording said there were no reps available and you hung up. WE CANNOT GET HELP TO CANCEL THIS ORDER. We have been going in circles with PartSelect and shipping. SO, how do I ... Read more get my refund of the $107.26 for the parts that I never received!!
-
Thomas from TULELAKE, CA
-
Difficulty Level:Very Difficult
-
Total Repair Time:30 - 60 mins
-
Michael from GRANADA HILLS, CA
-
Difficulty Level:Easy
-
Total Repair Time:1- 2 hours
-
Tools:Nutdriver, Pliers, Screw drivers, Socket set, Wrench (Adjustable)
-
rodney from Mad River, CA
-
Difficulty Level:Very Difficult
-
Total Repair Time:More than 2 hours
-
Clinton from MINOOKA, IL
-
Difficulty Level:Really Easy
-
Total Repair Time:30 - 60 mins
-
Tools:Nutdriver, Pliers, Screw drivers
-
Jeffrey from FRANKLIN, MA
-
Difficulty Level:Really Easy
-
Total Repair Time:30 - 60 mins
-
Anthony from CROWN POINT, IN
-
Difficulty Level:Really Easy
-
Total Repair Time:30 - 60 mins
-
Tools:Nutdriver, Screw drivers
-
William from TROY, AL
-
Difficulty Level:Really Easy
-
Total Repair Time:1- 2 hours
-
Tools:Screw drivers, Socket set
This required removing drum & belt, disconnecting motor clips, blower belt, and blower housing. The blower ... Read more housing needed to be disassembled. Having a 5/16” & 1/8” ratcheting nut driver makes this process much easier. Don’t try this with a wrench.
After getting rid of the rat and decomposition, we sanitized the entire housing with soap & chlorine bleach.
Reassembly was uneventful and relatively easy. We ended up replacing 4 rollers, 2 belts (drum belt & blower belt), the thermistor which was damaged as a result of the blocked blower.
-
Bob from CHULA VISTA, CA
-
Difficulty Level:A Bit Difficult
-
Total Repair Time:30 - 60 mins
-
Tools:Nutdriver, Pliers, Screw drivers
- < Prev
- 1
- 2
- Next >
Ask our experts a question about this part and we'll get back to you as soon as possible!
- < Prev
- 1
- 2
- Next >

20 people found this helpful.


10 people found this helpful.

10 people found this helpful.


2 people found this helpful.

2 people found this helpful.

2 people found this helpful.

2 people found this helpful.

1 person found this helpful.


- < Prev
- 1
- 2
- Next >


Manufacturer Part Number: WPW10314173

Item is in stock and will ship today if your order is placed before 4:00 PM Eastern Standard Time.
If your order is placed after 4:00 PM EST, the in stock items will ship on the next business day.
Item is not in stock and usually ships 3-5 business days from the time you place your order.
Item is not in stock and usually ships 10-15 business days from the time you place your order.
This item is no longer being made by the manufacturer, and cannot be added to your shopping cart.


